I’ll never forget how excited I was when my husband and I purchased our home. The idea of being a homeowner had me so jazzed. Then, just two years later, I became a mom for the first time. Everything was new and exciting. Well, then reality hit and my excitement turned into exhaustion. It seemed that between being a mom and taking care of my home that 90% of my time was devoted to “maintenance” type items. Things like doing laundry, mopping the floor, and mowing the lawn, to name a few.
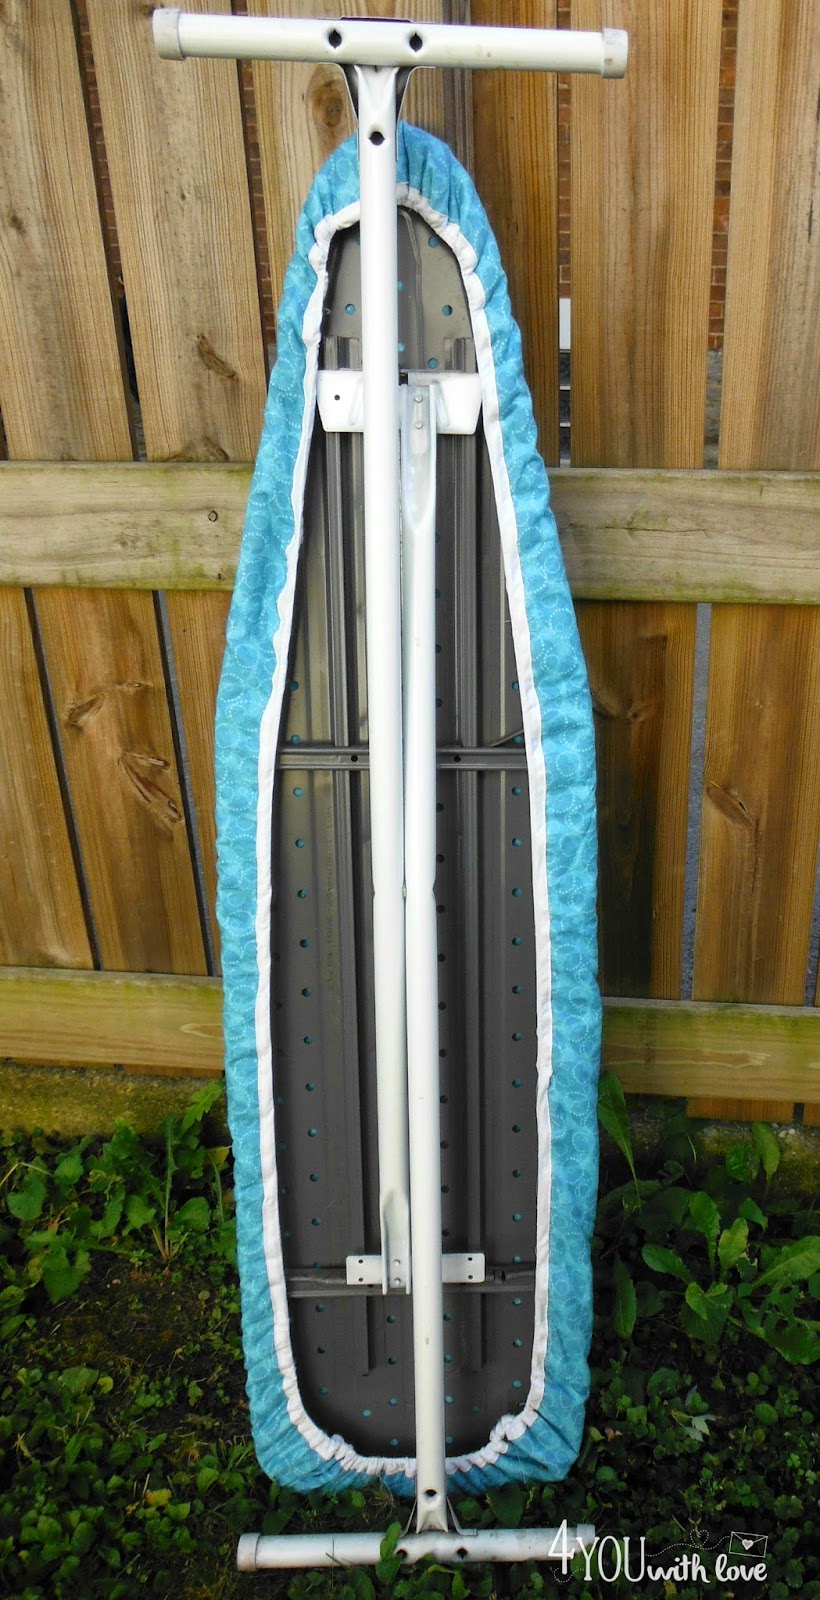
The other day, I pulled out my ironing board and I could swear I heard it saying, “Hey, you’ve been using me for years and I desperately need a facelift.” Well, I don’t think it actually spoke to me but WOW, it did need some help. Take a look!
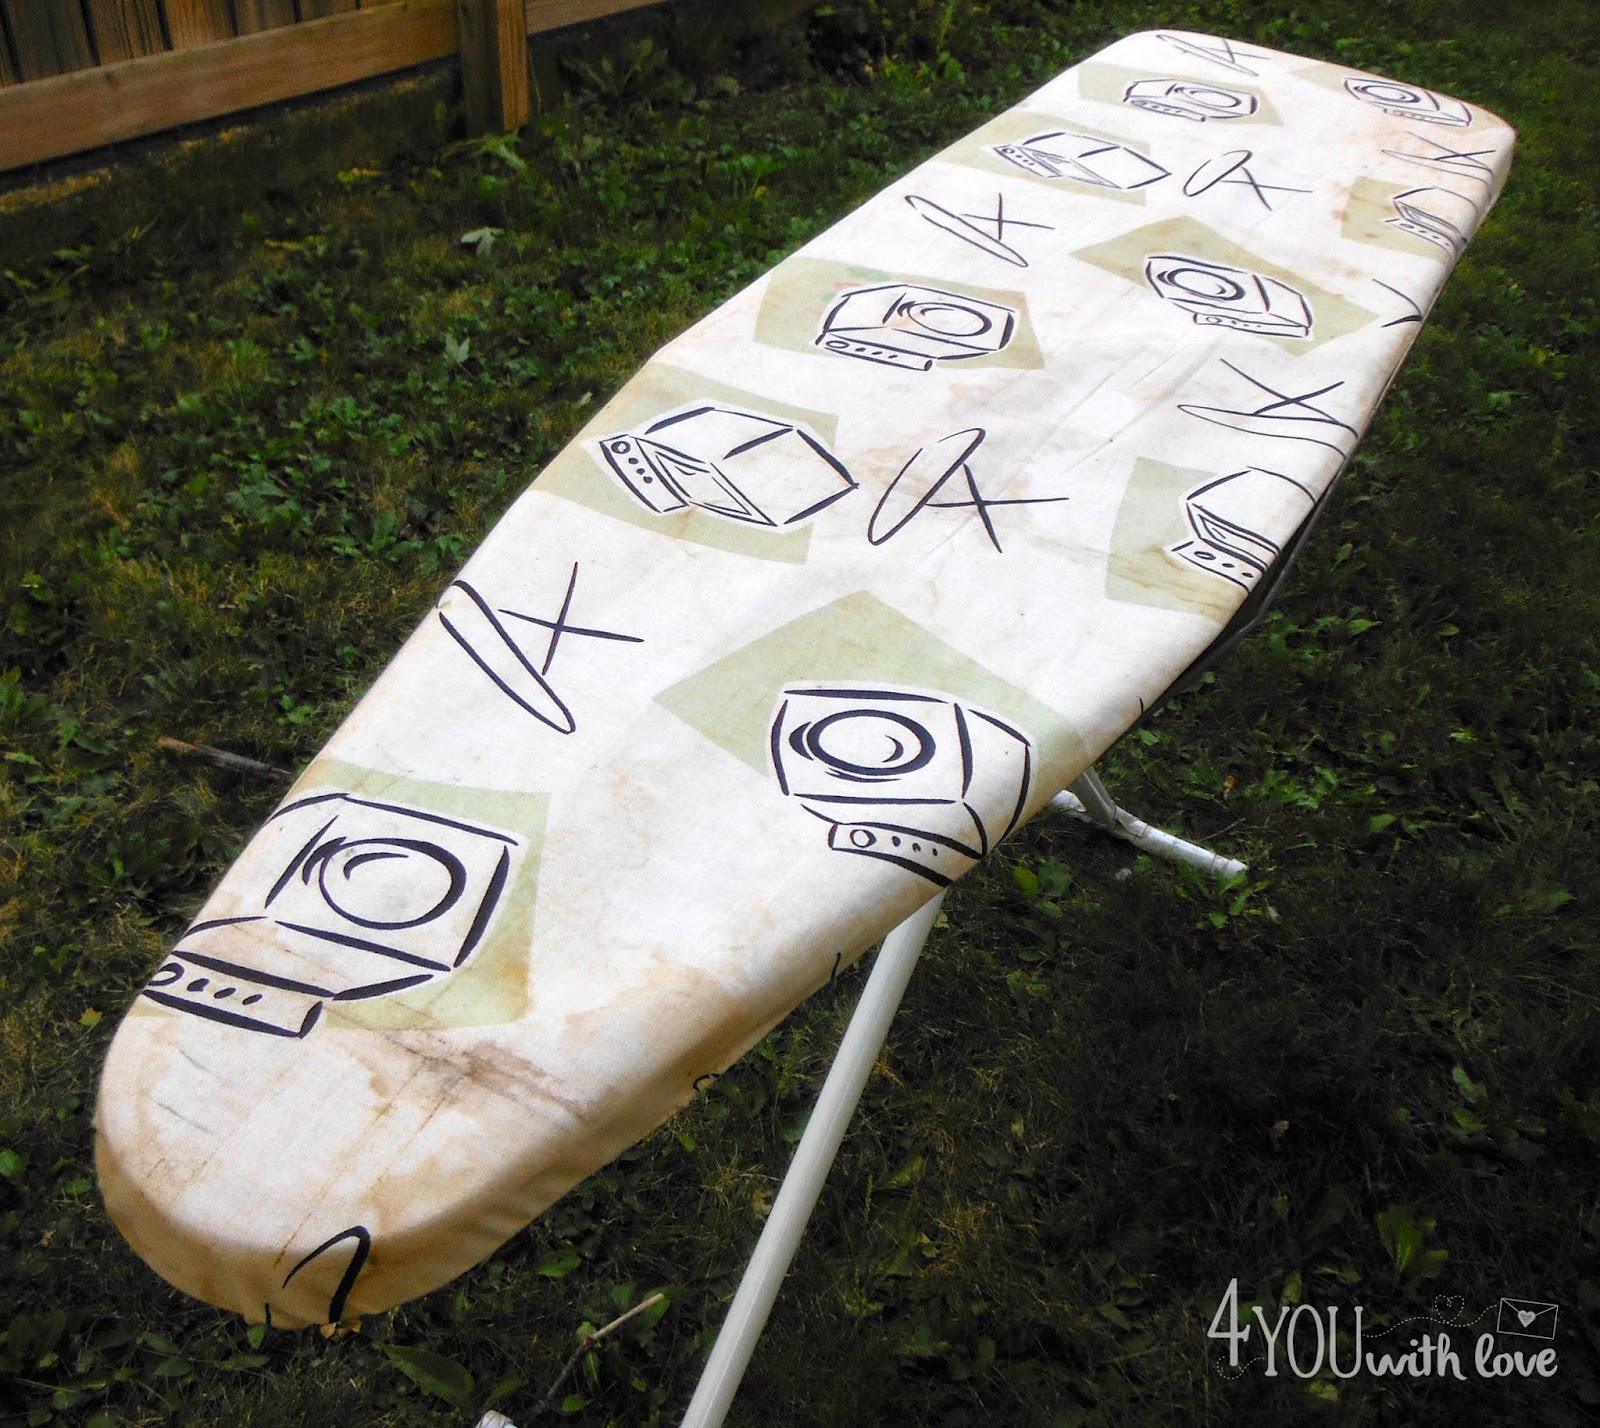
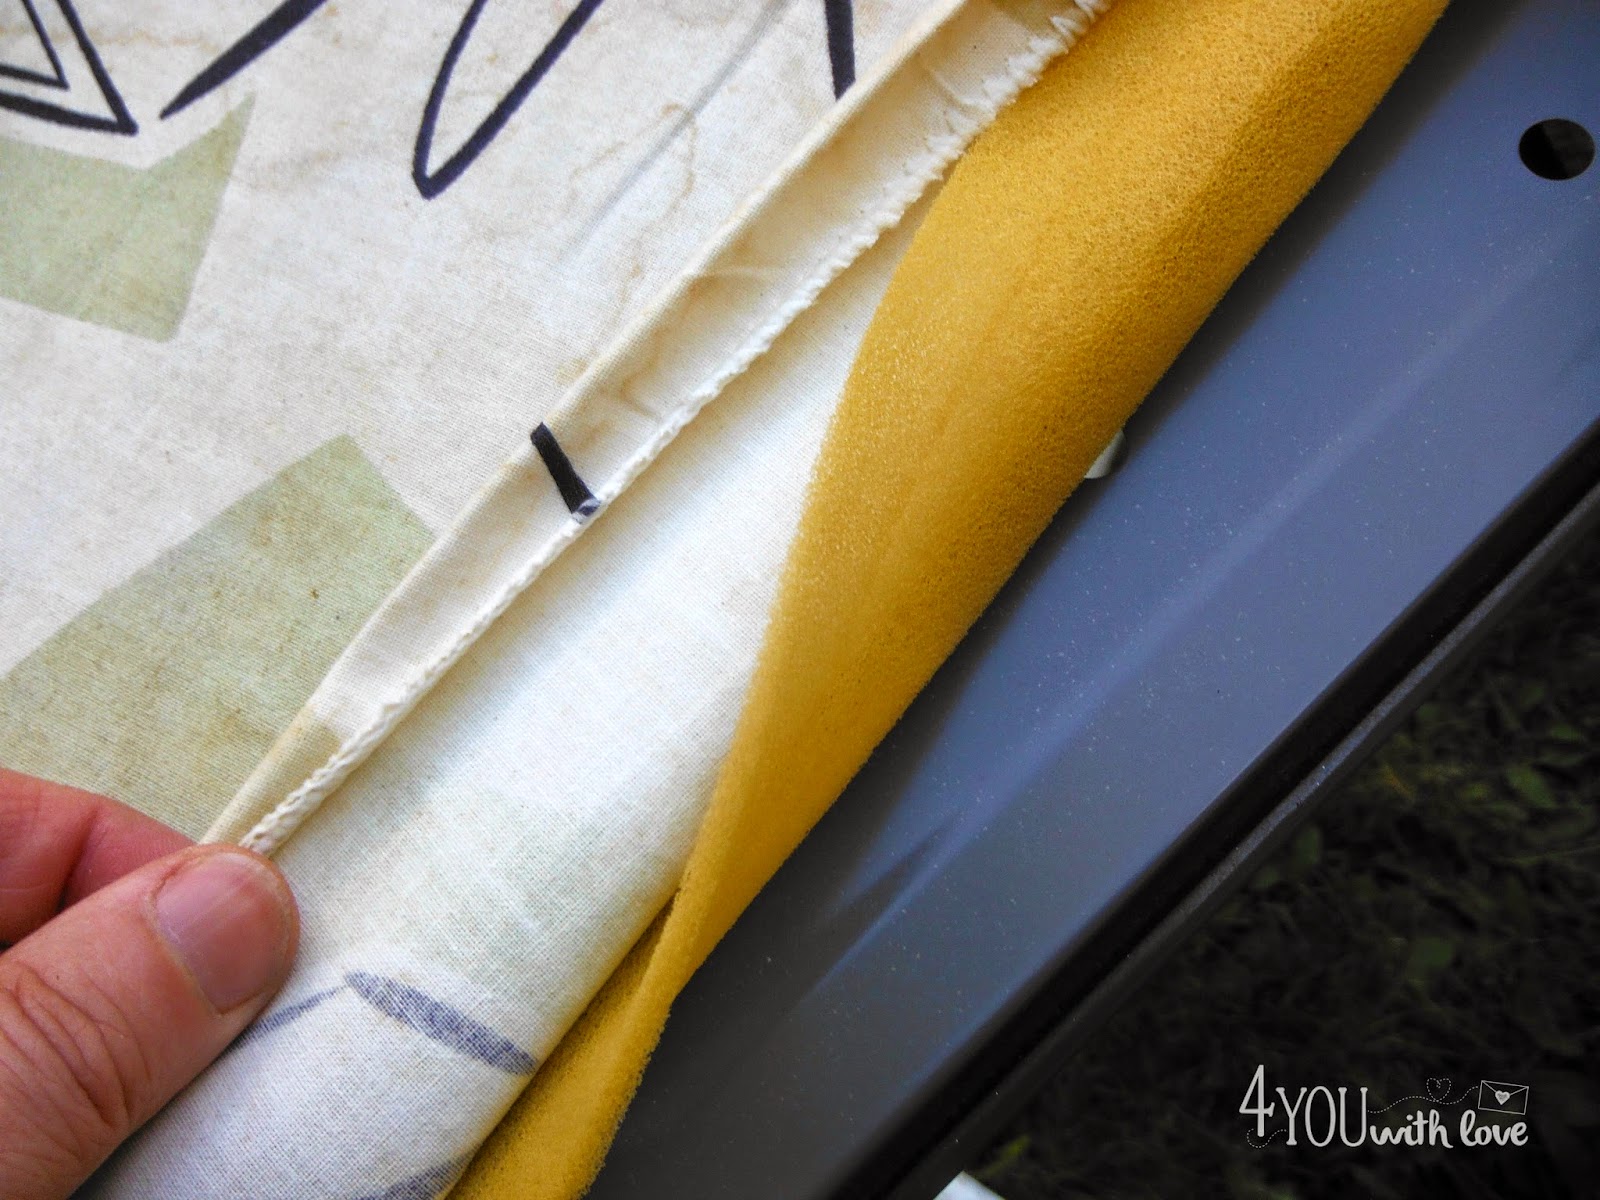
And not only is it pretty ugly, I took a look underneath and though, “boy this guy needs some help inside and out”. Just look at how thin that padding is!
So, I thought about going to the store and purchasing a new ironing board cover/pad but then I looked at my fabric stash and thought, “Nope, I’m going to make my own!” I bet your ironing board is looking pretty sad too. Why don’t you join me?

Okay, now before I continue, I made a new cover and pad. Your ironing board may have a nice pad but just needs a new cover or perhaps you just want to make the equivalent of an ironing board slip cover. No problem. This tutorial will work for both.
First, you need to measure your ironing board. You need to know how long it is to determine how much fabric you will need to purchase. Table top ironing boards are much shorter than those that stand on the floor. Okay, now once you’ve determined how long your ironing board is, add 6″ and that will be how much fabric you will need to purchase.
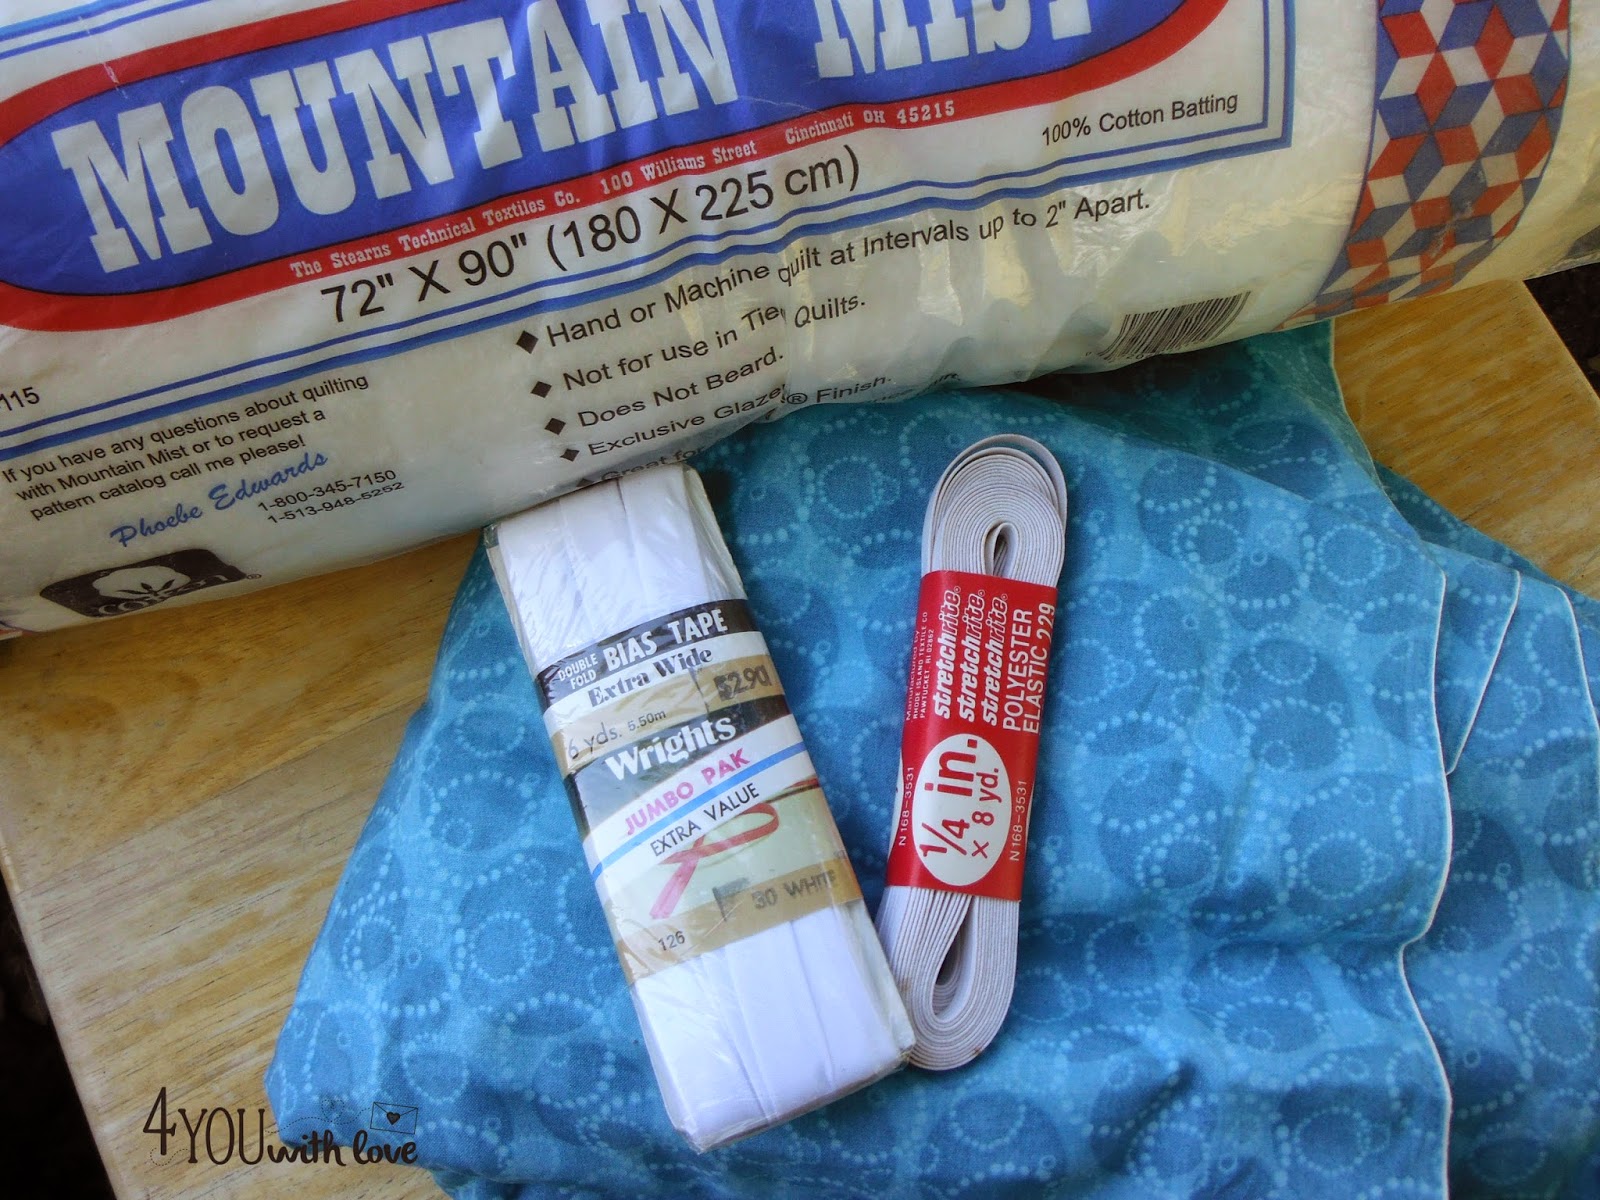
Supplies:
- 100% cotton fabric (the length you previously determined)
- 100% cotton batting, optional (this is only needed if you would like to include a pad in your cover)
- 1/4″ elastic that is twice as long as the length of your ironing board
- Extra wide double fold bias tape.
- Thread
Now before we get going, I just want to go over two items on our list.
- The batting MUST be 100% cotton OR batting that is specifically designed for high heat. If you have polyester batting or a cotton/polyester blend, your batting will melt and make a huge mess.
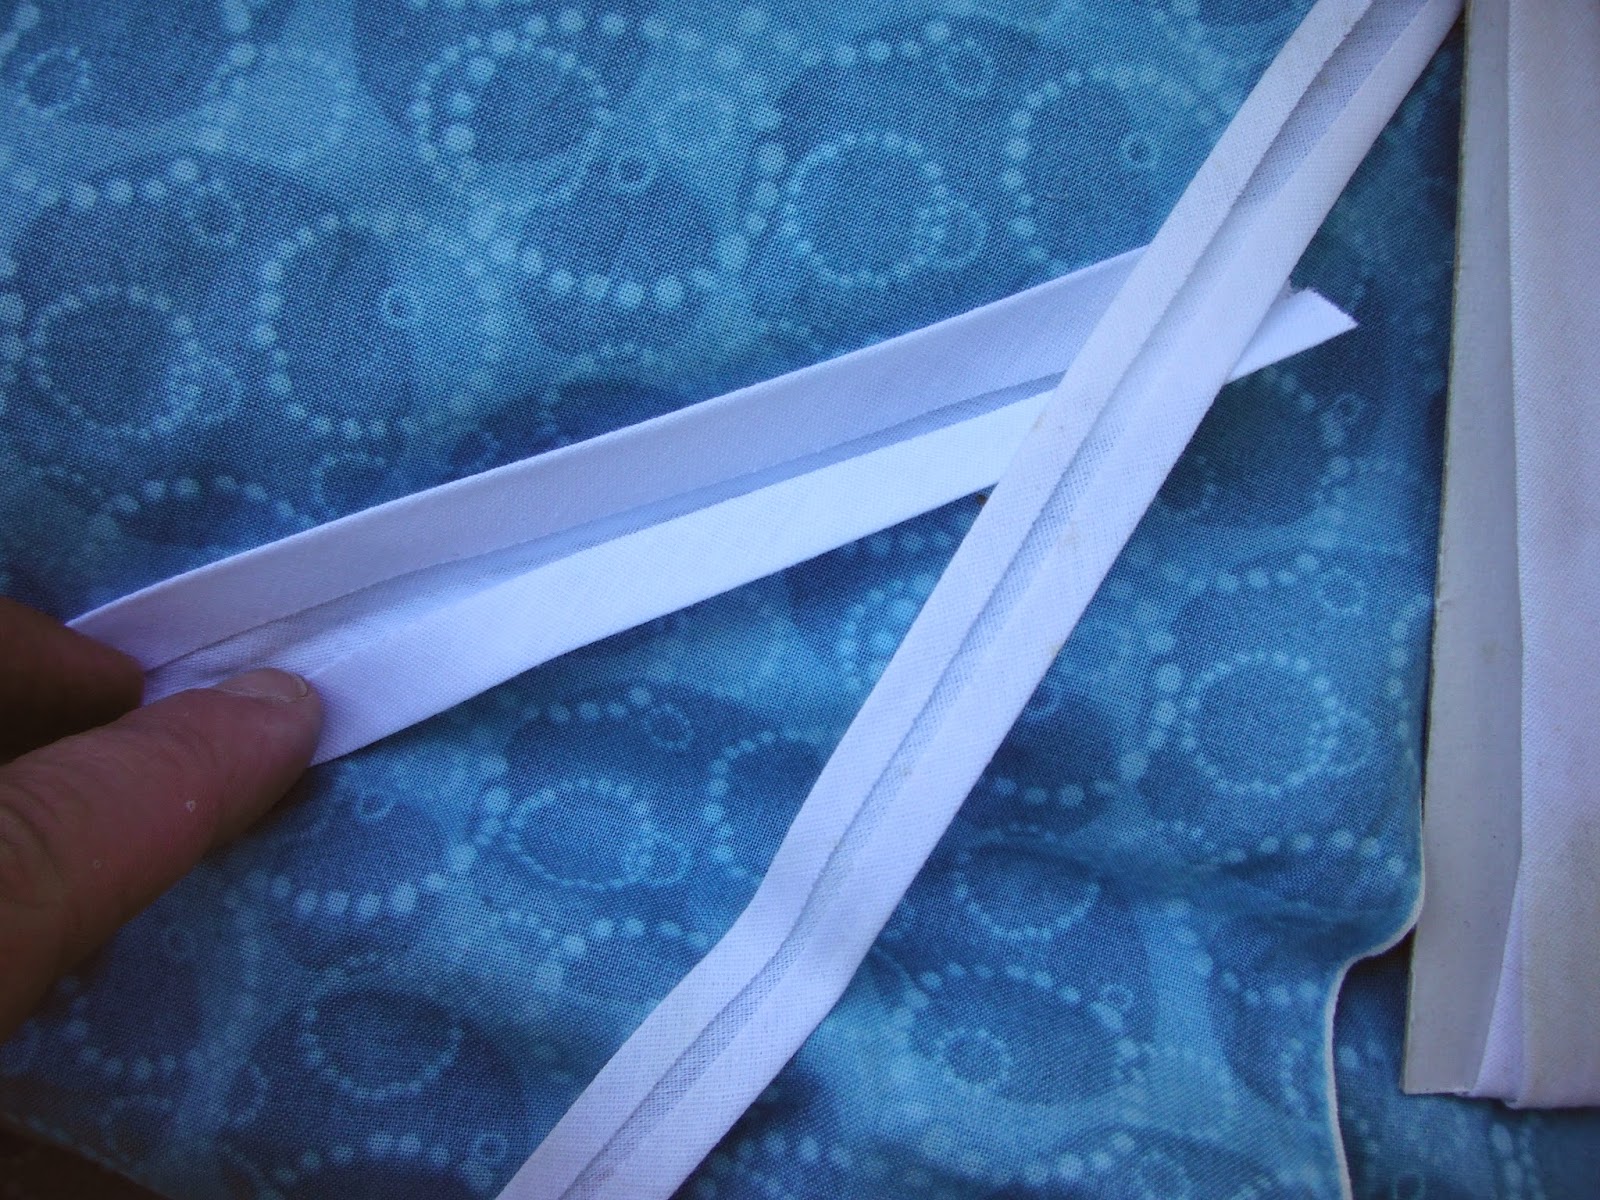
- Bias tape can be sold as either regular bias tape or extra wide double fold bias tape.
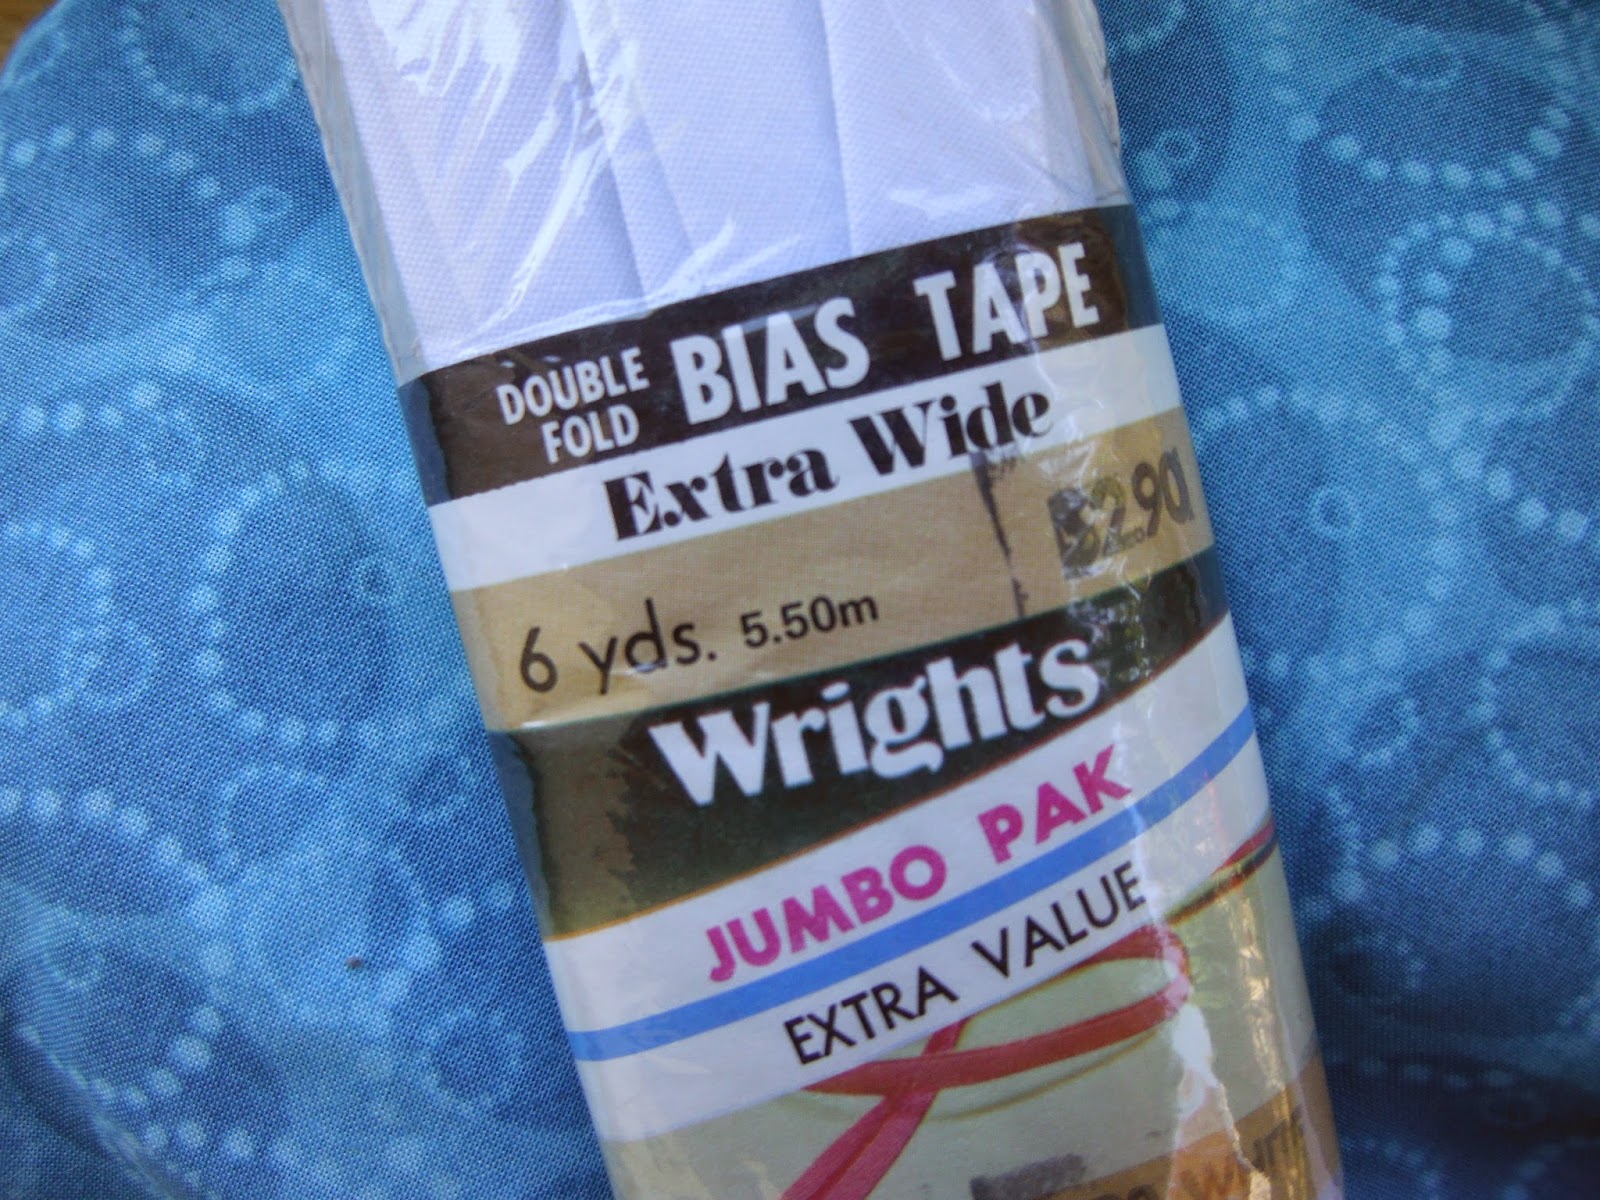
Here is a photo of how the two bias tapes look. You will be using this tape to not only finish off the edge of your cover but also to create a casing for your elastic. This is why you want the EXTRA WIDE double fold bias tape.
Okay, are you ready to get started. First we need to cut our fabric and batting (if using). So, all you do is flip your ironing board over, onto the floor, and use it as your pattern. You want to cut out your fabric about 3″ wider than your ironing board, all the way around. Since I am using both batting & fabric, I cut out my batting first,then used the batting & ironing board, together, to cut out my fabric.
(Note: The fabric is wide enough to cut 2 pieces. If making a pad, you will use both pieces but if just making a cover, you will have enough fabric left over to make a cover for a friend.)

Okay, now this next step only applies when you are adding the pad. Sandwich the batting between two pieces of fabric (with the right sides facing out) and zig zag stitch around the edge. This helps to keep everything “orderly” when we attach the bias tape.
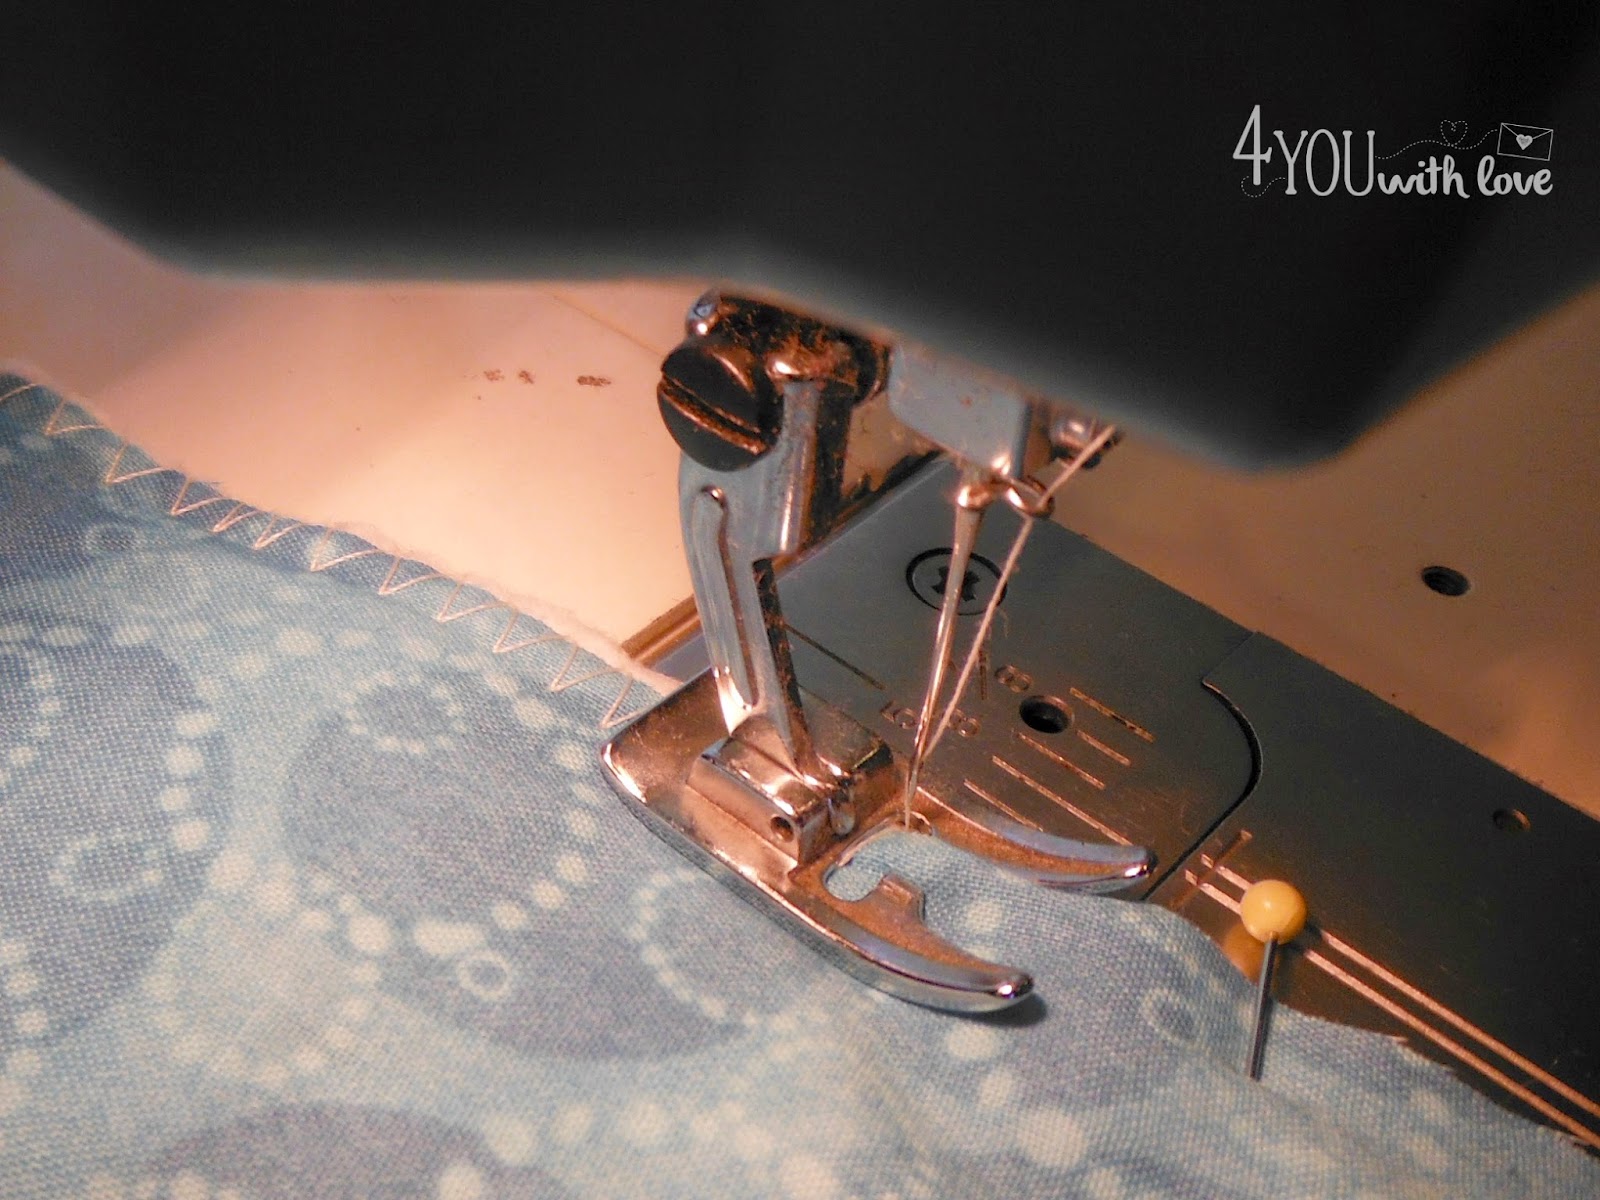
Now it’s time to attach the bias tape. You will open up the bias tape and pin it to your fabric. Then, you will “stitch in the ditch” (or the first fold). You will attach the bias tape around the entire edge of your ironing board fabric piece. See the photo below.
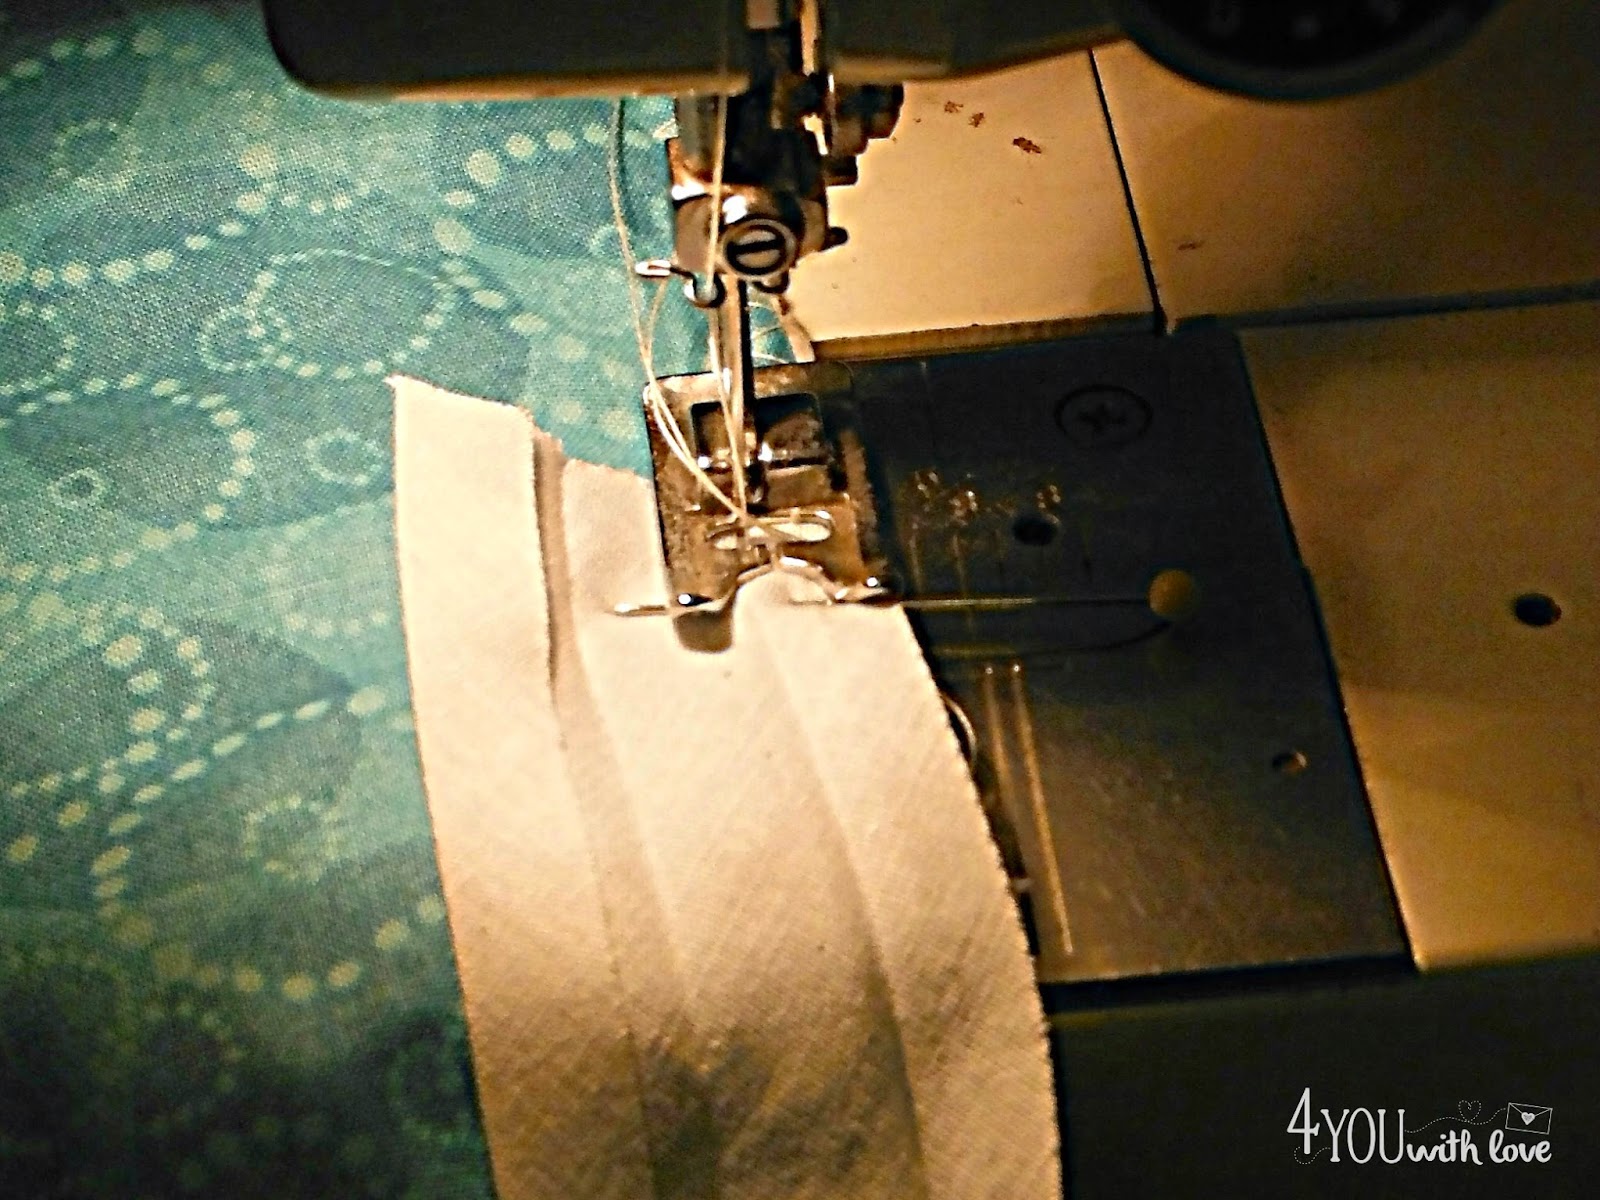
Next we are going to create a casing for our elastic. You can do this in one of two ways.
- Fold your bias tape over and sew close to the edge, creating a casing. Leave a 3″ opening and using a safety pin, feed your elastic through your casing. OR
- Place your elastic close to the edge of your fabric and fold your bias tape over, covering the elastic. Sew close to the edge, making sure NOT to catch the elastic. This takes some attention but will allow you to not have to feed the elastic through the casing later. Leave a 3″ opening with both ends of your elastic dangling out. NOTE: Your cover will be gathered some because your elastic will be shorter that the perimeter of your ironing board cover.

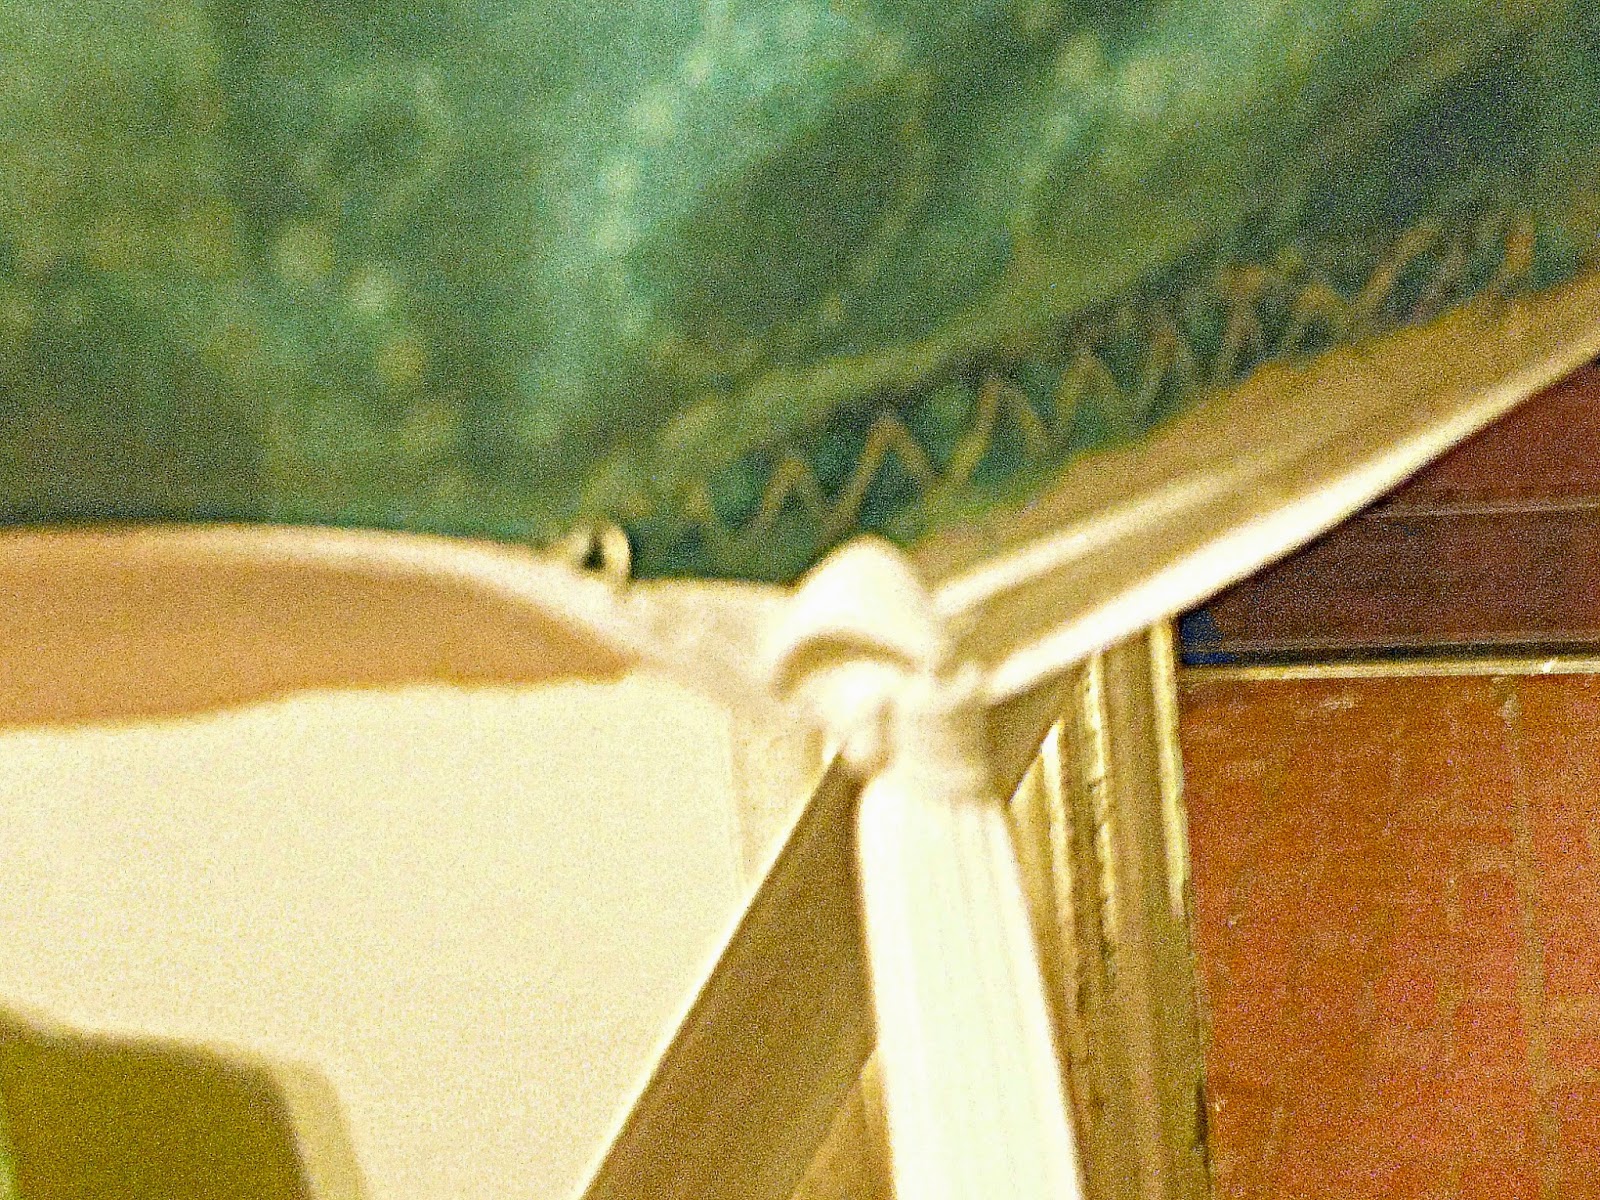
See, this is how your opening should look and you will have the two ends of your elastic hanging out.
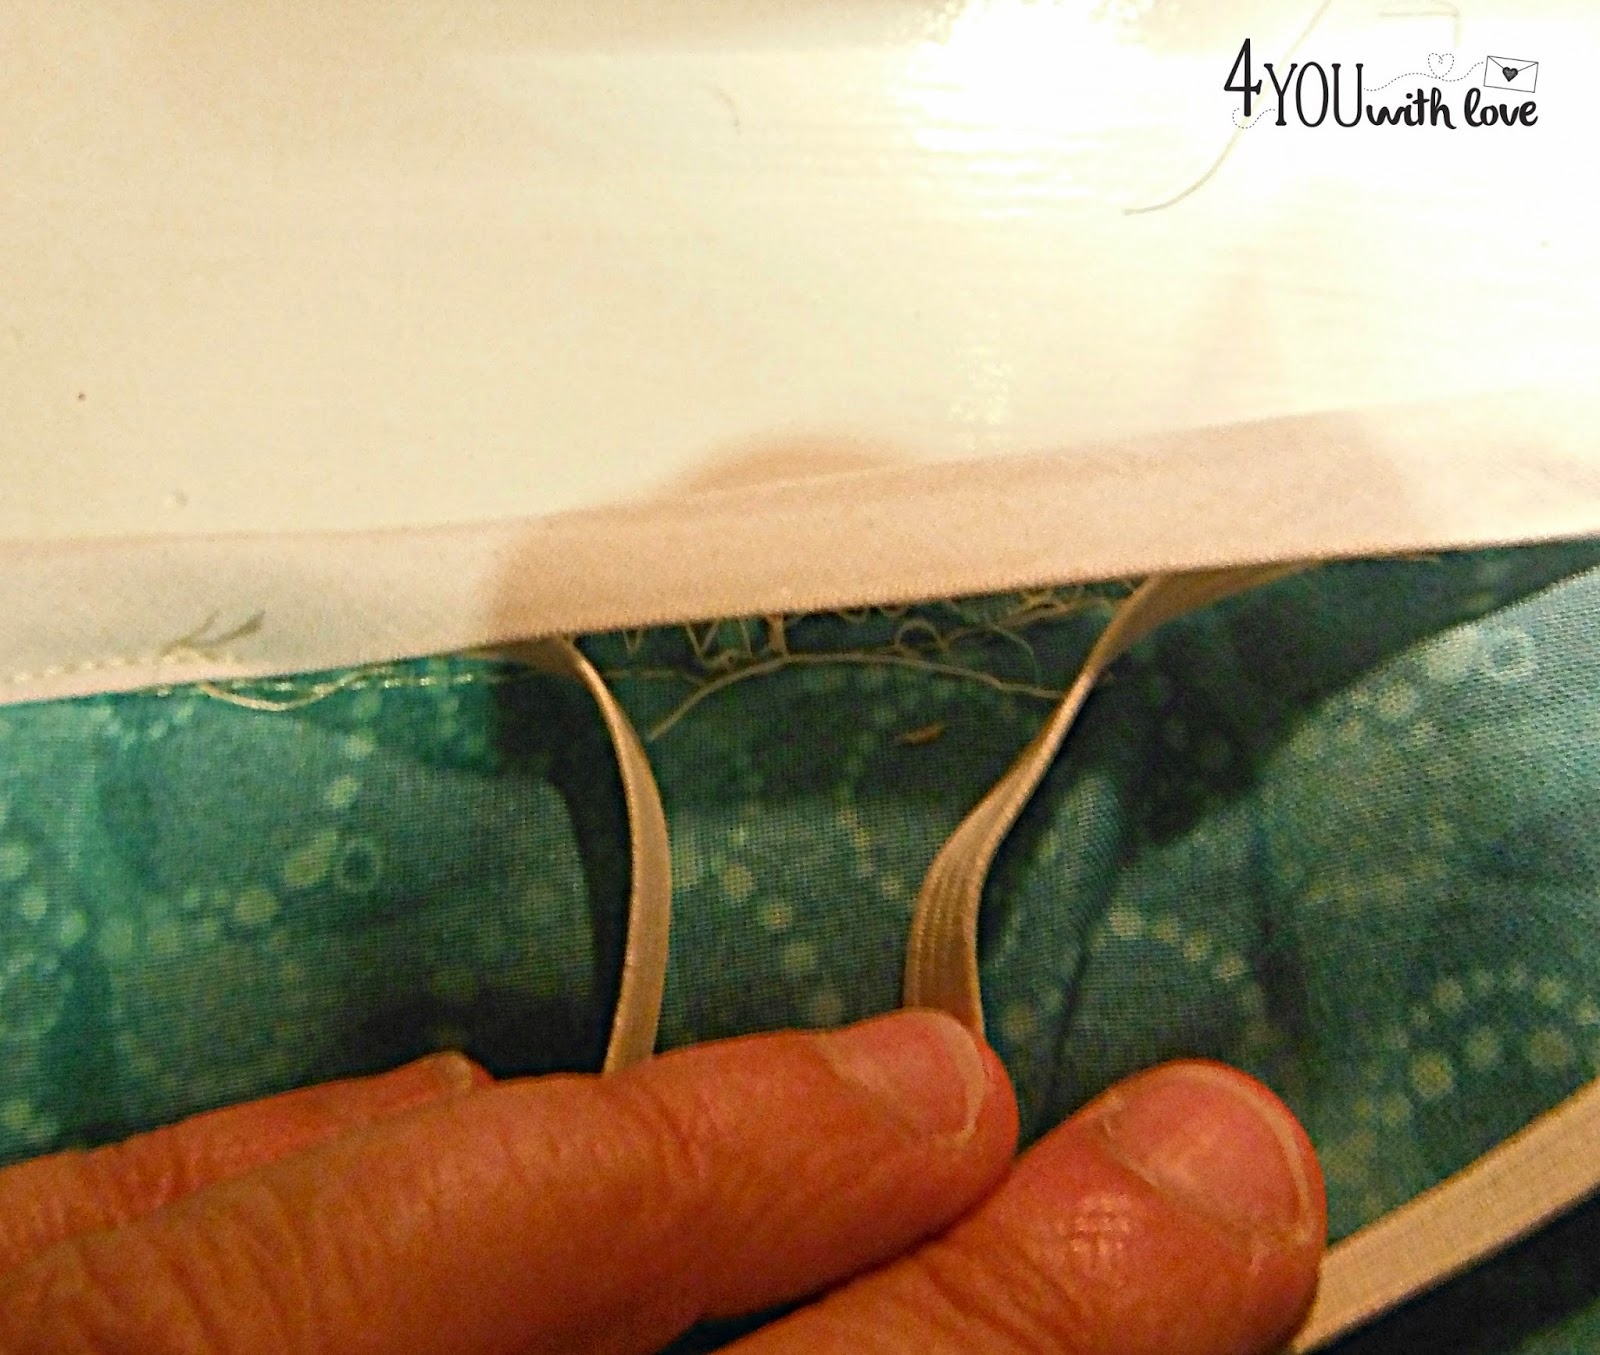
Now place your ironing board cover on top of your ironing board. Now pull on these two pieces of elastic until your cover fits nice and snug. Tie the elastic ends together in an overhand knot. Sorry for this picture being so blurry. I took 5 and they all turned out blurry….I think it’s because my right hand was holding the elastic down so you could see while my left hand took the photo….as you can tell, I’m not left handed!
Sew the casing opening closed. Place the ironing board cover on and admire.

And look, it even looks nice from the back! Also, if you selected to make a pad, your cover is reversible so if your iron stains the cover, just flip it over!
If you are a sewer and are looking for a few more ideas, here are a few other posts you might enjoy.
Leave a Reply