About 6 months ago, I got my sewing machine out after having not used it for a very long time. I had been lazy and it was neither stored in a carrying case nor with a cover. So, it was dusty! This resulted in very poor performance. So, my husband and I took it apart, cleaned it very well, and oiled it up. It then purred like a kitten.
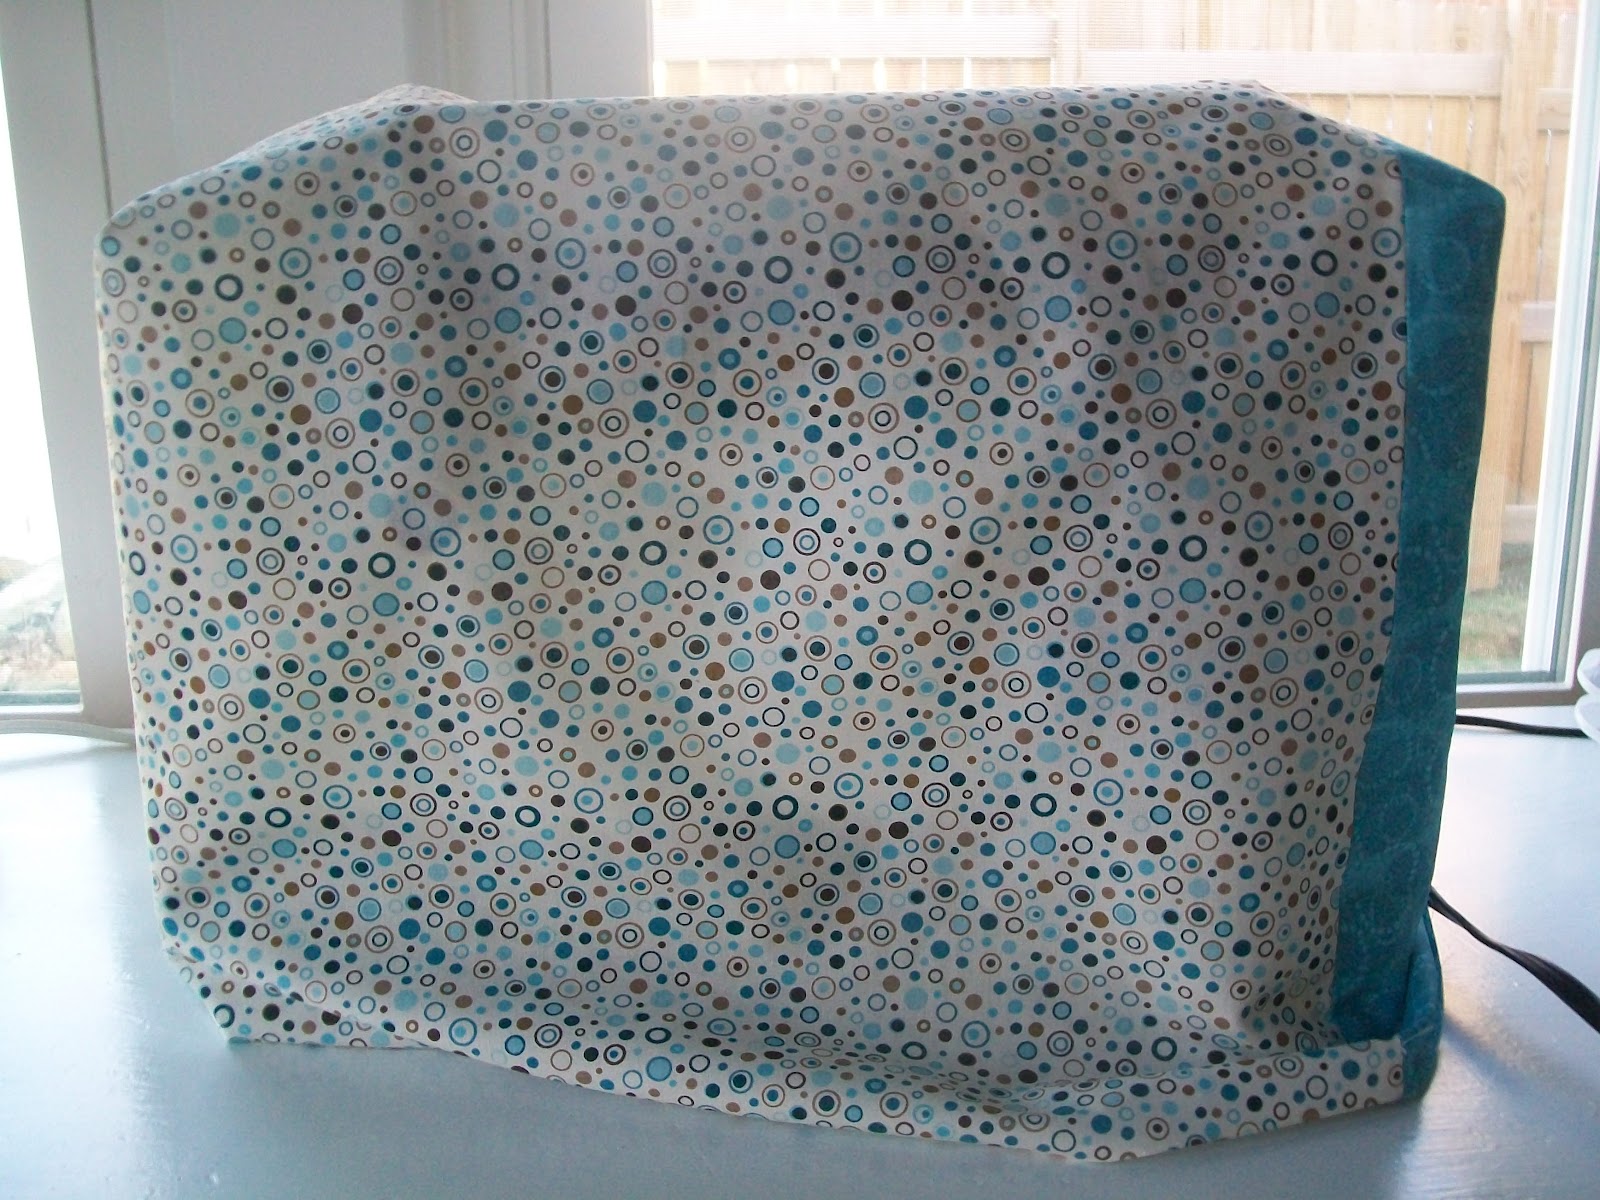
I found my old carrying case and with time, the plastic had become very brittle and it was broken to the point of being non-repairable. So, I figured with just a yard of fabric, I could make a sewing machine cover. So it was off to the drawing board to come up with a solution. Here’s my cover!
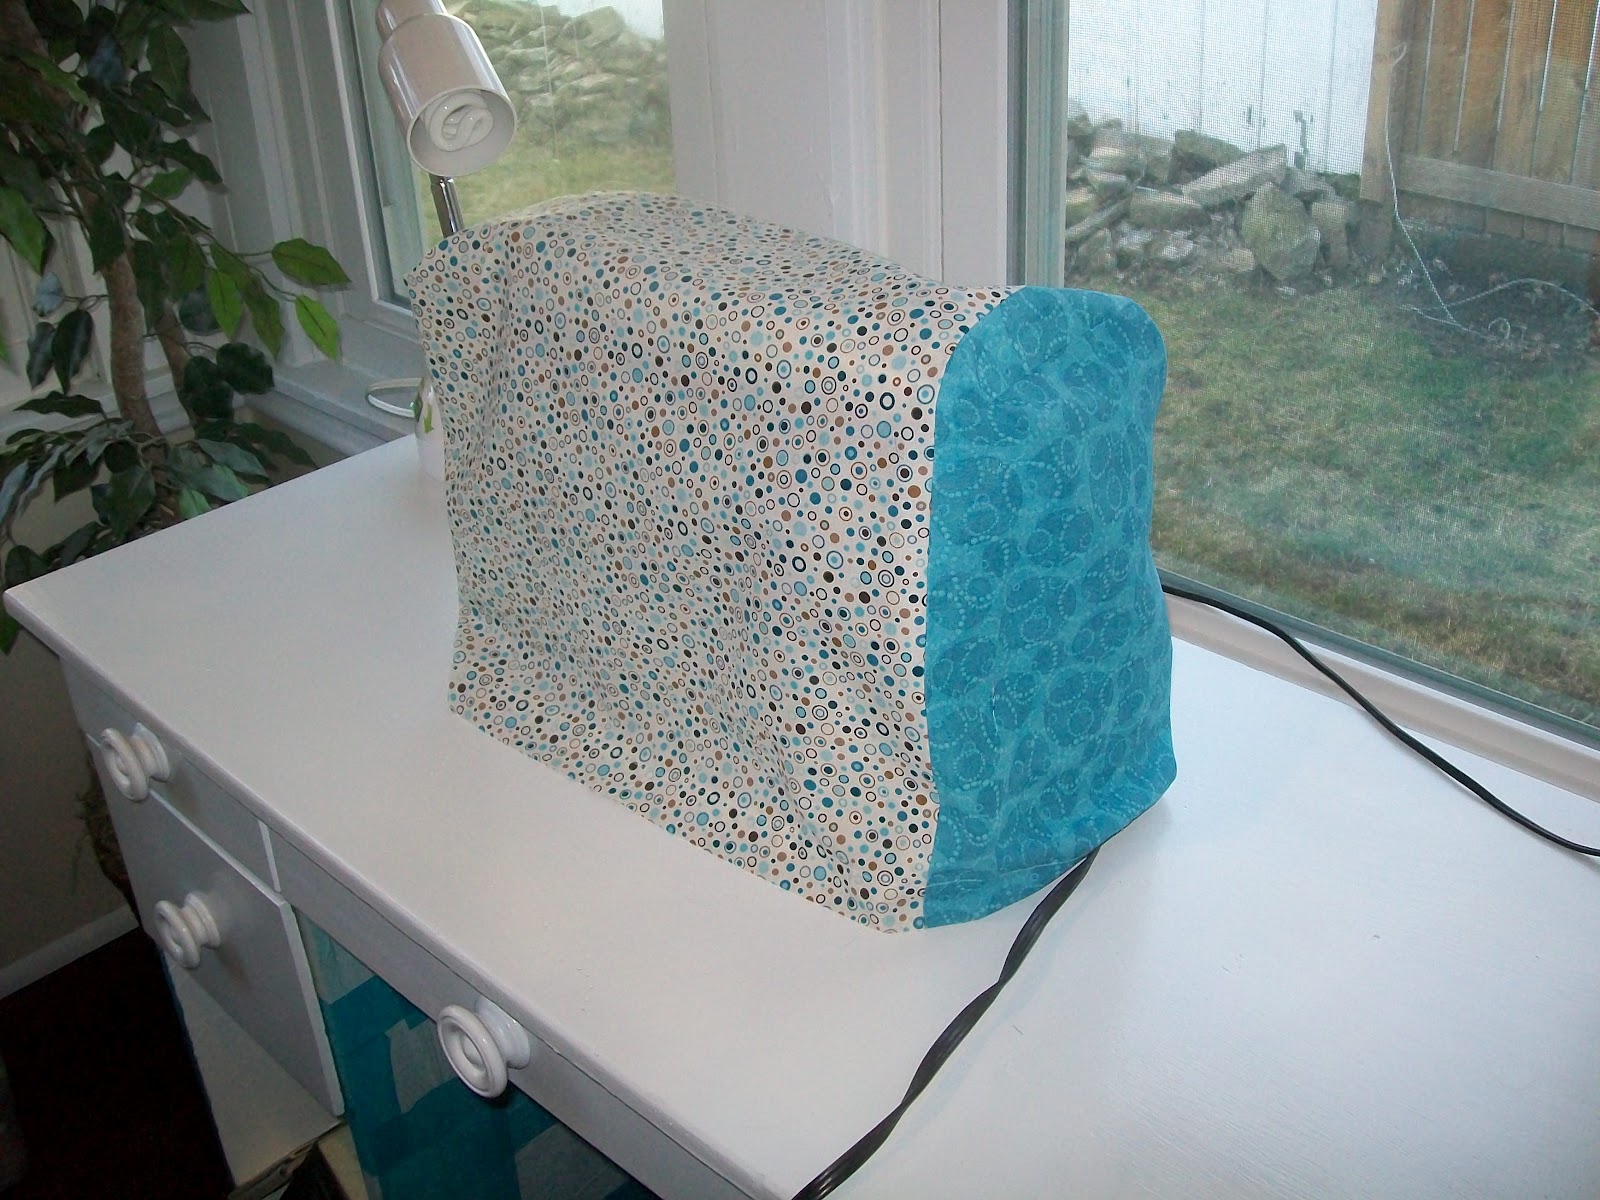
So, if your sewing machine is the same dimensions as mine, here’s what you need!
2/3 yard main fabric
1/8 yard contrasting fabric
Coordinating thread
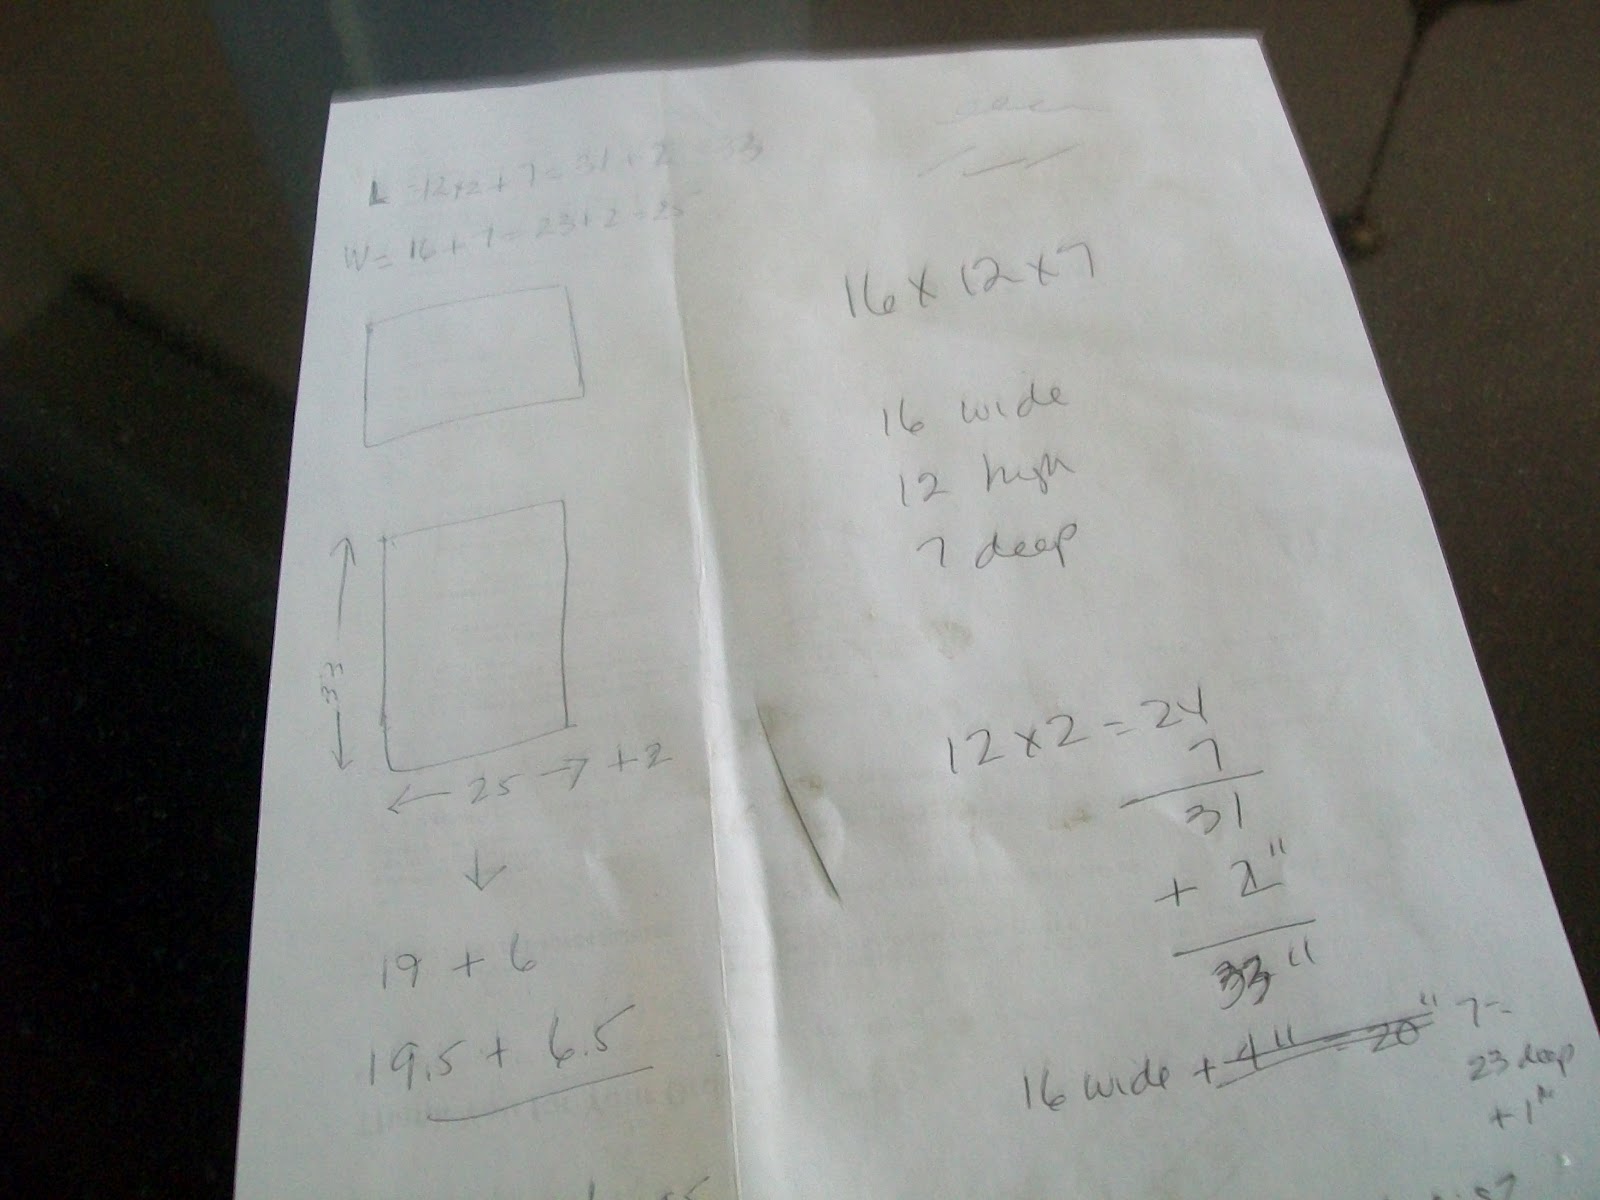
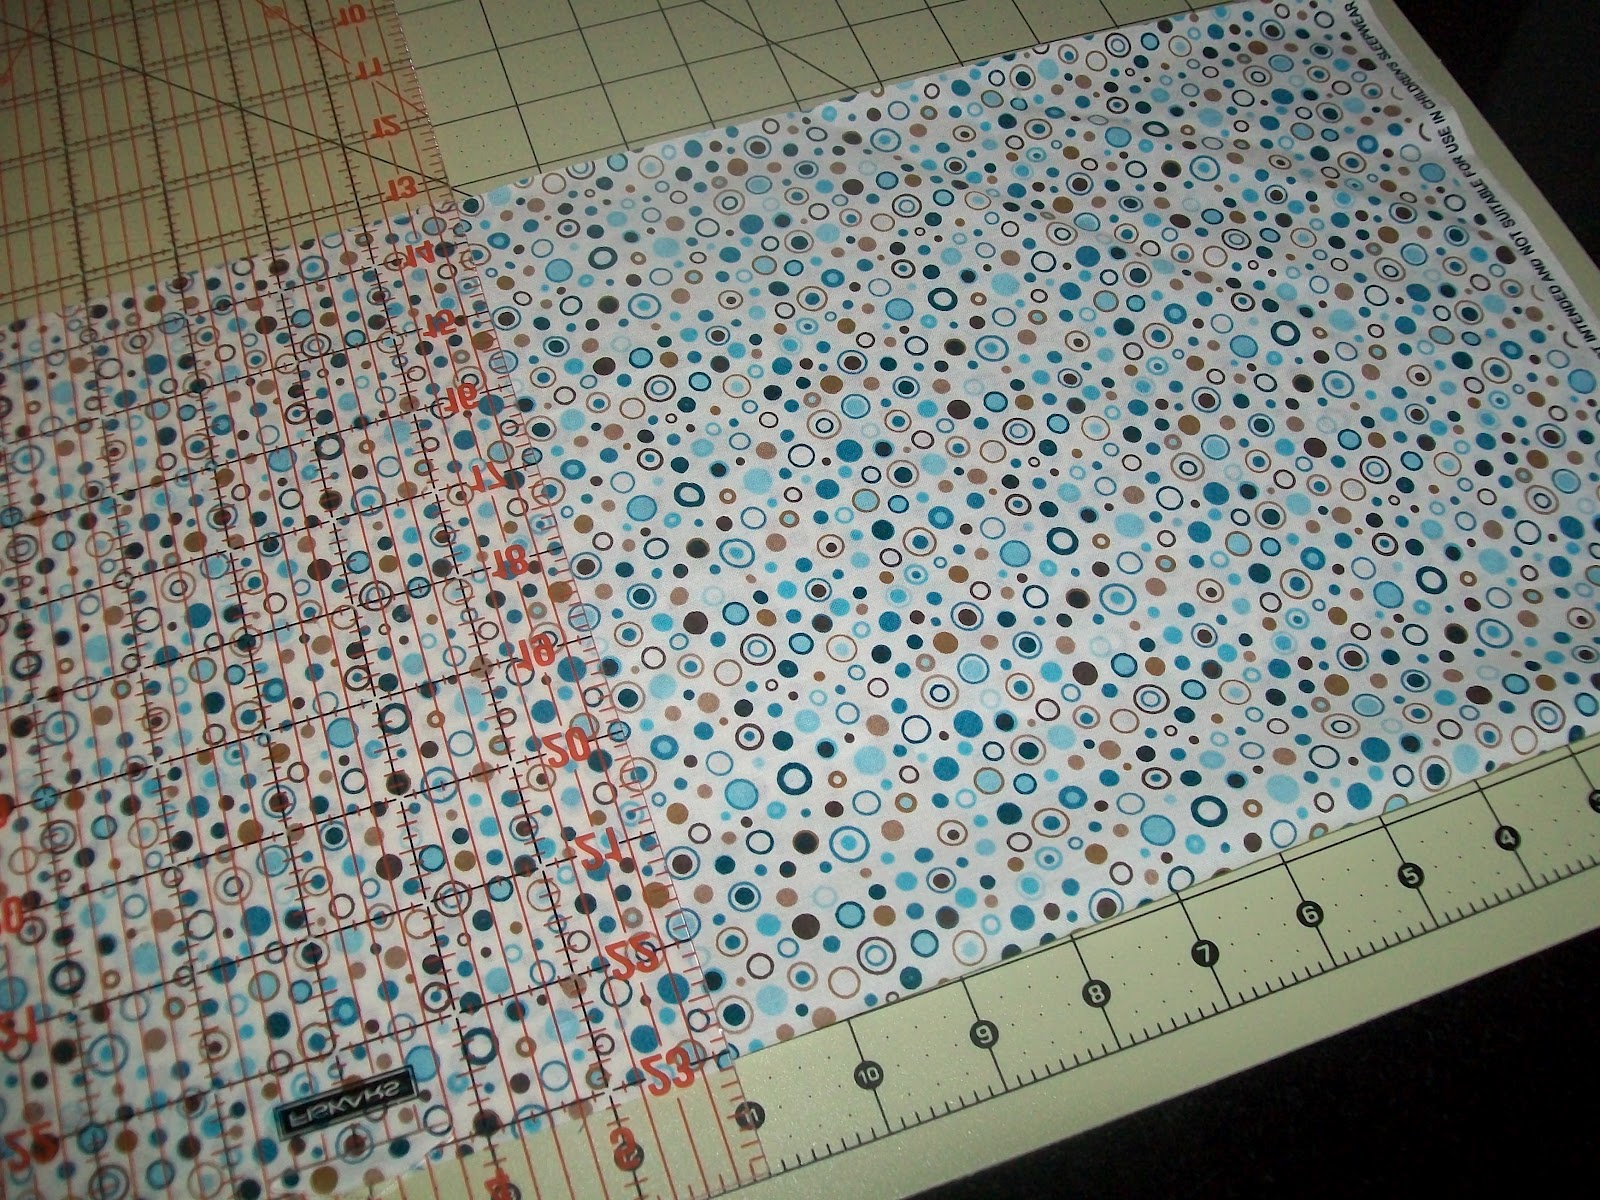
Using a rotary cutter and cutting mat, cut your main fabric 19″ x 33″
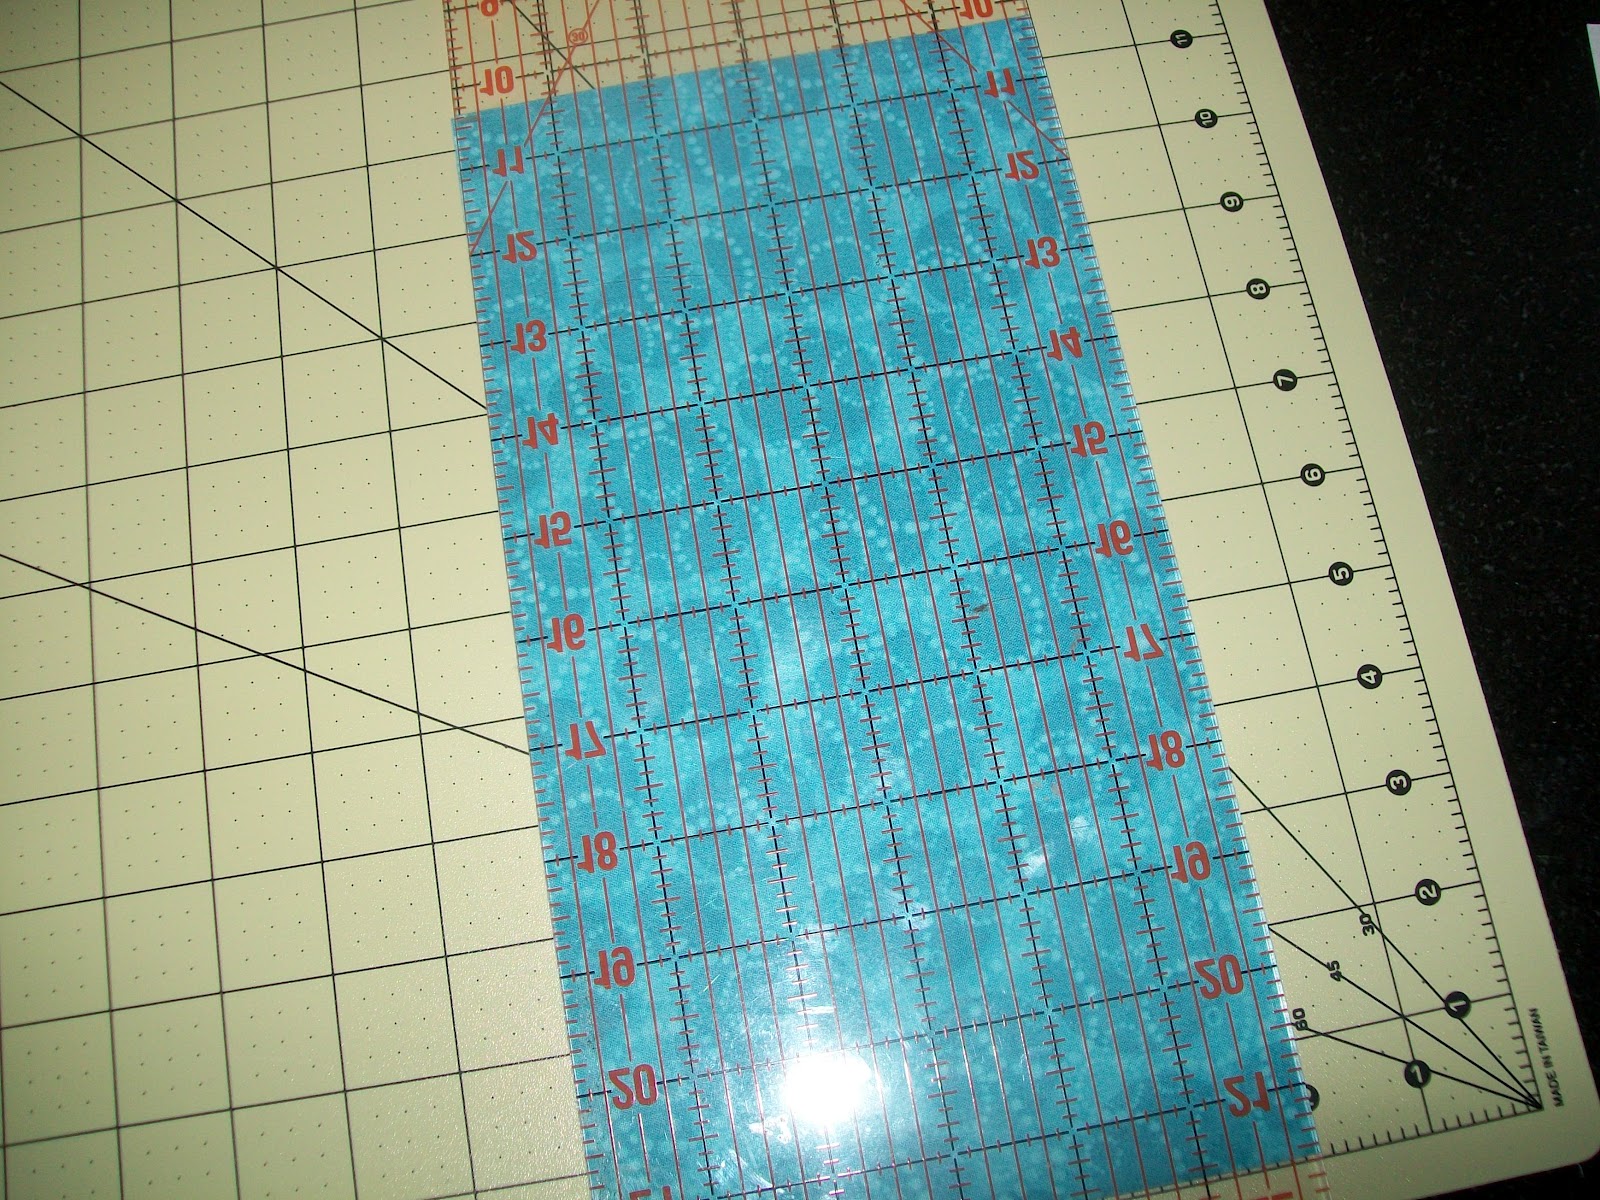
And cut your contrasting 6″ x 33″ (a tip: the quilting straight edge strip guide is exactly 6″ wide!)
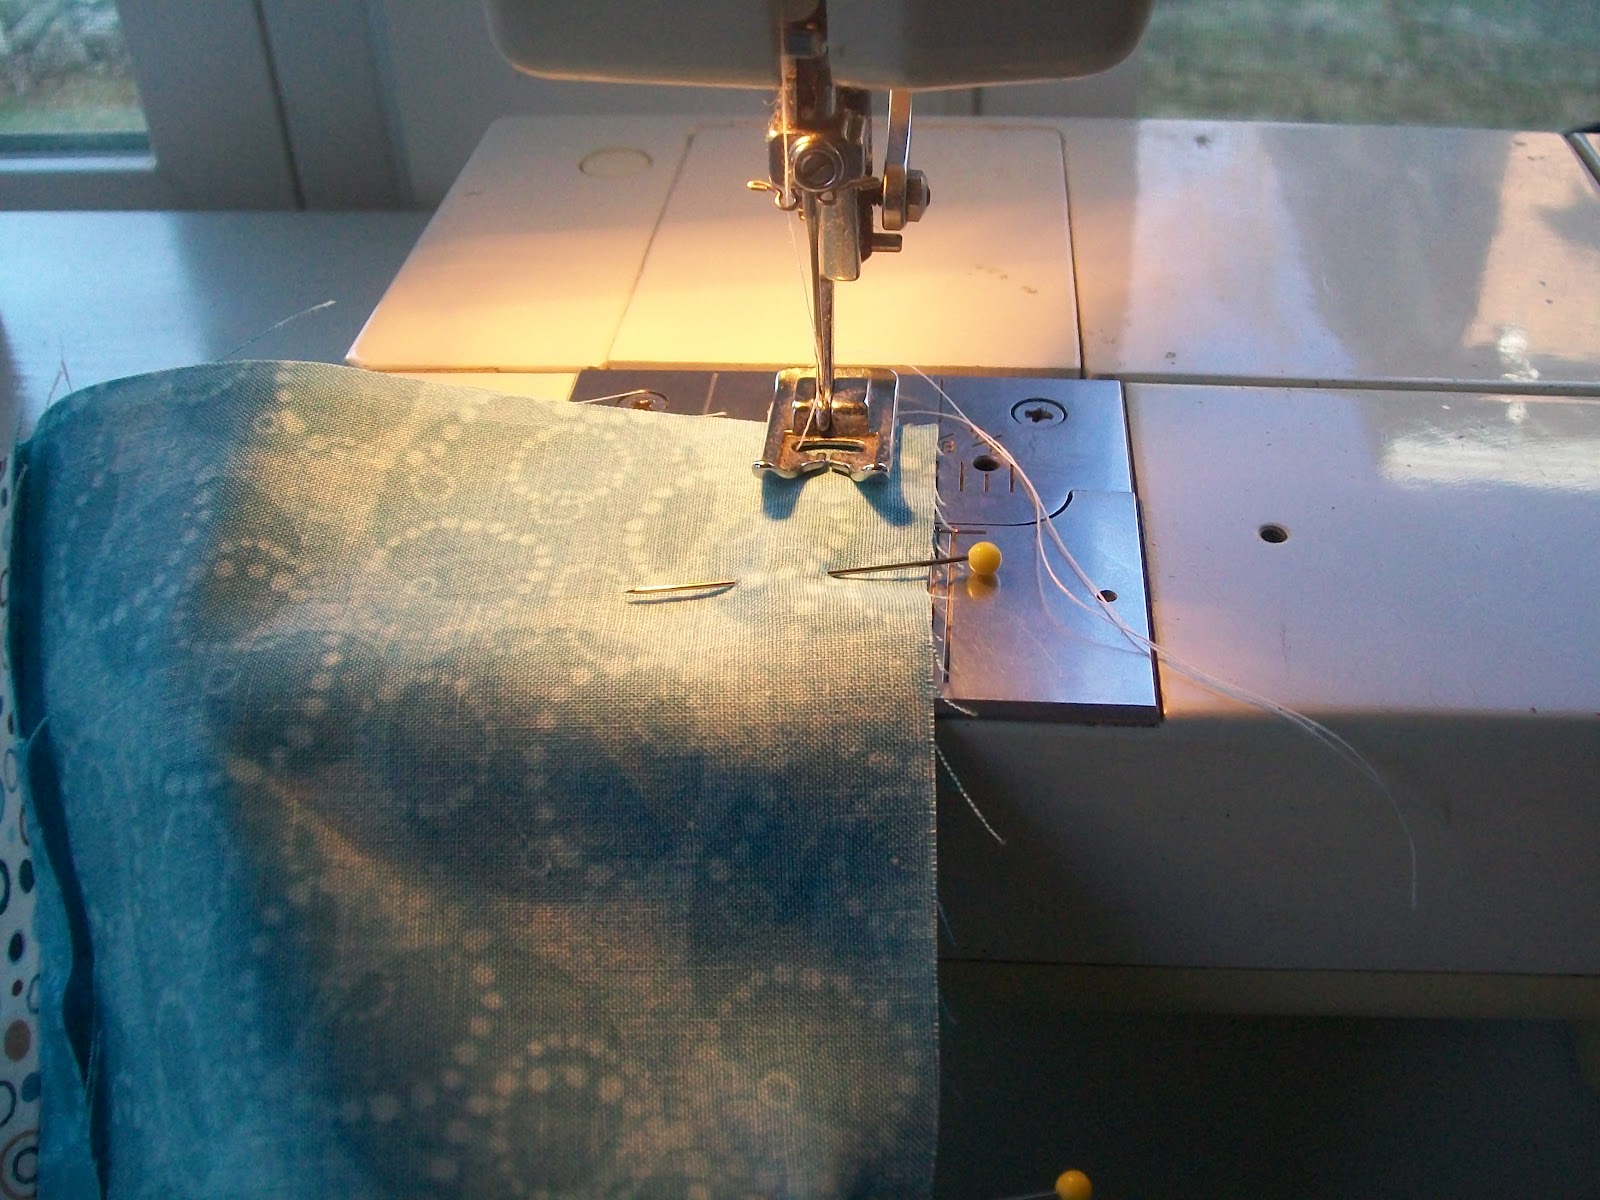
Iron your pieces to make sure they are smooth and flat. With right sides facing each other, pin the two pieces of fabric together along the long edge. Sew them together with a 5/8″ seam allowance.

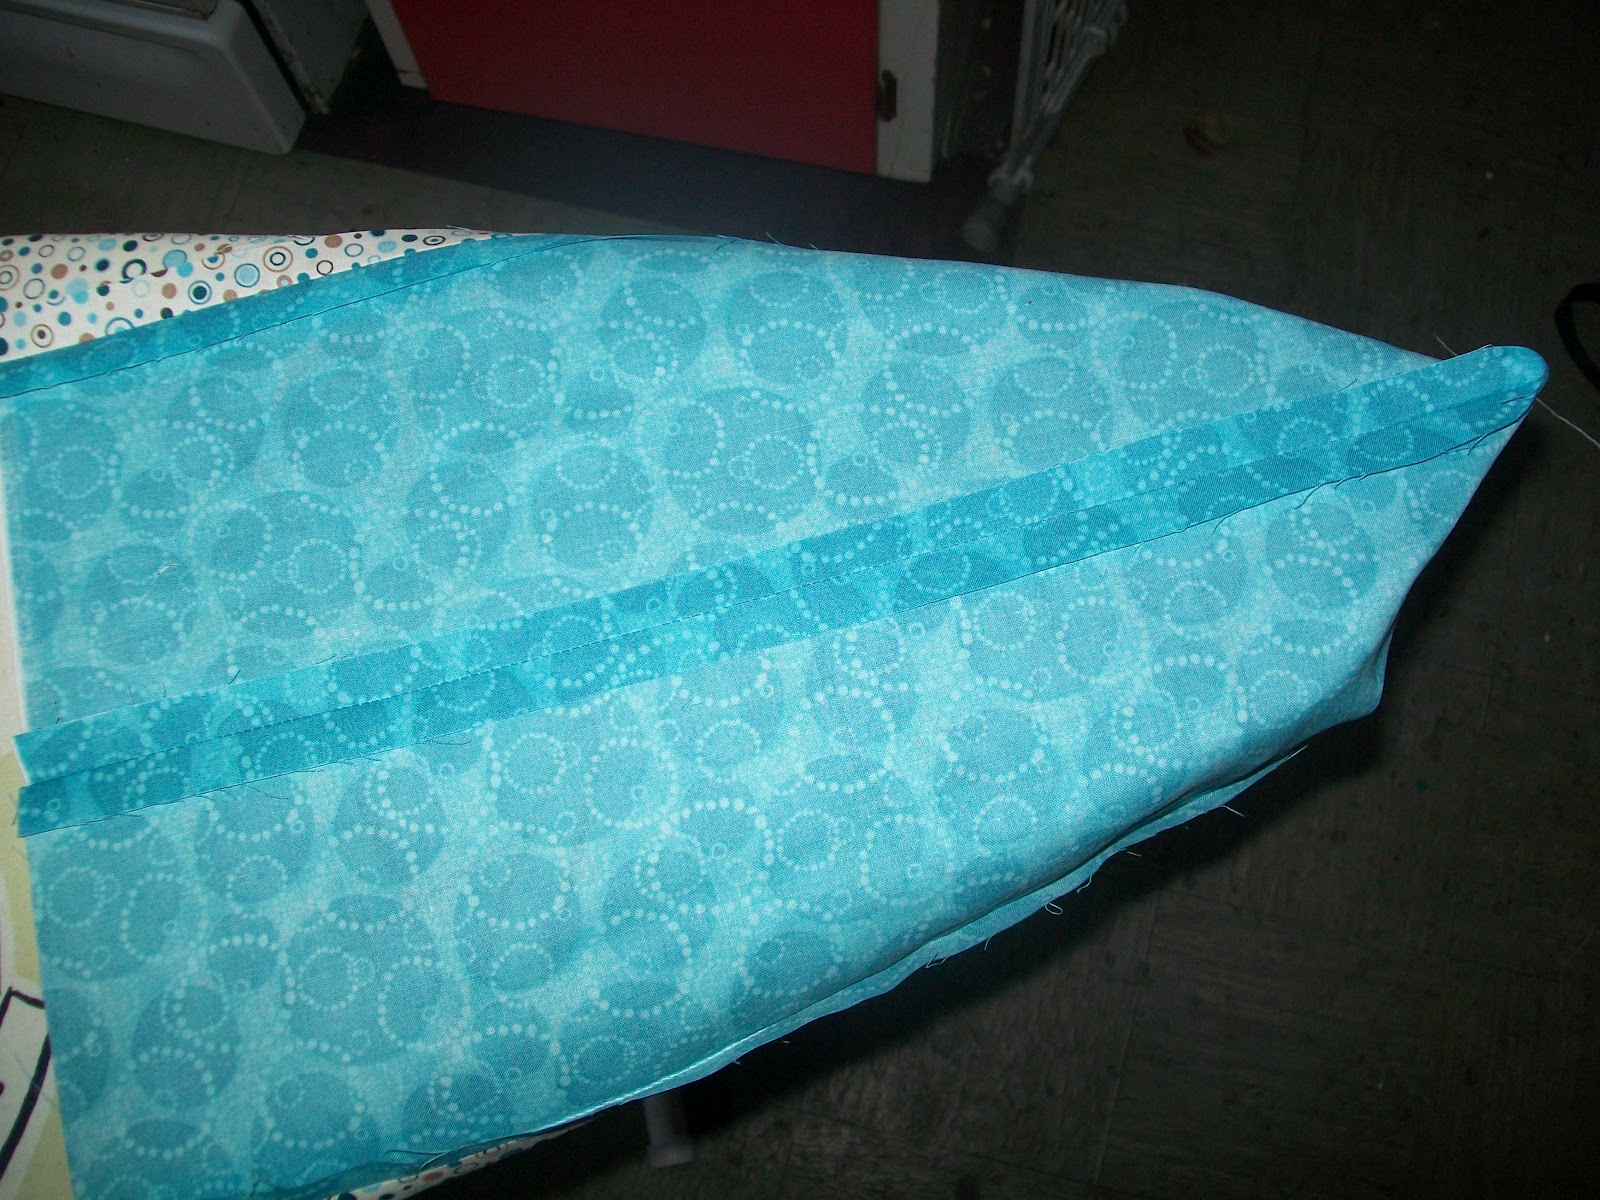
With a hot iron, press your seam open (pressing your seams makes everything lay much flatter)

Now try the best you can to press this two seams you just sewed open and flat.
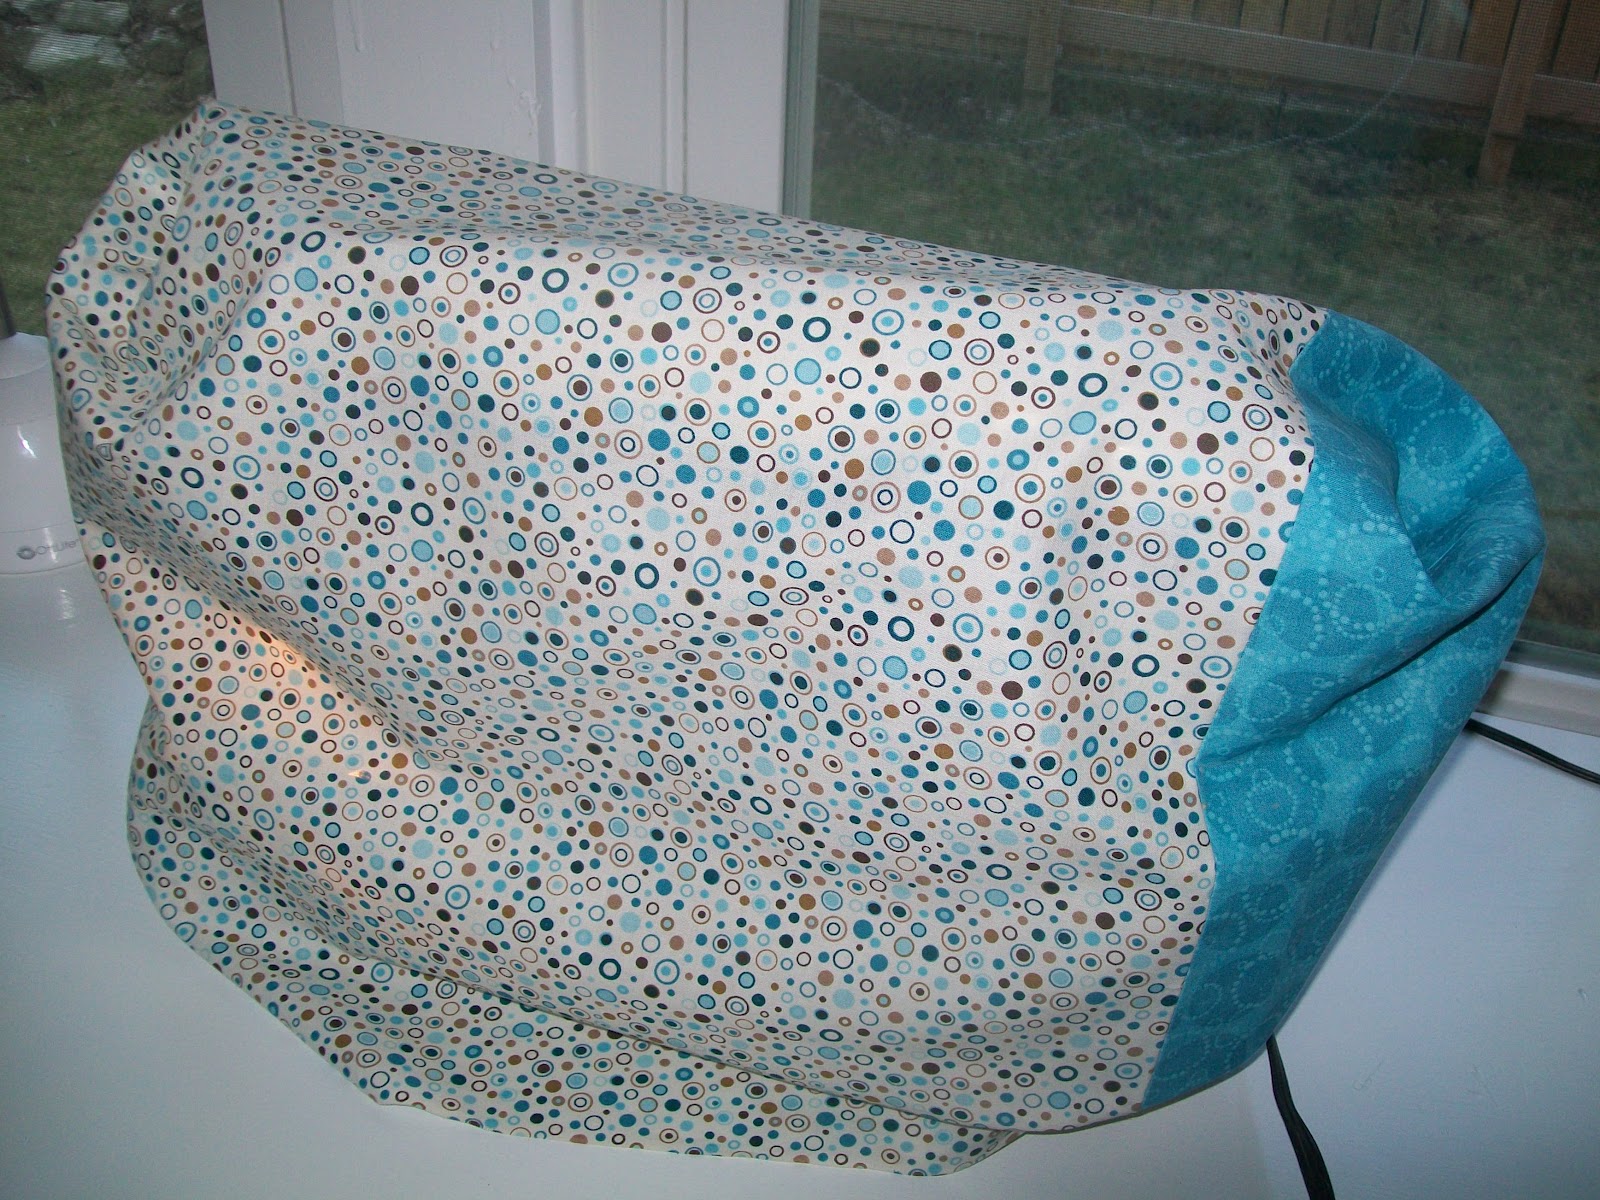
If you turn your cover right side out, you will find it looks somewhat like a pillow case. Then, if you put it on your sewing machine, it looks pretty sloppy but it should fit fairly well around the base of your machine.
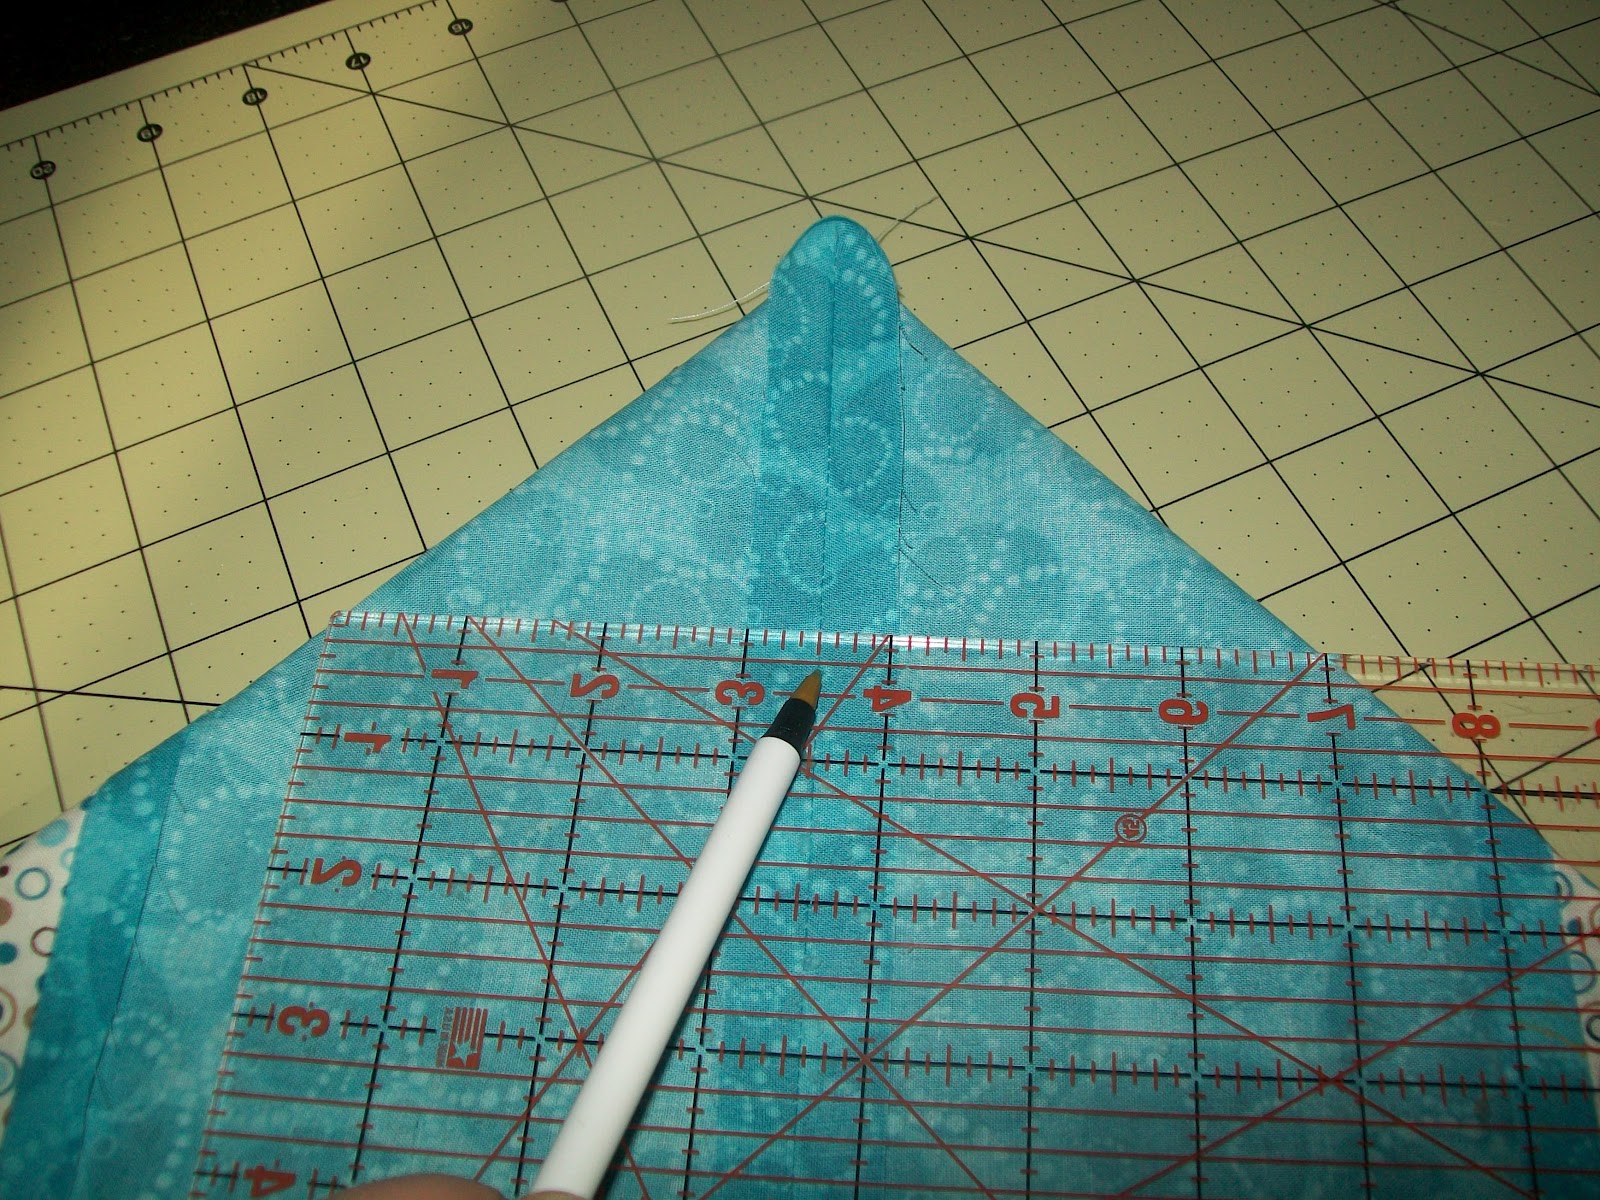
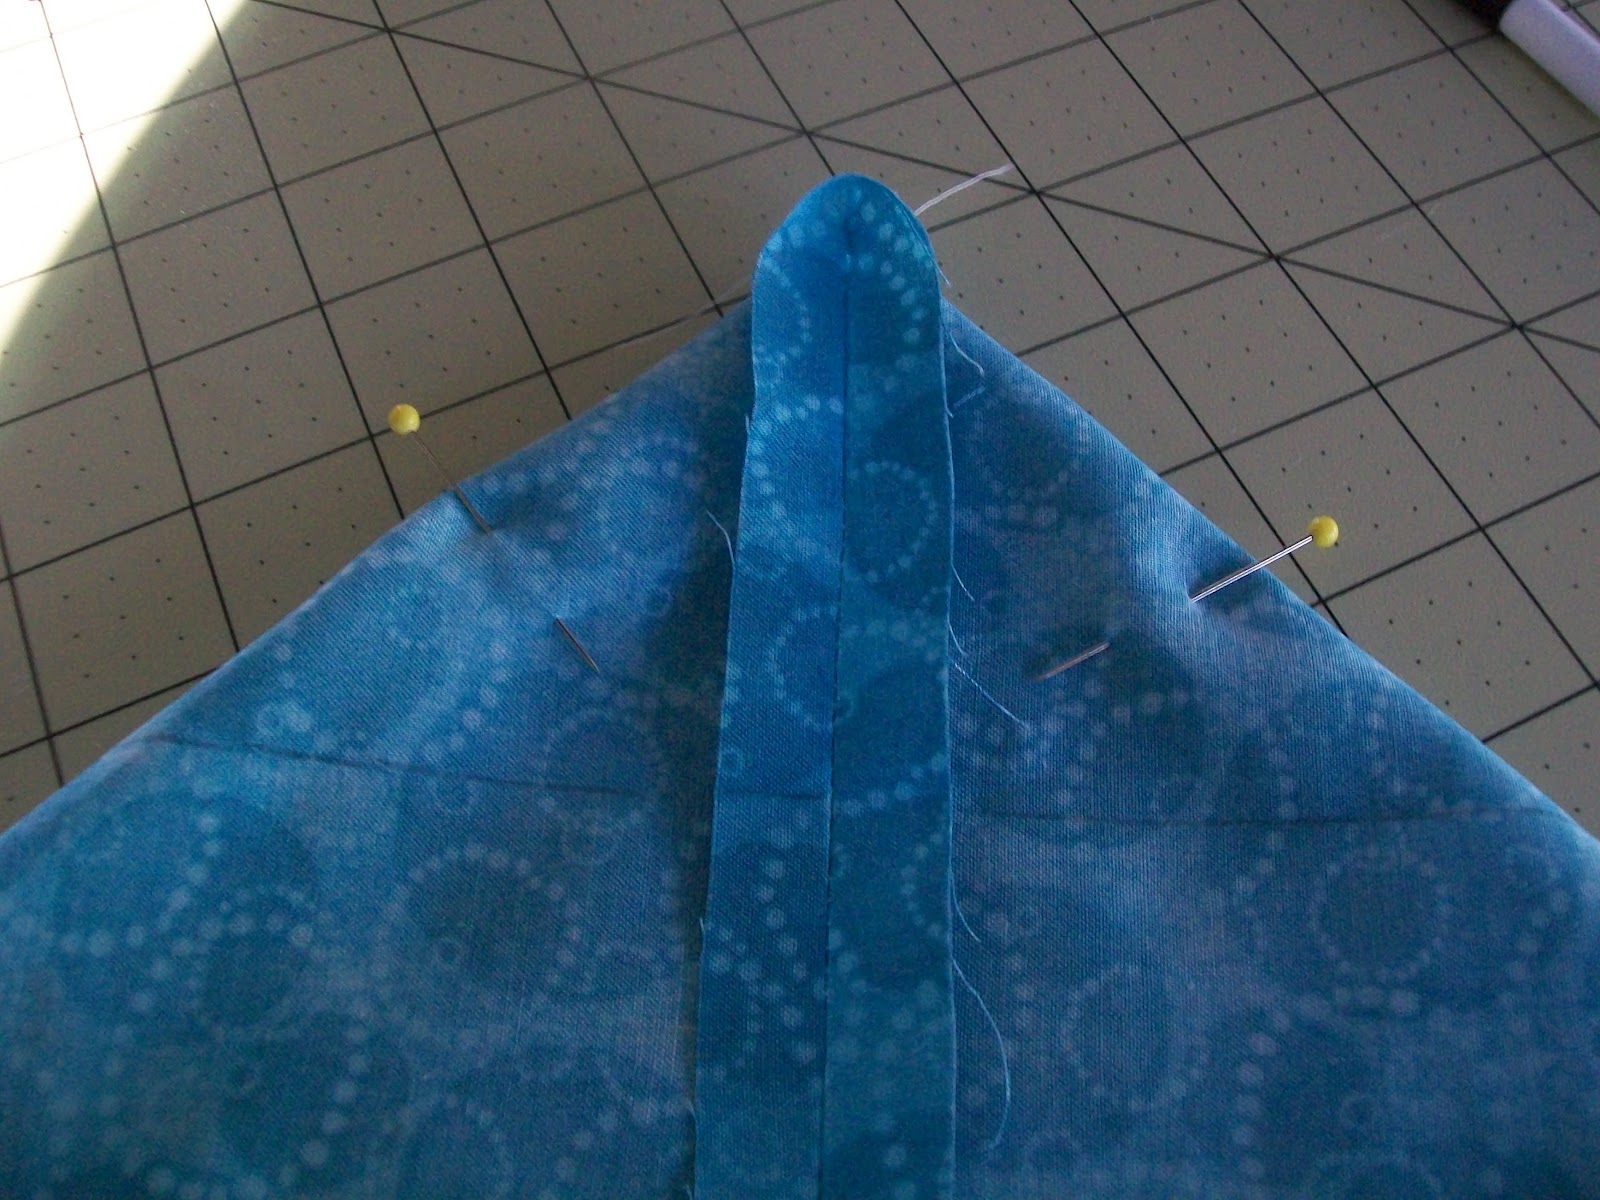
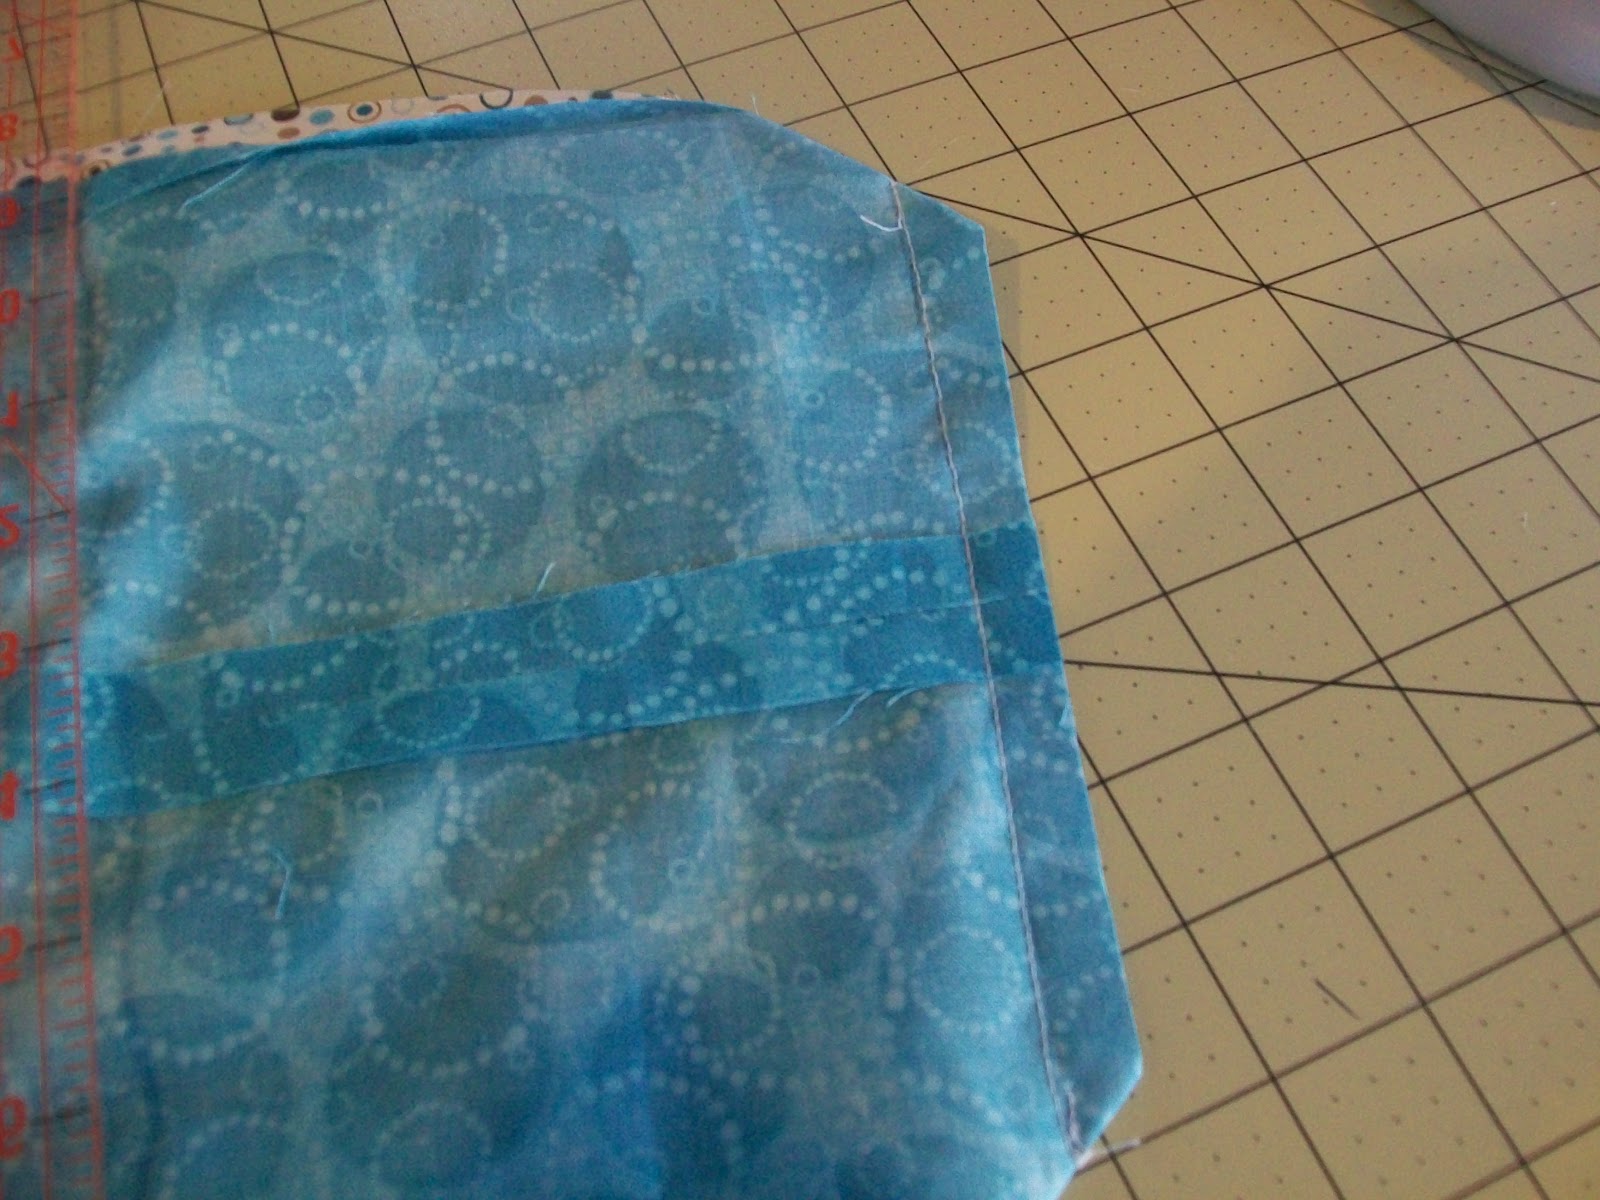
Don’t worry, we’re going to fix the sloppiness. Turn your cover inside out. Now you are going to position your fabric so that one of your end seams is coming down the middle: you will find the seam ends in a point at the top. Then, using your quilting ruler, position it so that the seam lines up at 3 1/2 inches with a total distance from end to end of your fabric is 7 inches. Draw a line.
Place 2 or more pins in the “triangle area” to hold the fabric in place
The line you drew is your stitching line. Move your fabric to your machine and stitch along your drawn line. Repeat for the other side. Turn your cover right side out and see how it fit. Much neater, now, isn’t it?
Along the bottom edge, turn up the raw edge 1″ (wrong sides together) and press.
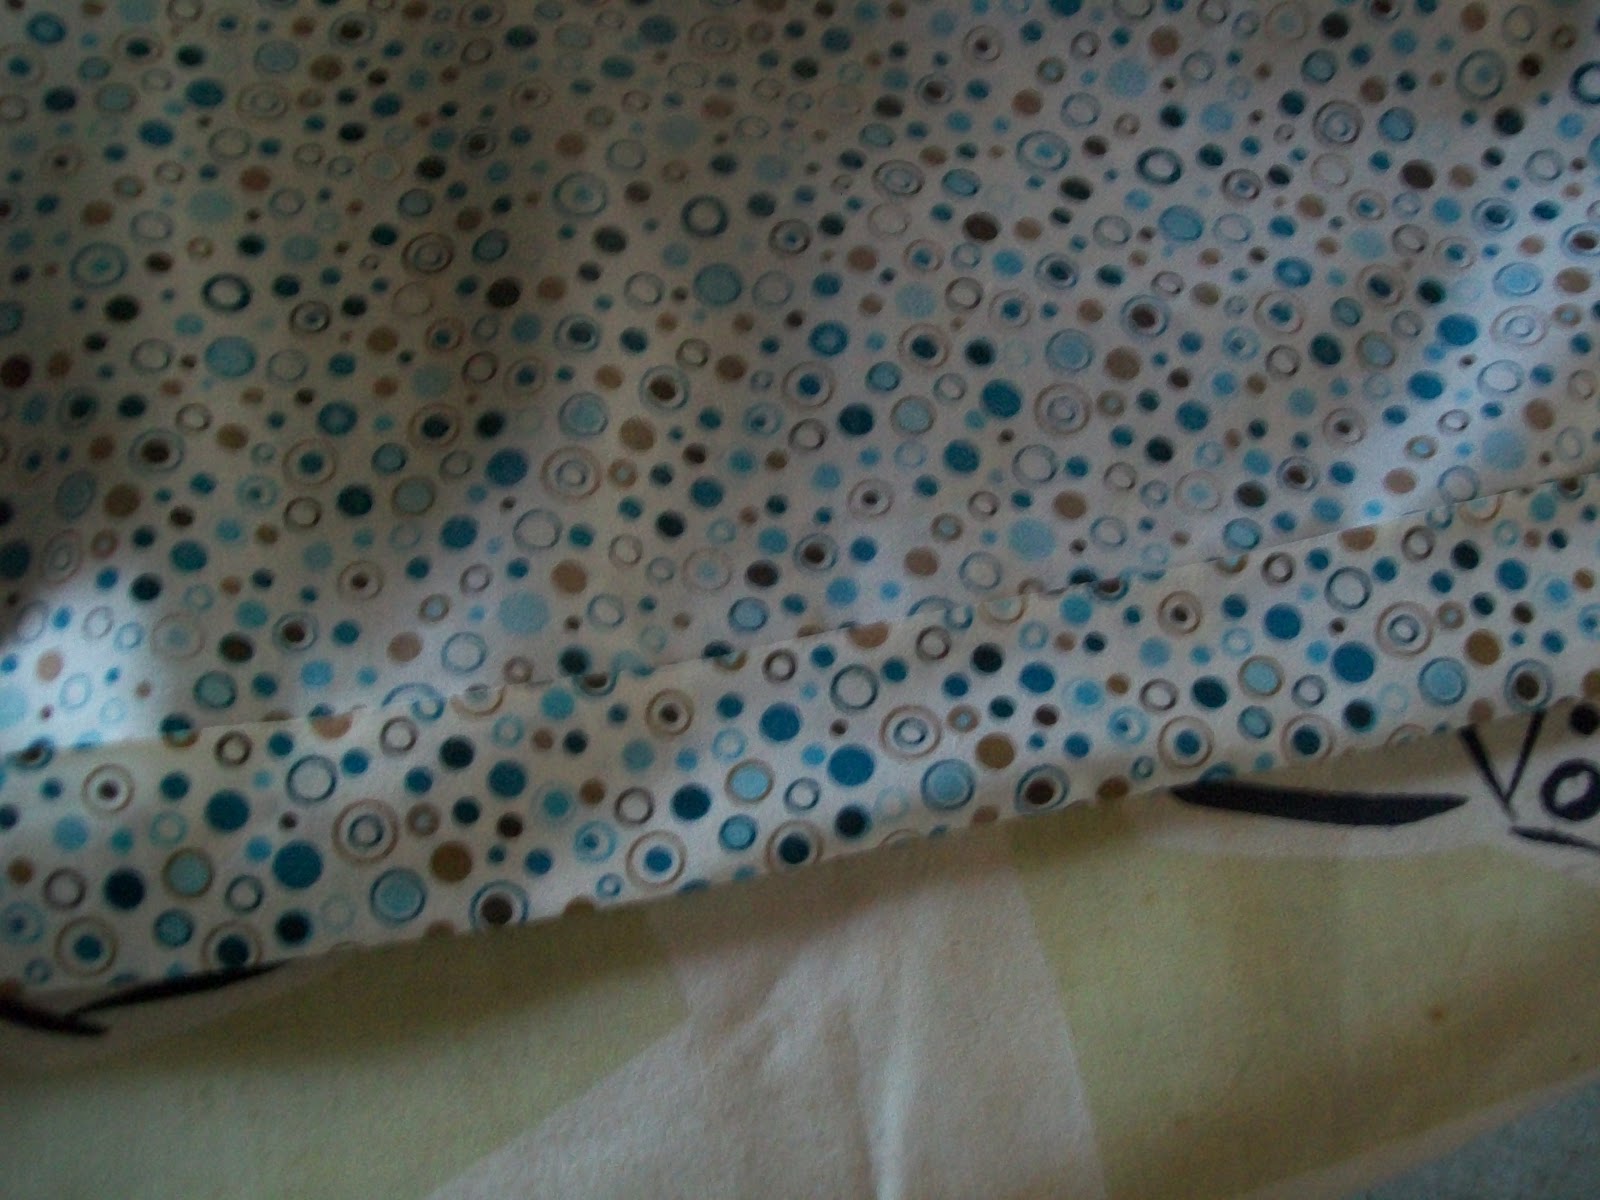
Hold this pressed seam in place with pins and sew this bottom edge. Turn right side out and “Yea,” you’ve just made a sewing machine cover!

4you
Thanks for sharing! I need to make one of these for my machine!!
I need to make one of these! I love the fabric!
-Melissa
great tutorial, I’m going to make one too!
This is a great tut. I have a coverless sewing machine and this is just what I need. Saw you via Serendipity and Spice.
It turned out awesome Marilyn! Thanks so much for at this weeks Tutorial Tuesday I need to get started on making one of these for my own sewing machine!
Kari
Newlyweds on a Budget!
This looks great! I really need to get on this and make my own! I love it! Thanks so much for linking up at the Naturall-Nifty Party! I would love it if you would put our link party button on your blog!
http://www.natural-nester.blogspot.com
This is a great tutorial. Thanks for sharing on the Take it on Tuesday blog hop! I always look forward to what you’ve been doing!
Great job and great tutorial! I think I need to make one for my sewing machine! Visiting from Serendipity and Spice Manic Monday.
This is such a good idea! I really need a cover for mine! Thanks for sharing it with Six Sister’s Stuff Link Party. We hope to see you back next Saturday!
-The Sisters
Such a great tutorial thanks for sharing. i love your fabric choices. I am hosting a link up on my blog today and I would love to have you link this up as well as 2 more from your blog if you would like. here is the link: http://asouthernladysramblings.blogspot.com/2012/02/thursday-link-up.html
Super cute! I wish I had a place I could leave my machine out all the time, but it stays packed away in it’s own case in the closet
That is a smart idea! Thanks for the tutorial! Thanks for sharing this as well at Thursday’s Temptation.
Jill
This is definitely on my to do list! I hope you can swing by and link up this week!! Xoxo Debbie at inspiredhoneybee.blogspot.com
My machine could use a nice cover! Thanks for sharing your process!
Way more fun than just a big ugly plastic box! Great idea!
Melody
Great tutorial! I should probably put something on mine, but I never do. I use it at least every other day, so I don’t bother. Maybe if I made a cute cover, though….
Thanks for linking up to I Made It! Monday. Can’t wait to see what you share this week.
Thanks for the great tutorial! I really need to make one of these for my machine. Thanks so much for sharing with us at Link It Up Thursday.
Thanks for this tutorial. I need to do one for my serger… Happy to have you at Things I’ve Done Thursday! http://www.bearrabbitbear.com
Love the sewing machine cover!! I would love it if you linked up at my party going on now! (It’s my very first one!!)
Jill
http://www.jillifyit.com
Cuteness!! I want one for my machine (that I recently dusted off and put in my craft room!)
I’ll be featuring you later today! Thanks so much for linking up!
Thanks for linking up to my party at Jillify It!
Jill
http://www.jillifyit.com
Cute idea! We loved having you join us at “Strut Your Stuff Saturday.” We hope you’ll be back next week! -The Sisters
Wonderful project! Thanks for linking up over at Craft Junkie Too — it is one of our Featured Favorites this week:)
Here is the link ot check it out and you can grab the featured me button if you would like.
Thanks and have a great week-end!
Tracy
http://www.craftjunkietoo.com/2012/03/tgif-linky-party-47.html