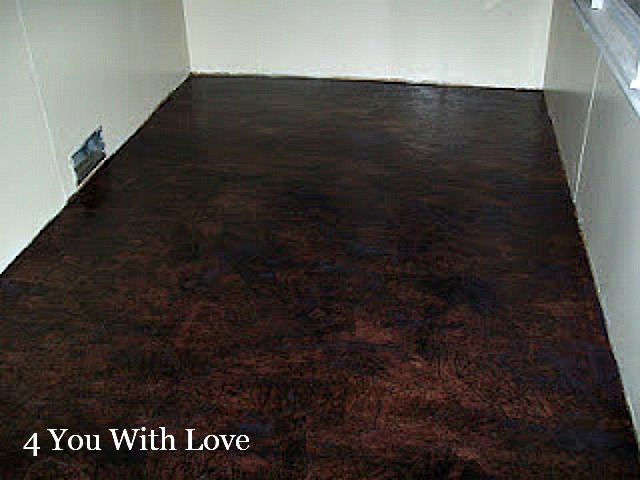
As you may recall from my Woman Cave project, I am a big believer in doing trial or test boards. You can see my original trial board journey here. I’m so glad I did this trial because the end result was this floor
The floor in my half bath (under the stairs) desperately needs some help. I think it might be cool do to this same technique but use either navy or black RIT dye. Yes, it’s sample board time again. I did four boards.
- Used glue/water mixture and once dried painted on navy RIT dye. Then applied 2 coats of polyurethane.
- Use glue/water/navy RIT dye mixture. When dry, applied 2 coats of polyurethane.
- Used glue/water mixture and once dried painted on black RIT dye. Then applied 2 coats of polyurethane.
- Use glue/water/black RIT dye mixture. When dry, applied 2 coats of polyurethane.
Here’s the results!
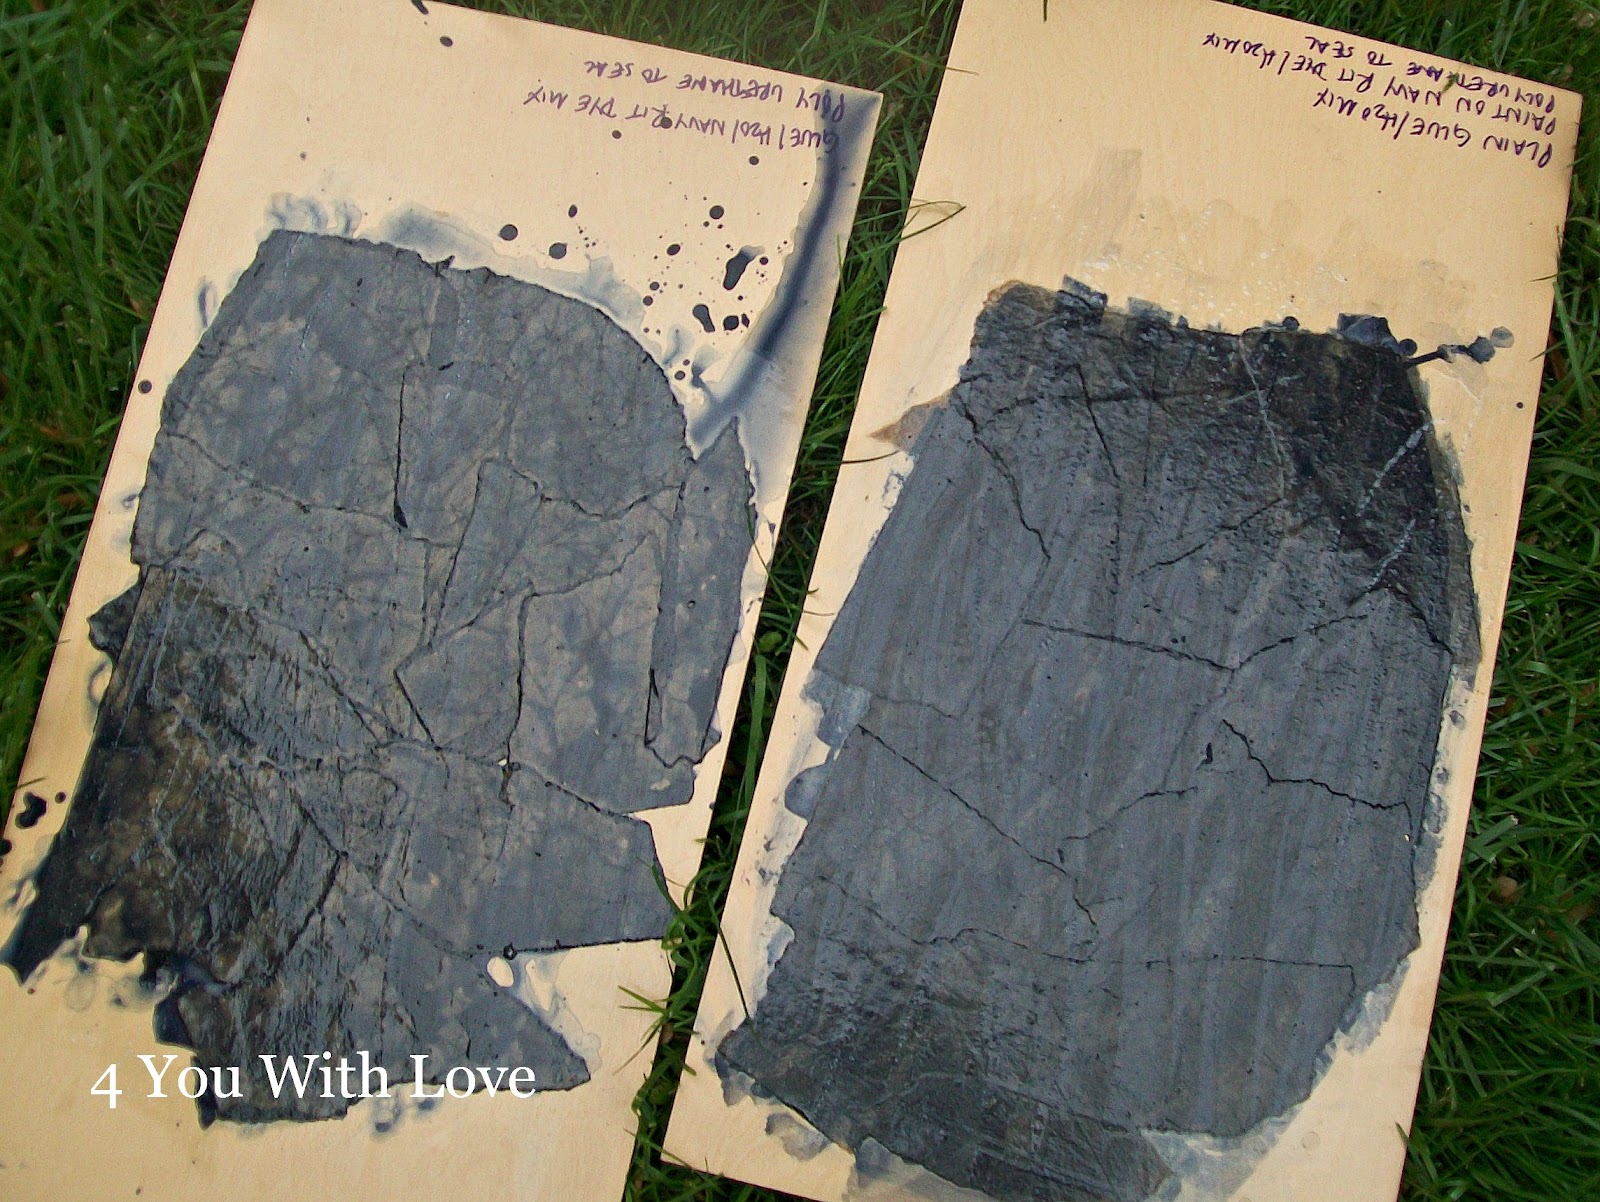
Navy RIT dye. The left is the glue/water/dye mix and the right is the glue/water mix with the dye painted on later.
Black RIT dye. The left is the glue/water/dye mix and the right is the glue/water mix with the dye painted on later.
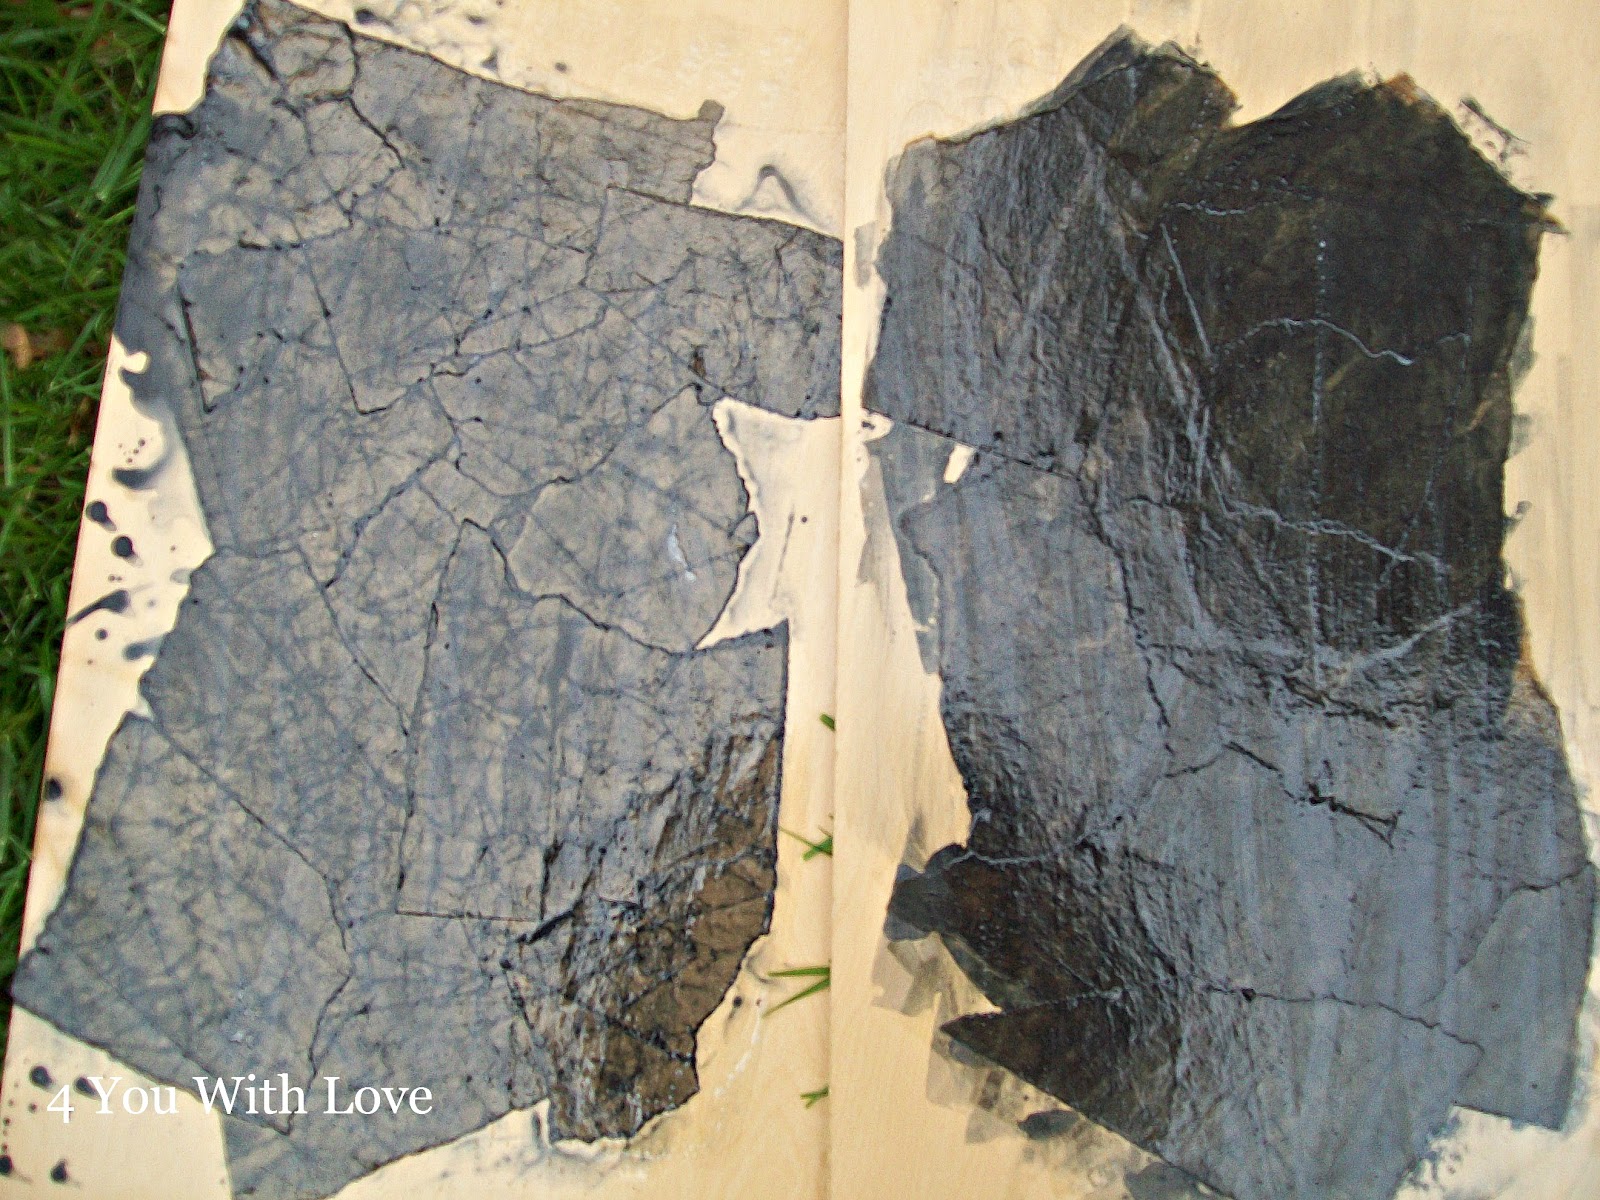
I like how the veining shows through when the dye is added to the water/glue mixture. Although there is very little difference between the navy and black boards, I am leaning toward black. I think having a black “leather” floor could look sharp. What do you think?
4you
I personally think the navy looks good Marilyn although a black leather-look floor would be great. I loved this technique.
Anne xx
You’re so great with your test boards…definitely the smart way to go about a project. I like the black option too!!
I think that they both look good, but the black would match the counter top where the sink is! ????
What a very interesting idea! TFS!!
I want to know how this holds up in your bathroom… I bought everything, but am scared it will come up with all the moisture in the room.