A while back I had a series on making your own dairy products. I shared with you my adventures in making the following:
- Homemade Cultured Buttermilk
- Homemade Sour Cream
- Homemade Fresh Mozzarella (and Ricotta)
- Homemade Ricotta (Microwave)
- Homemade Yogurt Cheese
- Homemade Butter
- Homemade Yogurt
You probably thought my adventures in making dairy products at home was over. Well, I decided to try my hand at making some queso blanco. Let me tell ya, my guys LOVED it. It’s super easy. If you haven’t made cheese before, this is a great one to try. Check it out.
Homemade Queso Blanco
Ingredients:
1 gallon milk (I used whole milk)
1/4 cup distilled white vinegar
salt
Equipment:
Large pot
Candy Thermometer (optional)
Measuring cups
Cheesecloth & string
Colander
Ladle
Kitchen towel/can opener/empty large can (i.e. 28 oz. tomato can), optional
Directions:
In your large pot, pour your gallon of milk. Cook on medium heat until it is close to boiling (DO NOT BOIL). If you are using your candy thermometer, heat your milk to about 180 degrees F.
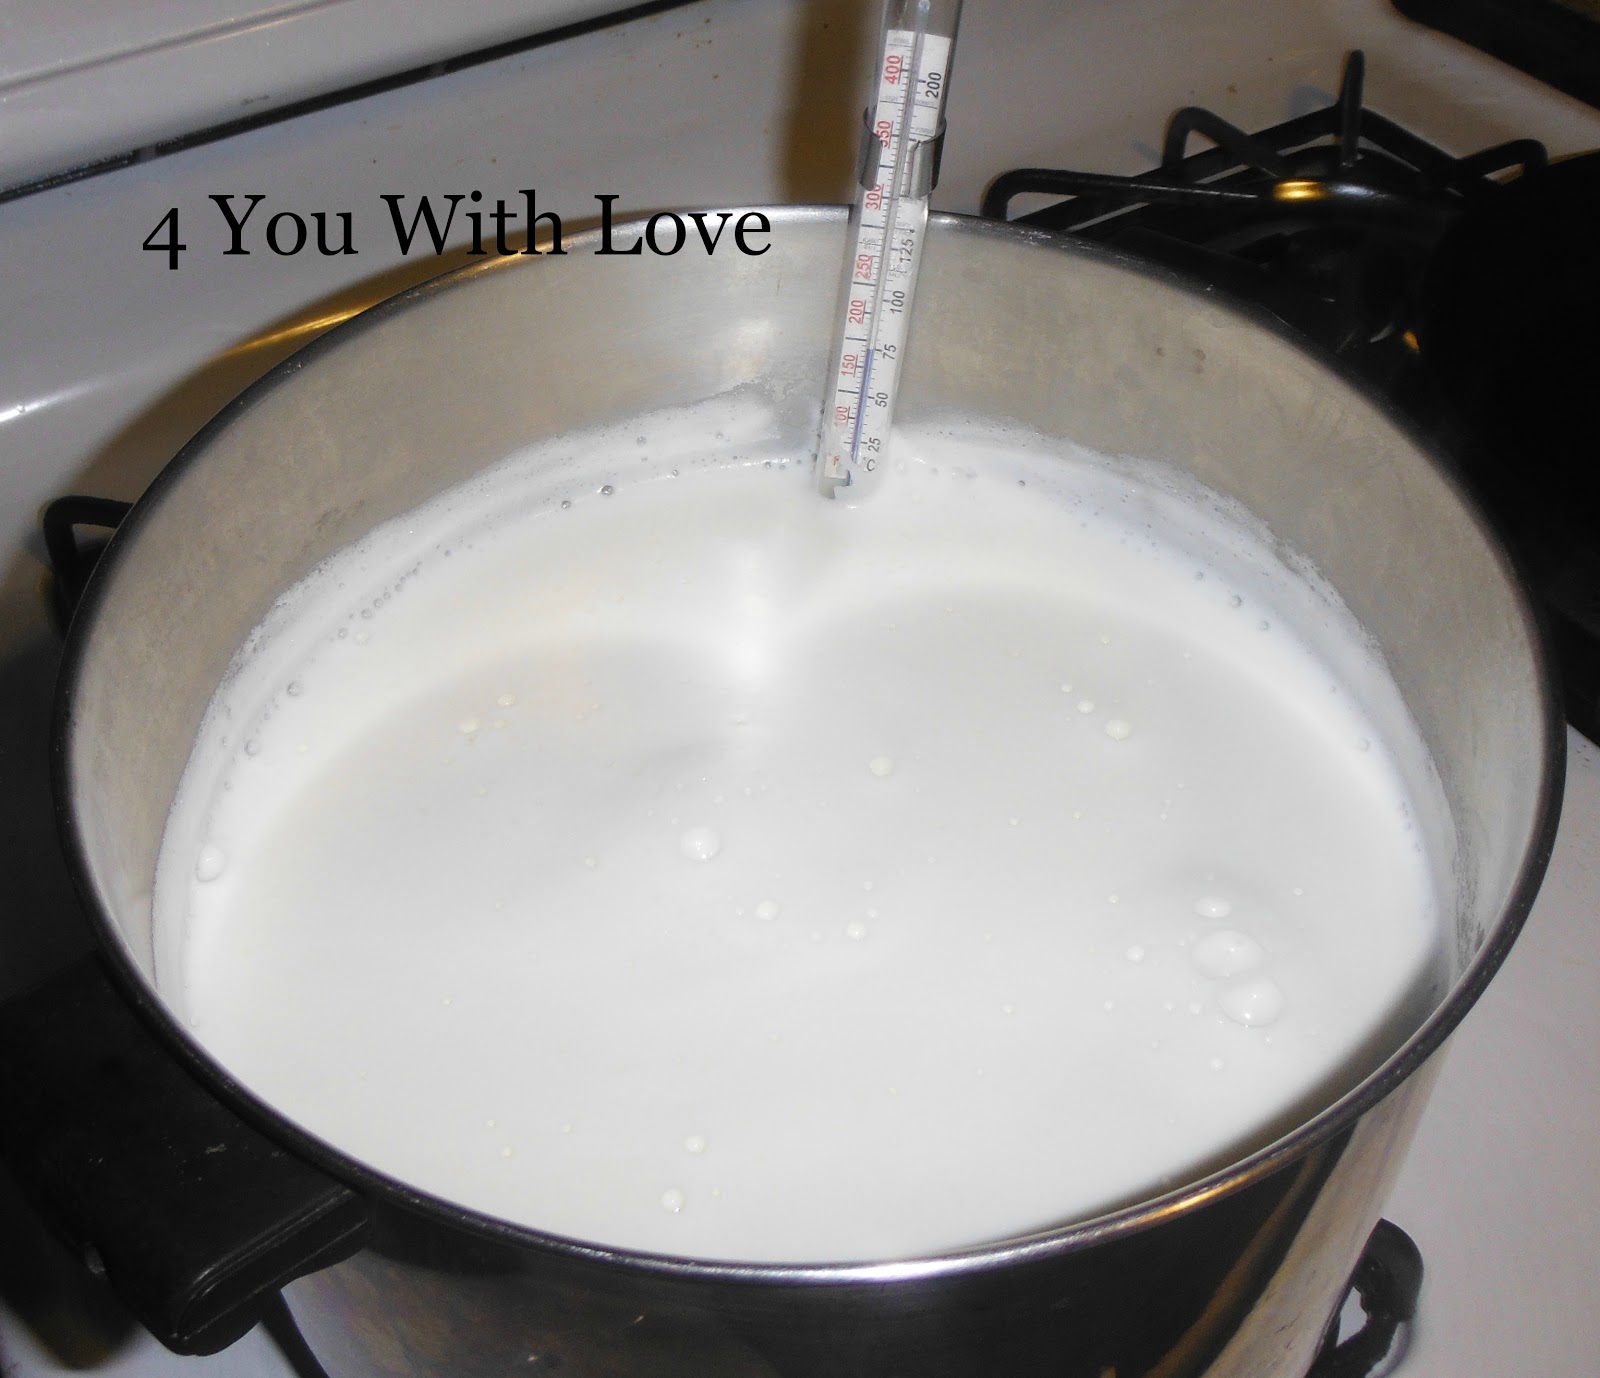
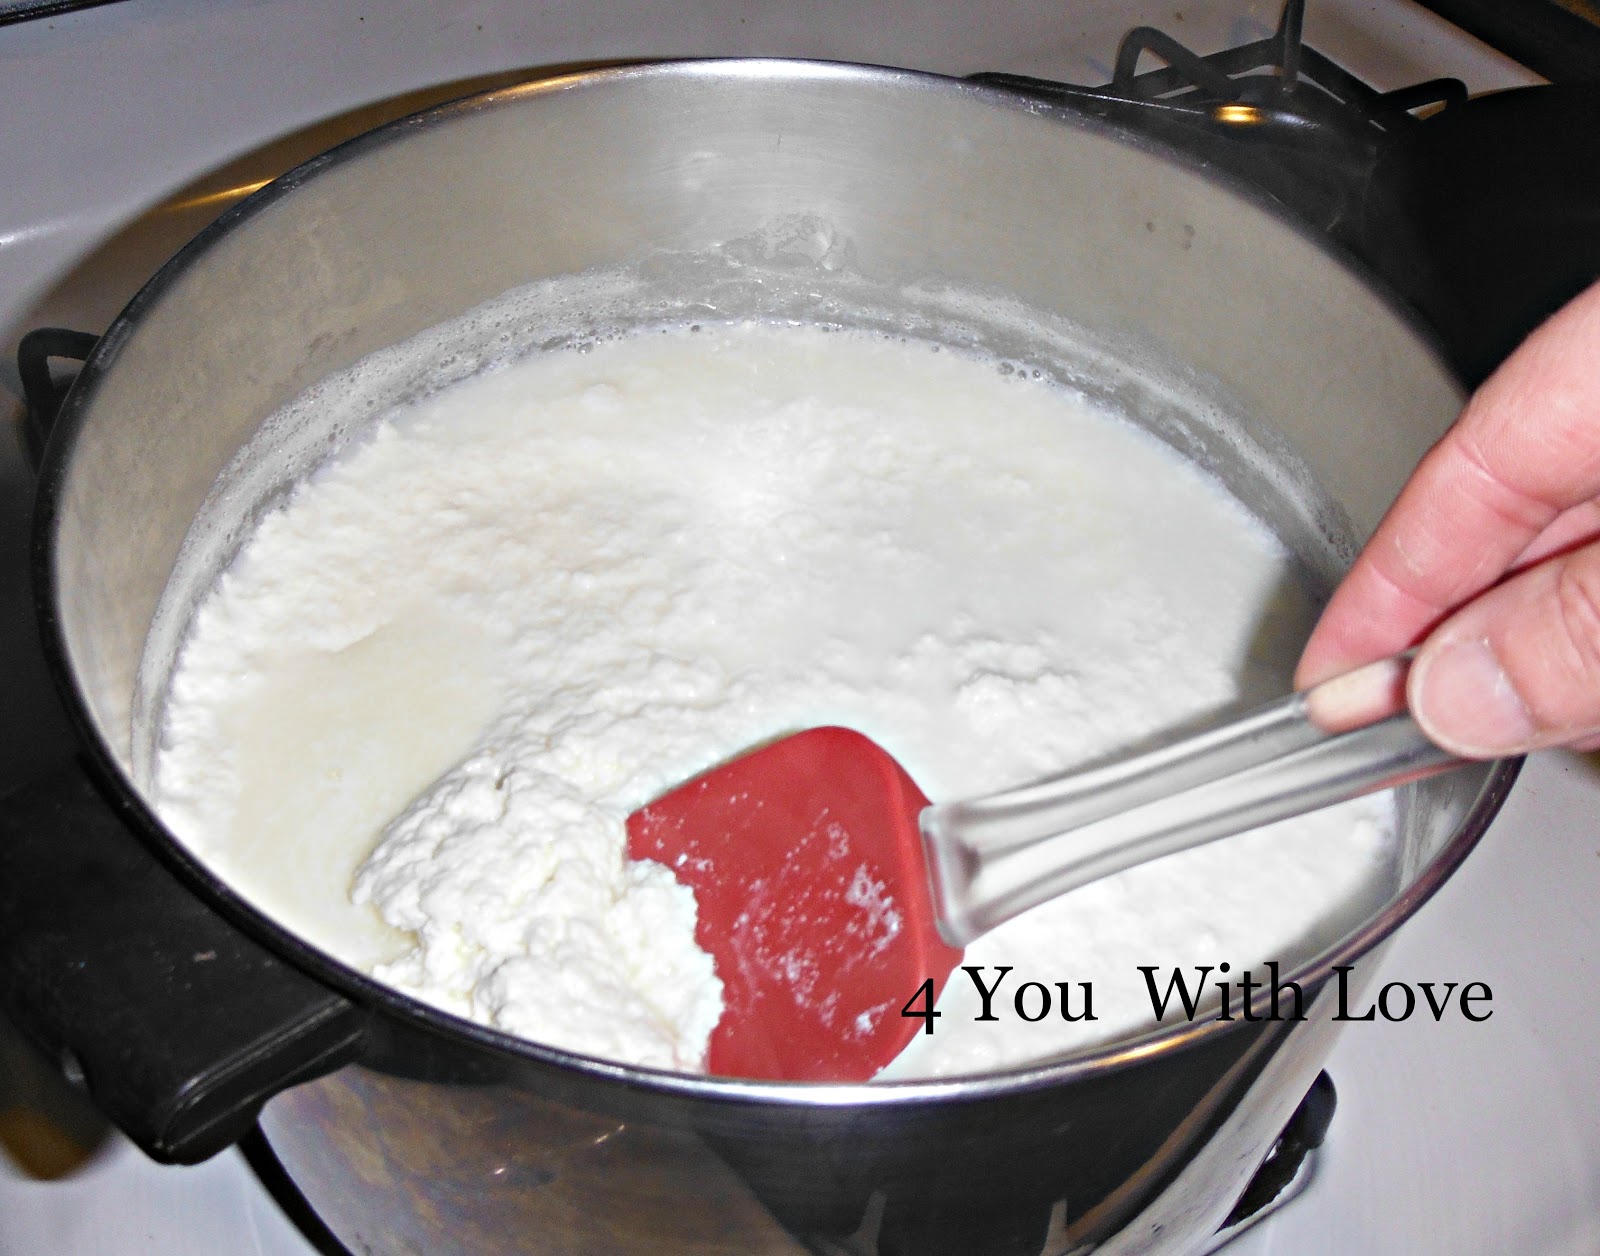
Once your milk is heated, add the vinegar and with the heat still on, cook your milk about another minute, stirring constantly (once again, make sure it does not boil). See how the curds develop? Then turn off the heat.
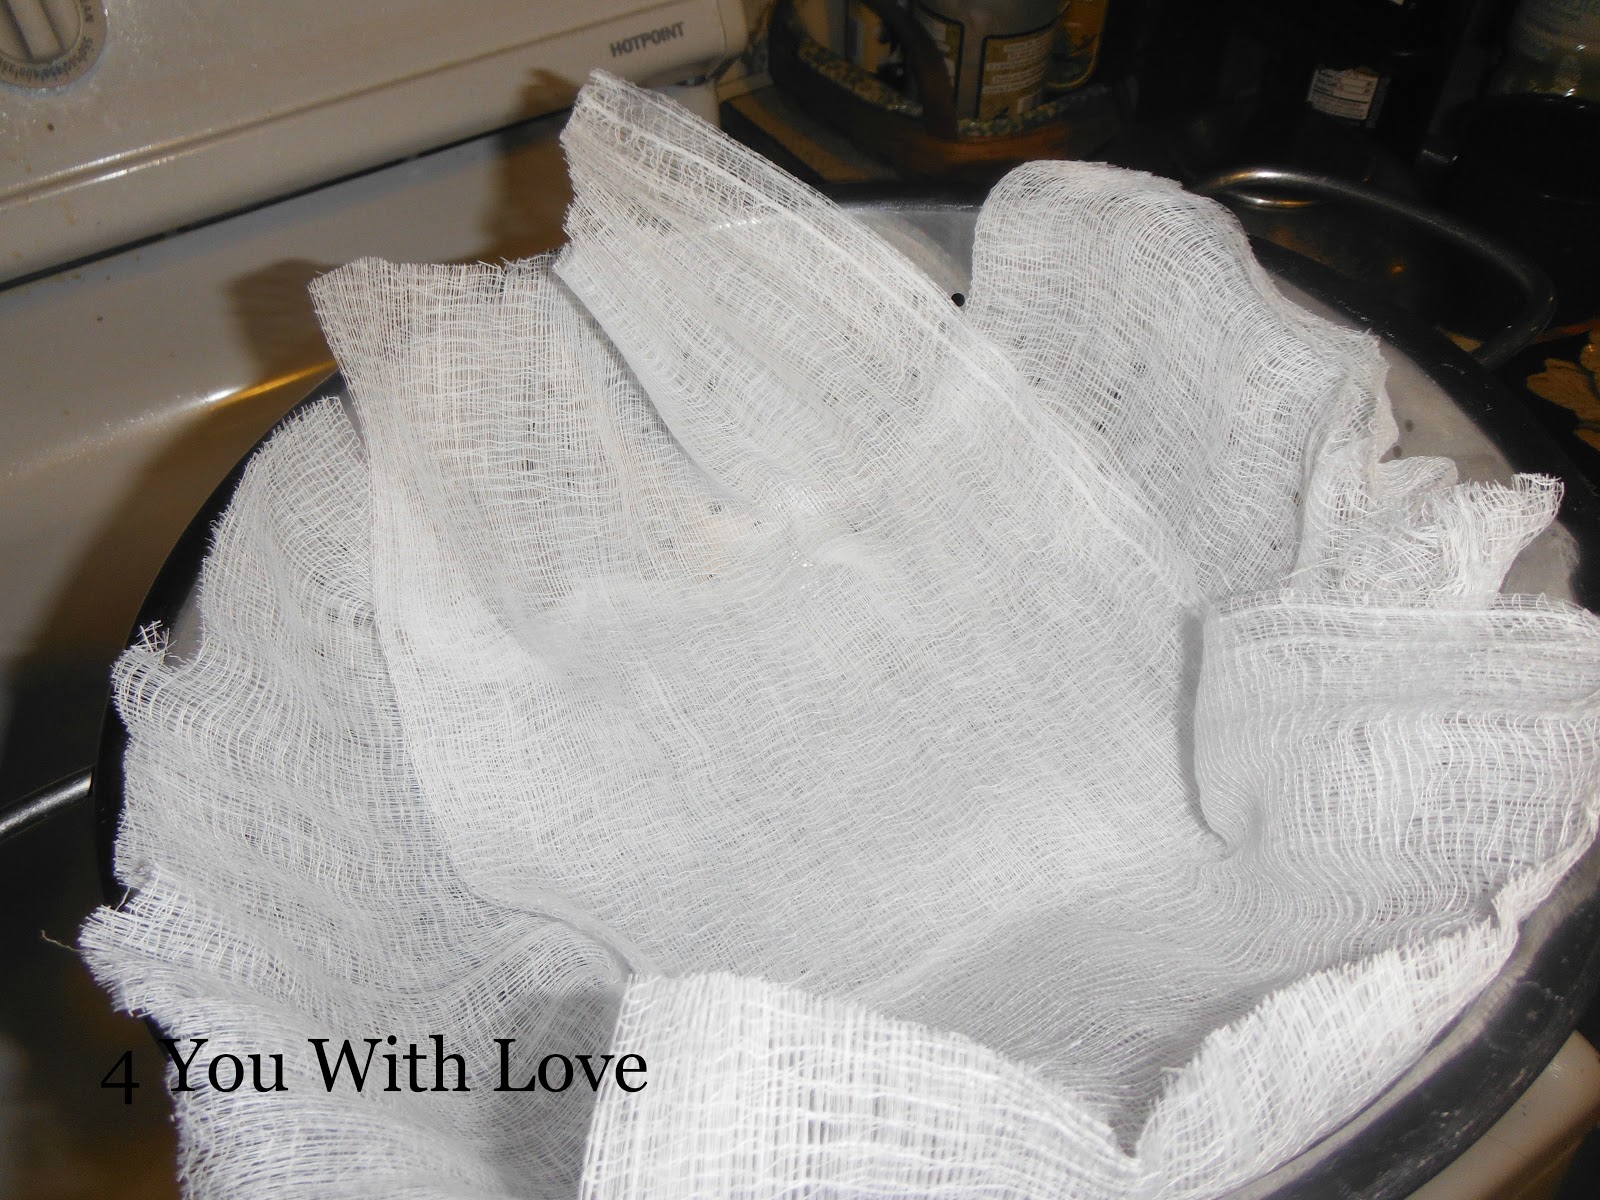
Place your colander over a large bowl and line with cheesecloth.
Ladle your curds into the colander and allow the whey to drain away. There will be a lot of whey so you may need to pour the whey into another bowl/pot. Allow the cheese to drain a bit. Then add some salt at this point, if desired.
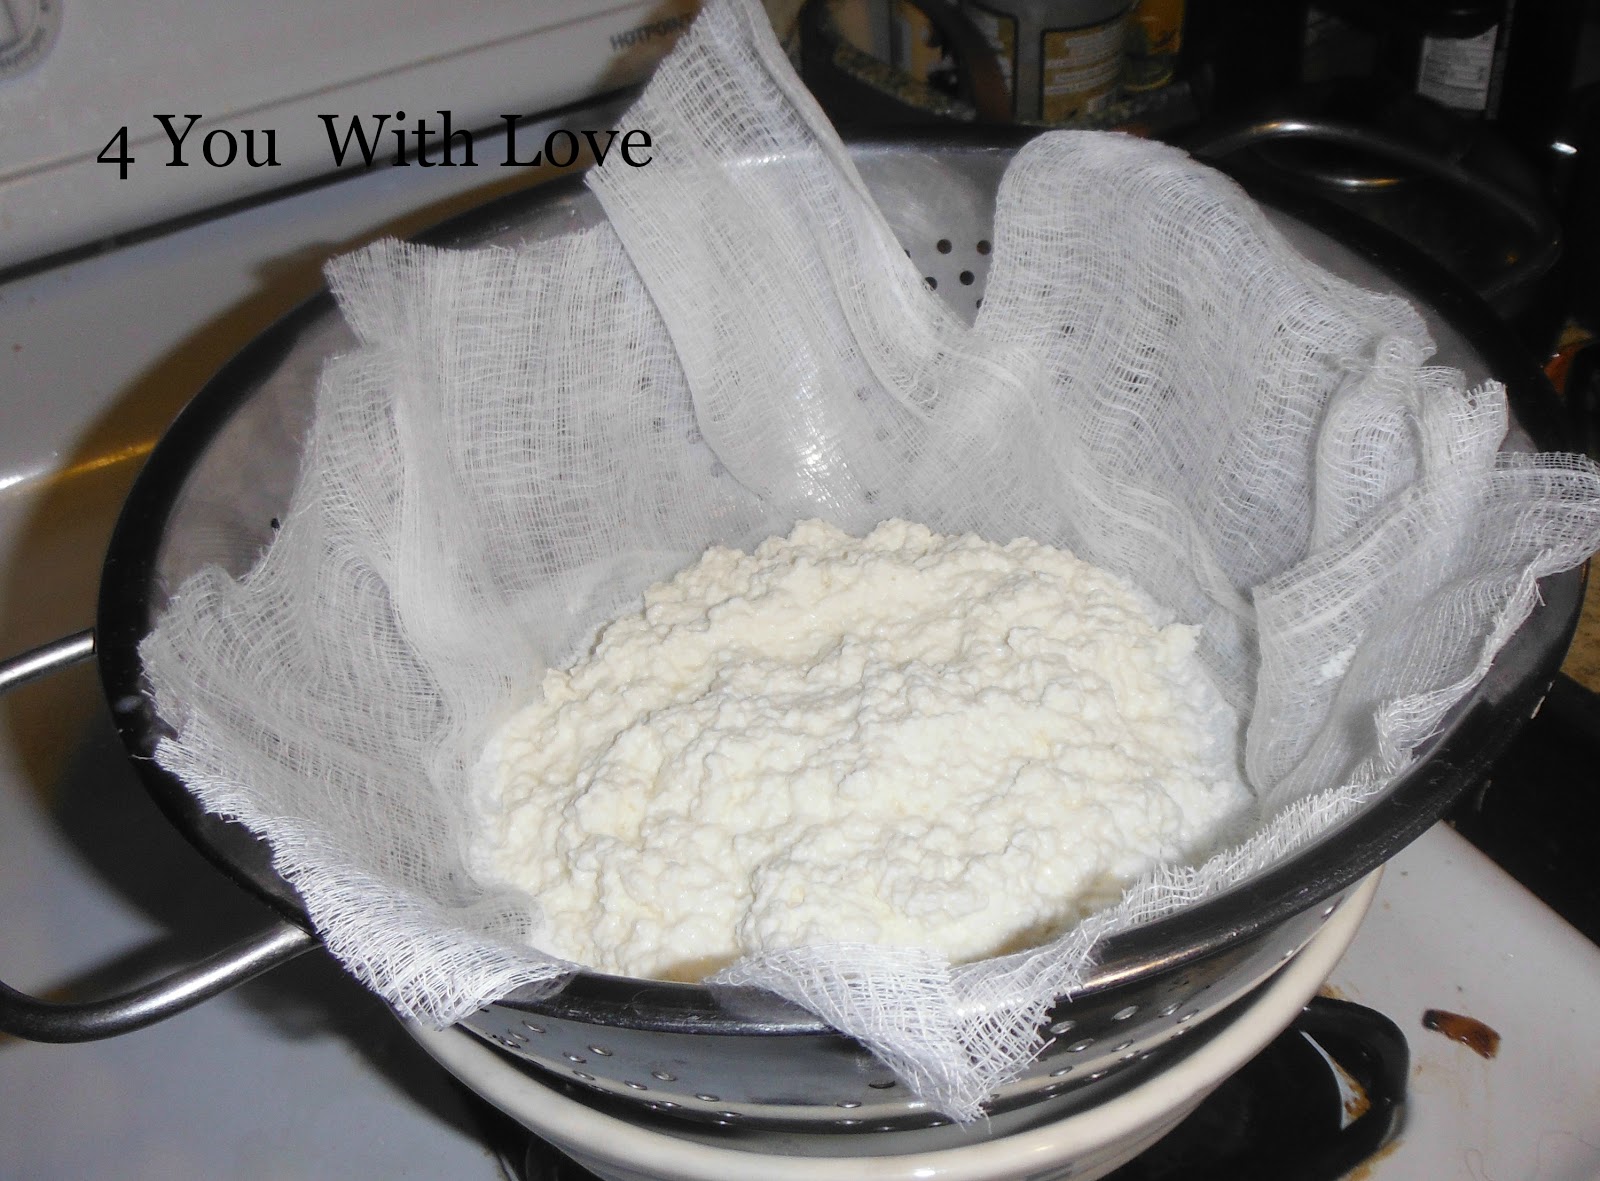
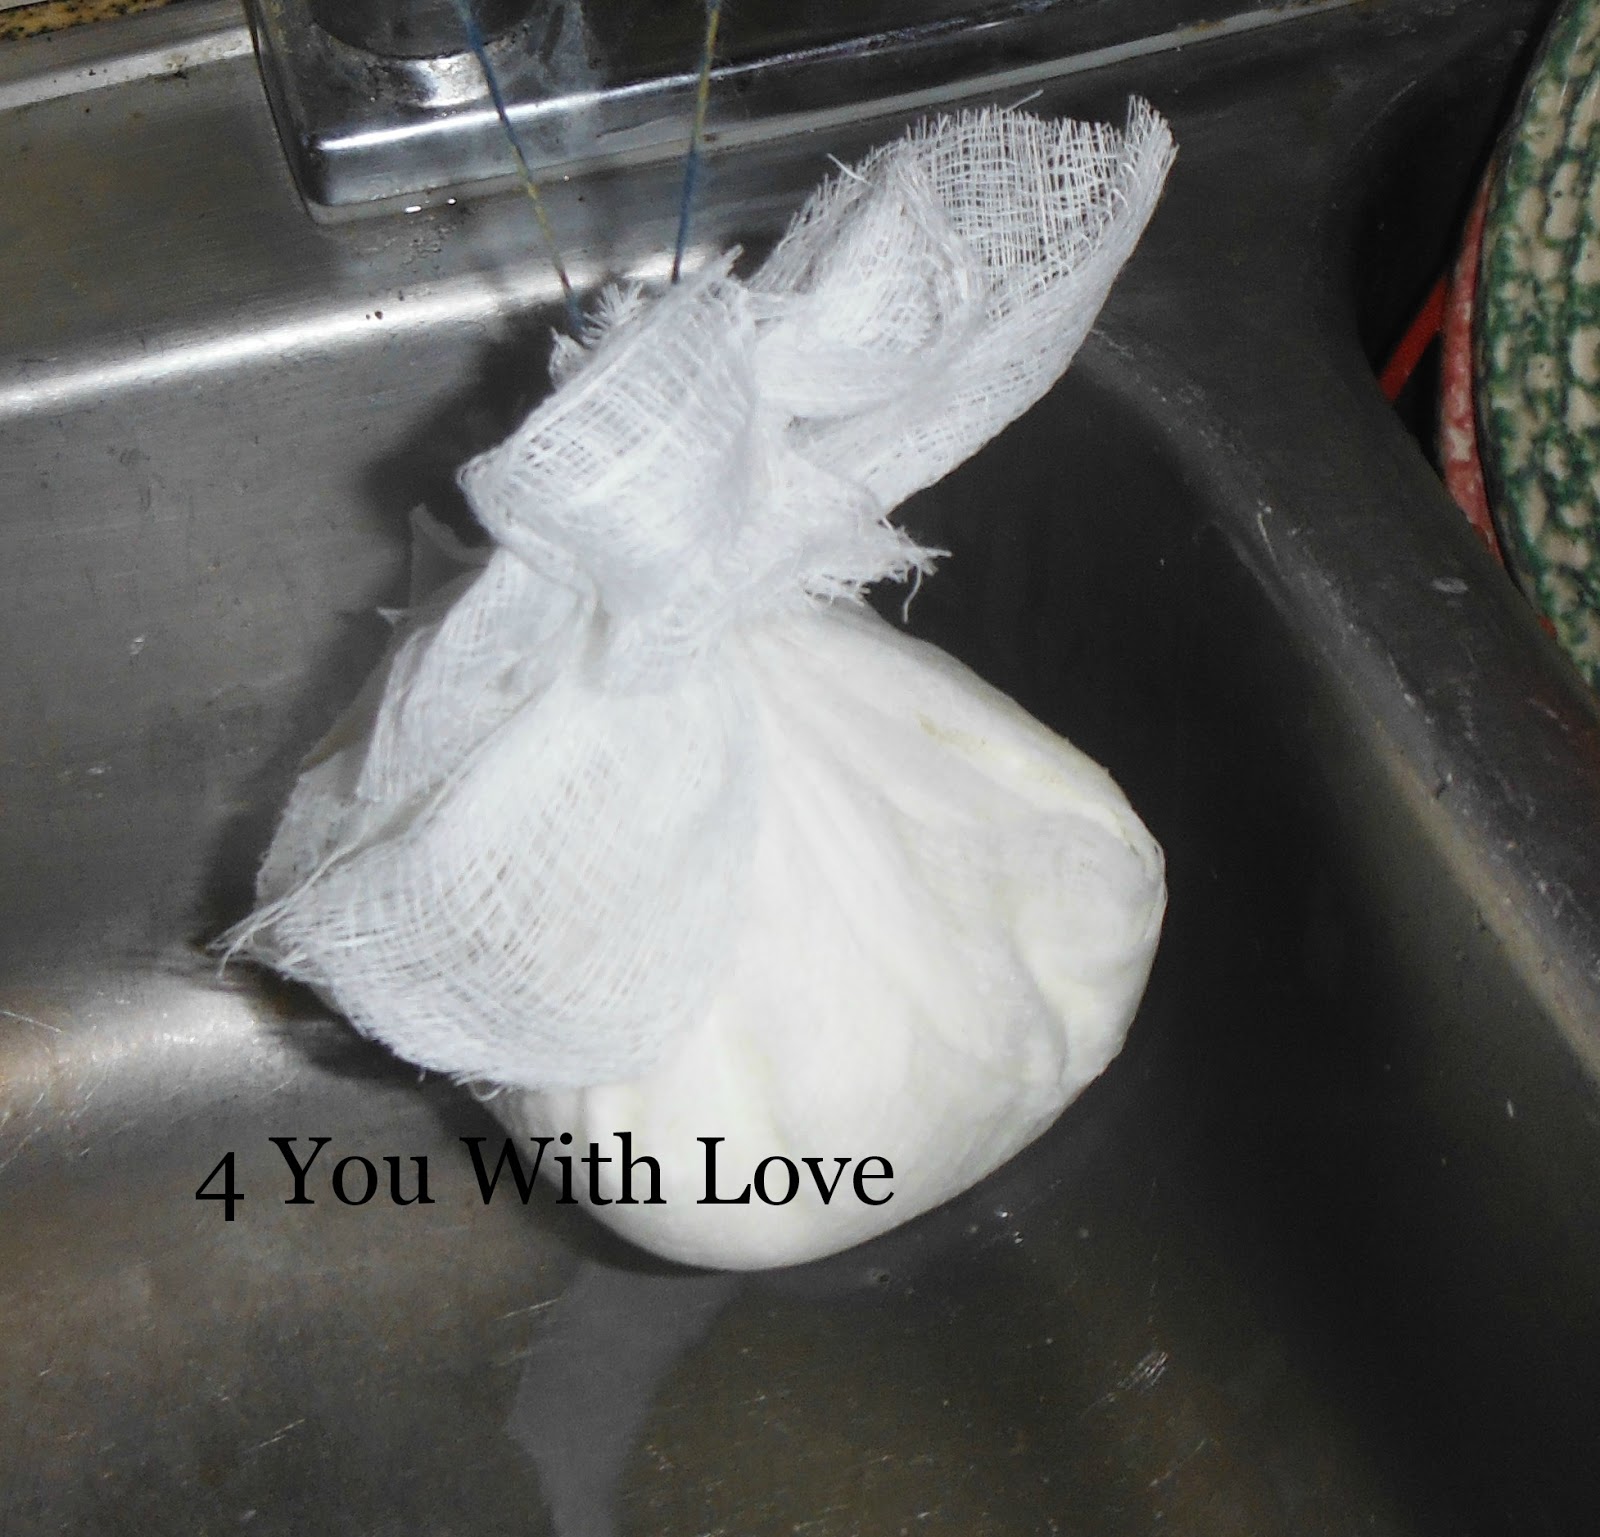
Grab the edges of your cheesecloth and tie them together with some string. Next, hang your cheese “ball” from your kitchen faucet and allow it to drain 4 hours or so.
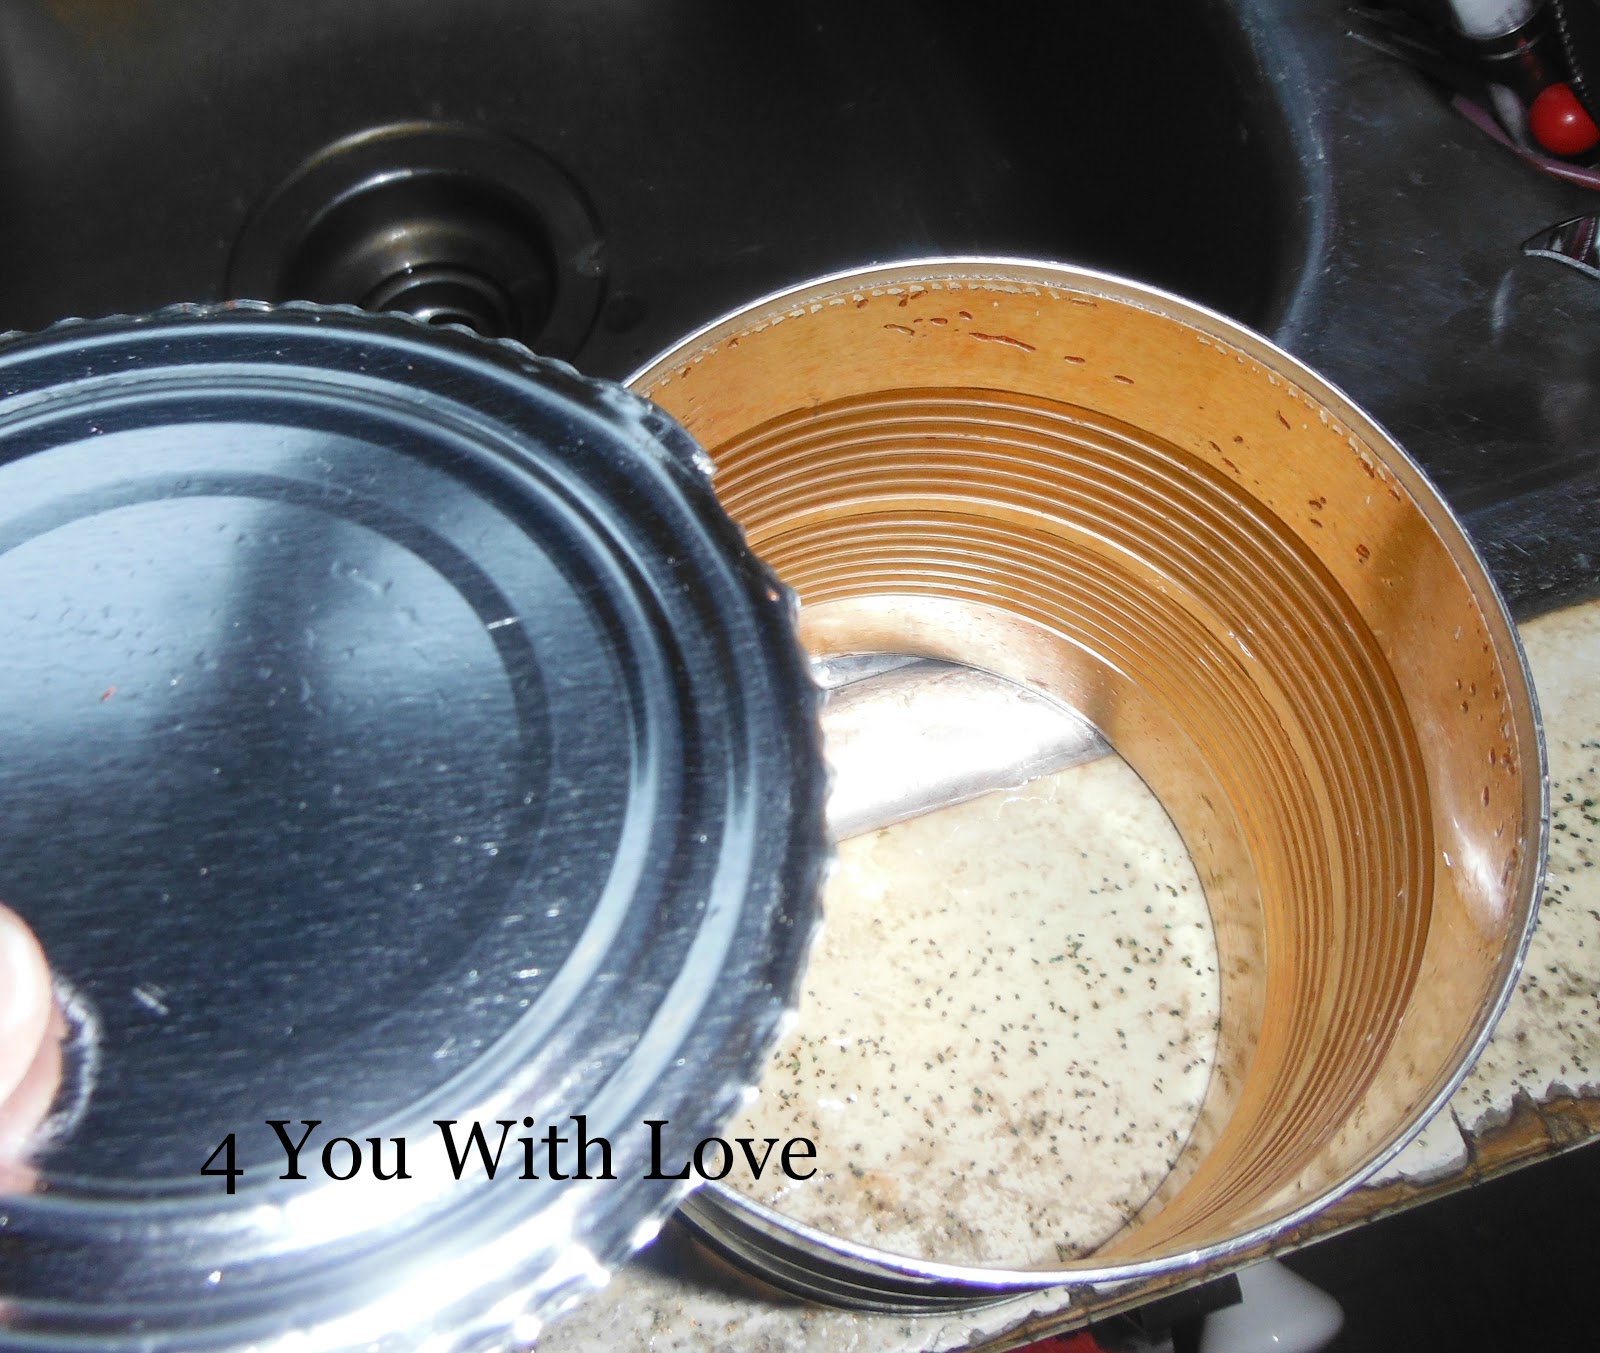
Now at this point, you will want to press your cheese curds together to help form them into a block of cheese. You can either allow gravity to do a lot of the work for you and allow your cheese to continue draining for a total of 12 hours or overnight. I decided that I wanted my queso blanco to be in wheel. To accomplish this, I took an empty 28 ounce can (from tomatoes) and using a can opener removed the bottom and top (make sure your can is VERY clean before proceeding.)
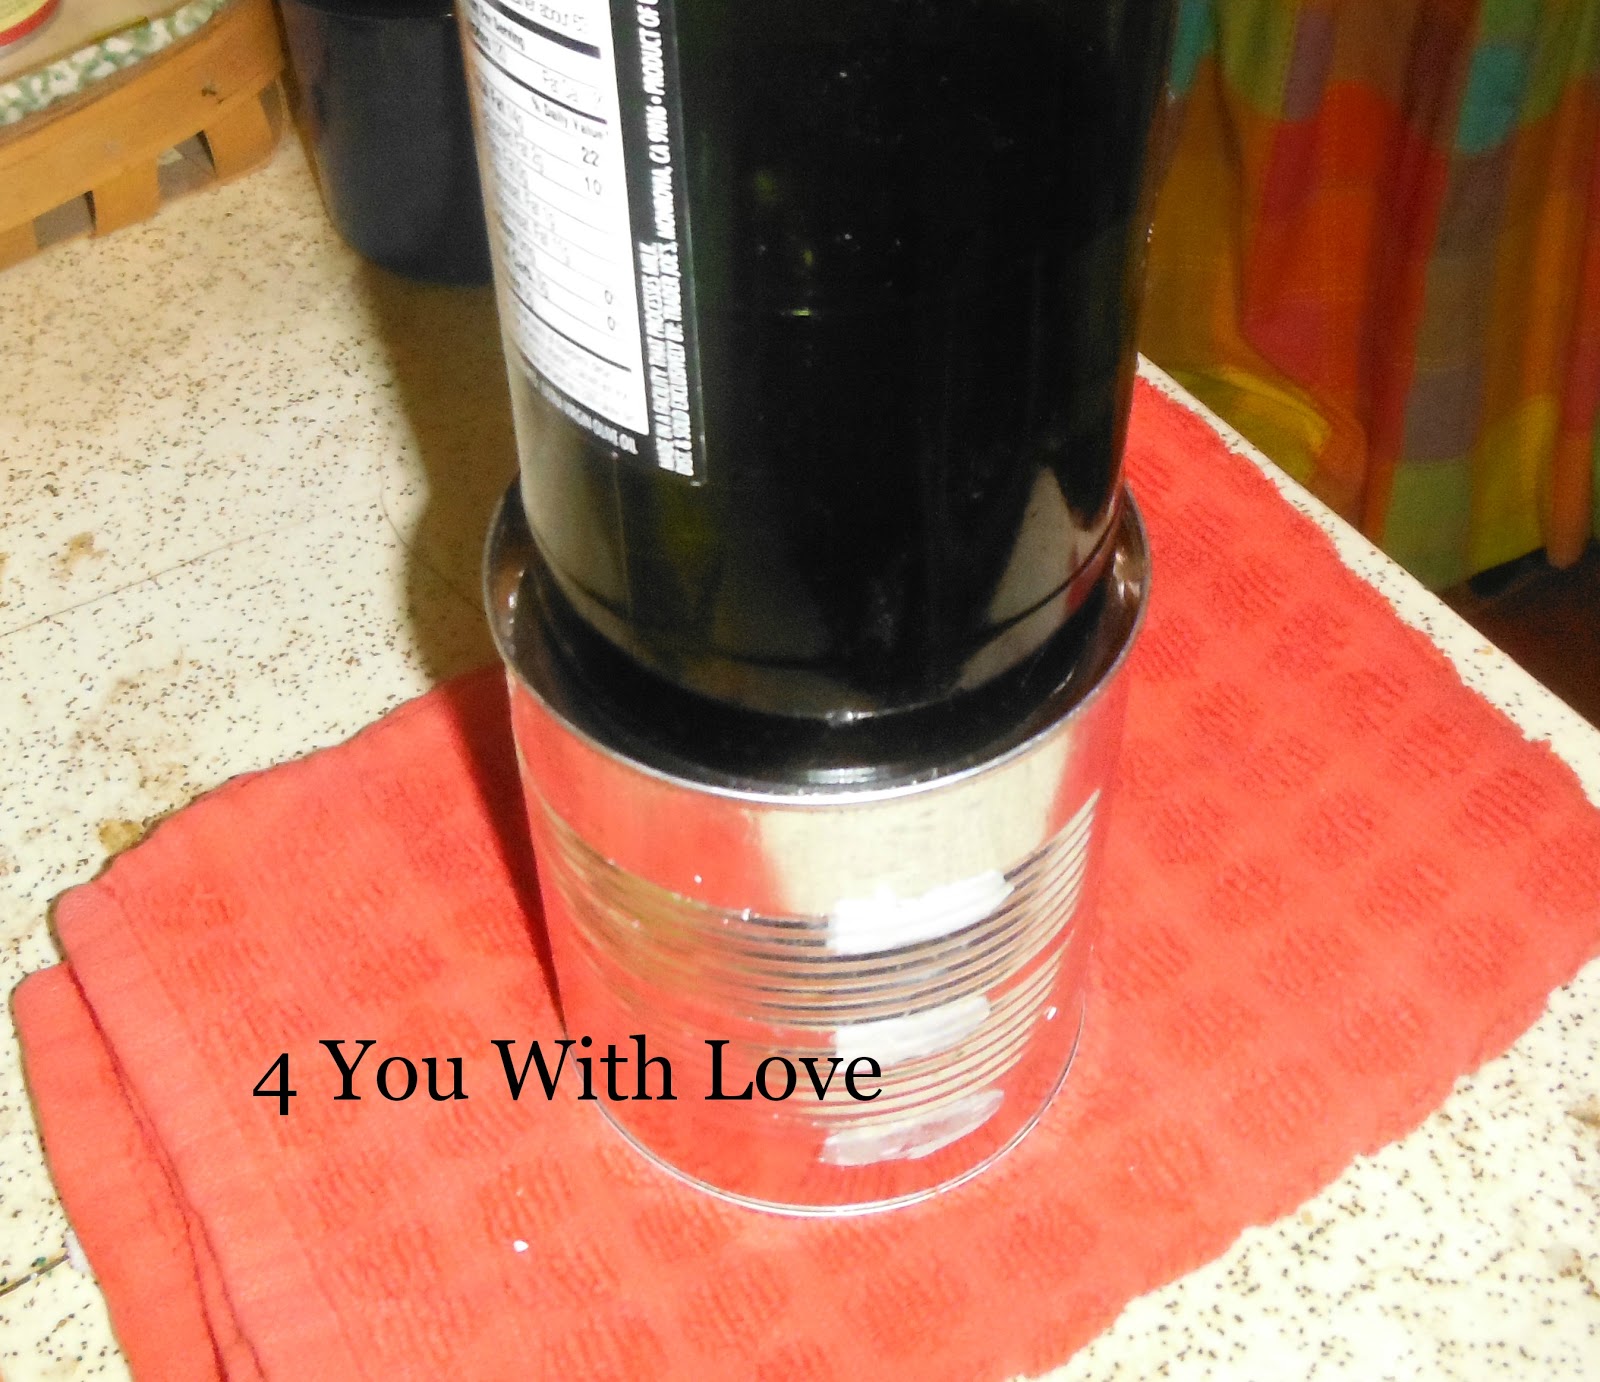
I set my “mold” on top of the kitchen towel and placed my cheesecloth wrapped cheese inside.

Finally, I covered the cheese with the can lid and placed a heavy bottle on top. (low tech cheese press!) I let this sit for an additional 4 hours however, the longer you let this set the firmer your cheese will become.
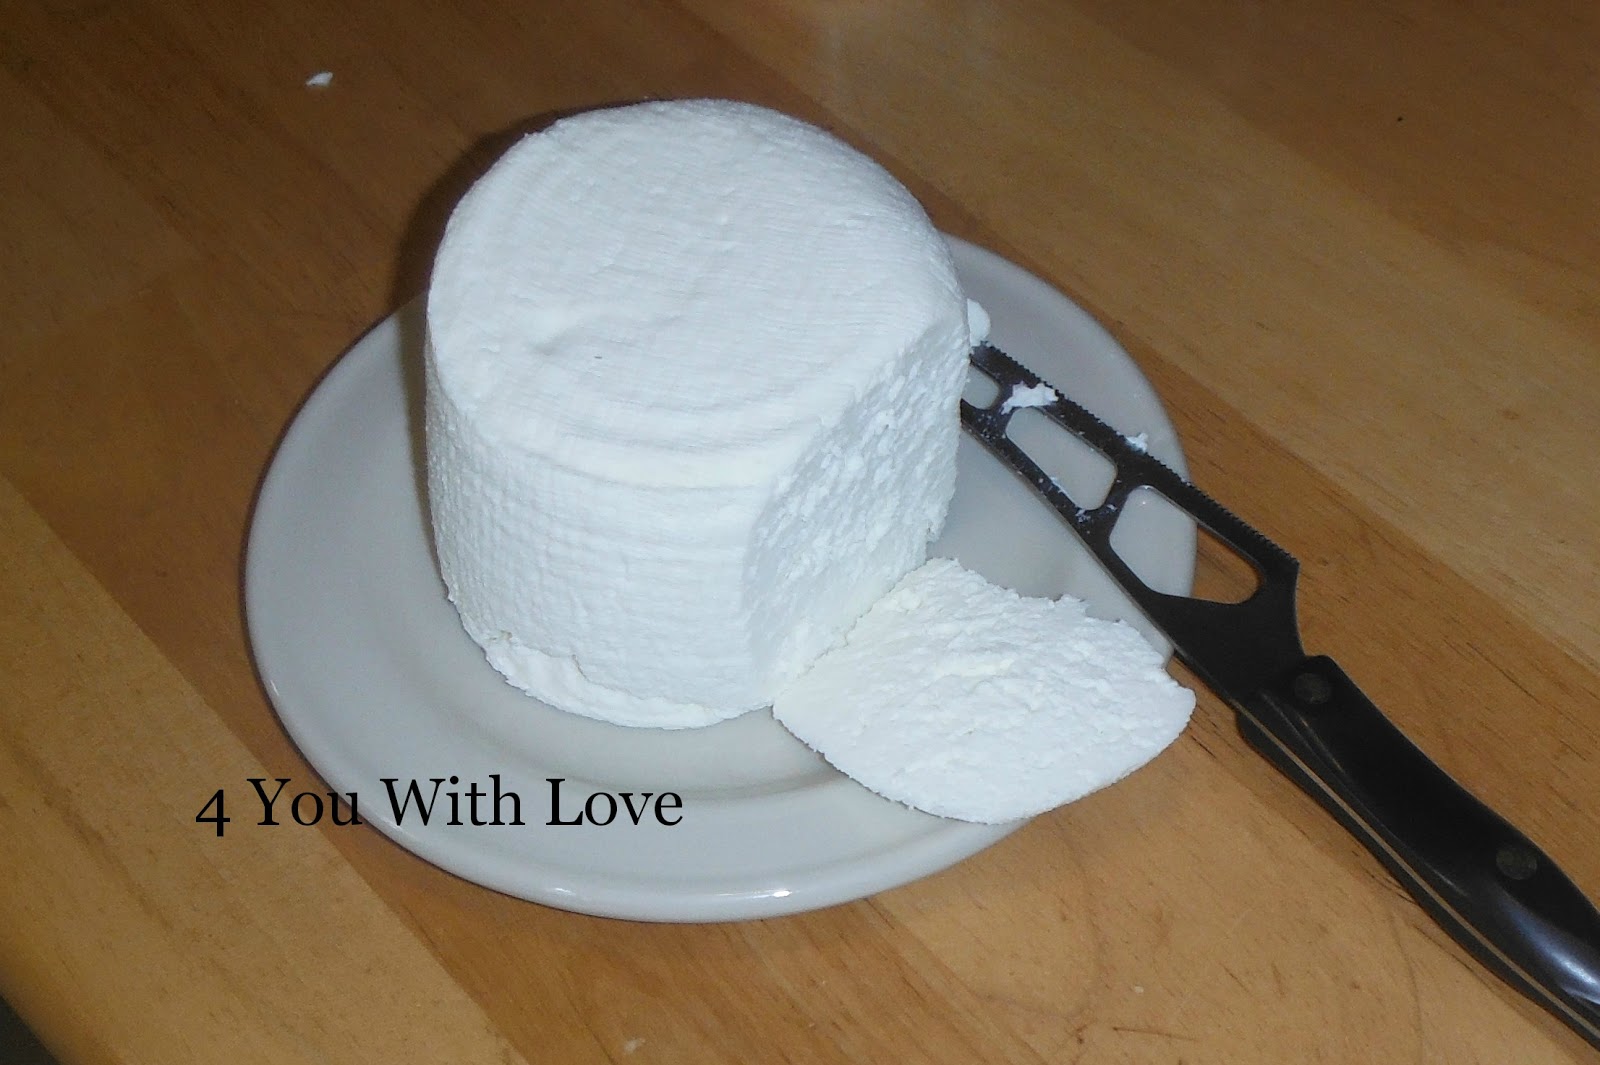
Here’s the final product once I removed the cheesecloth. Trust me this is super yum and fresh tasting! This recipe made approximately 1.25 pounds of cheese and the cost of the gallon of milk was just $2.79!
Notes:
- If you have never had queso blanco, it is a fresh cheese but it does not melt. It is great crumbled onto tacos and burritos. It is also wonderful crumbled on top of pizzas and salads. Of course, the good old cracker loves this too!
- If you would love a great decadent treat, slice up some of this cheese. Then in a non-stick pan, heat up a little olive oil then fry up some cheese. Nothing else is needed and trust me, you’ll love this!
- If you’d like to get even more cheese out of your whey, return all the whey to your large pot. Heat again until it is about to boil and add another 1/4 cup of vinegar. Cook about a minute or so. You’ll see a bunch of curds develop again and the whey will be a greenish color. Strain these curds in a cheesecloth lined colander and guess what? You’ll have made some ricotta!
- My gallon of whole milk made 1.25 pounds of queso blanco and 1 cup of ricotta cheese!
4 You
That is pretty cool! Can you compare the taste to anything (mozarella, cheddar)? And how long does it keep? Seems simple enough to make, I might try it. Must find cheesecloth first.
Yum Marilyn. I’ve still never tried making my own cheese but I must. Thanks for the recipe.
Anne xx
call me stupid, but this is the first time i’ve seen a cheese cloth used to make cheese!!!! i love it! i always thought cheese cloth was so cool, for DIY fabric projects… go ahead, laugh all you want.