In blogland and on Pinterest, there are so many different ideas for DIY canvas art. I decided I wanted to try my hand at making something for my dining room. My thoughts are to have a canvas with 5 color blocks with a letter in each block so that is says “E-N-J-O-Y”. I also thought I would be great to use my Cutting Edge Small Paisley Stencil for some background interest. Take a look at what I did!
Canvases were 50% off so I picked up this one (24″ x 48). I also picked up a can of Krylon metallic spray paint in silver.

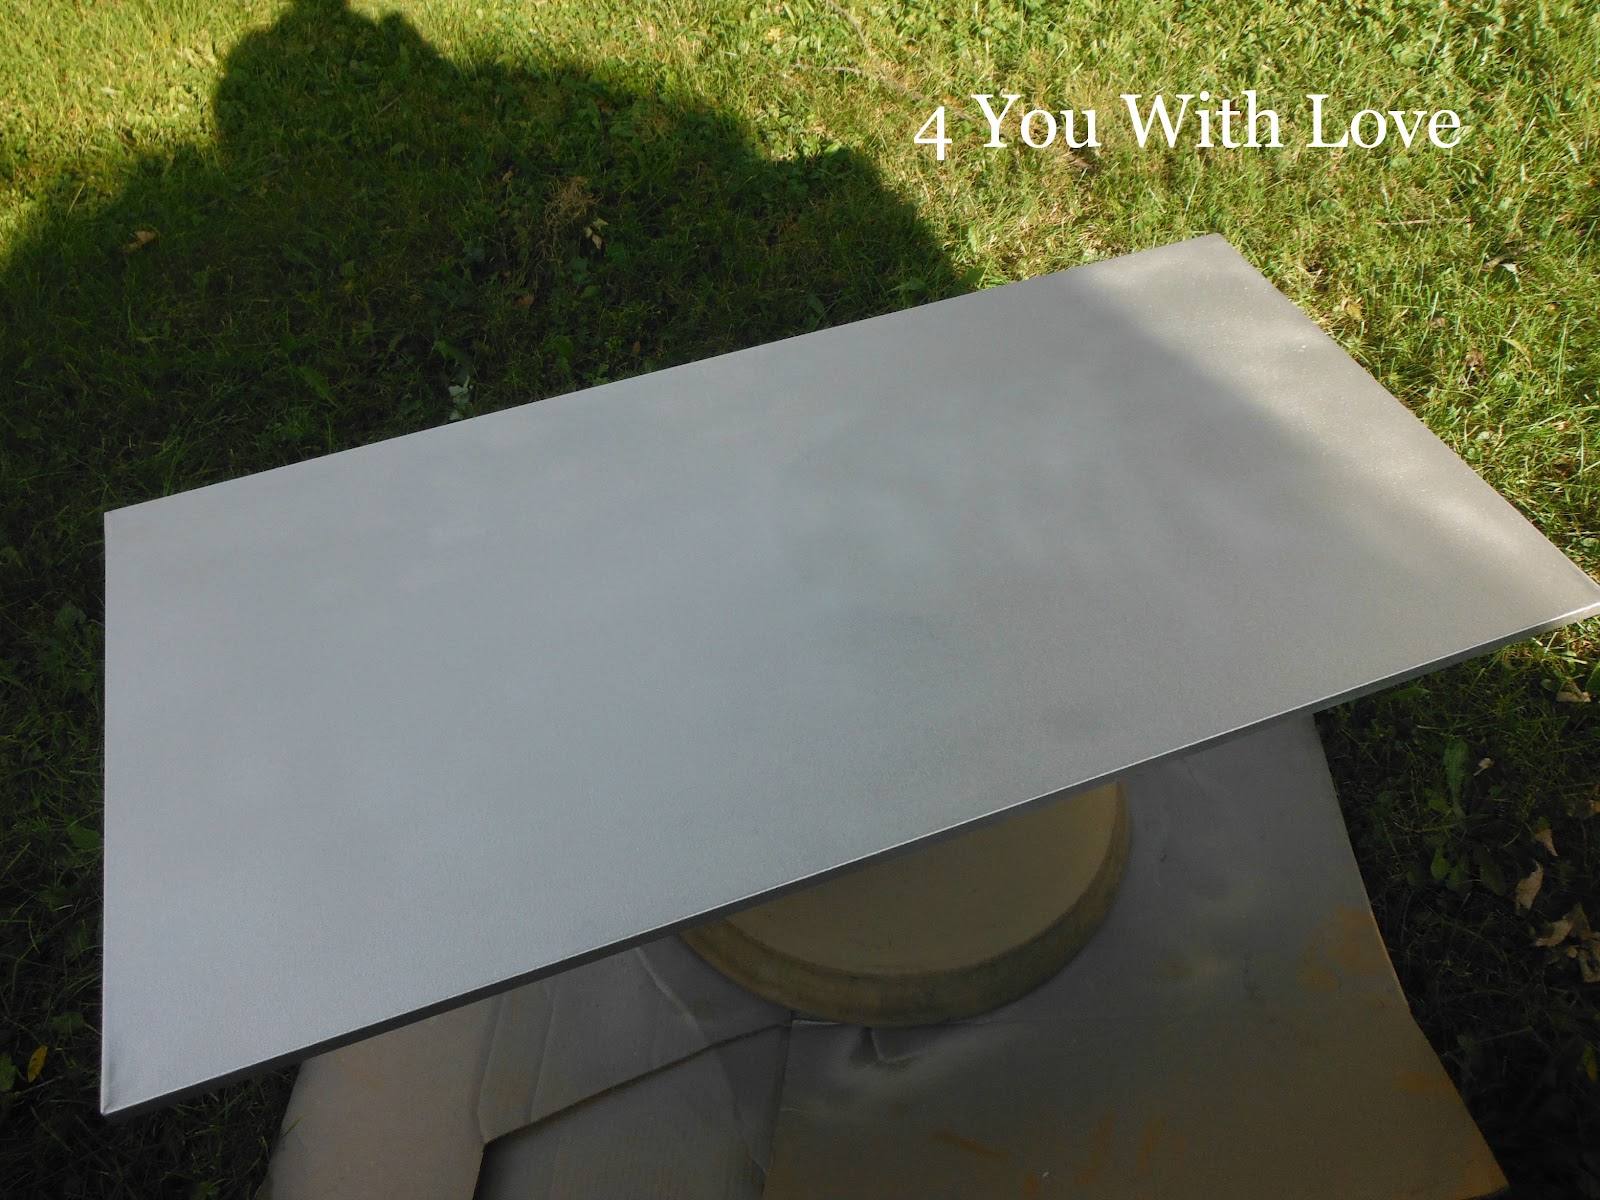
After removing the plastic wrap, I took the canvas outside. I placed the canvas on an inverted planter atop a piece of cardboard so I could spray paint the canvas easily: even the sides. It took two coats of silver paint to cover the canvas really well. This stuff dries FAST! I only waited 15 minutes before spraying on the second coat. Then I only needed to wait 1 hour before I went onto the next step. (Sorry for the tree shadow…the canvas really is completely silver now.)
I wanted a band of silver blocking each colored pane. To accomplish this, I used blue painters tape. Make sure you press down the edges of the tape well.

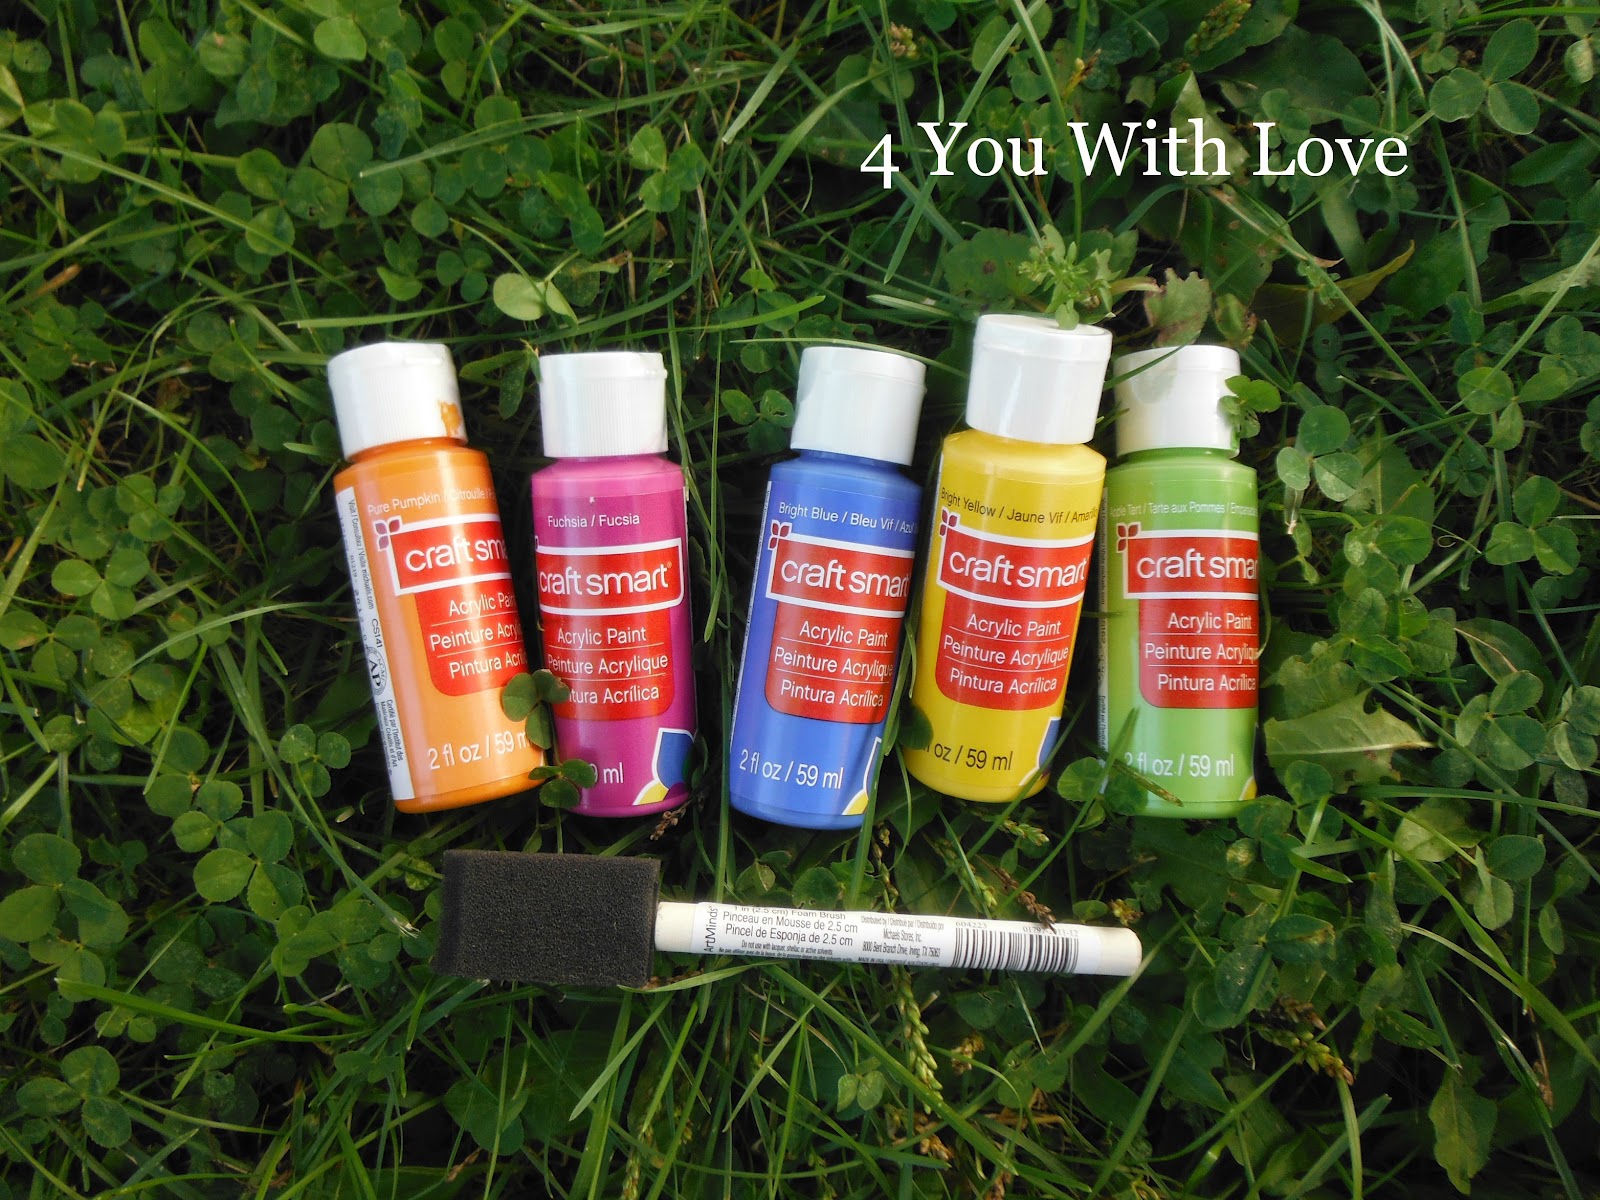
These are the paints I used for each color block. I applied each with a disposable foam brush.
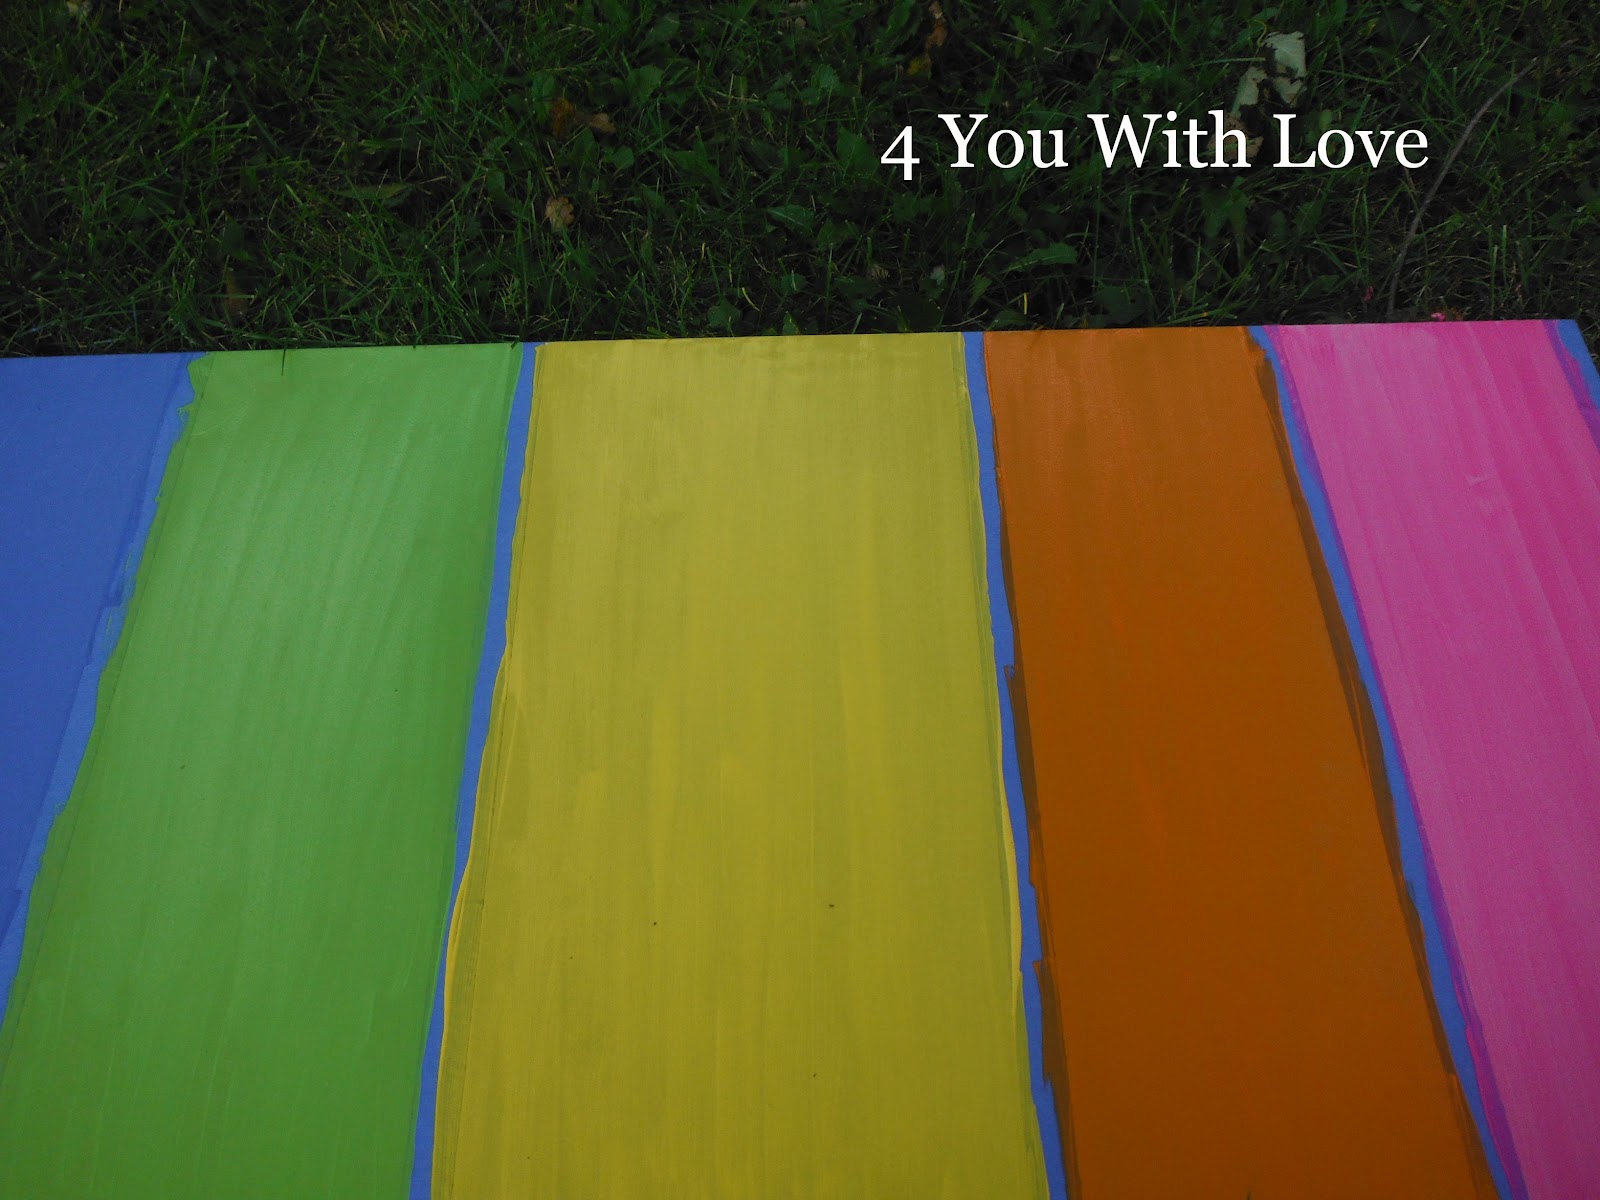
So, here you can see the canvas with each block “colored” in. After only about 5 or 10 minutes, I carefully removed the blue painters tape. (If you wait until your paint is completely dry, you run the risk of it coming off when you remove the tape).
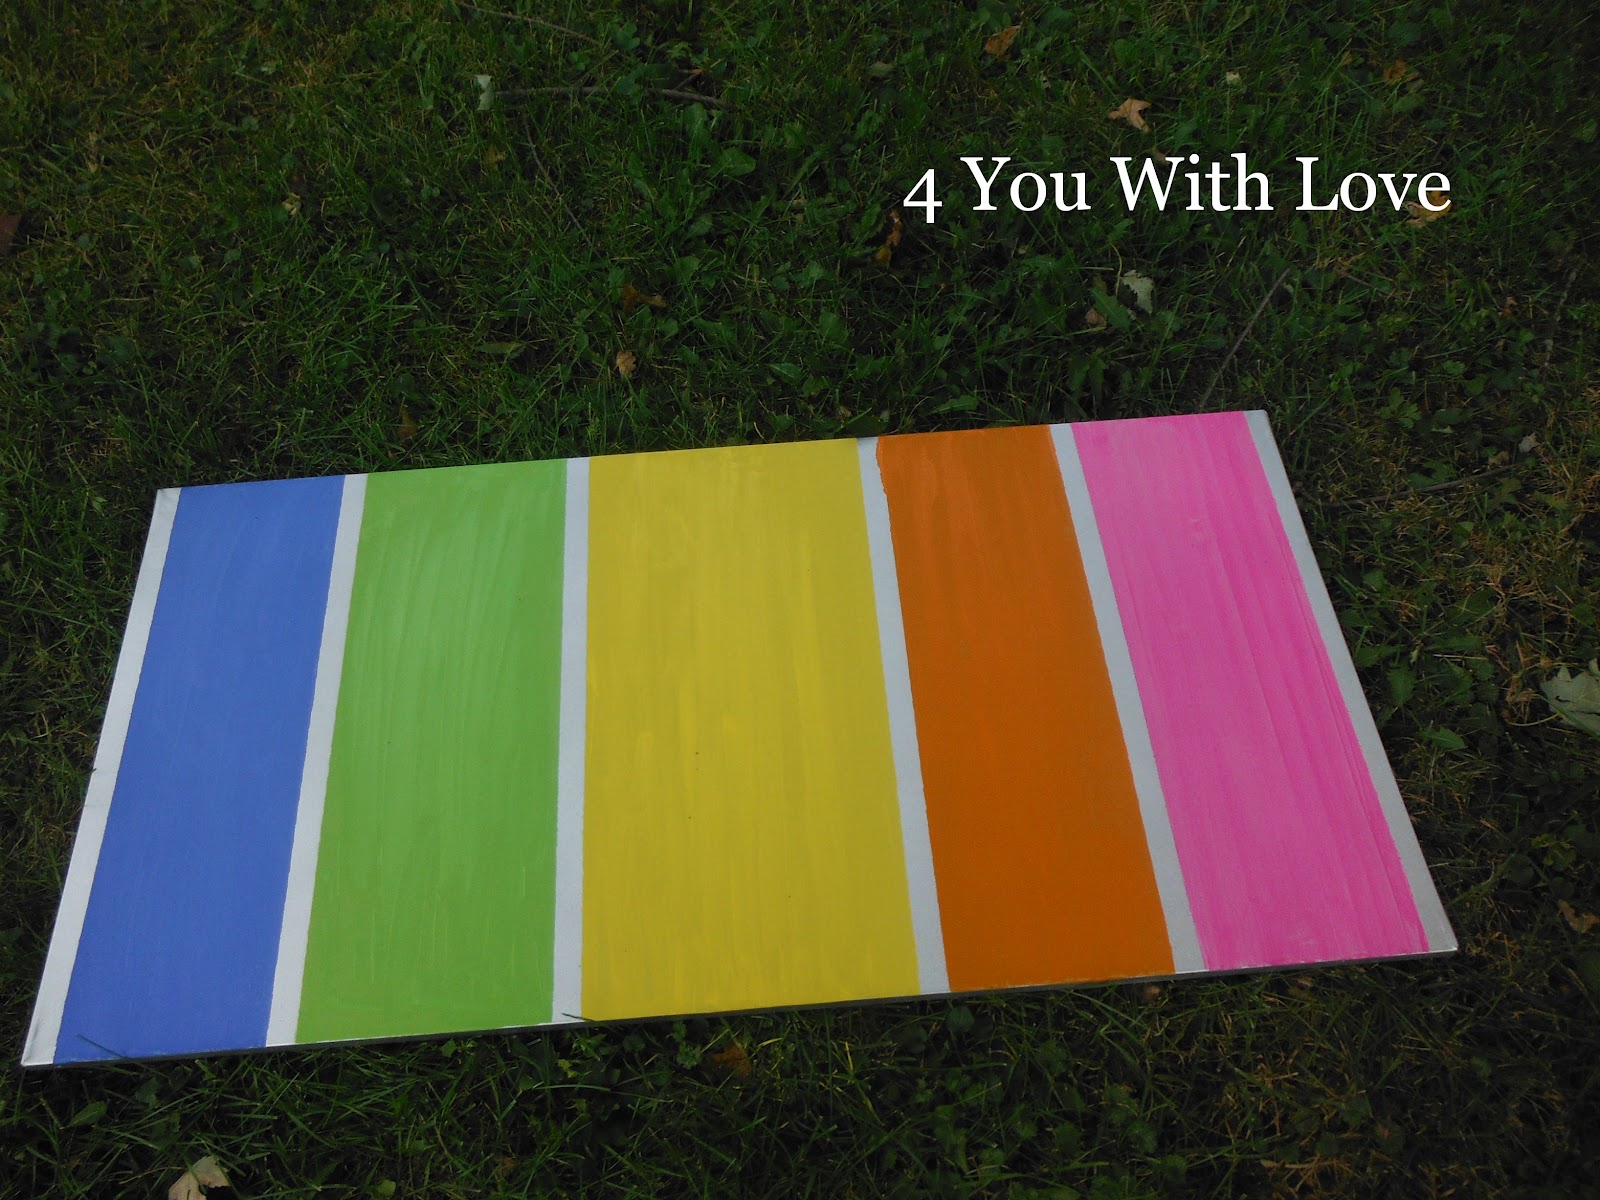
Here’s the canvas with the tape removed. I think it looks pretty sharp. I waited about an hour or so until the paint was thoroughly dried.
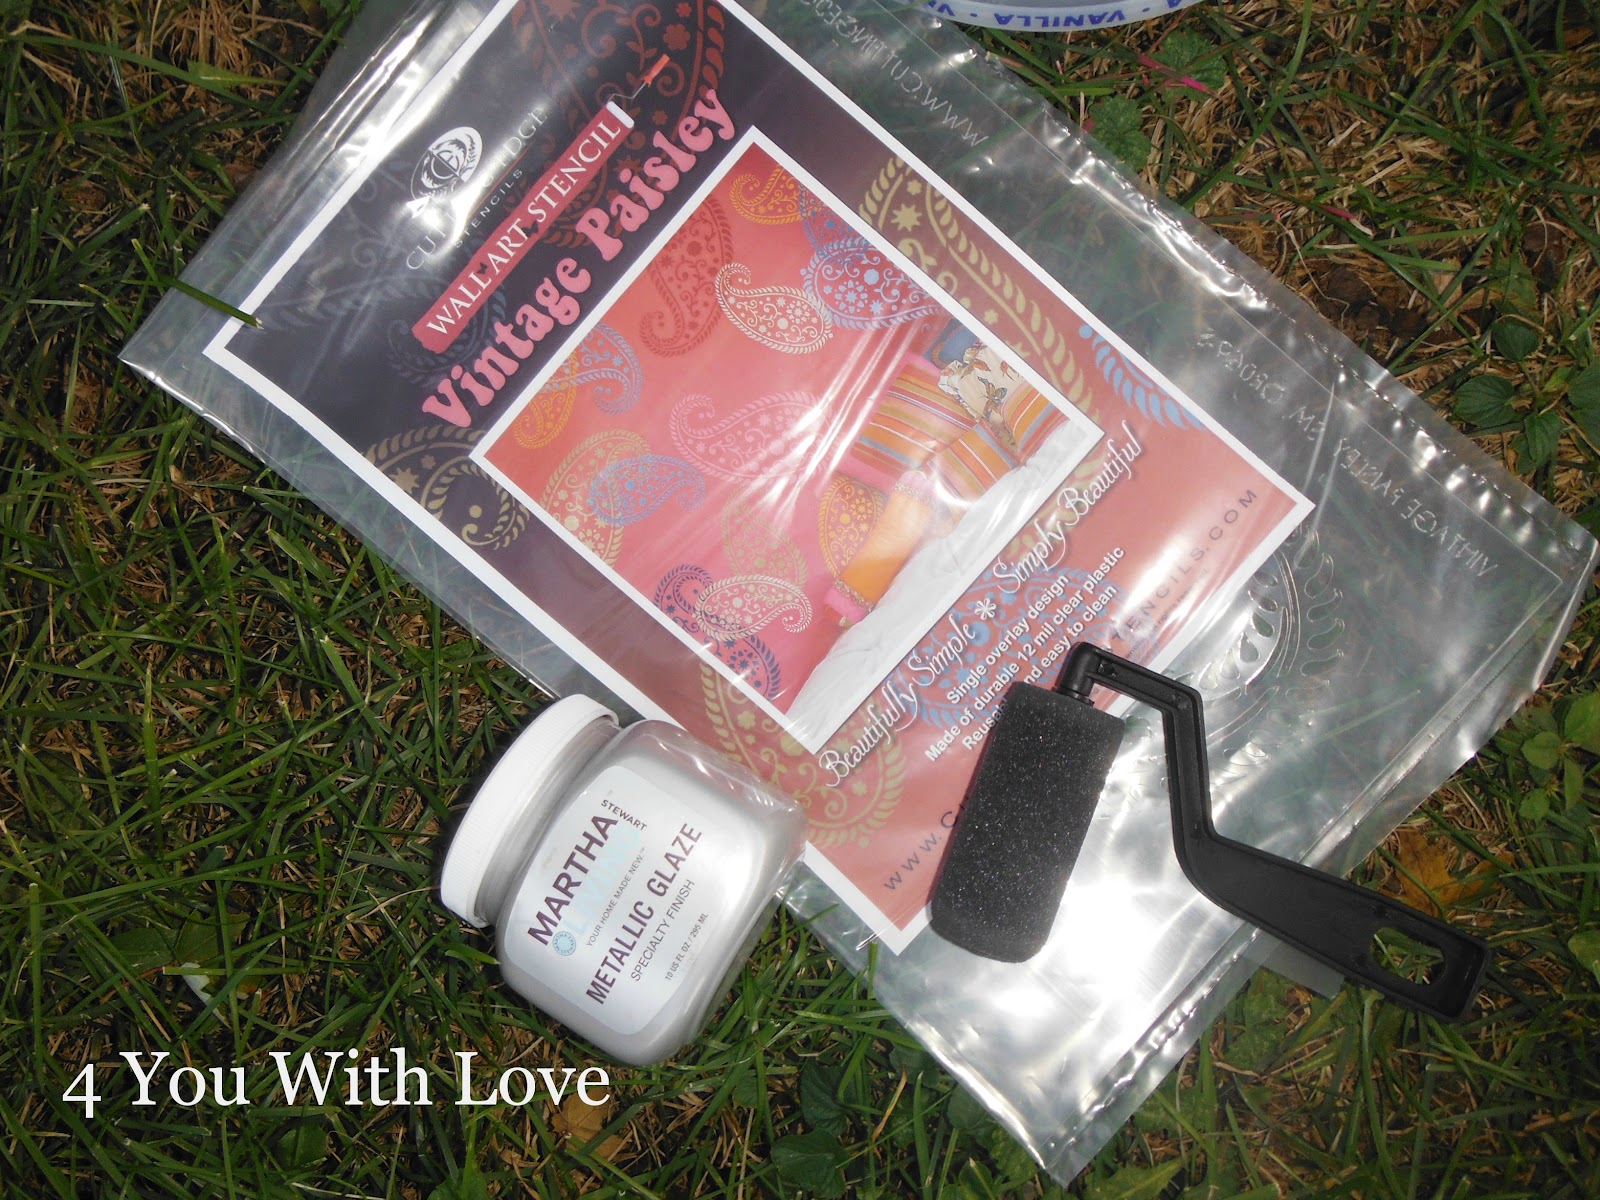
Now it’s time to add the cool paisley with the stencil from Cutting Edge Stencils. I wanted my paisleys to be a bit more translucent so I decided to use Martha Stewart’s Metallic Glaze. I also have my foam roller to help with the application process.
 |
Next, I poured some of the metallic glaze onto an old ice cream tub lid. This gave me a nice flat surface so I could load up my sponge roller with glaze.
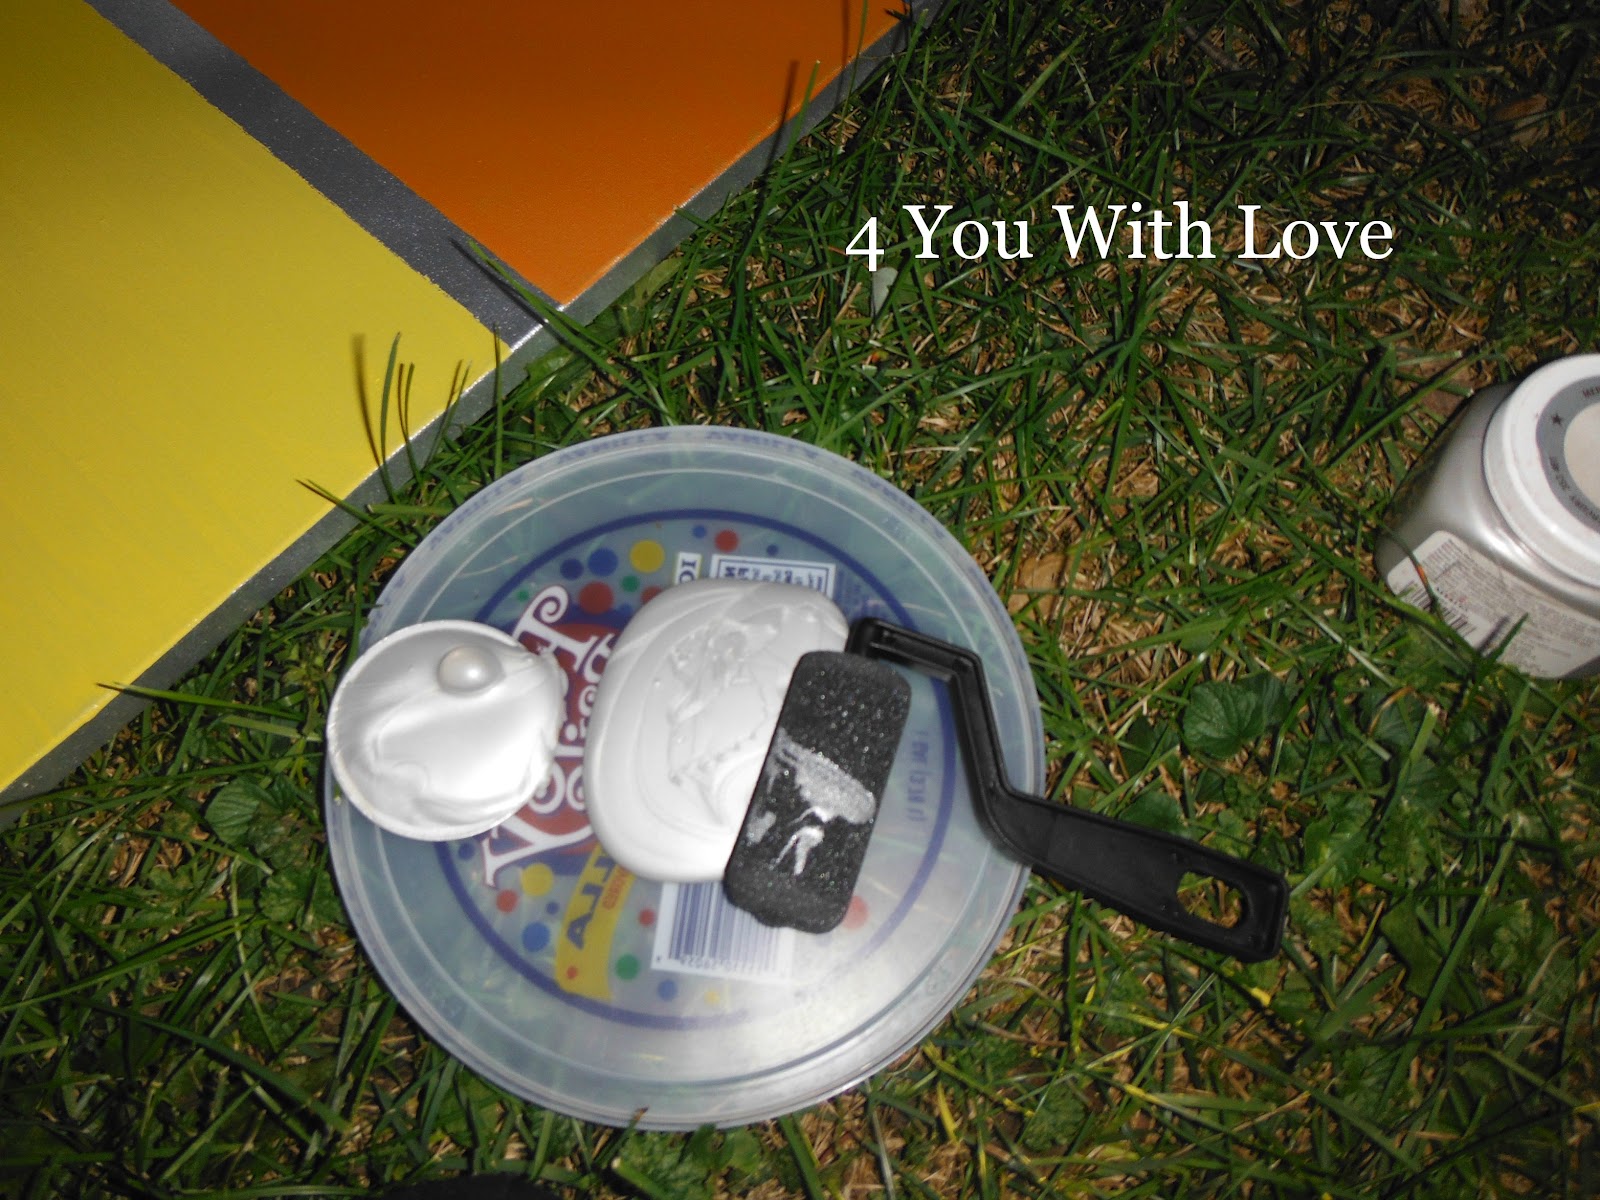
I positioned the stencil onto the canvas and rolled my “loaded” applicator over the stencil.
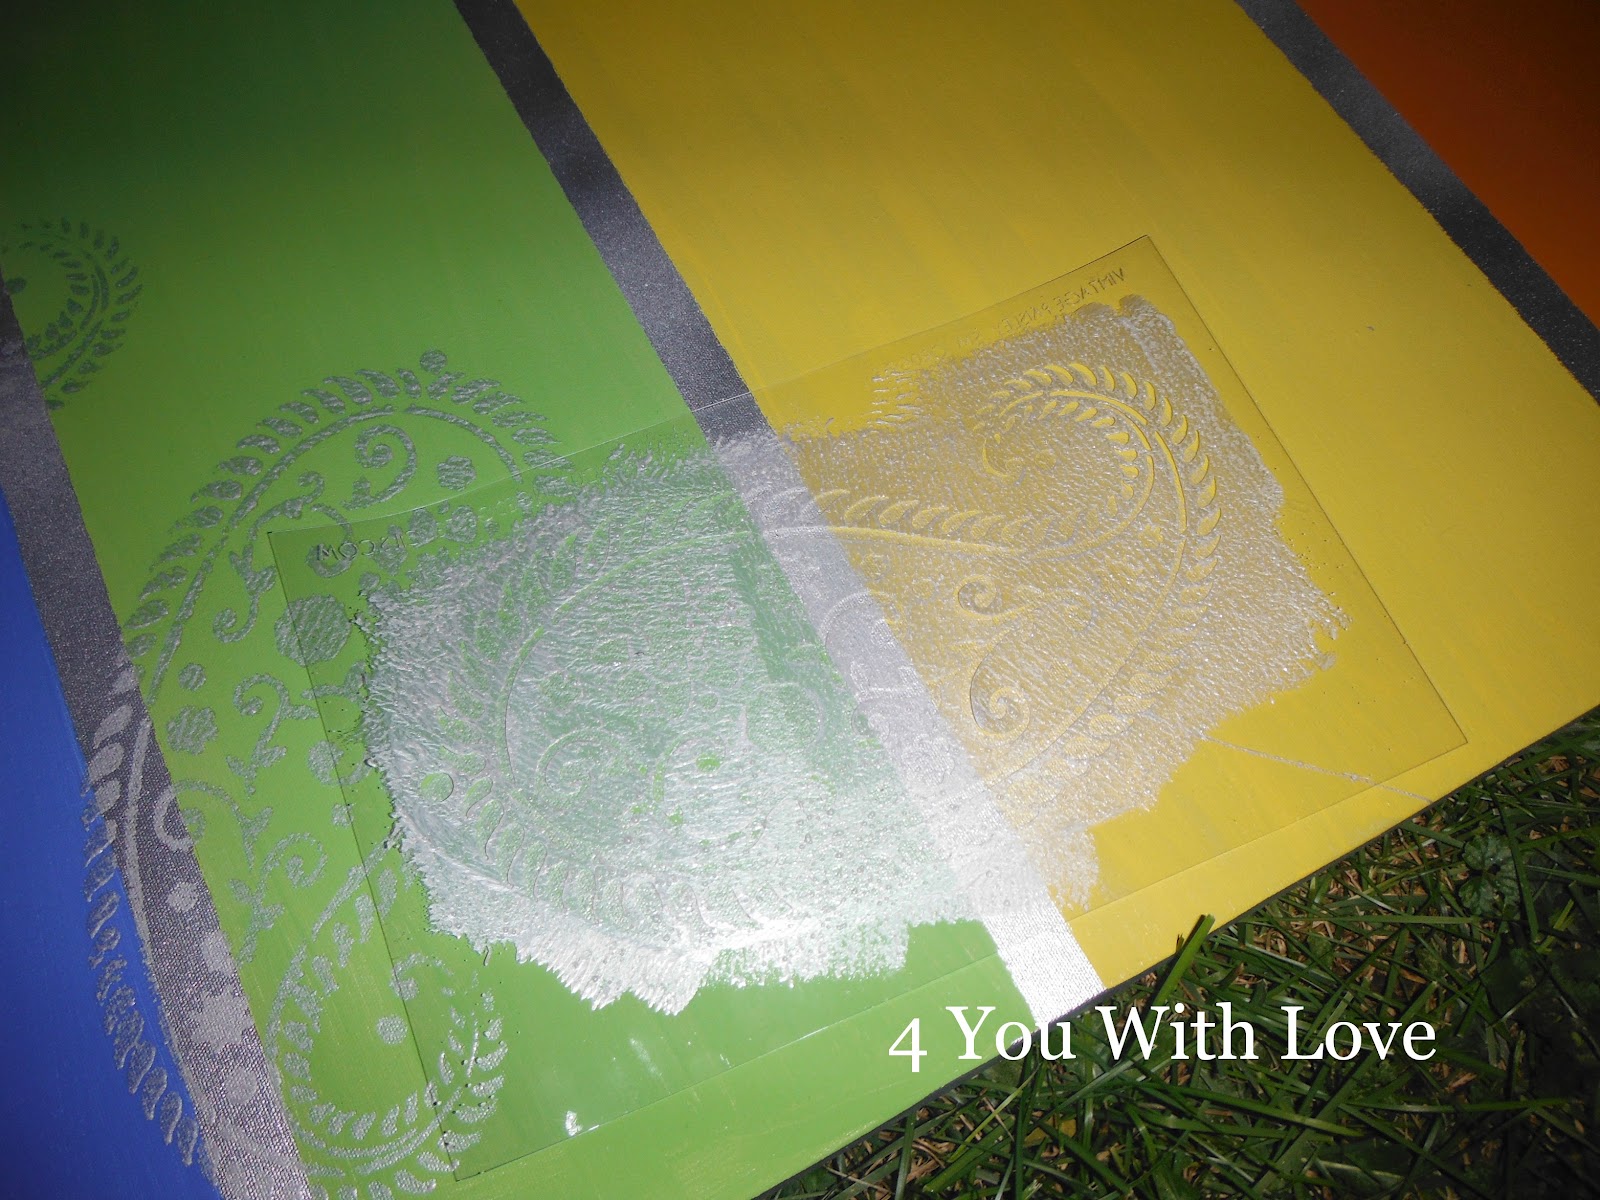
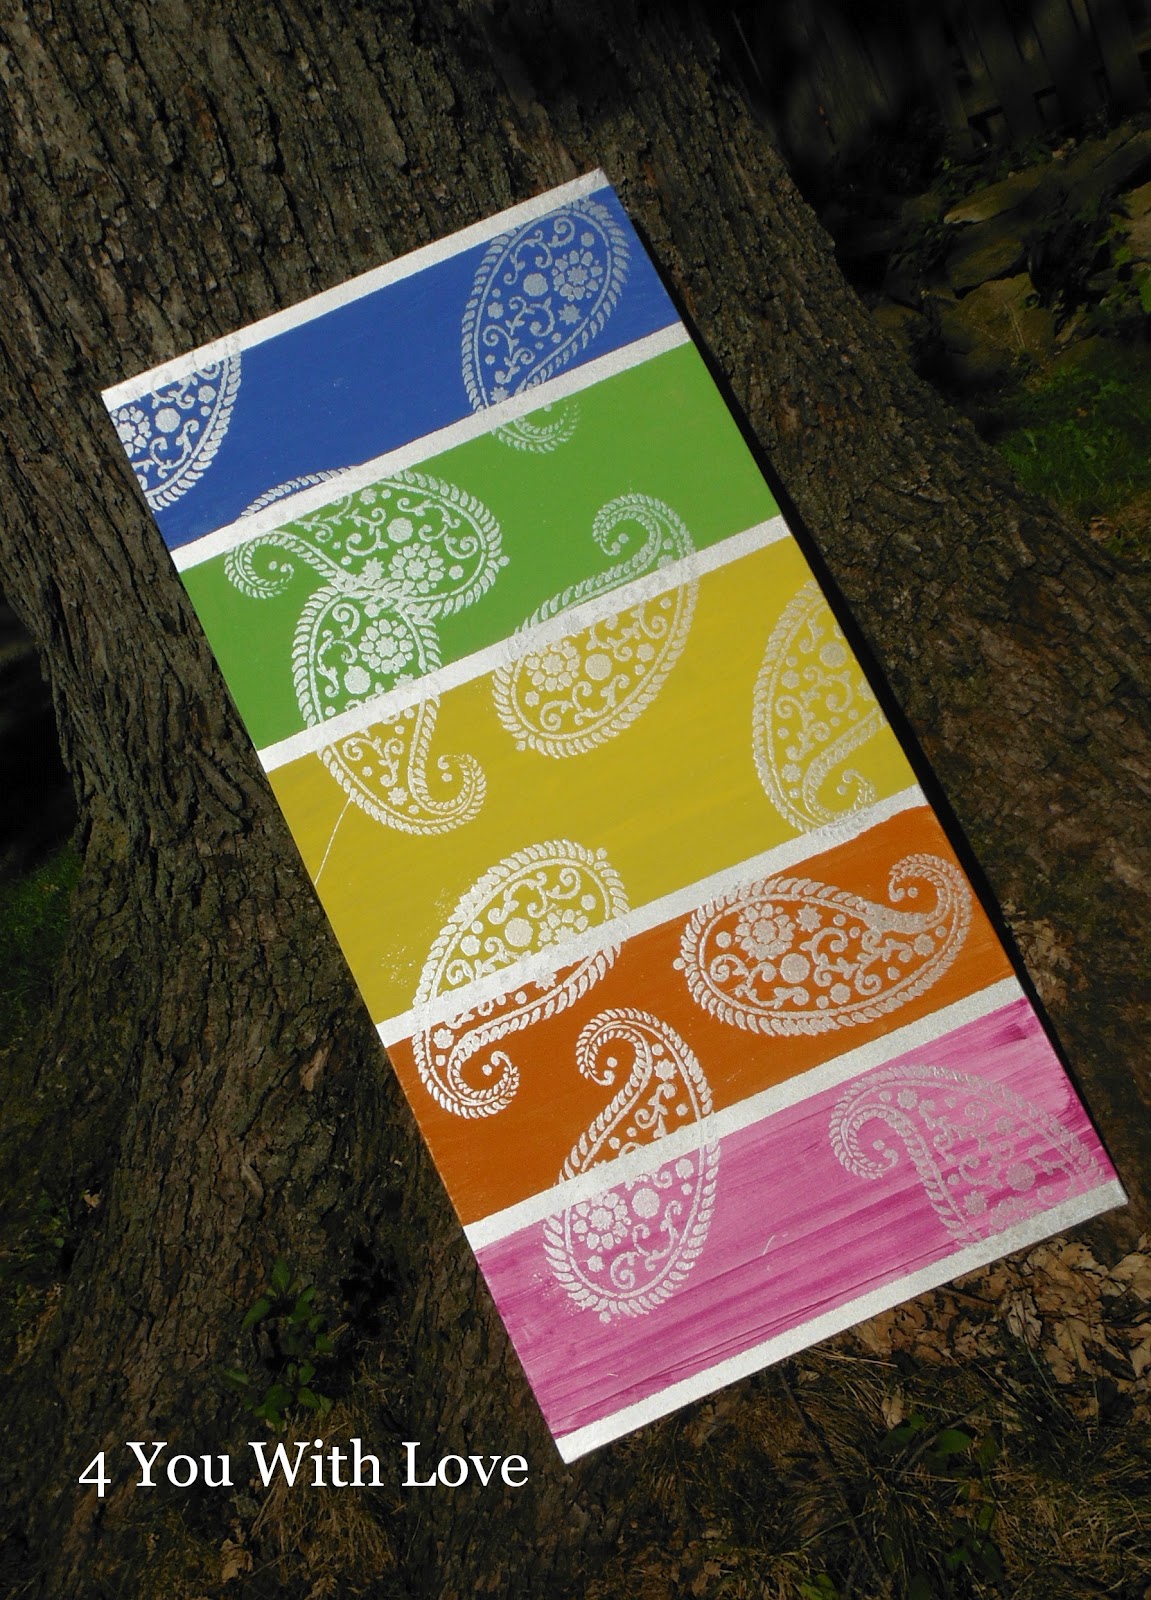
Here’s my canvas right after I applied all the paisleys…the glaze is still wet. (It took a LONG time to dry)
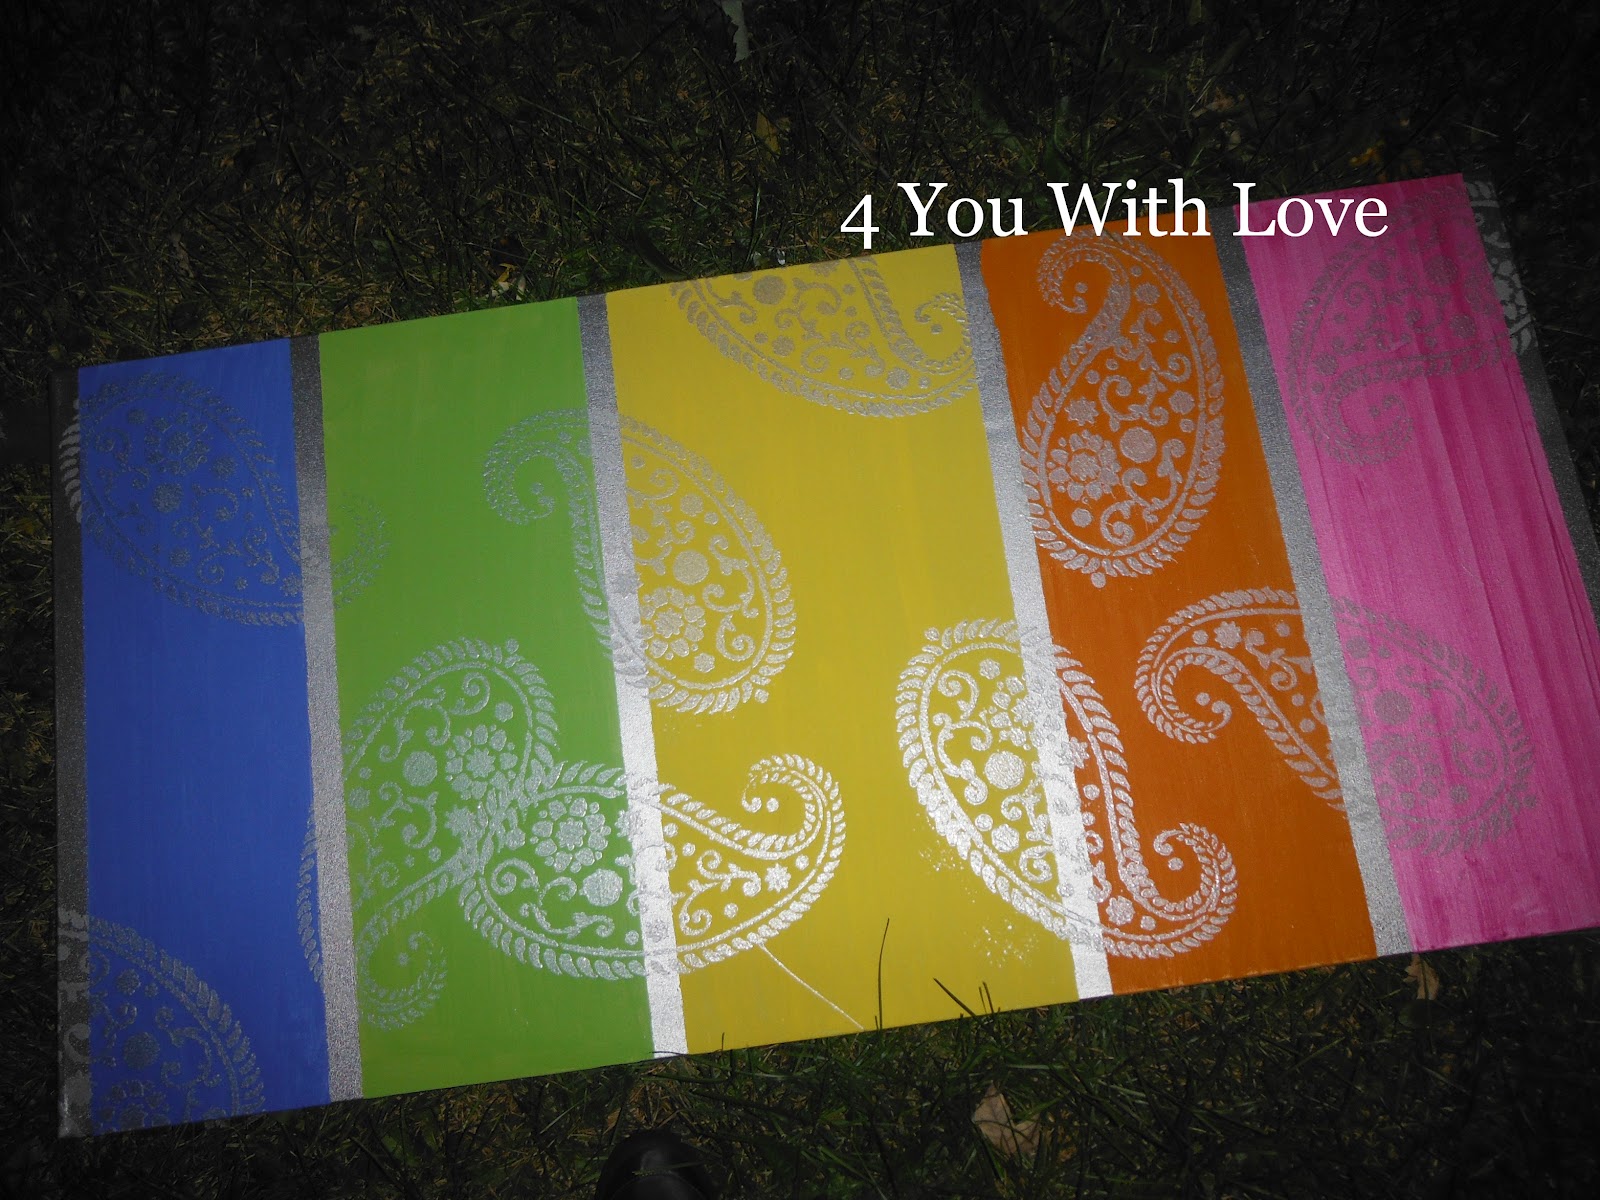
Here’s my canvas the next day! I think it turned out pretty sweet! (My hubby thinks so too!)
Now, here’s my dilemma. I’m afraid that if I add the “E-N-J-O-Y” it will be too much. I think I like it just the way it is! What do you think? Would you add anything else or keep it like it is?
Also, if you are interested in winning $50 in Cutting Edge Stencils enter a giveaway here.
4 You
Lovely! I think you could add it on the bottom left where there’s some empty space in the pink, but I wouldn’t have the letters overlap about of the paisley. But either way you’ve got a winner
Oh, I love this!! Paisleys are one of may favorite things!! It looks great and love the colors. I think “Enjoy” would look great in that pink spot to the left and would be just enough to balance it all out.
I agree with the other commenters that a small “enjoy” in the corner would look great!
Paisley is one of my favorites and I love what you did with this canvas! I agree with everyone that a small word in the lower left corner would be a nice touch.
I wouldn’t write E-N-J-O-Y across all sections, I think that would clash too much with your stencilling. Perhaps just along one edge could work well though… Great job by the way, love it!
I love this! You are so creative! I like the idea of adding enjoy somewhere but I think it also looks awesome on its own. It really depends on you. I think it’s an awesome idea and I love your tutorial! So easy to follow. Thank you for sharing at Artsy Corner!
LOVE! The stencil looks great! It turned out beautiful.
Thanks so much for sharing at Artsy Corner!
Love it! I found you via the Making Monday Marvelous Link Party! I am going to follow you now. Please join my new meme that starts on Friday at Diana Rambles.
Diana
Diana Rambles
Bento Blog Network
Link Rink
This turned out super cute! Would love to see how it looks on the wall….!
The canvas looks great!! Nice job. Thanks for linking up at Romance on a dime.
LOVE LOVE LOVE the look of this canvas!!
Thanks so much for sharing this at The DIY Dreamer… From Dream To Reality!
these are so pretty!! would love it if you shared these on my link party @ http://www.serenityyou.com and i’m now your newest follower
This is so very lovely!
You did a lovely job – so unique!
What a great art piece and it was so simple. I bet you could use this technique in a million ways. This looks so wonderful! I bet it is amazing with an afternoon cup of coffee. Thanks for sharing on Tout It Tuesday! Hope to see you next week.
Super cute, whether you decide to add “enjoy” or not — love the silver paisley! Thanks so much for sharing on Busy Monday!
The paisley looks so good on these bright colors!! nice job. I’m so glad you linked up at Romance on a dime.
Actually I am writing my testimonial assignments project and getting important points from different blogs and forums and This is my pleasure to being here on this blog..
very good and excellent idea to make a beautiful and awesome colored canvas. Thanks to share your knowledge.
canvas art painting
Stencil is my favorite I would like to stencil the area behind my bed, I would recommend to every one, i really like cutting edge stencils, thanks for sharing this giveaway.
astonishing designs of wall art