One of the biggest challenges I face with blogging is taking photographs. I look at so many other blogs and their photography is just stunning. How do they do it? Well, a few weeks ago I was looking around on Pinterest and found Sewing Barefoot’s awesome tutorial to make a light box.
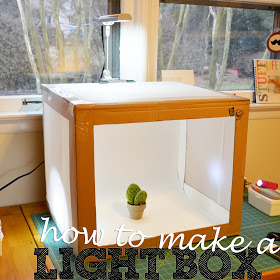
Okay, so if you’re like me and not a photographer, you’re probably asking, “what is a light box”. It is built to diffuse light so you get a much clearer picture without glare. You can purchase one but I was so inspired by this great tutorial to make my own. However, I just had one challenge.
Where to store the box when I’m not using it.
My crafting area is small with no place to keep a box like this. Also, I live in an old Victorian home which means I have very little closet space and my basement is not conducive to storing boxes (very damp). So, I looked at the tutorial and decided to create a folding light box. Here’s how I made mine.
DIY Folding Light Box
Supplies:
4 pieces of foam board
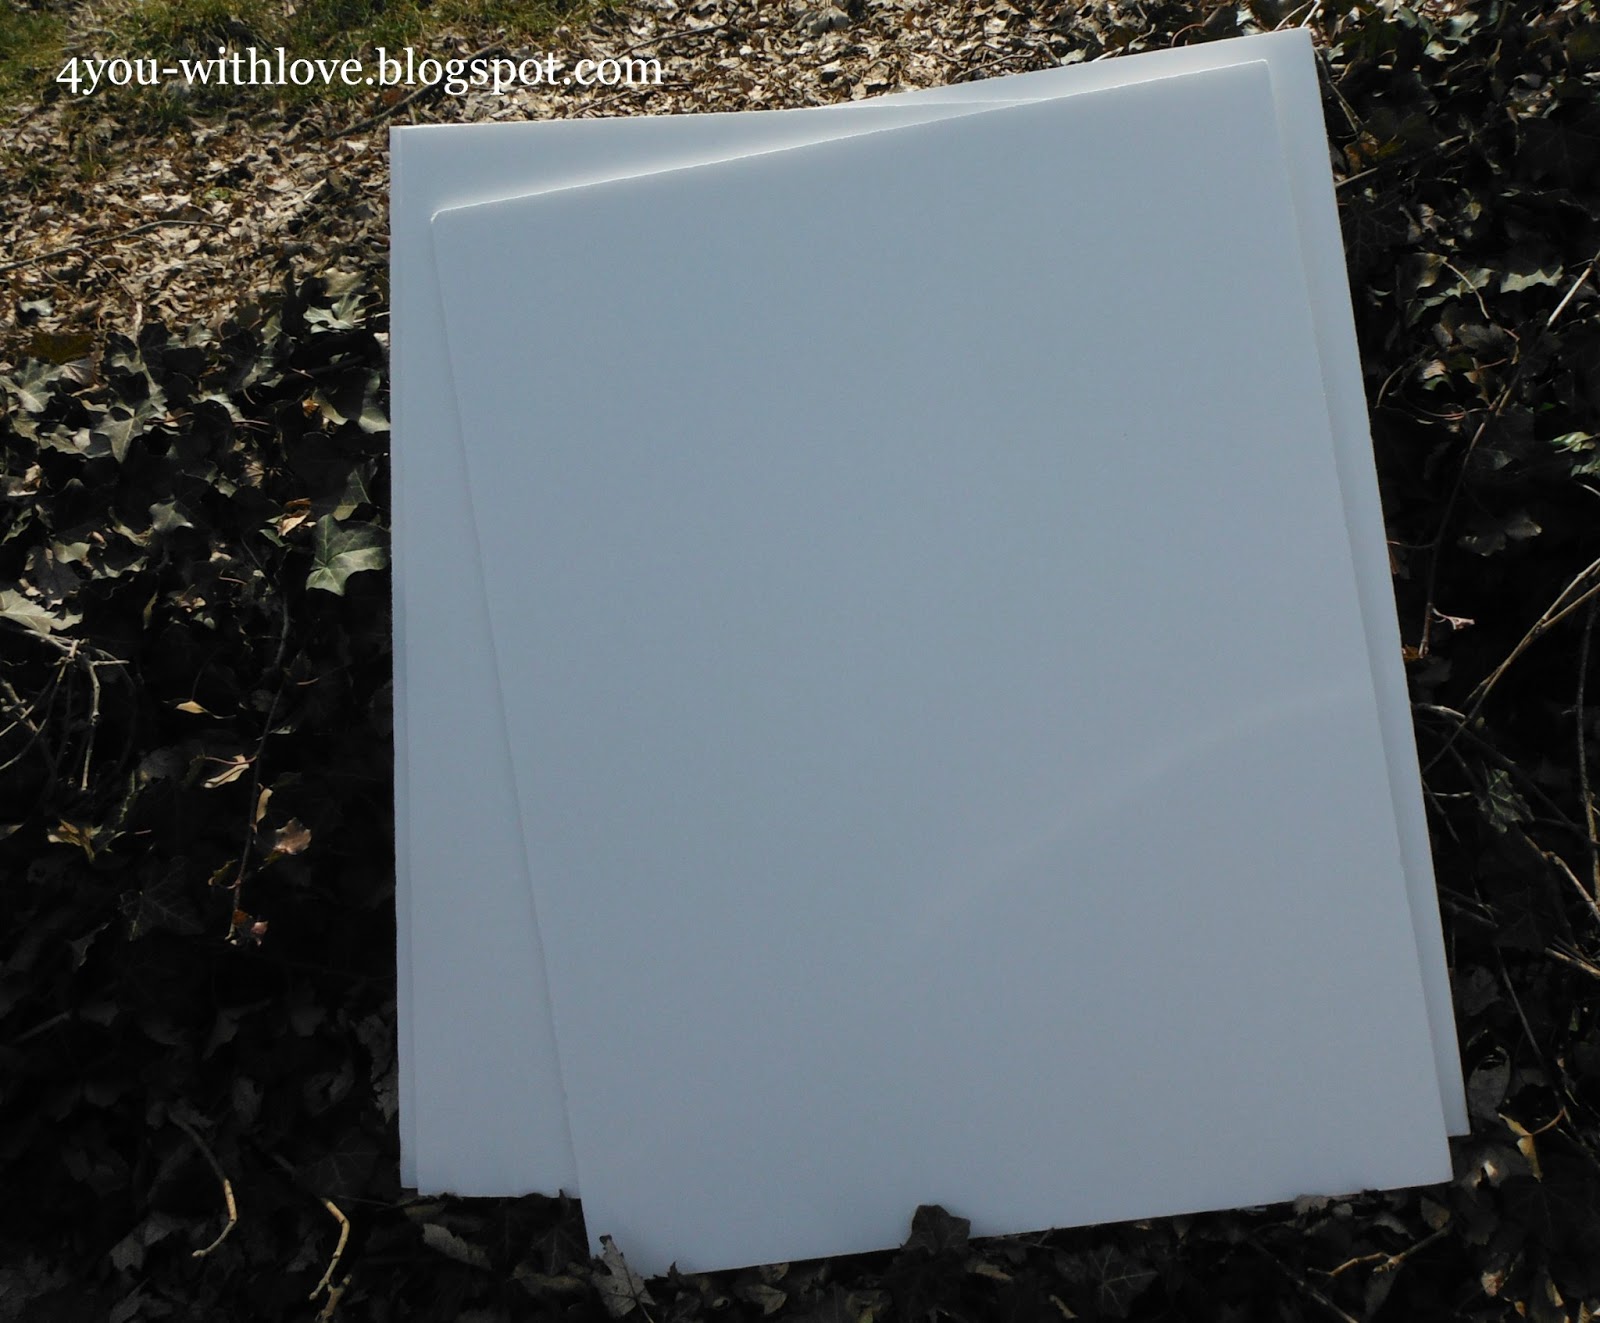
Tissue Paper
Packing Tape or Duct Tape
Scotch Tape
Tools:
Straight Edge
Utility Knife (with sharp razor blade)
Scissors
Cutting Mat
Directions:
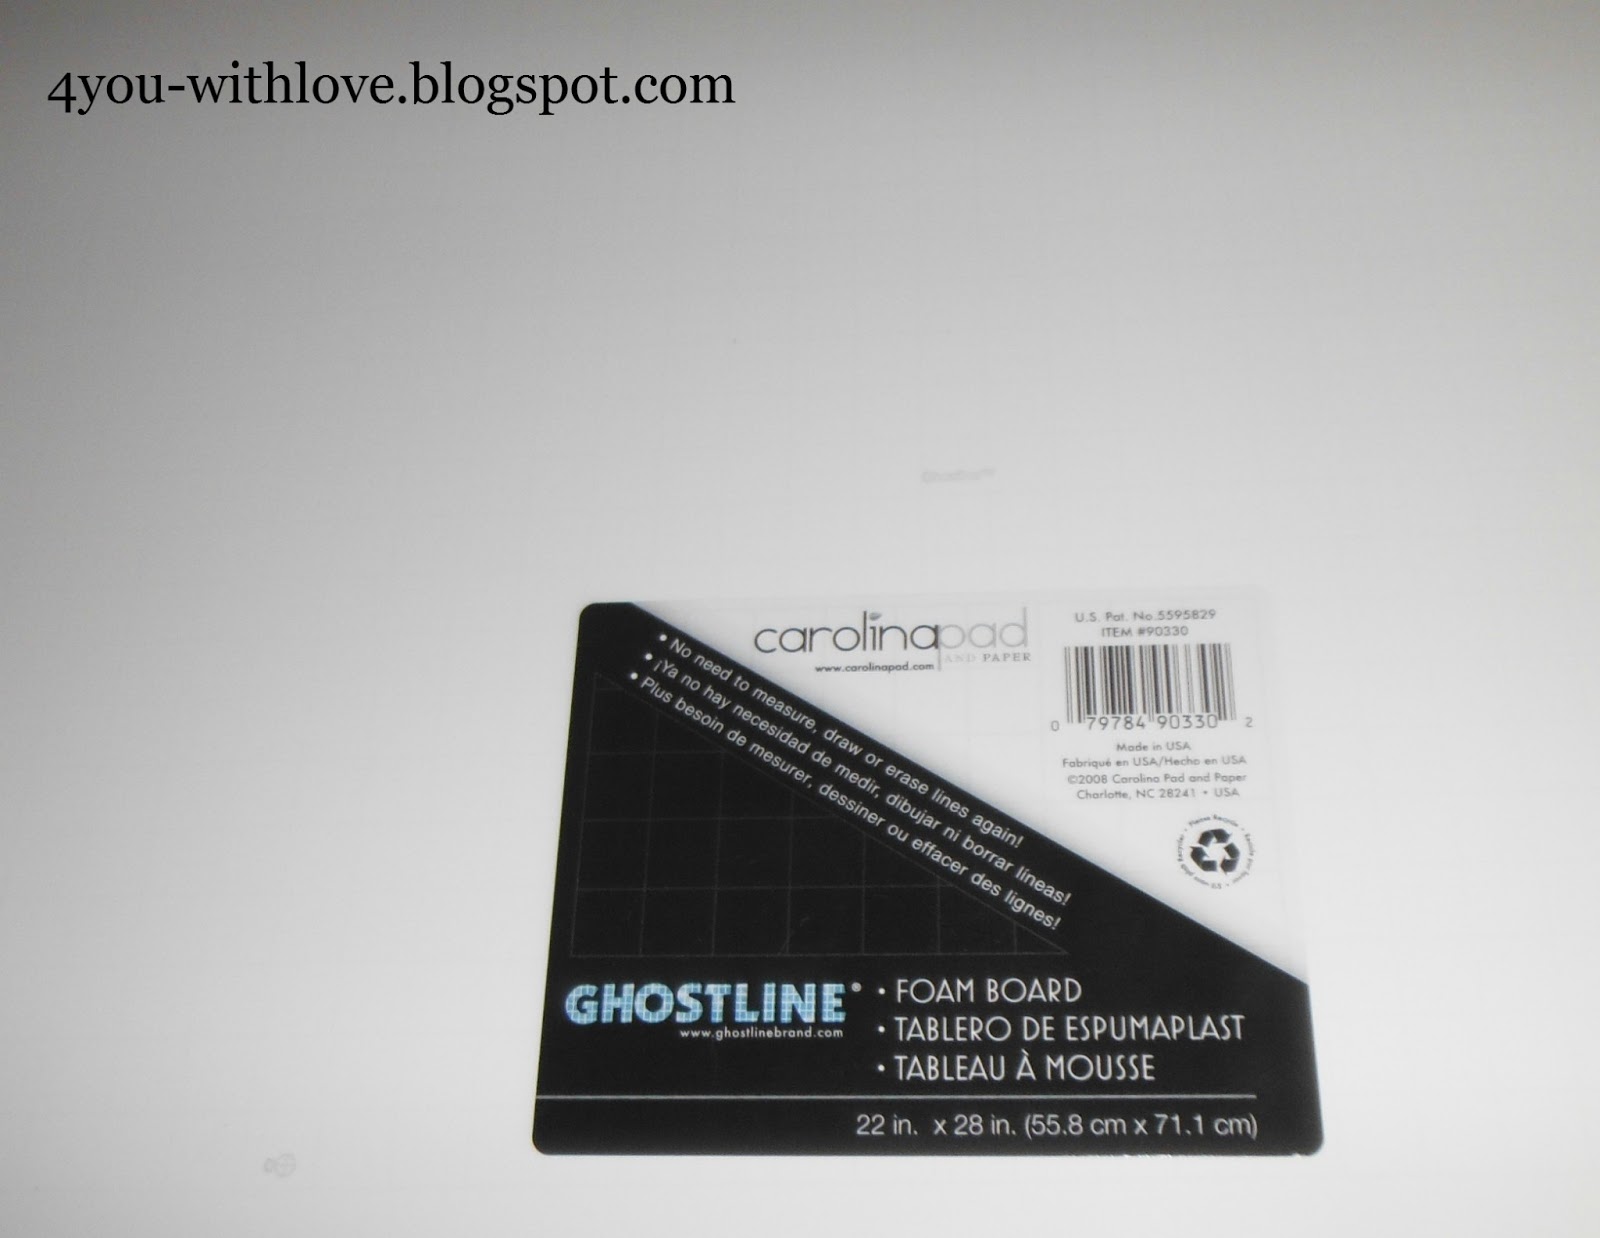
Here are the 4 pieces of foam board. Watch for them to go on sale. They were $1.50 each last week at Michael’s…total Cost $6.00. I used foam board because it is sturdy and already white so I would not need to paint anything…just cut and assemble.
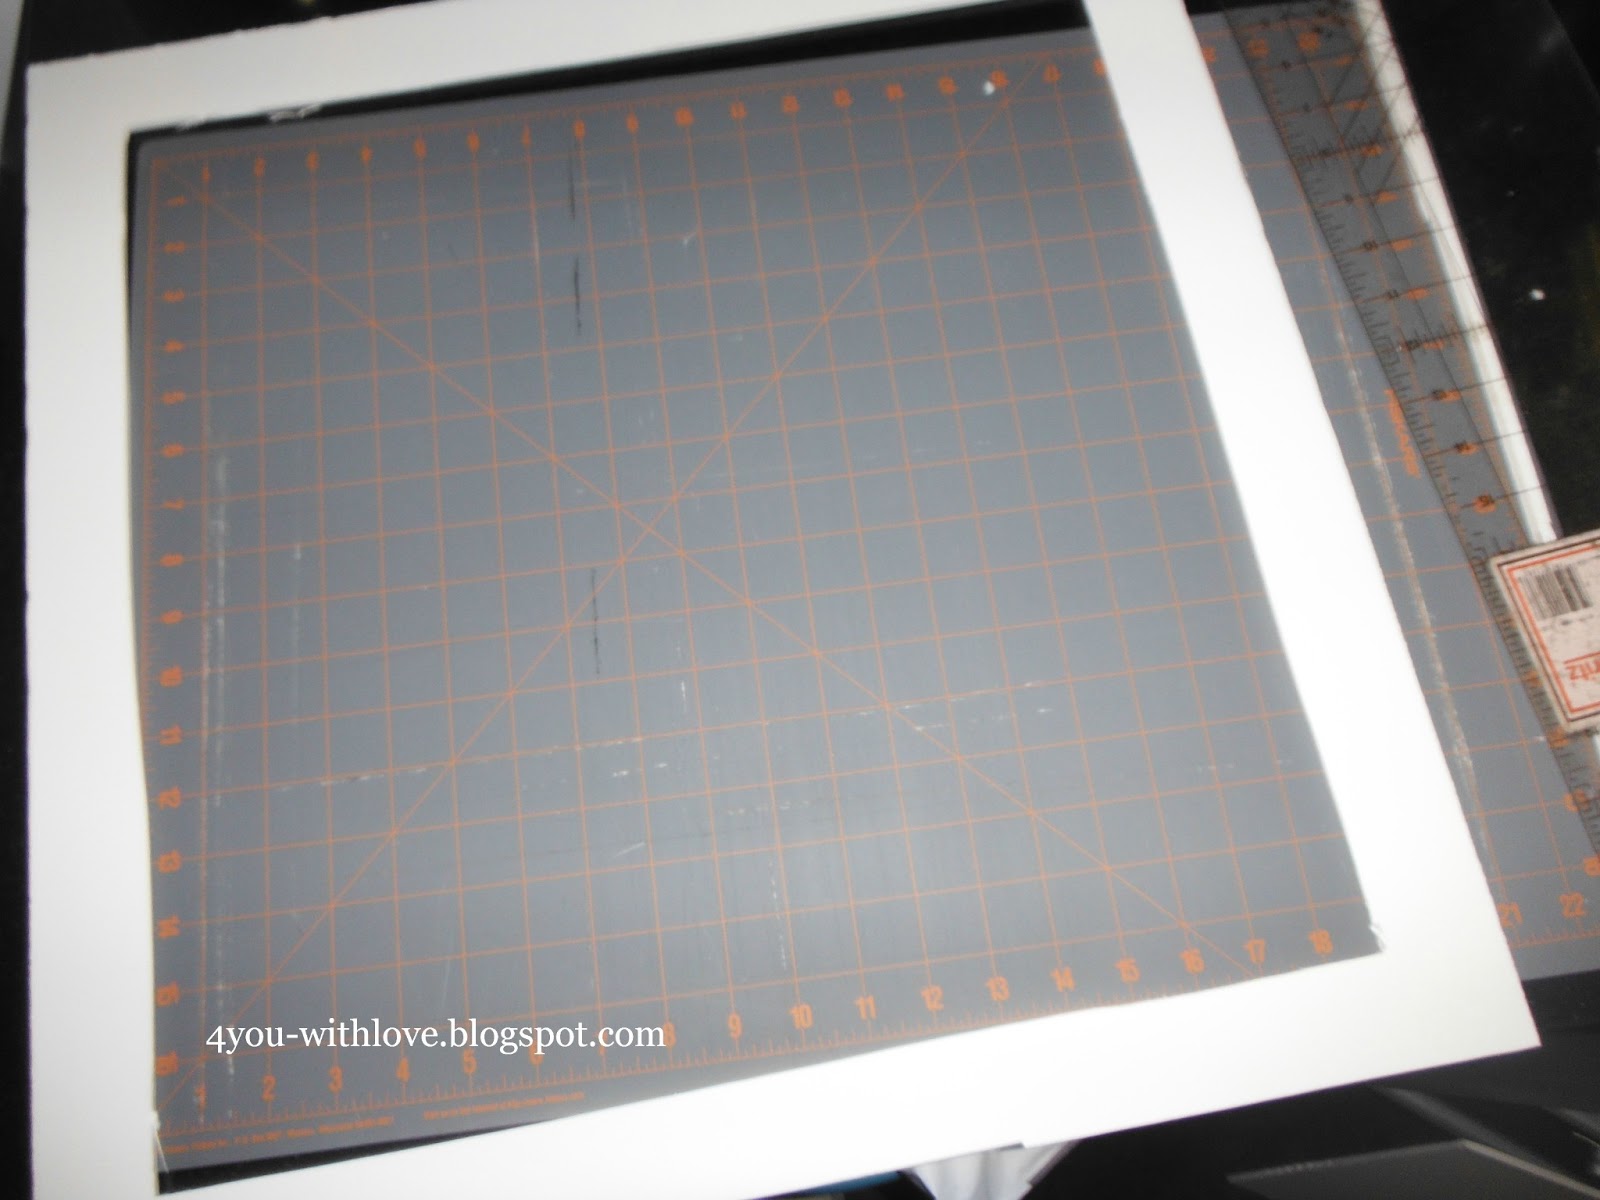
I don’t know if you can read this but these boards have a grid on one side to aid in cutting. Also this side of the board is glossier so I decided to make this the “wrong side”…it would be on the outside of my light box.
Place your cutting mat on a sturdy surface. (You can see mine has been used a lot!)
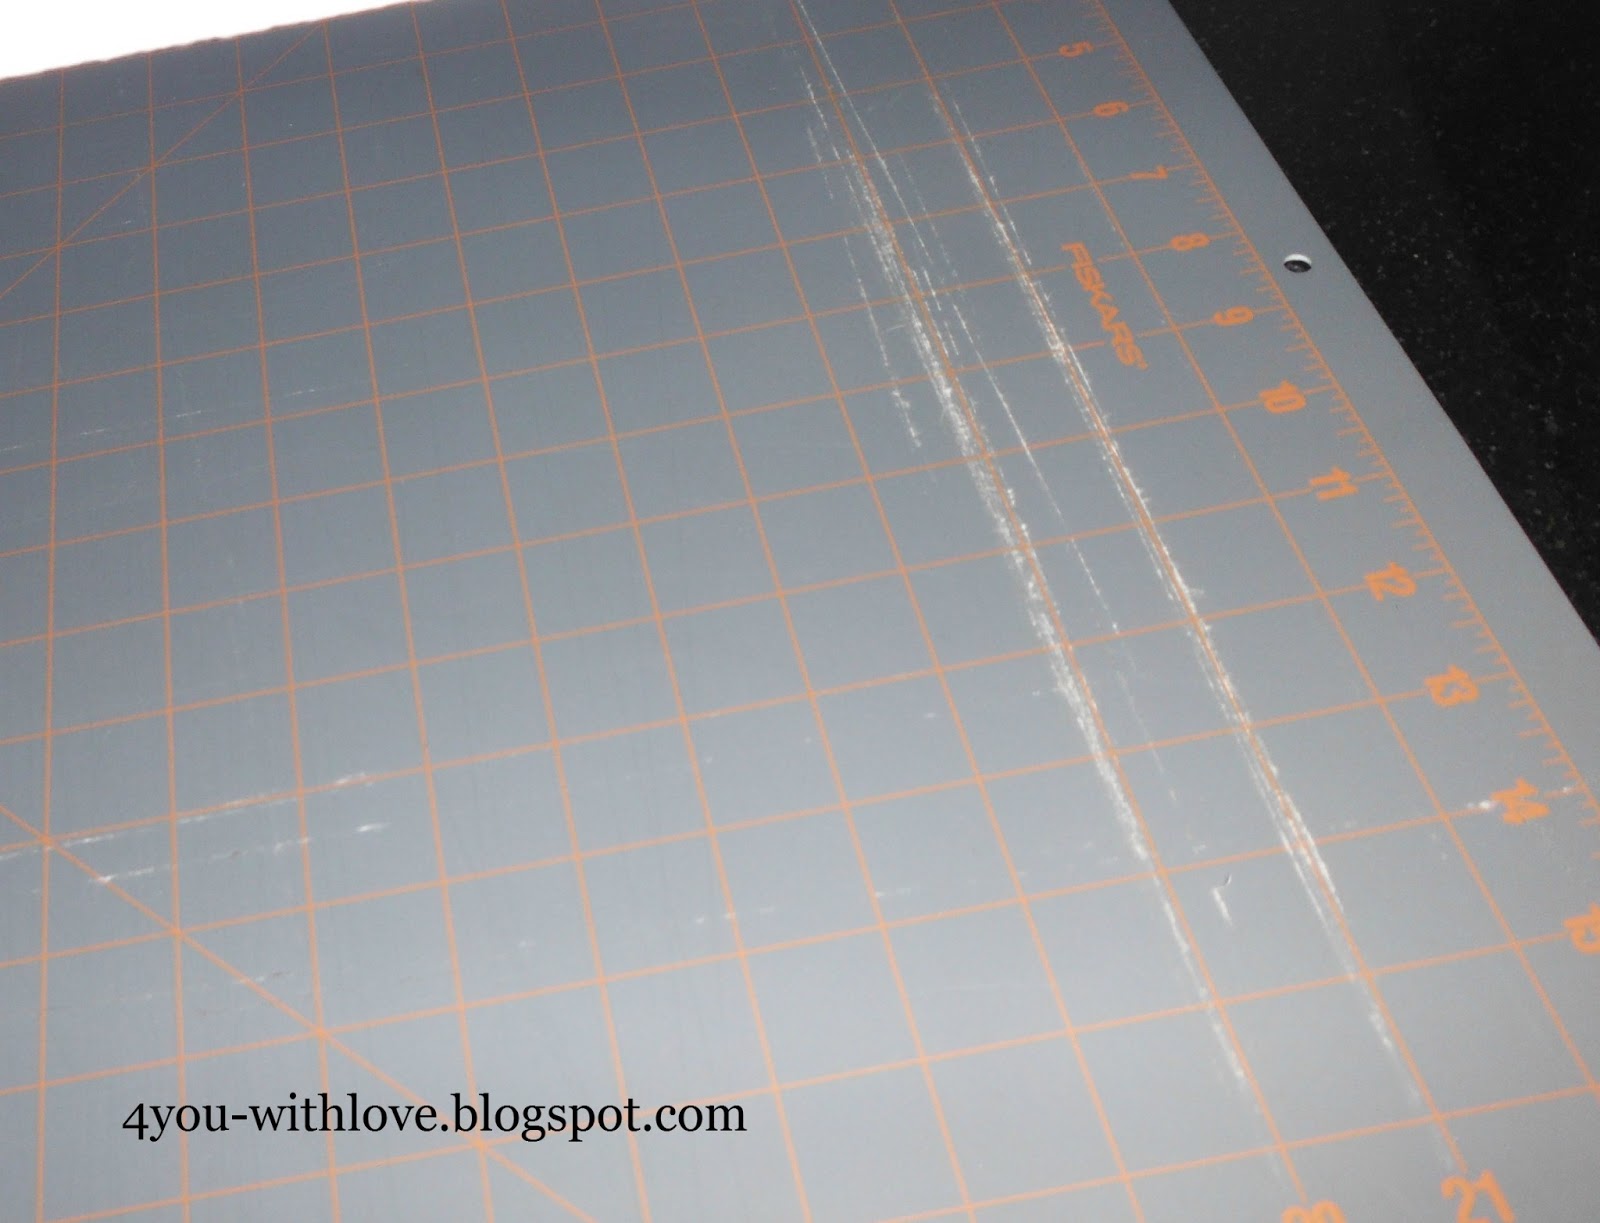
Using a straight edge (I used a quilting ruler) and your utility knife cut the following pieces.
First: Cut each of your foam boards into squares 22″ x 22″. (You will have 4 total)
Second: Set one of these foam squares aside….it will be the back of your box and you want it to be solid.
Third: With the remaining 3 squares, you want to cut out an inner 20″ x 20″ square so that you create a frame (see picture). Now, if your inner square is not perfect, do not fret. What is important is that you are creating the “frame”.
You now need to cover your “frames” with tissue paper. (The tissue paper will diffuse the light as it enters your light box). Attach the tissue paper with scotch tape around ALL the edges.

Now it is time to assemble your box.
What you are going to do is first assemble the equivalent of a tri-fold display like this…
Frame Square — Solid Square — Frame Square.
Using your packing tape or duct tape you are going to create hinges for this tri-fold portion of your light box between the fame squares and the solid square.
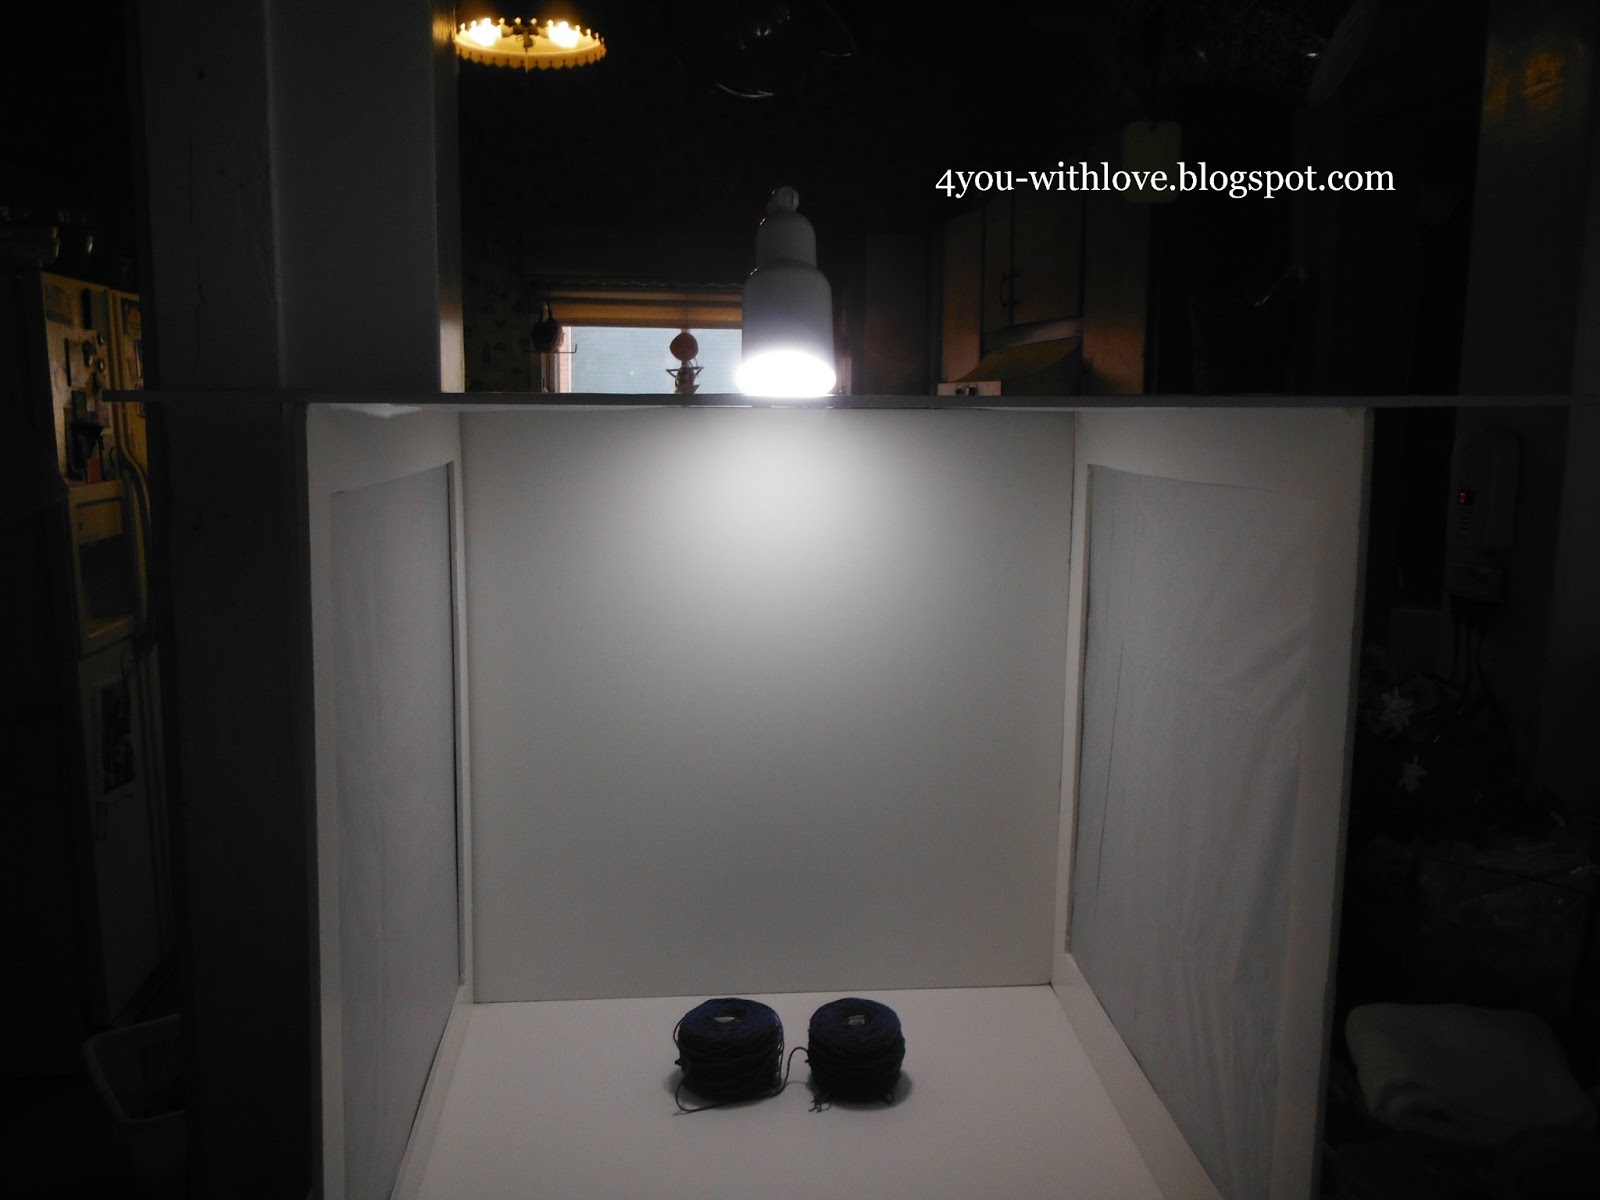
Then set up your light box by setting up your newly created tri-fold and place the 4th frame on top. I tried out the box by putting a light that shines through the top.
Look at how the pictures turned out.
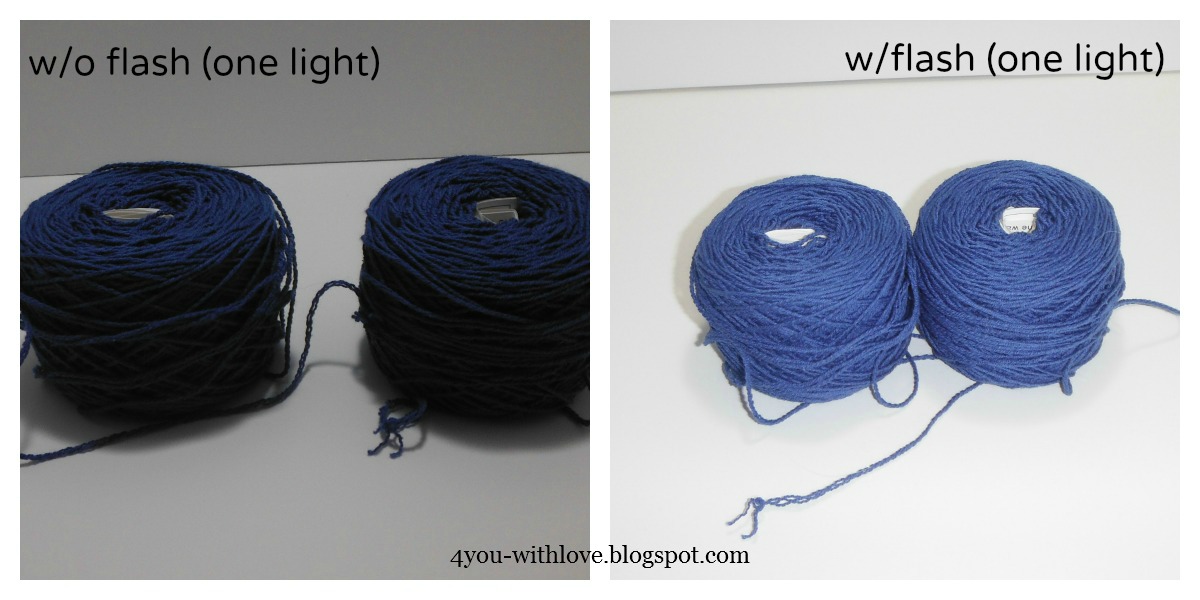
Here is a picture that I took last December without a light box. Although the picture is clear it is awfully harsh.
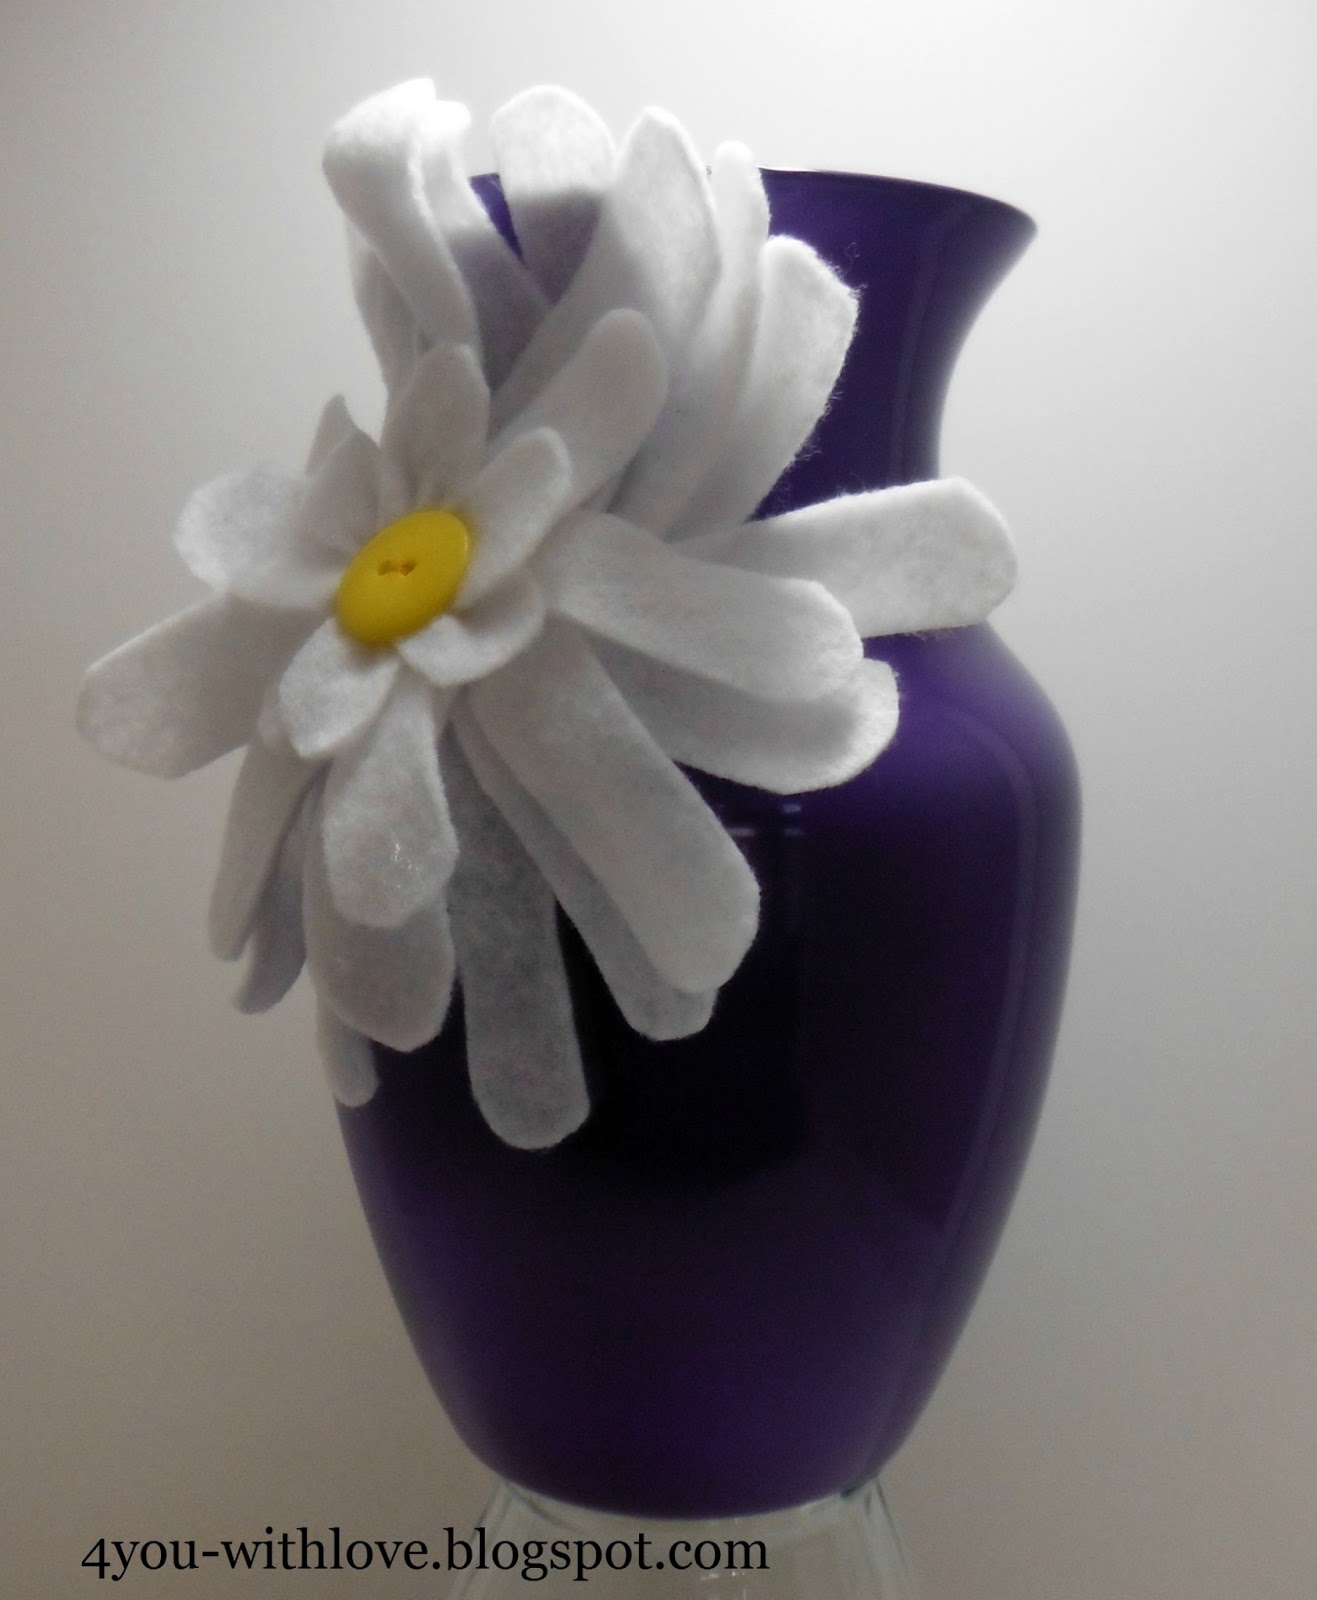
Now here is a picture of my anthro knock-off vase in the light box. See how clear yet soft it looks?
And, when I’m done taking pictures, I just fold this up and I can easily store it in many places: under the bed, in a closet, on top of a bookcase. Much nicer storage than an actual box.
Also, I want to share that looking around on the internet, it looks as though the best pictures are done with 2-3 lights (one shining in from each side of the box and one from the top). These additional lights create beautiful pictures without shadows.
So make your own light box today. You’ll be so glad you did!
4 You
Marilyn, this is fabulous! And a big thanks to Shannon at Sewing Barefoot
I always take my pictures outside or right in front of my kitchen window – this would be great for when there is no sunshine or at night. Thank you for sharing – I will definitely have to make me one.
Hugs,
Stephanie
This is awesome! I have been trying to figure out how to take better pictures! I usually try it by a window, but in the dark gray days of winter that doesn’t always work. I’ll have to attempt making one of these!
I saw her post too and made one. I haven’t used it yet as my recent project was too large for the box but I am definitely looking forward to it!
You are such a genius! And FYI, you can get those foam core boards at the Dollar Tree for $1 any time.
This is so great! Thank you so much. I’m off to get foam core today! My future photos thank you
This is so great that you made yours foldable! So smart. Thank you for linking to my post and I’m glad it inspired you to make an amazing light box!!
Shannon @ Sewing Barefoot
I have already pinned a couple of lightbox ideas, so I am adding this one too! It’s about time I get my hands on one ???? Thanks for sharing your experience!
This is fantastic, Marilyn!! Thanks for sharing!!
Brenda @ChattingOverChocolate.blogspot.com
I have the exact same dilemma as you! Winter days are so short, so I’m never home when there’s sun, and we’re on the first floor of our building with the building in our back being on a hill and very tall, so we get 1-2 hours of sunlight coming directly into our apartment in the winter, 3-4 during the summer. I’ve been wanting to do a light box for ever, but storage was an issue as well. So I LOVE your idea of making it foldable! I think I might just make one now!! Thank you so much!
Great idea!! Thanks for sharing
This is awesome. I will be doing this soon! Thanks for the tutorial.
Great job! I’ve had this on my list of things to do for so long but haven’t followed through. I like your idea of folding it up. I wasn’t sure how to store it either.
Thanks for the tips. I’v been wondering what more tasks could I give to my husband and there it is
Hugs
You little ripper Marilyn. I saw that tutorial a while ago and thought its just perfect but where do you store it? Your idea is just perfect. I’m definitely doing this.
Anne xx
This looks just like mine that is stored flat!! Great job!
Thank you for sharing this great idea for taking better pics.
Leslie
http://www.thememorynest.blogspot.com
Love this! I have a need for a lightbox, but where to store??? I think I even have what I need hiding around the from all my children’s fair projects. Thanks for the tutorial!
Love all the great details that you put into this project. added a link to this project over at craftbyjen.com
I’ve been looking at making my own light box. This is the first one that I have found that folds! How brilliant!!! I’m planning on making one and have been thinking about how I want to store it too. Thanks for sharing with us!