Okay, unless you live in a cave, you know that it’s Valentine’s season and time to shower your sweeties with goodies. Every store you go to has “hearts” all around with an emphasis on either candy, flowers or jewelry. If you look around Pinterest, you’ll find tons of people pinning heart shaped desserts, homemade valentine ideas, and other amazing “love” based projects.
Well, I’m sharing a project with you today and I’m not calling it a “Valentine” Gift box but rather a…..
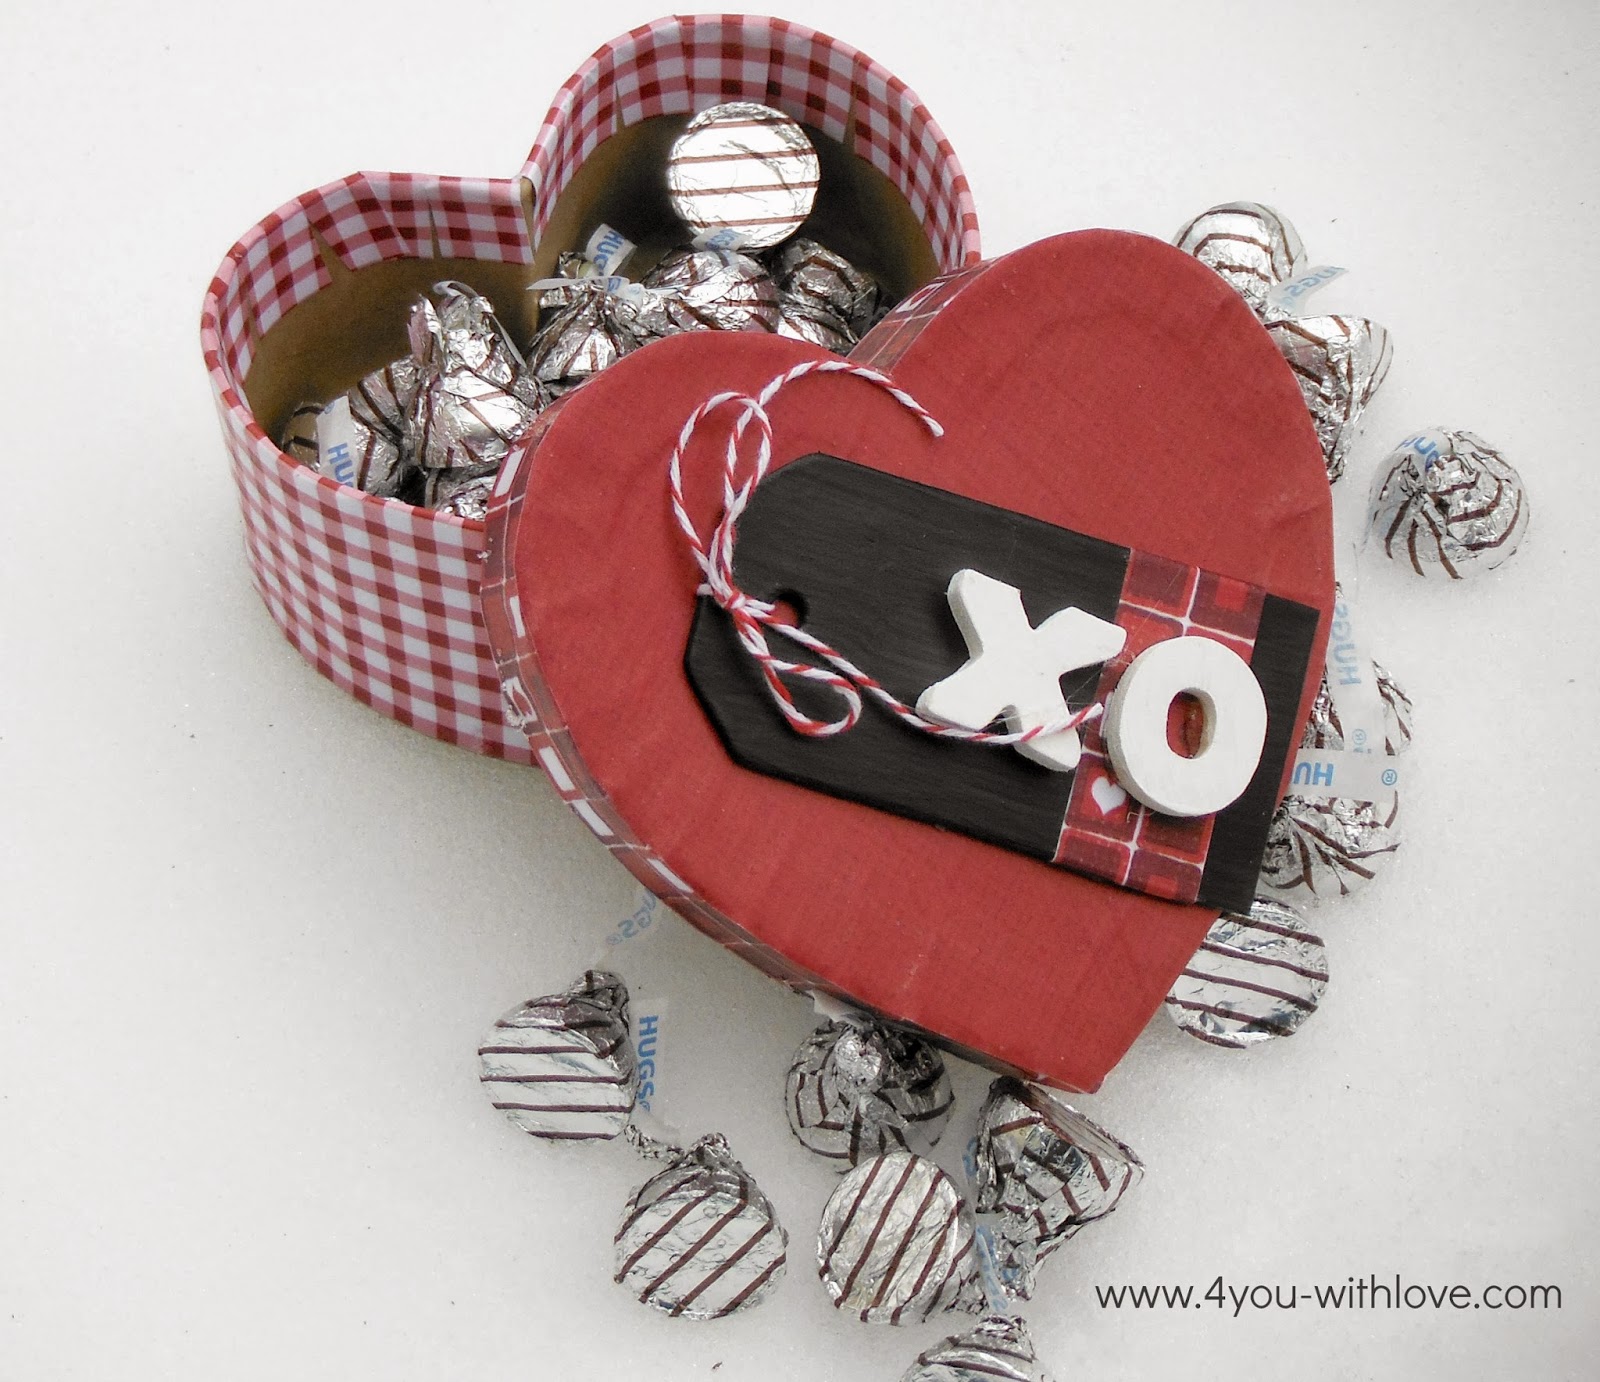
XO Gift Box
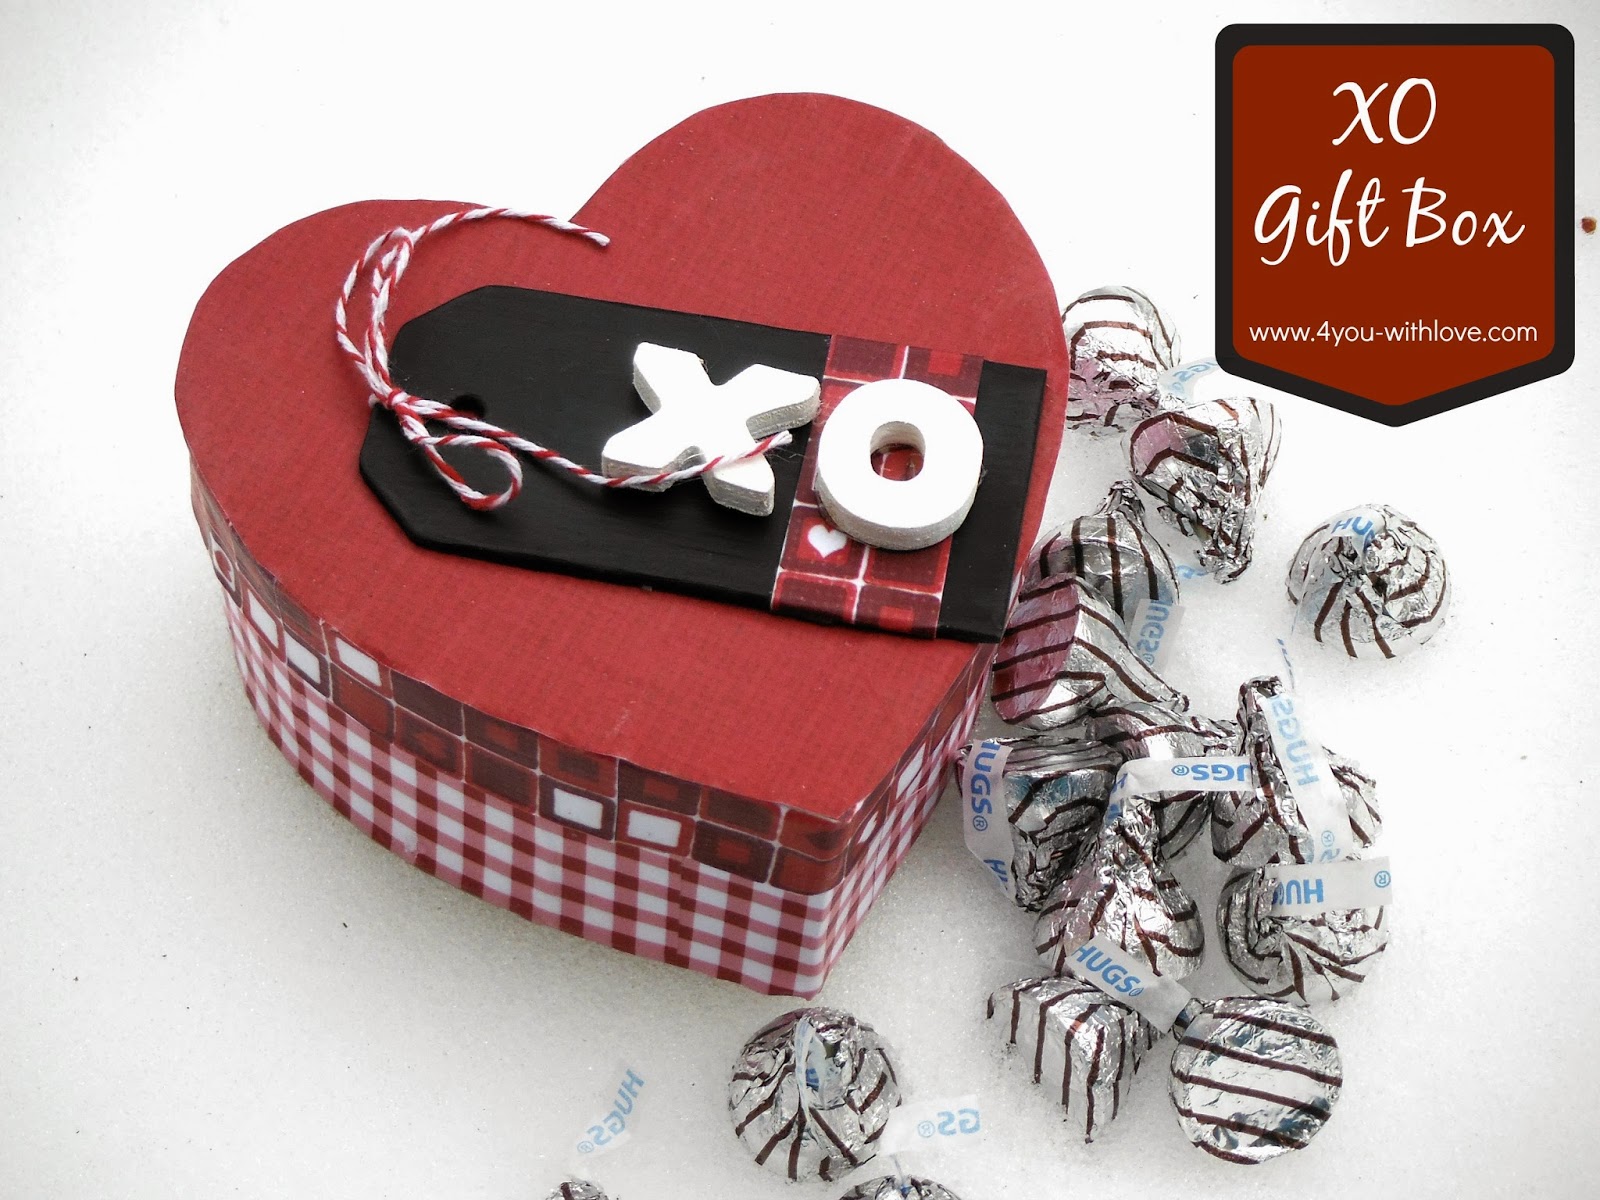
I must admit that I’m pretty psyched at how it turned out. Now this would be a great gift box for some Valentine’s Day goodies. However, this could also be made for Sweetest Day, an Anniversary, Mother’s Day, or another time just to let someone know you love them.
And the great thing about this project is that all the supplies are always available at your local Jo-Ann’s store. Yup, nothing is seasonal! So, although this post is being shared during the Valentine’s Day season, you can make this anytime to let someone know that they are truly special.
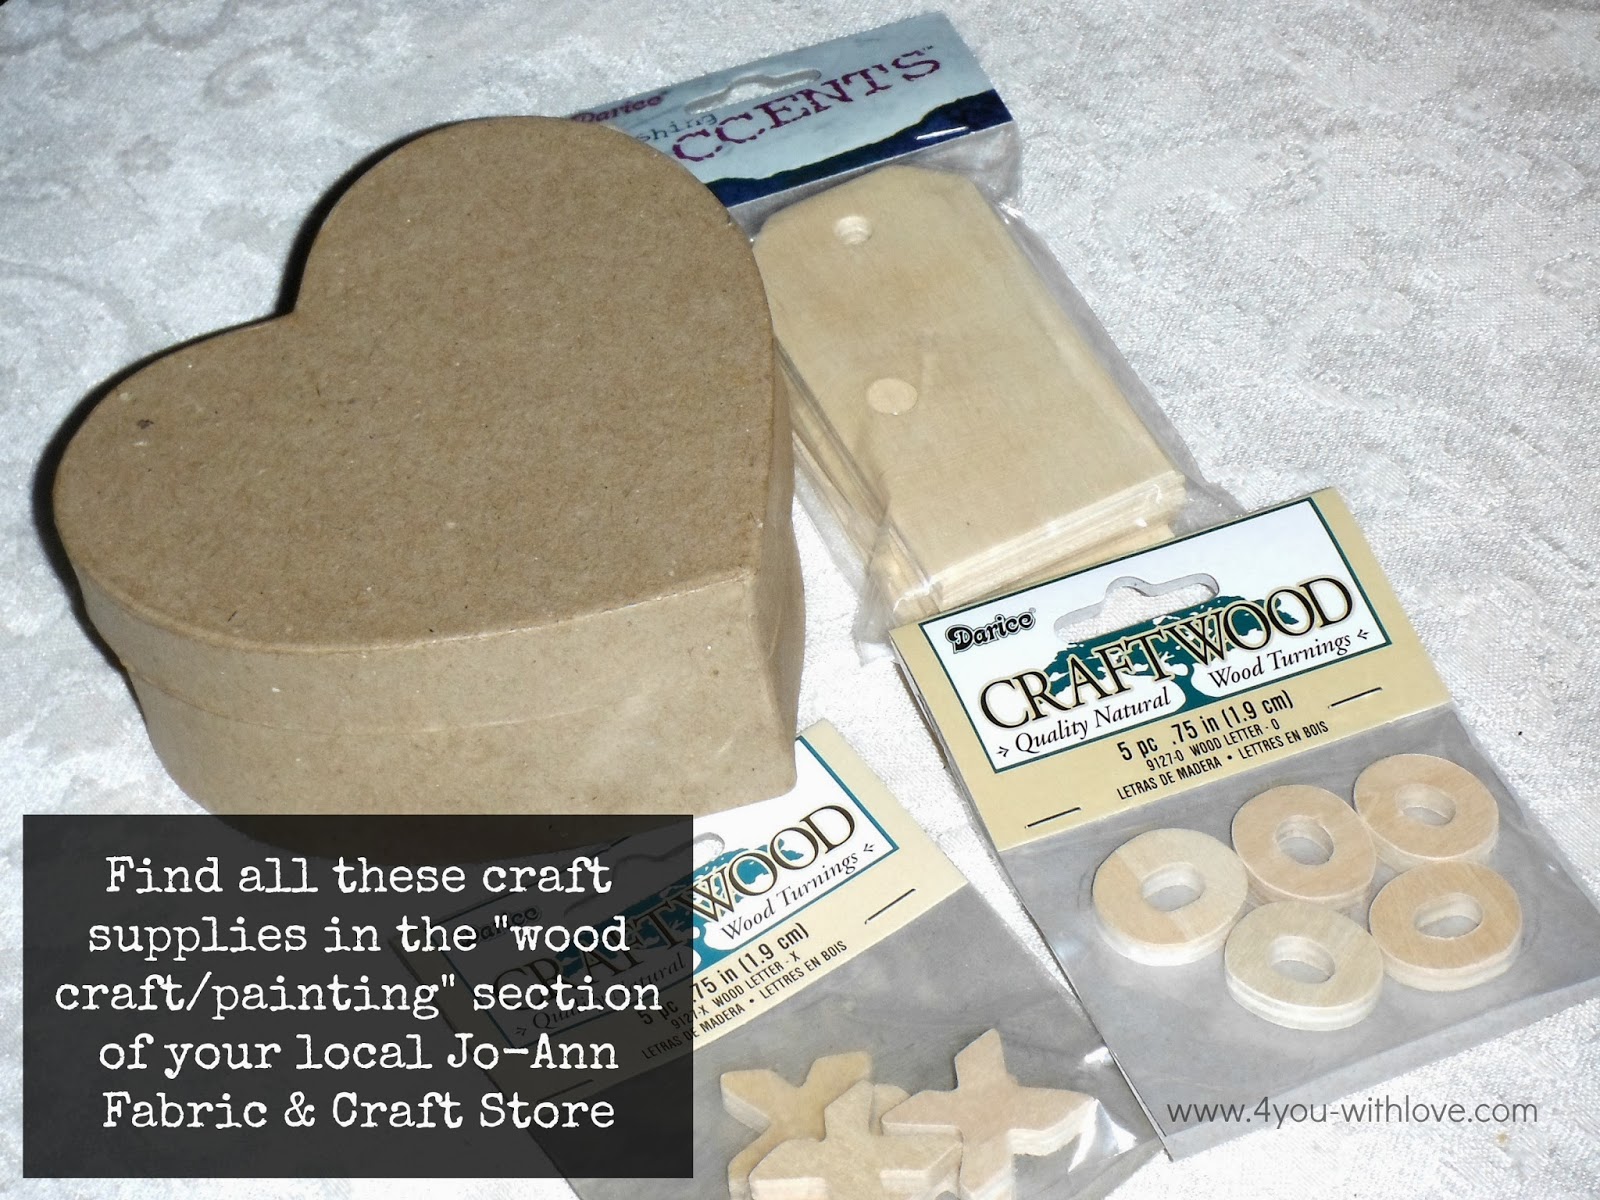
Supplies:
These items are found in the wood craft/paint section of your local Jo-Ann’s Store
- Paper mache heart box
- Darice brand wooden tags
- Darice brand craftwood “x” and “o”
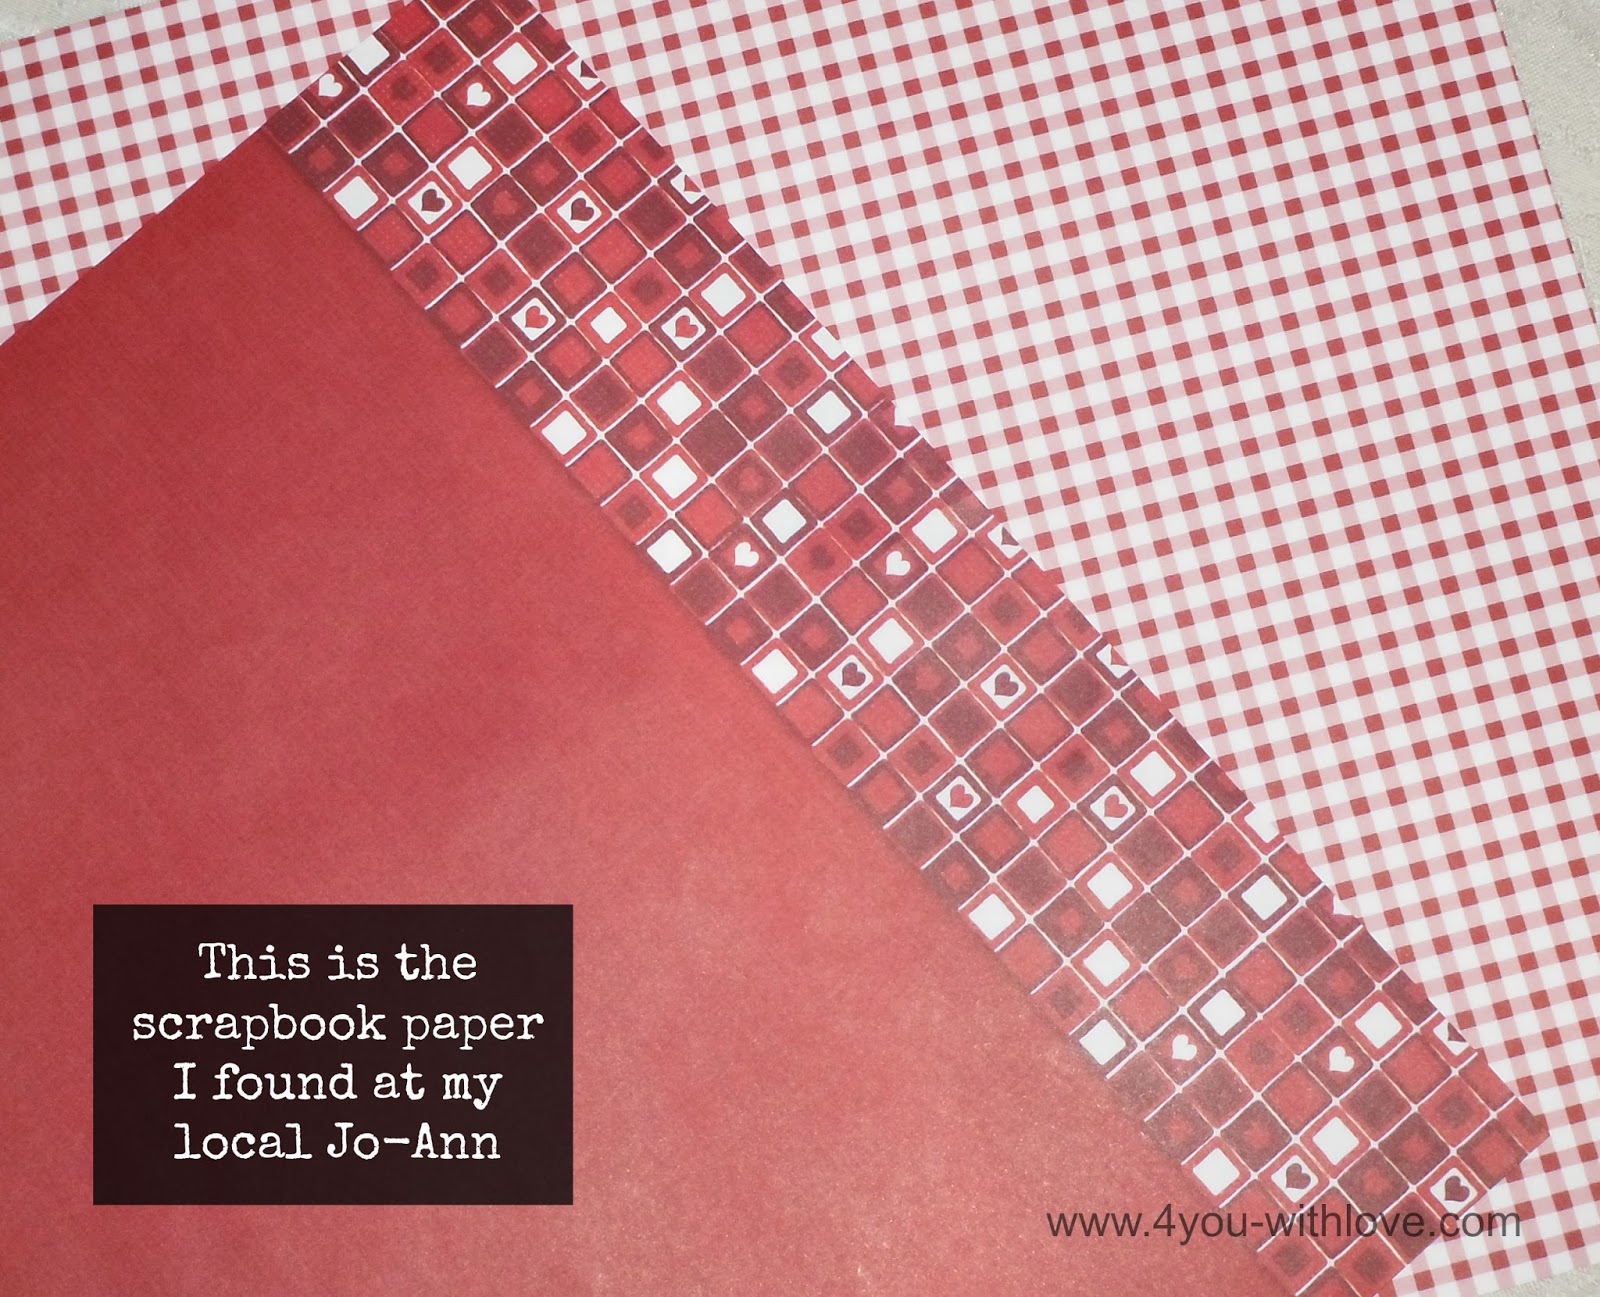
In the scrapbook paper section, I found these two awesome sheets of paper.
Additional Supplies include:
- Craft paint (I used white and black)
- Mod Podge Matte
- Hot glue & glue gun
- Foam brushes
- Scissors
- Clothes Pins
- Baker’s Twine, optional

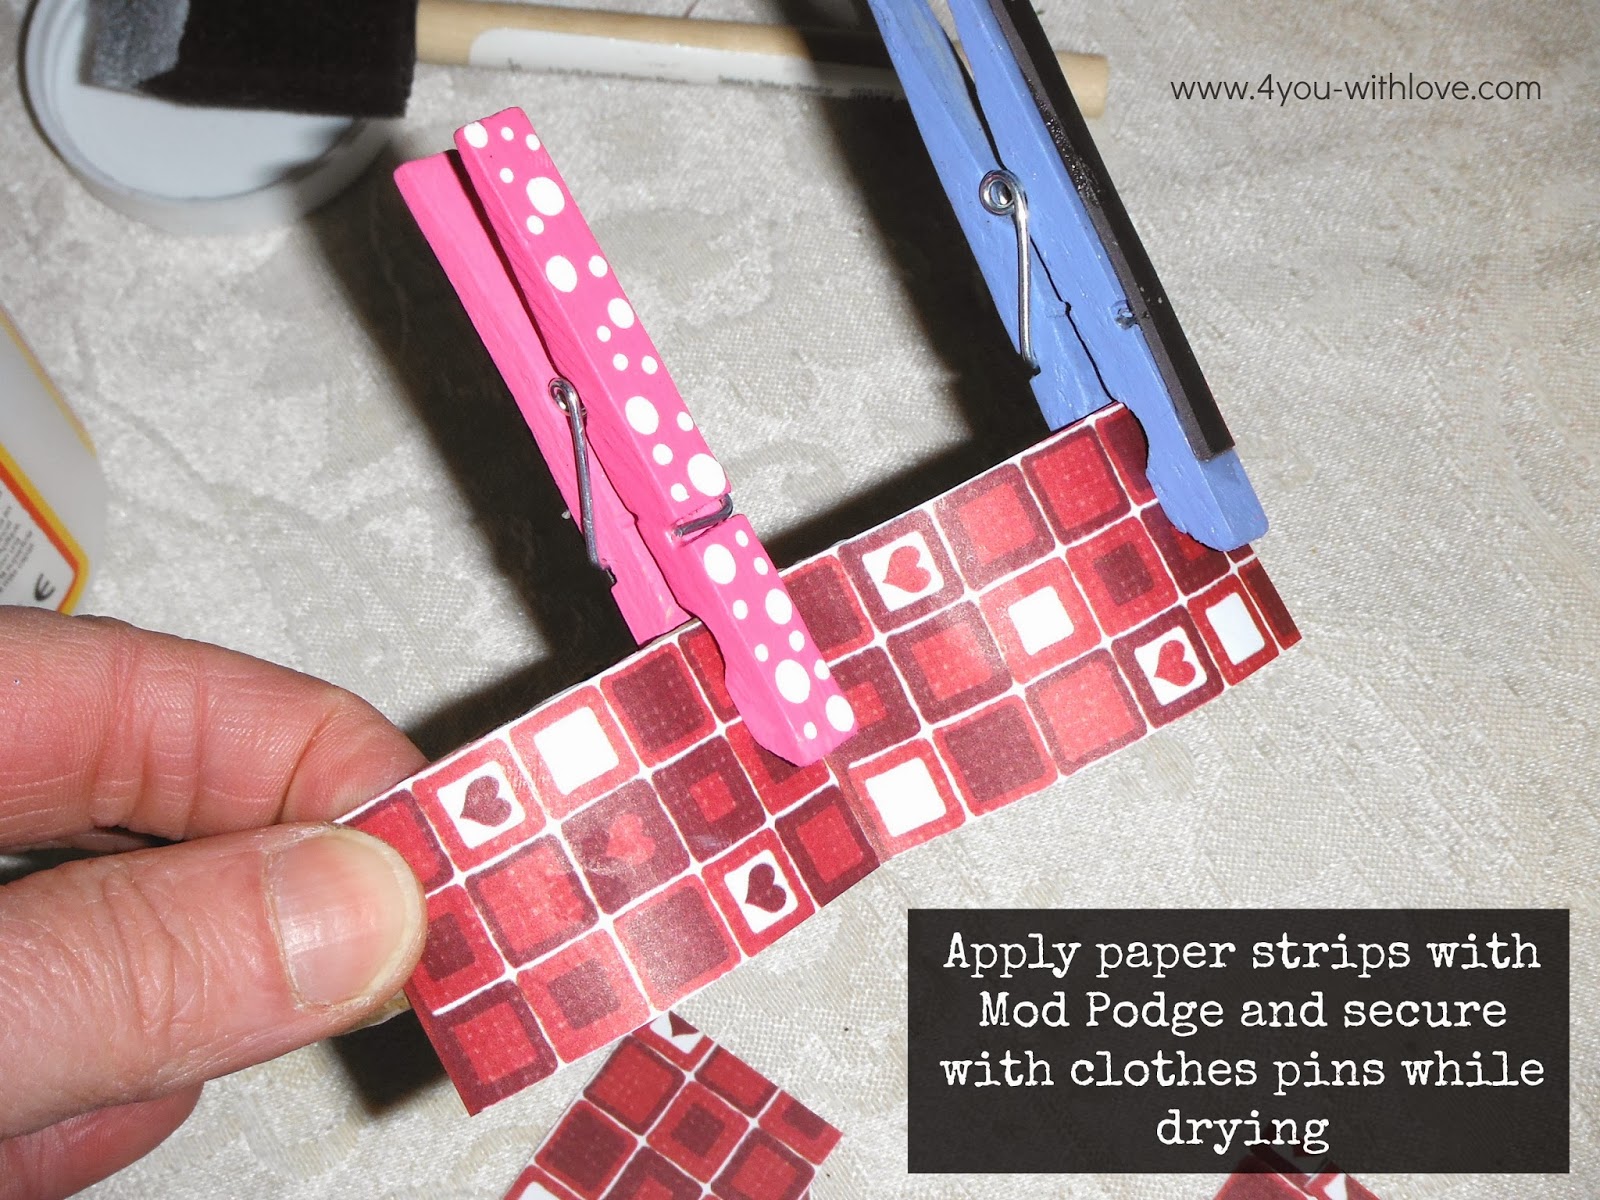
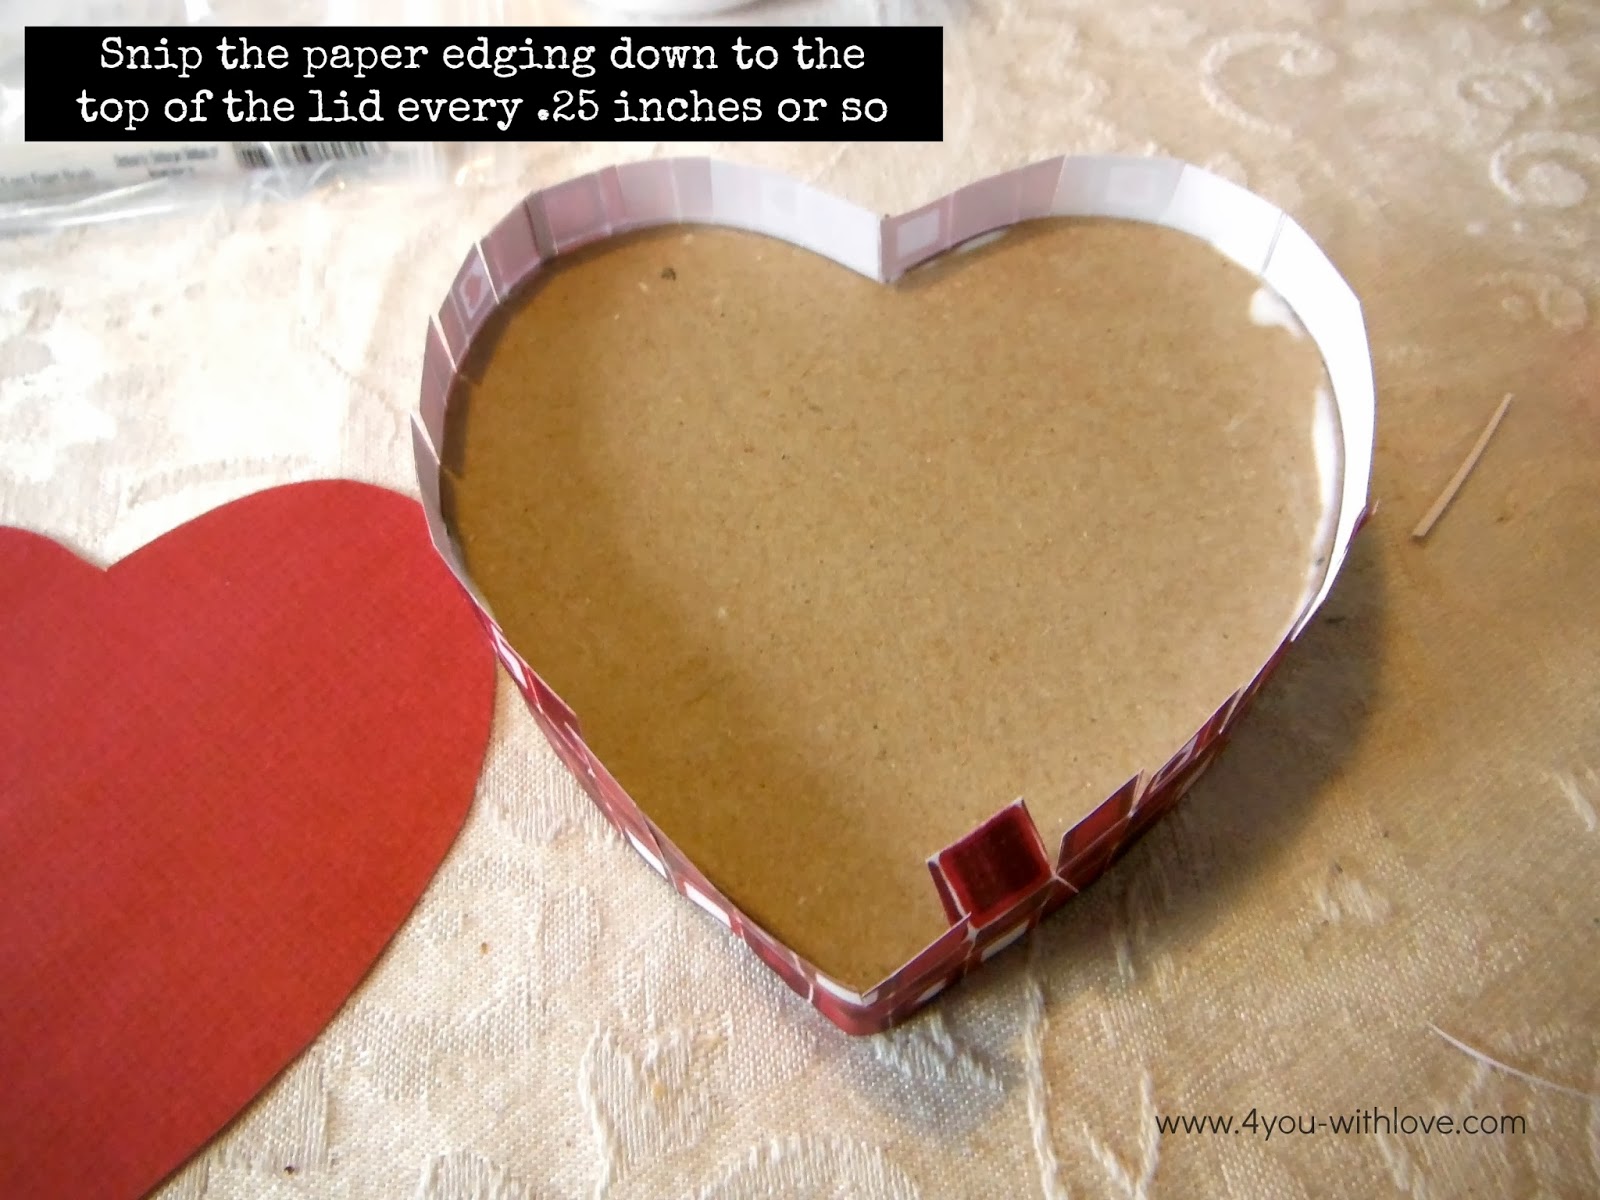
Apply some Mod Podge around the edge of your lid and fold the edges over. Once these are dry, apply Mod Podge all over the top of your lid
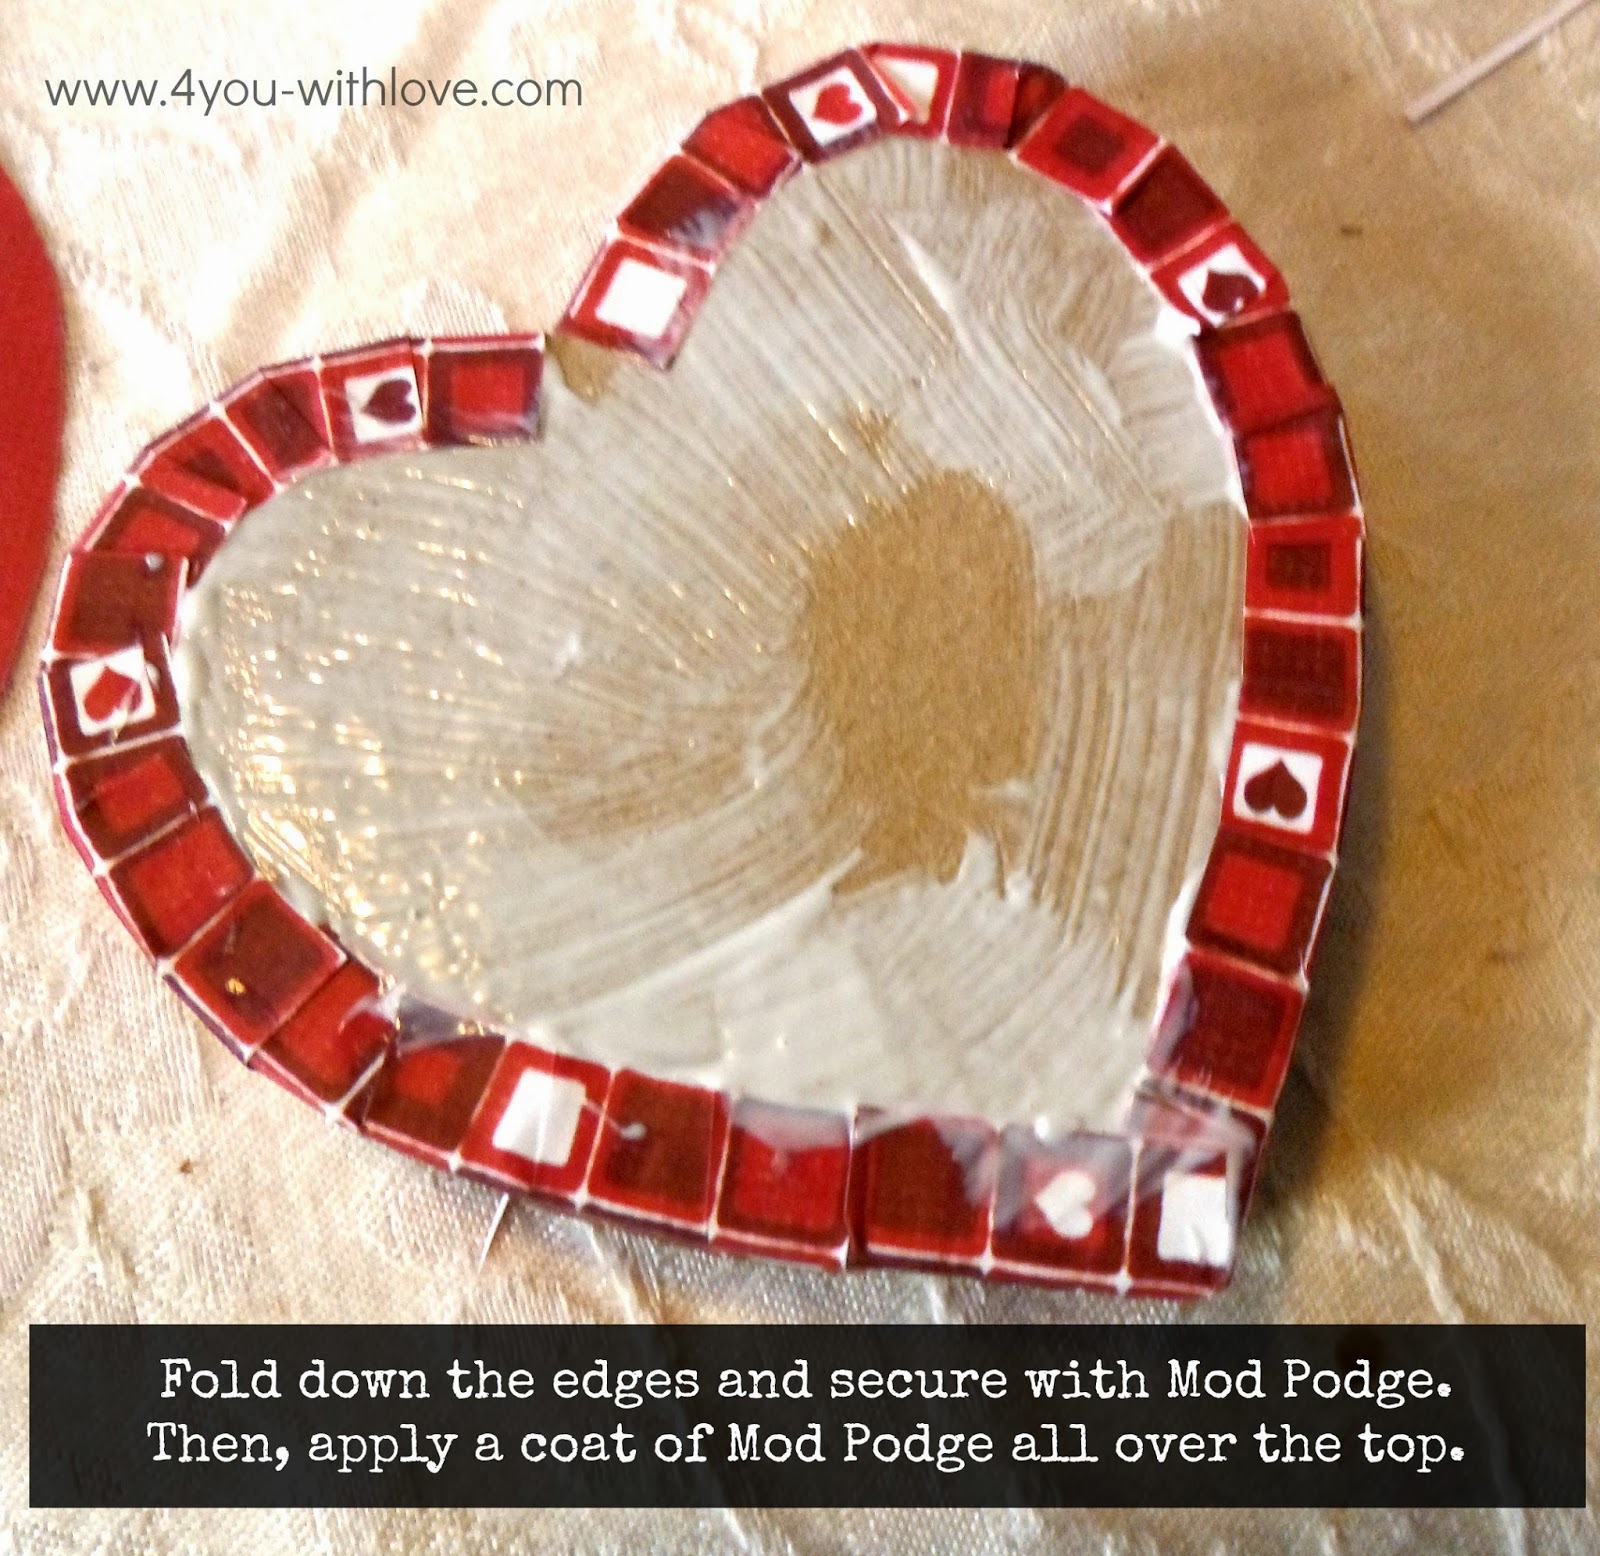
Then adhere the heart you cut out previously to the top of your lid. Smooth out as best as you can and allow it to dry. Then apply 2 coats of Mod Podge to seal.
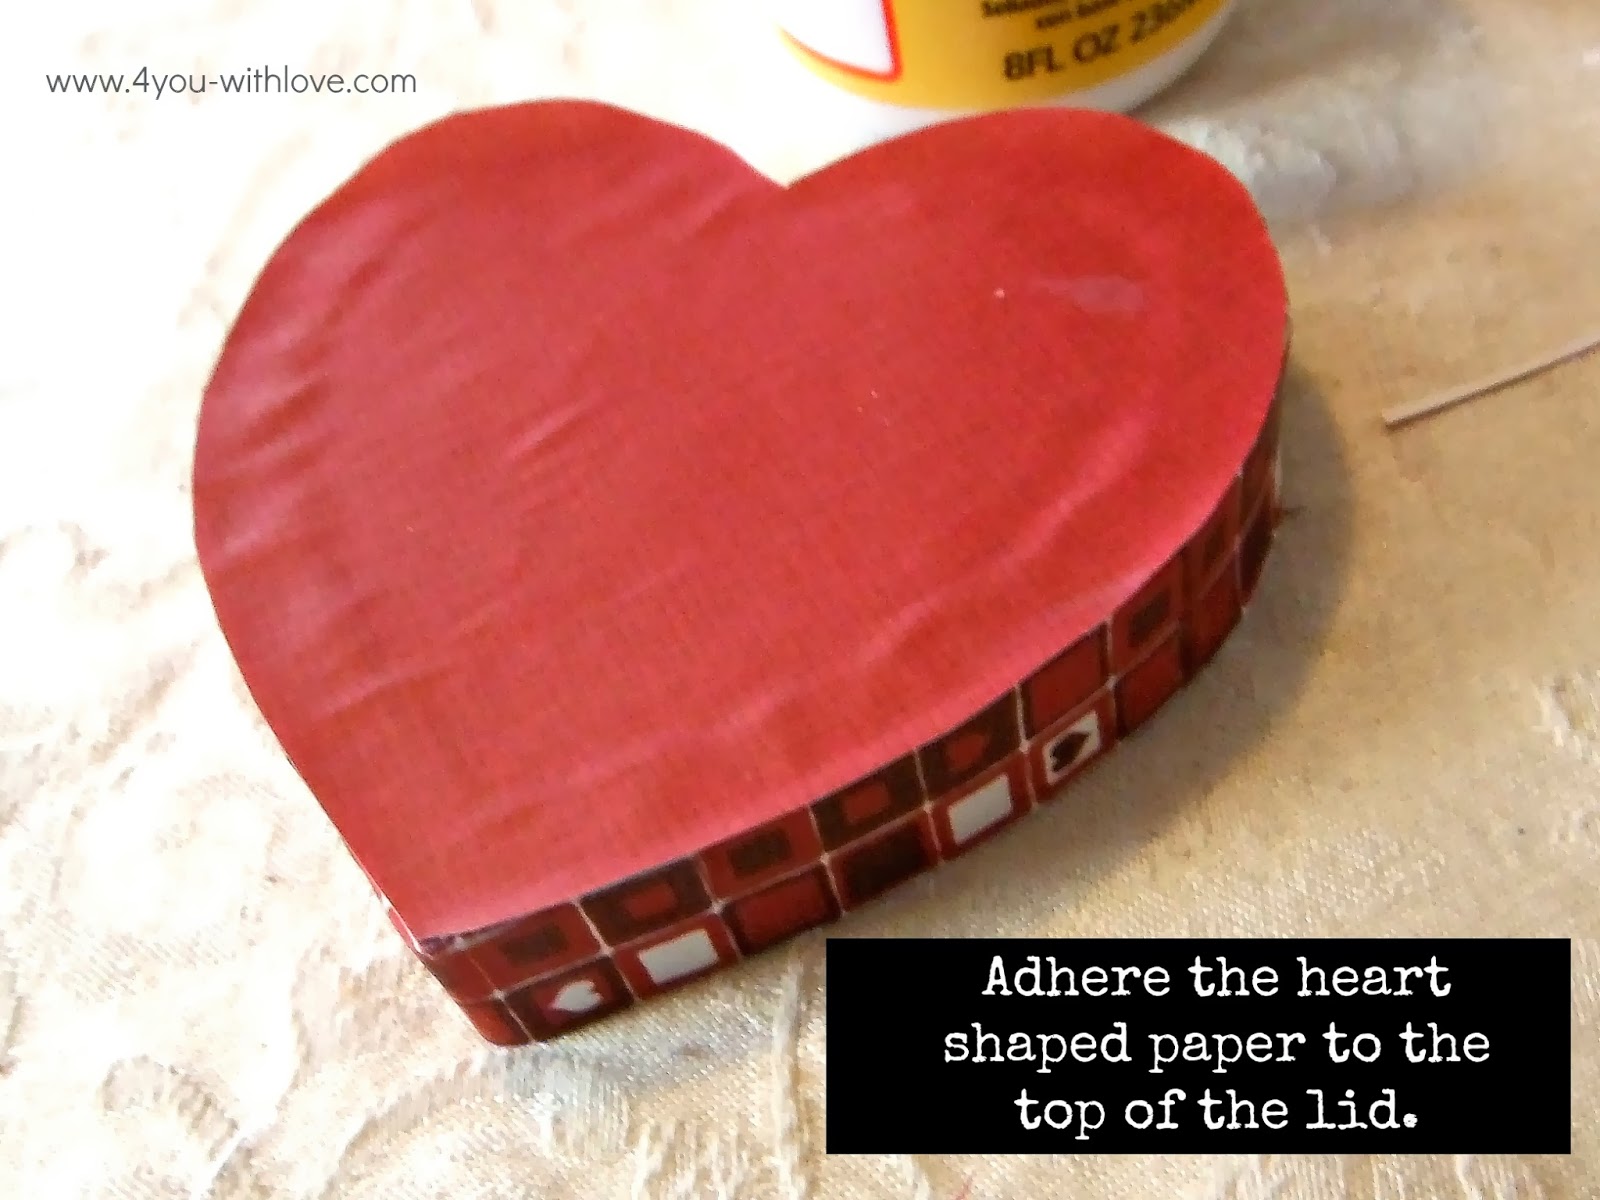
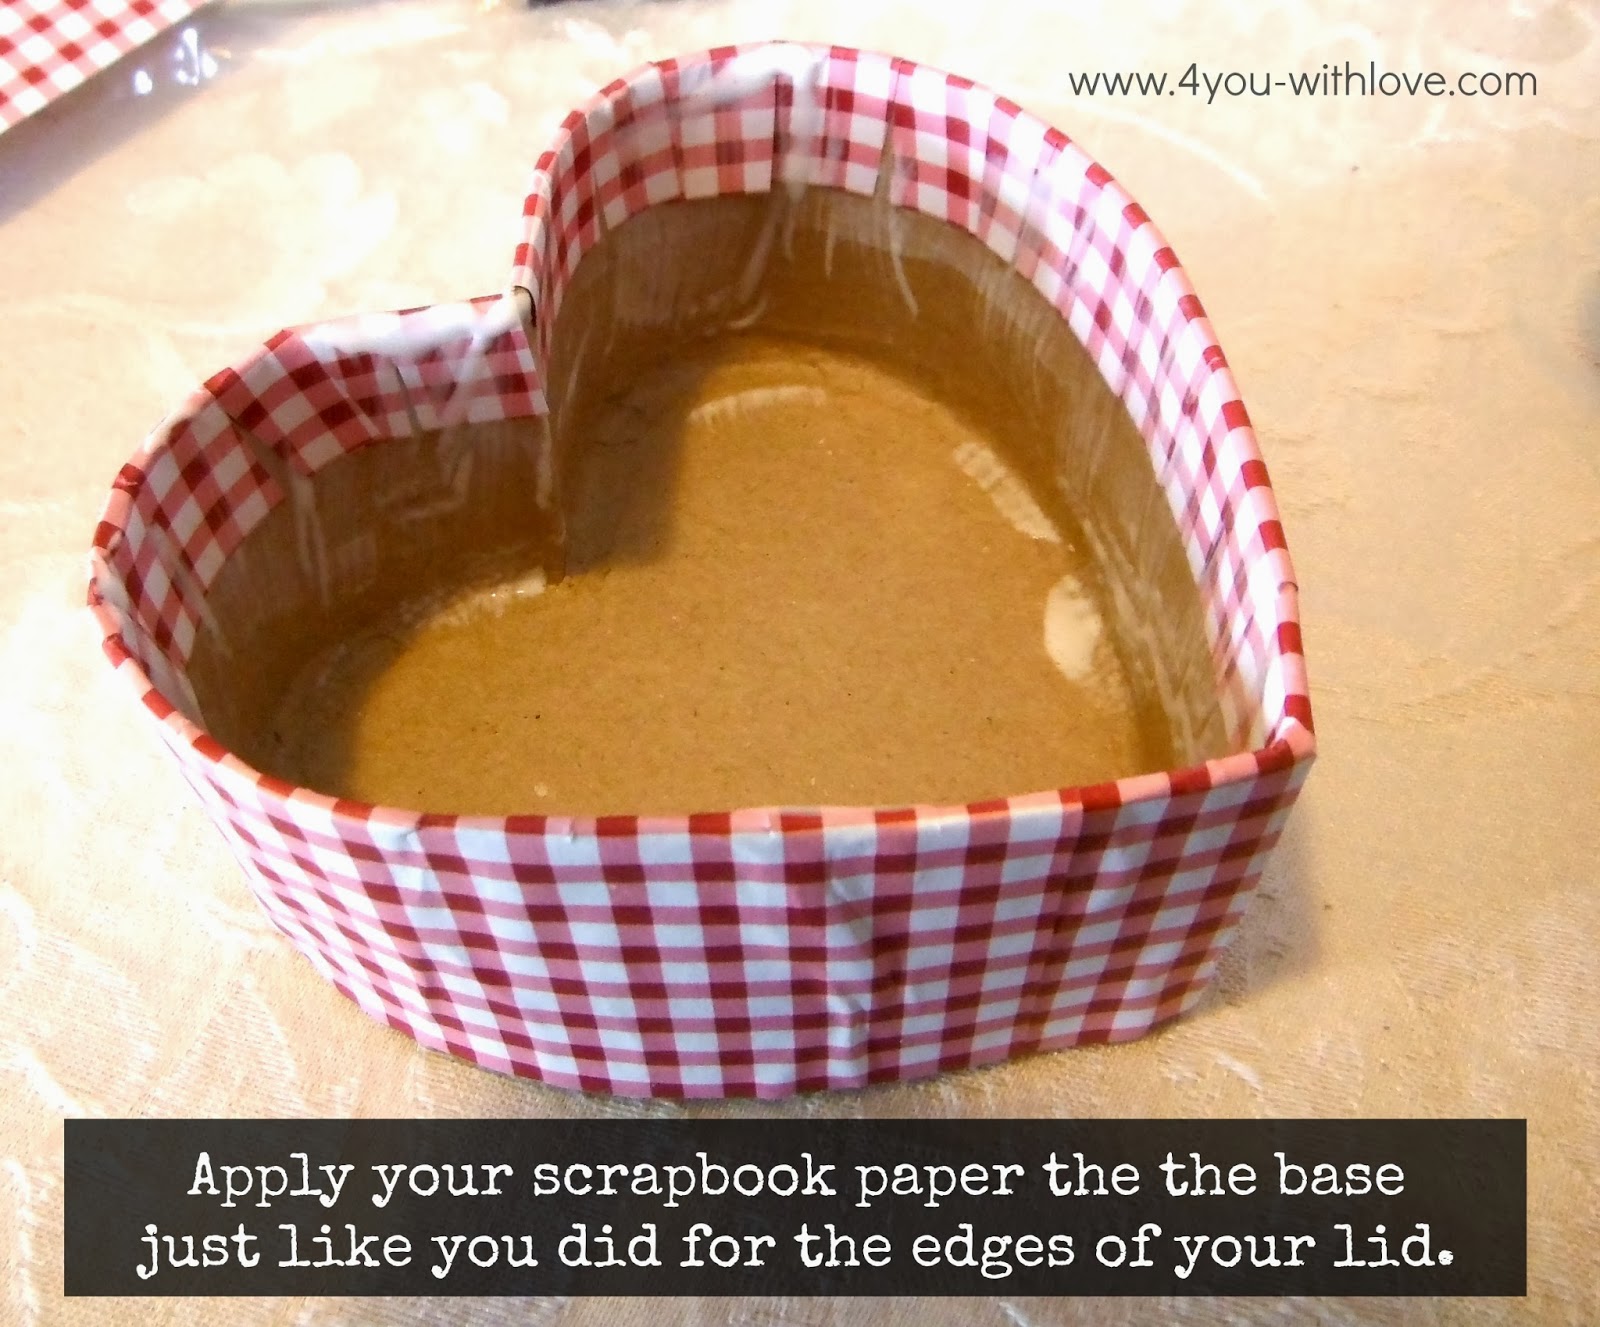
Next, you will cover the base of your box. You will do this the same way that we covered the edge of the lid. Apply 1 coat of Mod Podge to seal…..you don’t want the base of your box to get too thick or the lid will no longer fit.
Now we want to prepare the tag. I chose to paint my tag black and my letters white. I thought my tag looked a bit drab so I snipped a bit of my leftover scrapbook paper and adhered it to the tag with Mod Podge. I also applied one coat of Mod Podge over the label to seal.
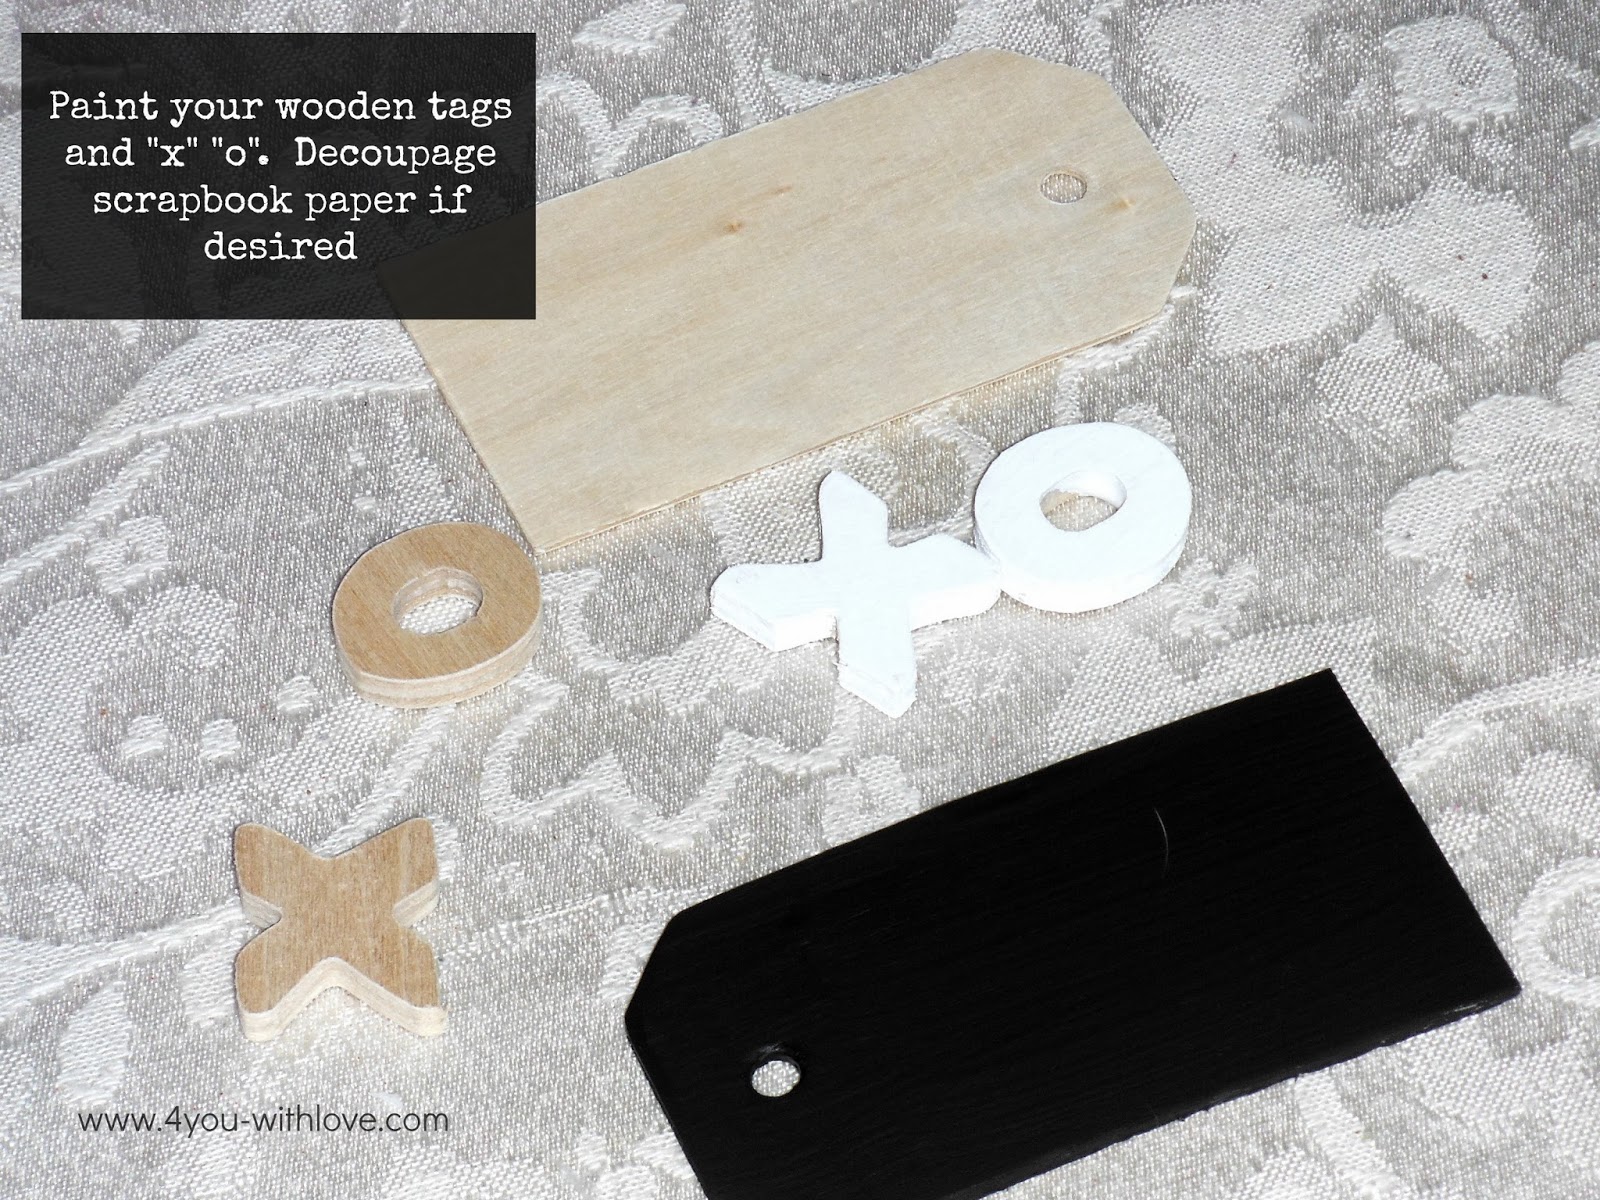
I used a hot glue gun to adhere the “x” and “o” to the tag. I thought my box would look a bit more finished if it was “tied on” so I tied on a piece of baker’s twine. Then, I grabbed my hot glue gun once more and adhered my tag to the lid.
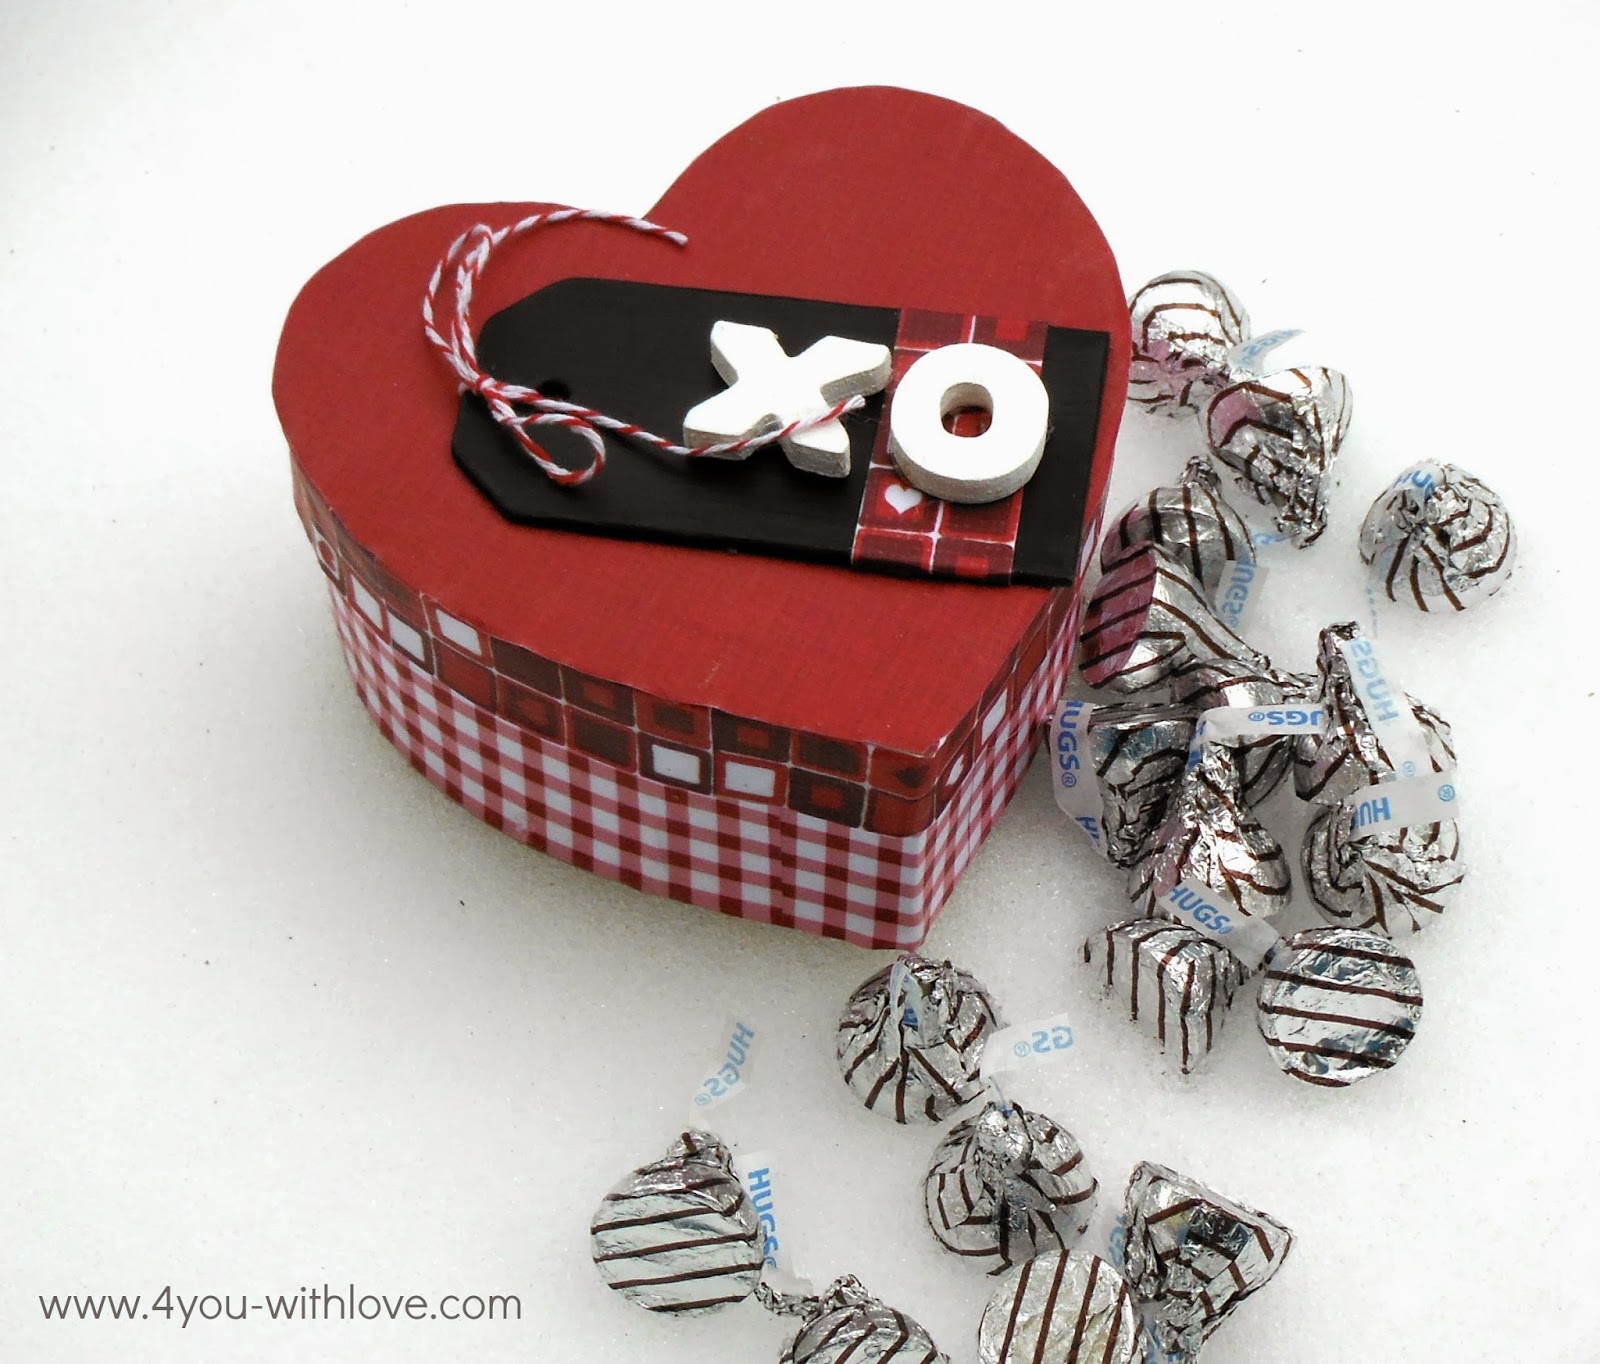
I think I’m going to make some more of these. But one question for you. How do you think this would look if I used different colors, say blue or yellow?
Leave a Reply