Don’t you love it when you can marry crafting with organization? I know I do. These types of projects move crafting from the “I’d like to do this” list to the “To Do” list. Pretty sneaky, huh? Now, today’s crafting organization project, DIY Piano Memo Board, was created as a birthday gift for my music loving daughter. Check it out.
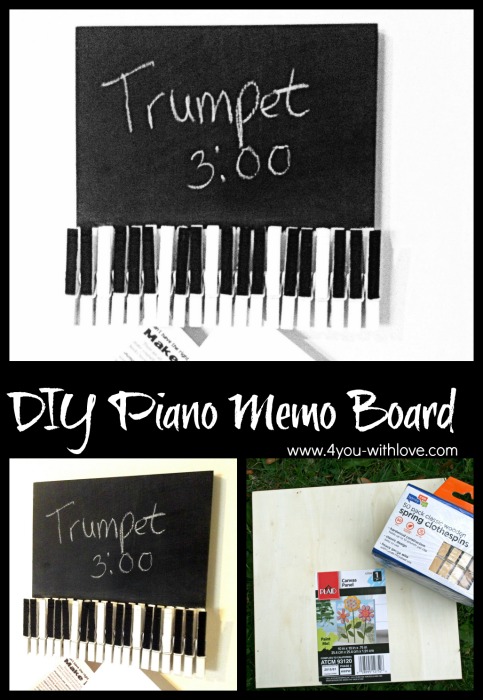
My daughter’s birthday was last Sunday and I really wanted to make her something she could actually use in either her classroom or her apartment (she’s a general music teacher). I must admit, I’m pretty pleased with how this turned out. Want to see how you can make one too? It’s easy but it does require some drying/curing time. Here’s how.
DIY Piano Memo Board
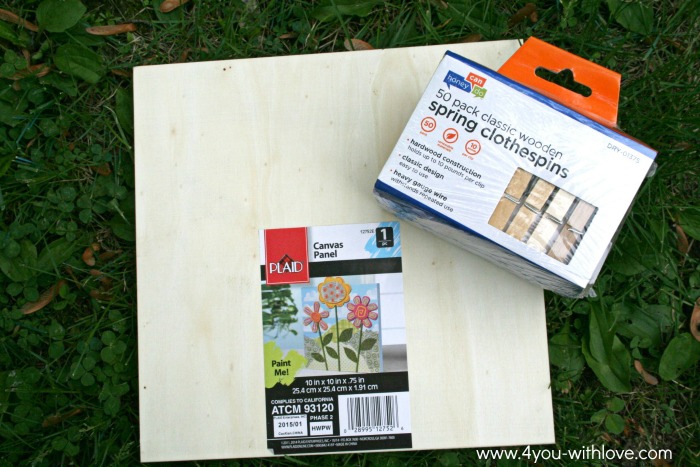
Supplies:
- 10″ x 10″ Wooden Canvas Panel (mine is from Plaid Crafts)
- Wooden Clothespins (I used 20)
- White Paint (I used acrylic & spray paint)
- Black Paint (acrylic)
- Chalkboard Paint (either spray paint or brush on variety will work)
- Glue (I used E6000)
- Painter’s Tape
I picked up y canvas panel at Wal-Mart and my clothespins at Menard’s.
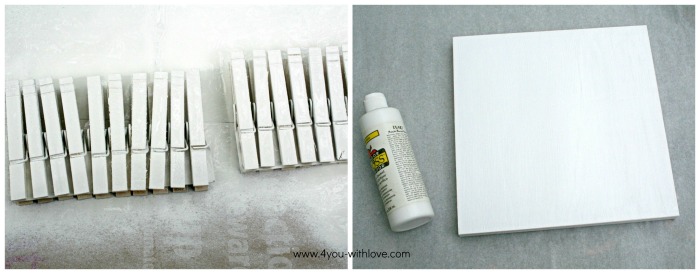
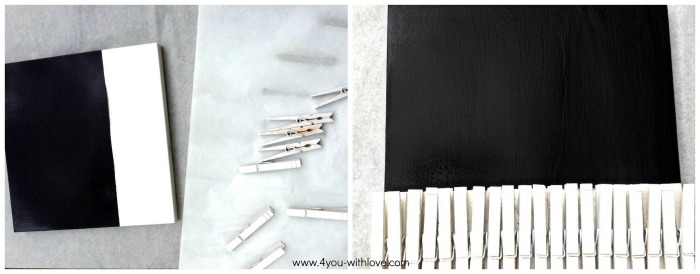
The first thing you will do is paint your clothespins and canvas panel white. I can never get my clothespins reassembled after taking them apart (to paint/decorate), the spring is just too tight. So I spray painted my clothespins (be sure to get them from every angle so they are completely white). I brushed on 2 coats of Plaid brand paint onto my canvas panel.
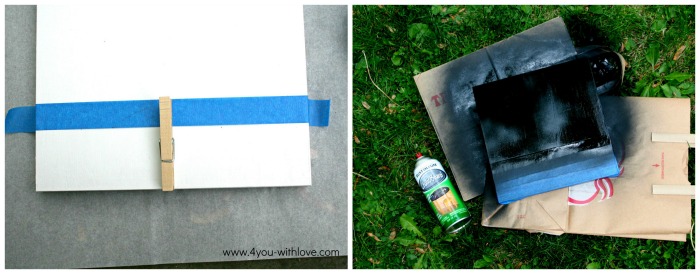
Next, you will want to mask off the area of your canvas where your clothespin keys will be on your piano memo board. So using a clothespin as your guide, place a strip of painter’s tape across your canvas panel (make sure it goes over the edges of your canvas as well). Add additional strips of paint to completely cover the area where your “piano keys” will be. Then, apply chalkboard paint onto the unmasked area. I used spray paint and applied 3 light coats of chalkboard paint. Follow the directions the chalkboard paint you are using.
Once your chalkboard paint has dried (it doesn’t need to cure) remove the painter’s tape. Next, you will glue the clothespins onto your painted canvas. (I used E6000 but you can use a different bonding agent if you prefer.) Be sure to place your clothespins as close together as you possibly can.
Once your keys have dried, it’s time to paint the “black keys”. Now this will be tricky since your keys are so close together. Just take your time. If it helps, you can mask off the all white keys with some painter’s tape. To make your piano memo board is as authentic as possible, paint your keys in this manner
black-black-white-black-black-back-white
repeating as many times as needed for the number of keys (clothespins) you glued onto your canvas.
Now, the hard part: waiting. You can’t finish/condition your chalk board area until the paint has cured for 24 hours. So just sent your canvas aside.
Okay, have you waited 24 hours?
Honestly?
Then it’s time to condition your chalkboard. Take a piece of chalk and rub it all over your canvas (being careful to use the side of your chalk and not the end).

Rub off the chalk and hang your new piano memo board on the wall! Isn’t this a fun way to get organized?
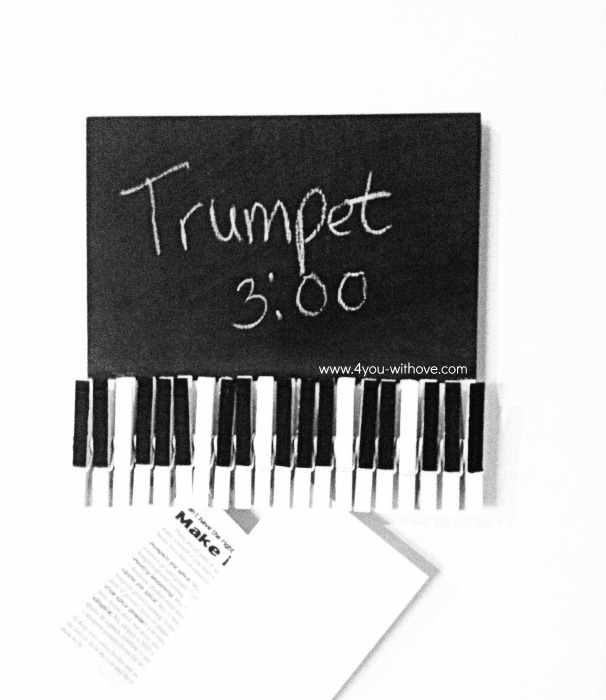
I’m so happy to share with you that my daughter LOVED her piano memo board! Who will you be making piano memo board for?
Leave a Reply