I have a confession. I absolutely LOVE virtually every item I see at Pottery Barn but I not the prices. Do you have this same confession? Well, I saw this amazing Star Garland Advent Calendar and fell in love but when I saw a price of $199…well, I just knew I had to find a way to DIY it. I got my thinking cap on, searched the web, and found supplies so I could make this for just $25!

Yup, I was able to make this for 1/8th the cost of the original. So how did I do this? The key was to use paper mache star boxes for the tin stars in Pottery Barn’s garland. Now, I searched pretty far and wide and I was able to find the stars for $0.67 each at Consumer Crafts. Your next “big” expense for this project will be the ribbon that you use. Just watch your ads ’cause someone always has ribbon on sale for 50% off.
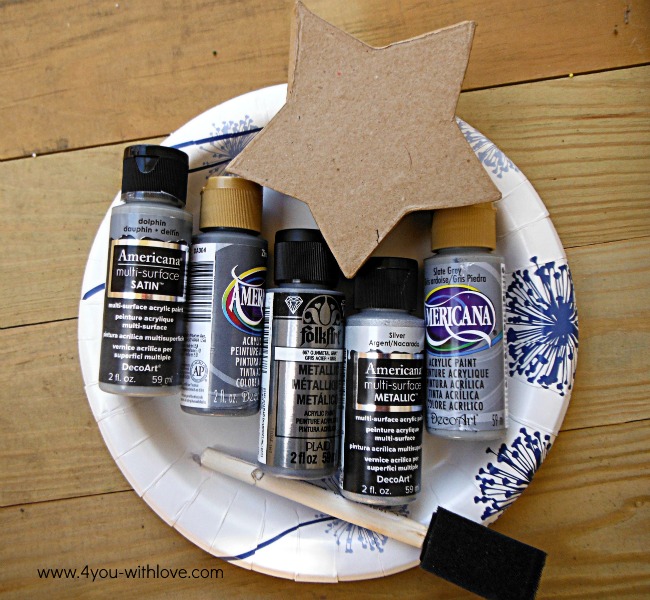
Are you ready to learn how you can make one of these goodies yourself? Let’s get started. Here are the supplies that you will need.
- 25 four inch paper mache stars
- 4-5 shades of grey acrylic paint. Two should be metallic (Gunmetal Grey and Silver) and the other 2-3 should be varying shades of grey
- Black Paint pen
- 24 Gauge wire (available at your local hardware store)
- 4 in x 20 ft wire edge ribbon
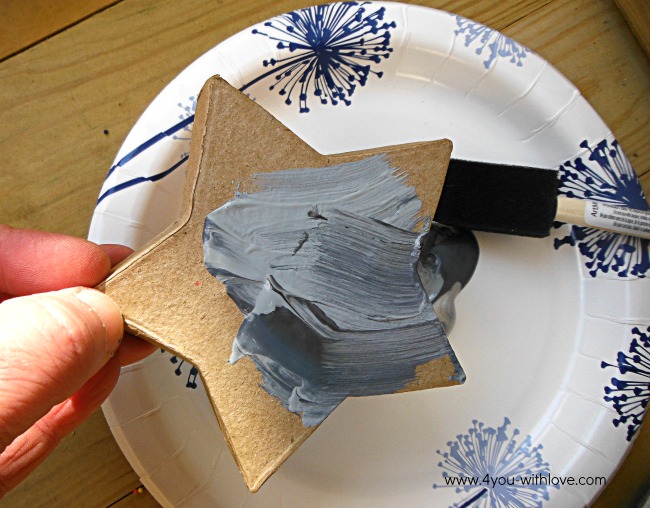
Let’s start off by painting our stars.
On a paper plate, squirt a bit of each of your grey paints. Using a brush (I chose a foam one), paint your star, making sure you apply many colors of your paint at one time. This will create the uneven look of galvanized metal.
Once your stars are dry, you need to poke 2 holes so that you have a way to thread your wire for hanging. I found that you can easily do this with a thumb tack.

Cut a piece 24 gauge wire, thread it through your two holes and twist together inside your star. Looking good so far, don’t you think?

Using a paint pen, write the numbers 1 – 25 on each of your stars. Here’s my 25 stars in a box that I had set aside.

Next you will need to string your stars onto your ribbon. I was thinking about using burlap ribbon but selected the wired ribbon. I liked the rustic look along with the little bit of glitter. Remove the lids from your boxes and one at a time, string them onto your ribbon and secure with an overhand knot. Note, in this photo, I had my stars spread apart too far and so I retied them, moving the stars closer together.

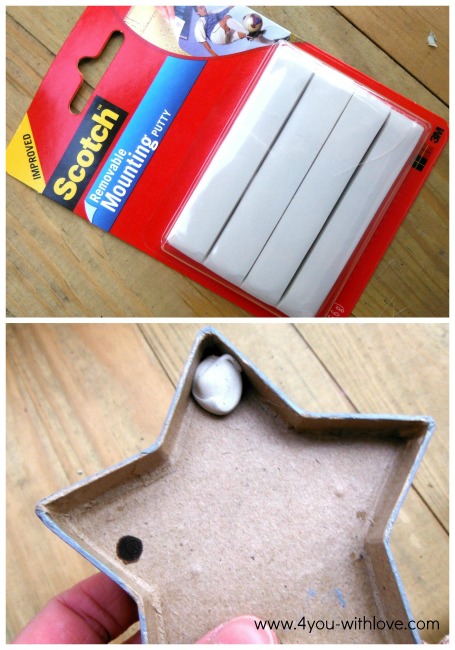
Now, you may find that some of your star lids do not stay on as well as you’d like. If this is the case, pick up some removable mounting putty (the stuff you use to hang posters onto your walls). Then, pinch off a bit, work it a bit and roll it into a ball. Then, place it in the corner of the top point of your star. When you replace the lid onto the star box, press gently where the putty is and you won’t have issues with your lid falling off.
Now your done! It’s time to hang your DIY Star Garland Advent Calendar. I hung mine outside because there was better lighting. This would look great on your mantel…just use some command (strip) hooks. Also, I would suggest that you remove the mounting putty when you put your garland in storage after the holiday season is over.
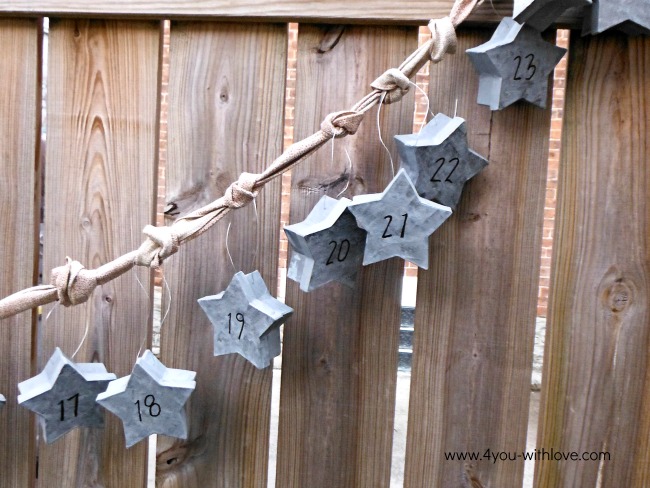
I hope you enjoy this garland as much as I do! I’m also loving that I saved $175 and have more money for gift giving! Happy Holidays!
Leave a Reply