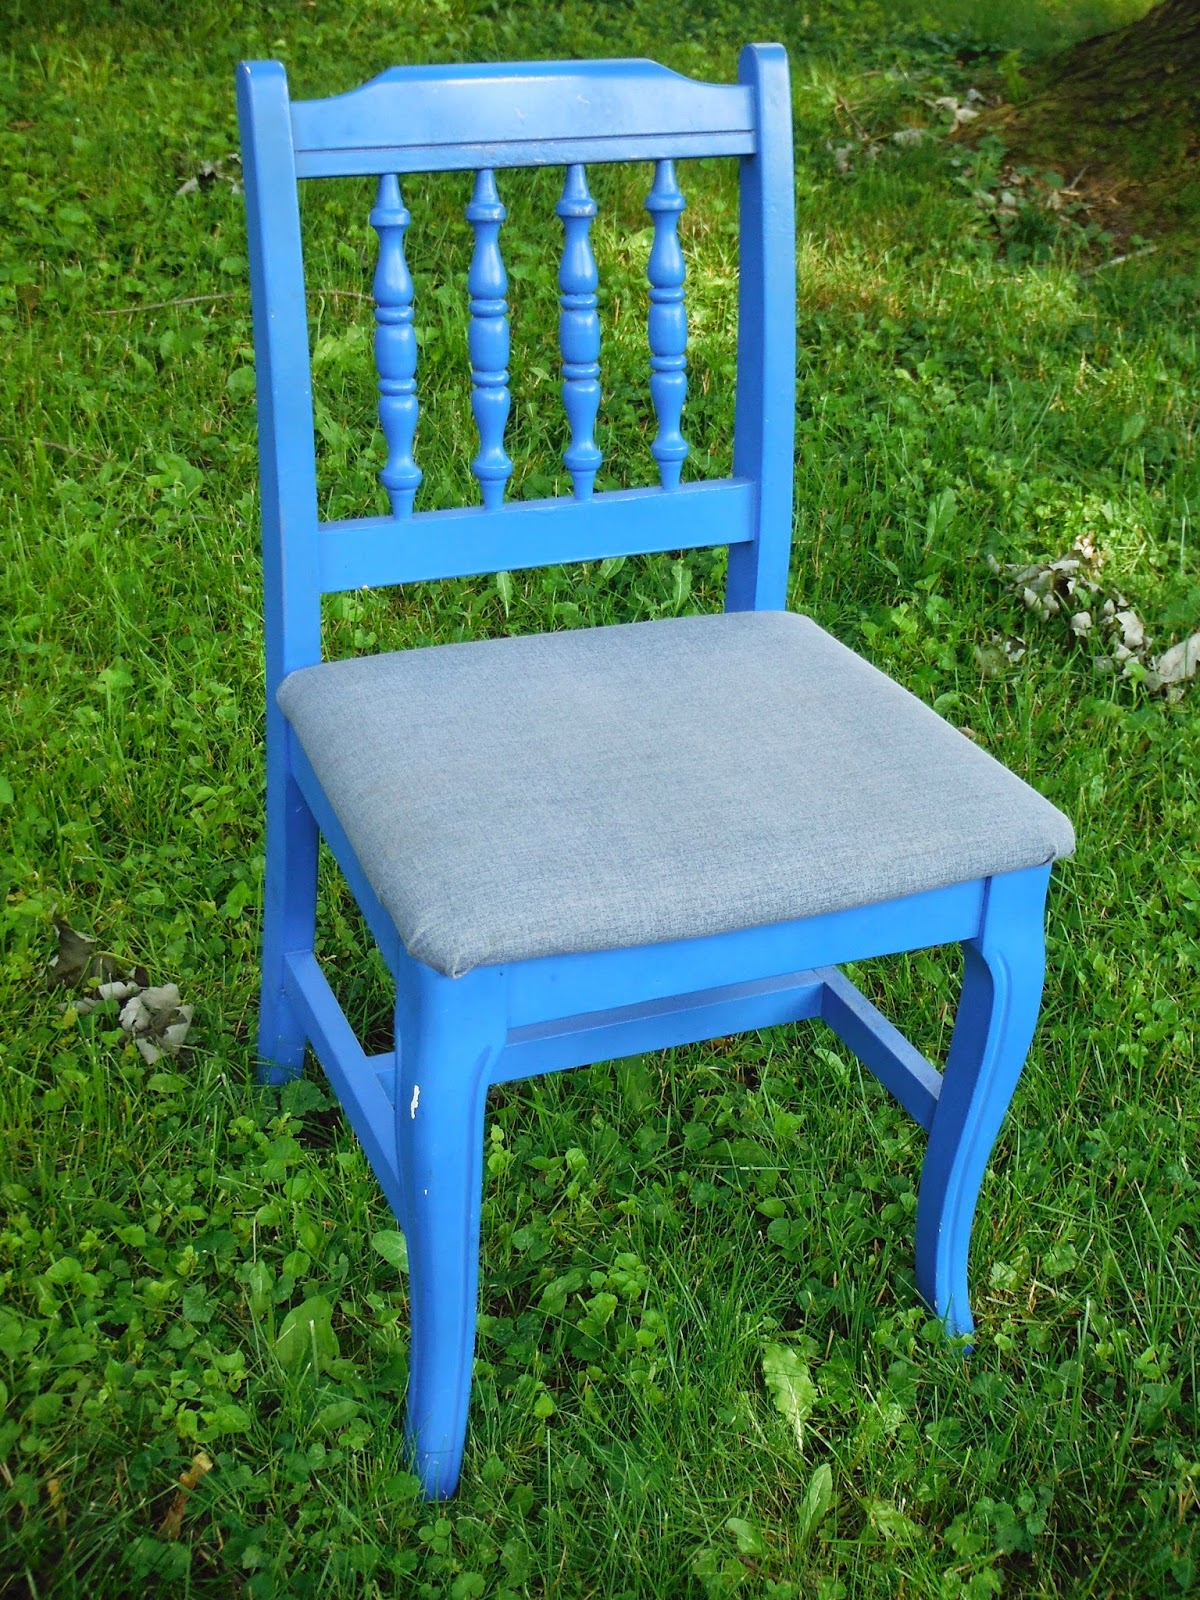
It’s garage sale season which means that this is an amazing time to find furniture that has good bones but just needs a face lift. Now, how would you like it if I told you that it’s possible to transform that ugly chair (with an upholstered seat) into a beauty in 2 hours or less? Really! Look what I did while I was doing a load of laundry! My washer takes 51 minutes to do a cycle and my dryer takes about 45 minutes to dry a load. So, while my bed linens were being washed & dried, I took this desk chair from drab to fab!

Trust me, you will spend more time trying to decide what color to paint your chair & what fabric to use for the chair seat than you will actually updating your chair! It’s so incredibly simple. Here’s what you need:
- Chair
- Quick Drying Spray Paint & Primer
- Sand Paper & Rag
- Screw Driver
- Pliers
- Hammer or Staple Puller
- Stapler (from the hardware store)
- 1/2 yard fabric (I used Duck Cloth)
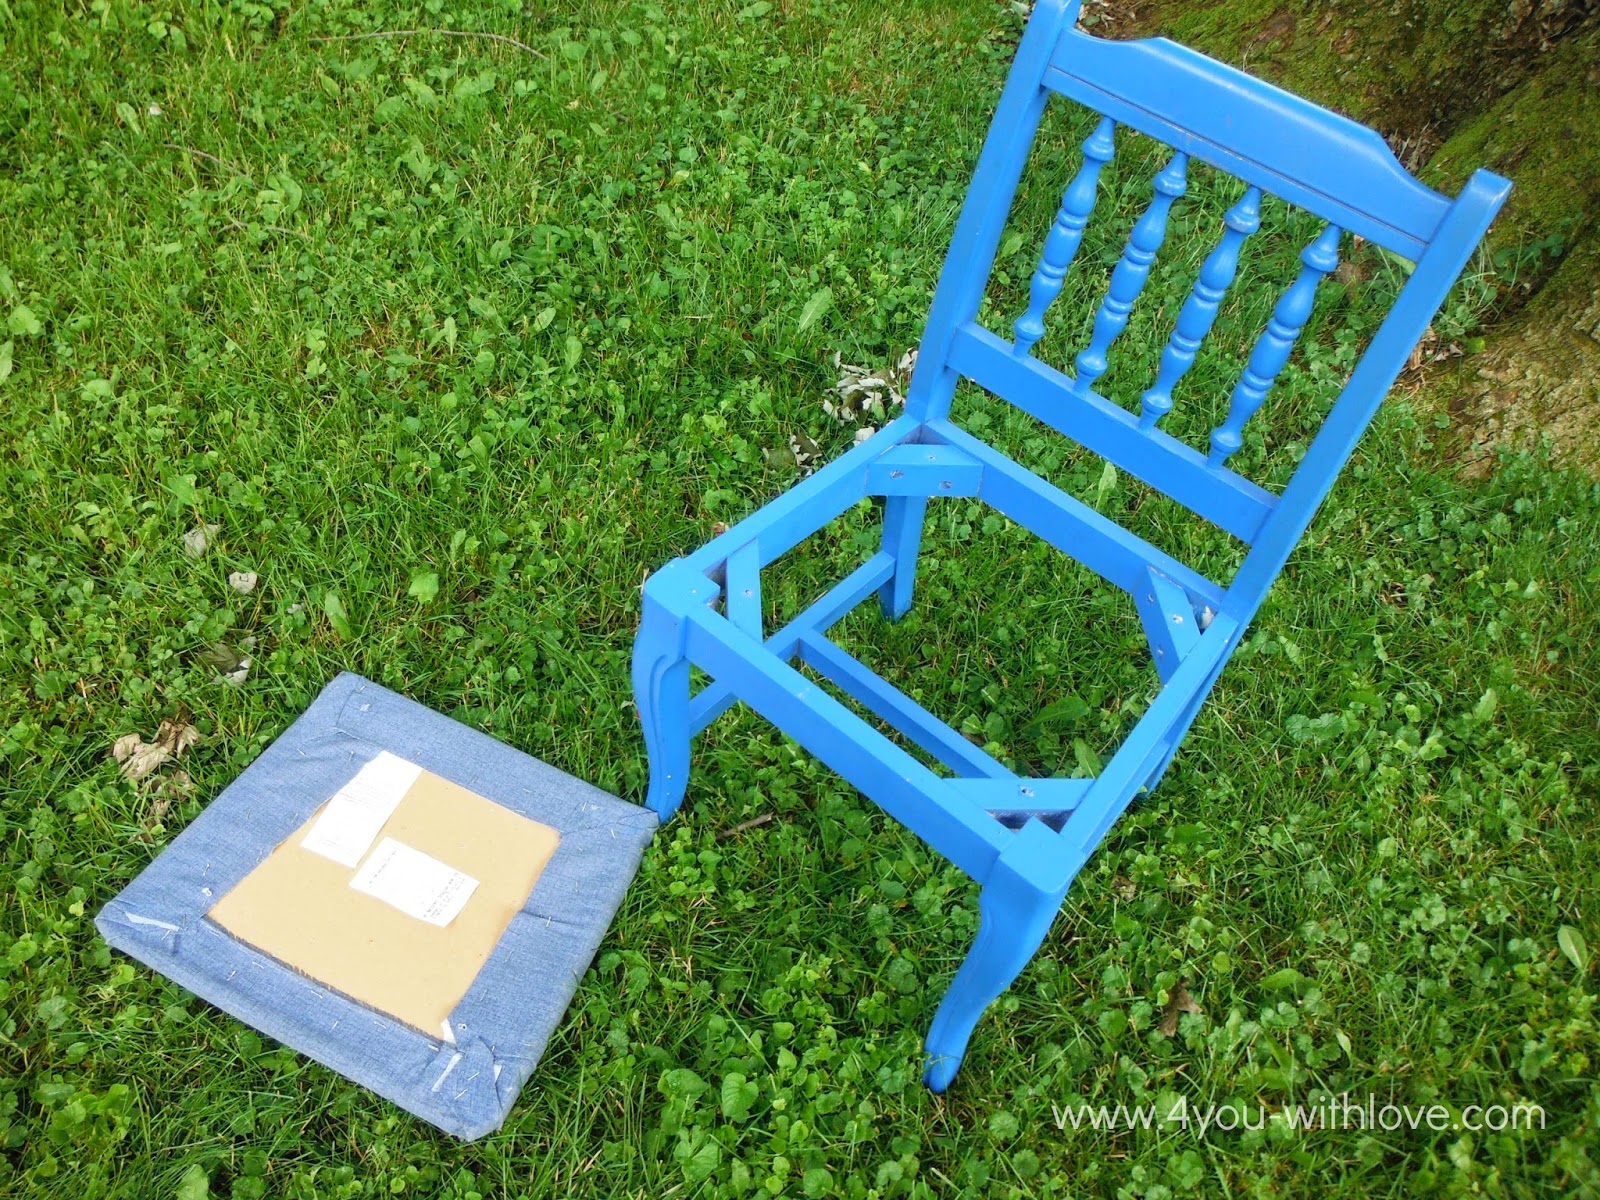
So, the first thing you will need to do is to remove the seat. Just turn your chair over and you should find some screws. Just unscrew them and you should be able to easily remove the seat. Oh, and be sure to put your screws in a safe place (like a small bowl). Give your chair a light sanding and wash off any dirt or grime.

Okay, so here’s my baby in two pieces. Set your seat aside and we will paint the chair first.
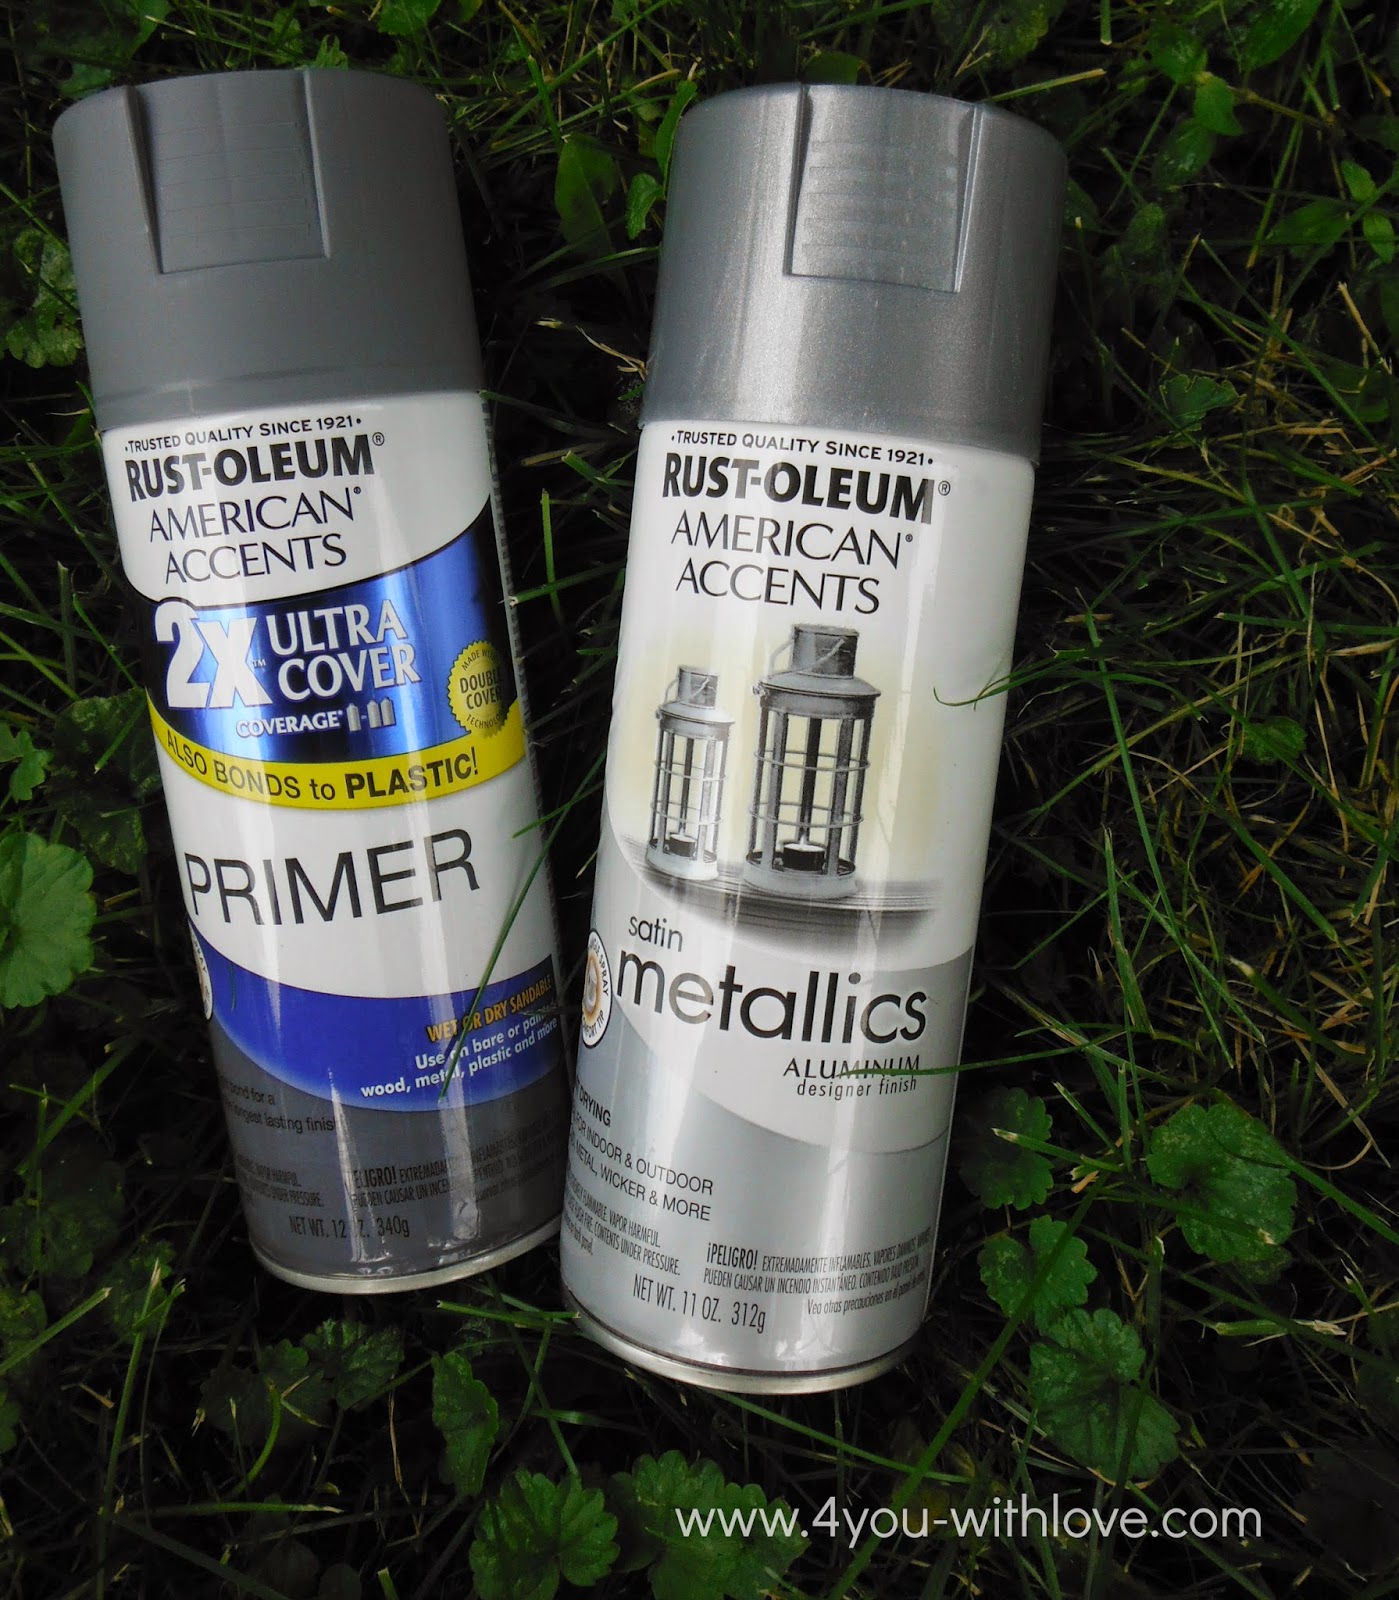
Here’s the paints I used. The primer says that you can apply your top coat within 30 minutes of applying the primer (Score!). The satin metallic paint dries to the touch in 10 minutes and dries completely in 30 minutes! Woo Hoo!
Now, when I spray paint furniture, I do it outdoors on top of a piece of old card board. This is because newspaper flops around and can get into mischief if there’s any wind blowing. Also, I like to set my furniture on top of soup cans to elevate the legs so that it is much easier to ensure the bottom of the chair gets completely painted. On the left is the chair once I covered it in primer. You can see how much shinier the chair on the right is, after the metallic paint was applied. (If you have never used spray paint, many thin coats works much better than one thick coat….less drips.)

Oh, you may be wondering why you are still seeing some blue on the painted chairs. This is the area that will be covered by the seat so I didn’t worry about painting this area completely.
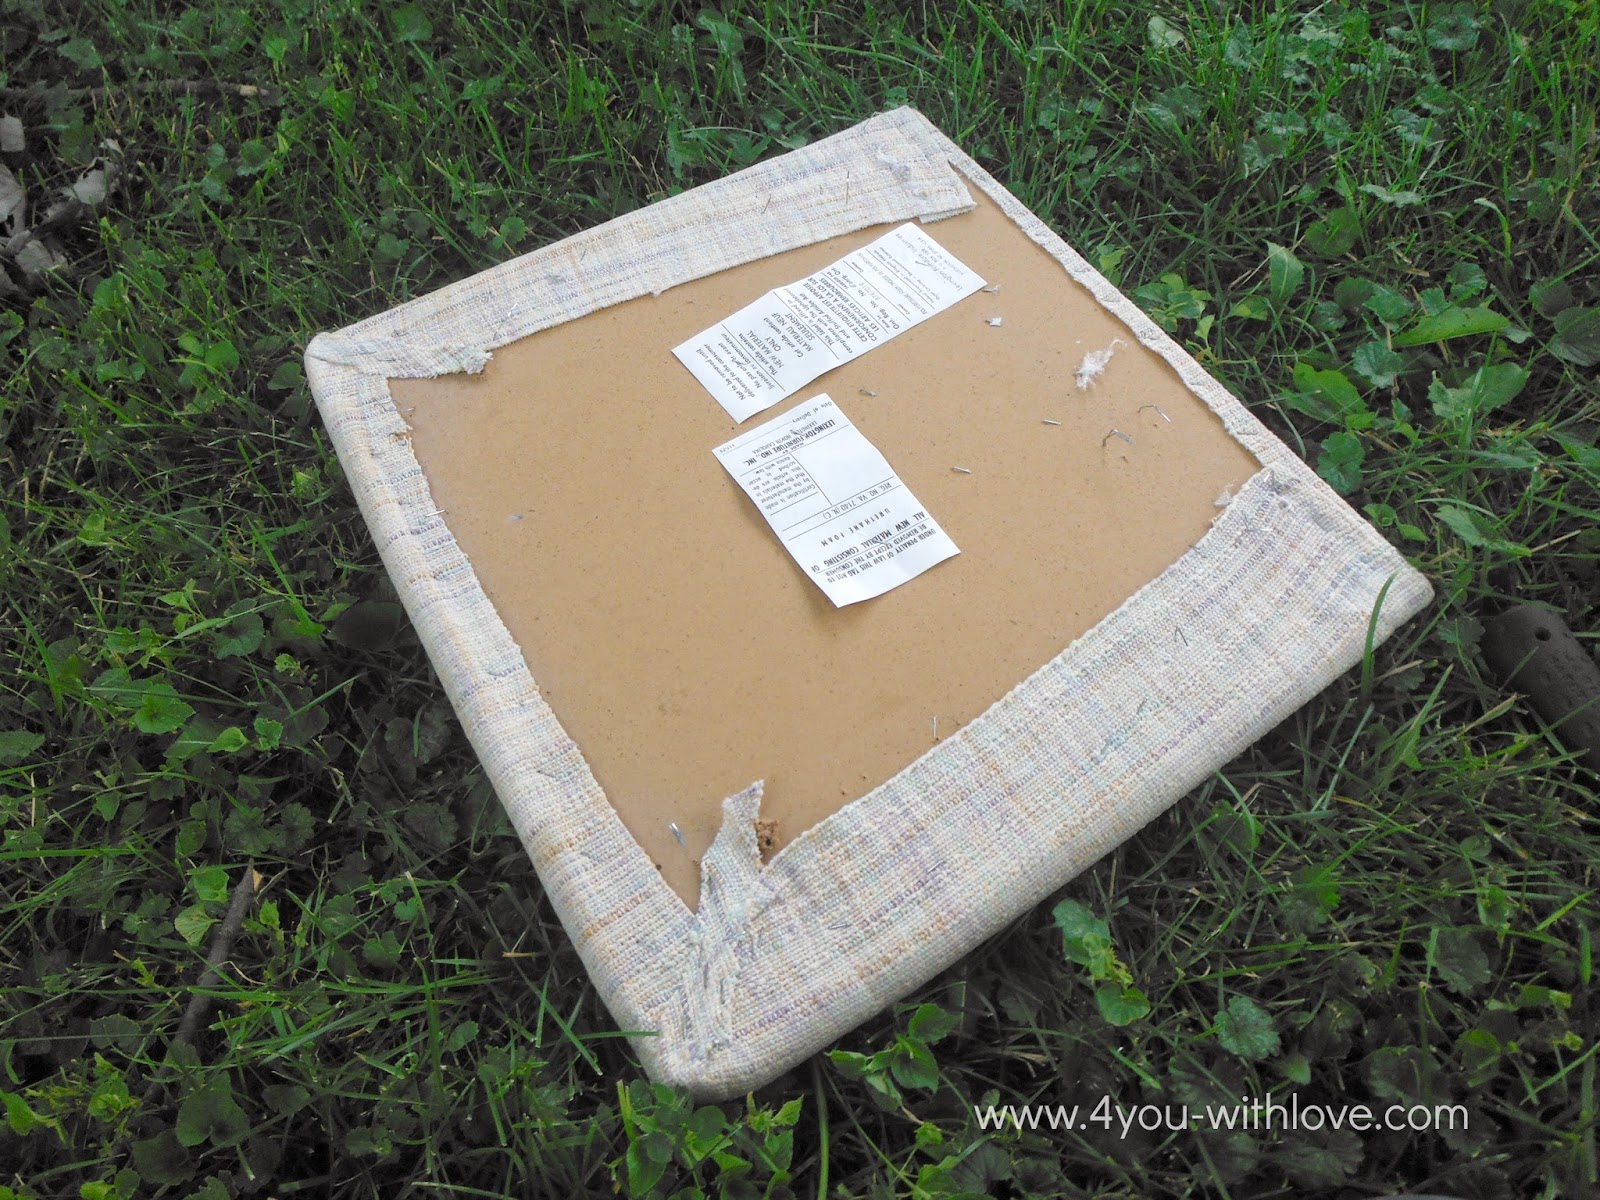
While the chair is drying, it’s time to tackle the seat. I used the claw on my hammer to remove the staples however, a staple puller would also work.
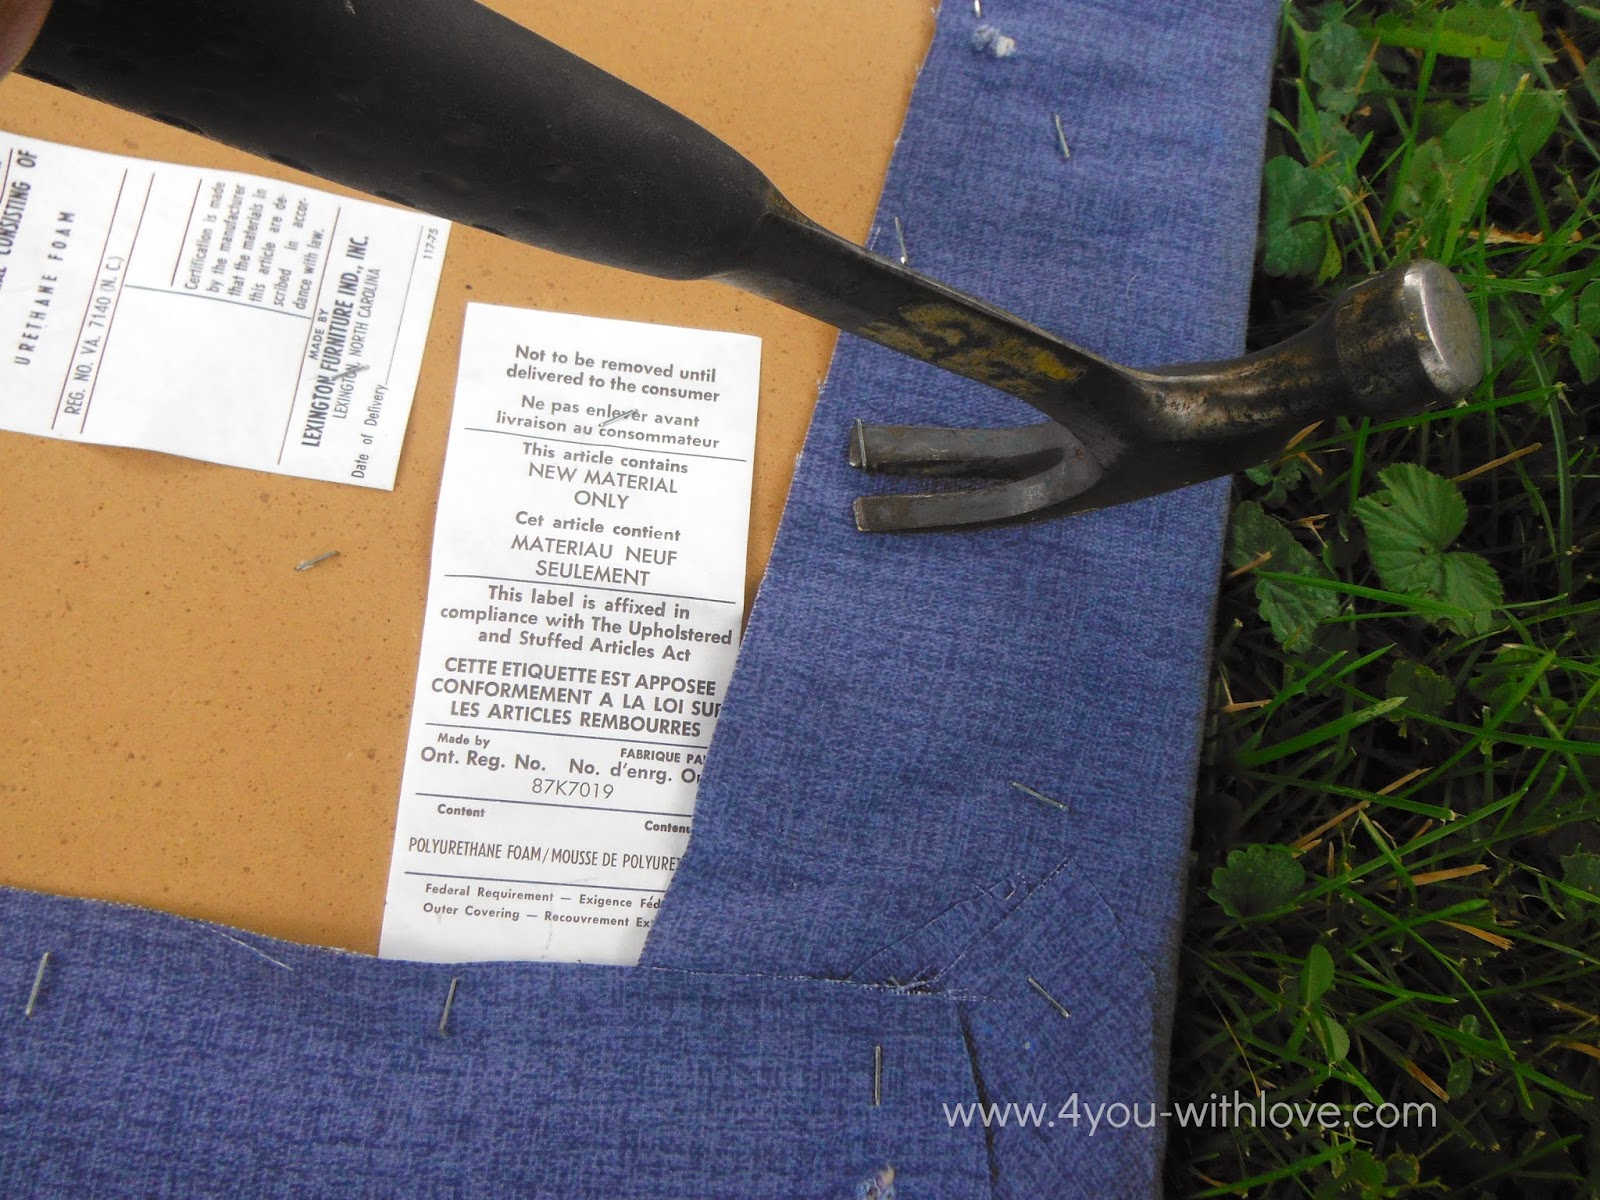
Look! The previous owners of the chair just upholstered over the original seat. The seat covering is good so I decided to keep this original covering on. (To see how I upholstered some stools that did not have any cushion, go HERE).
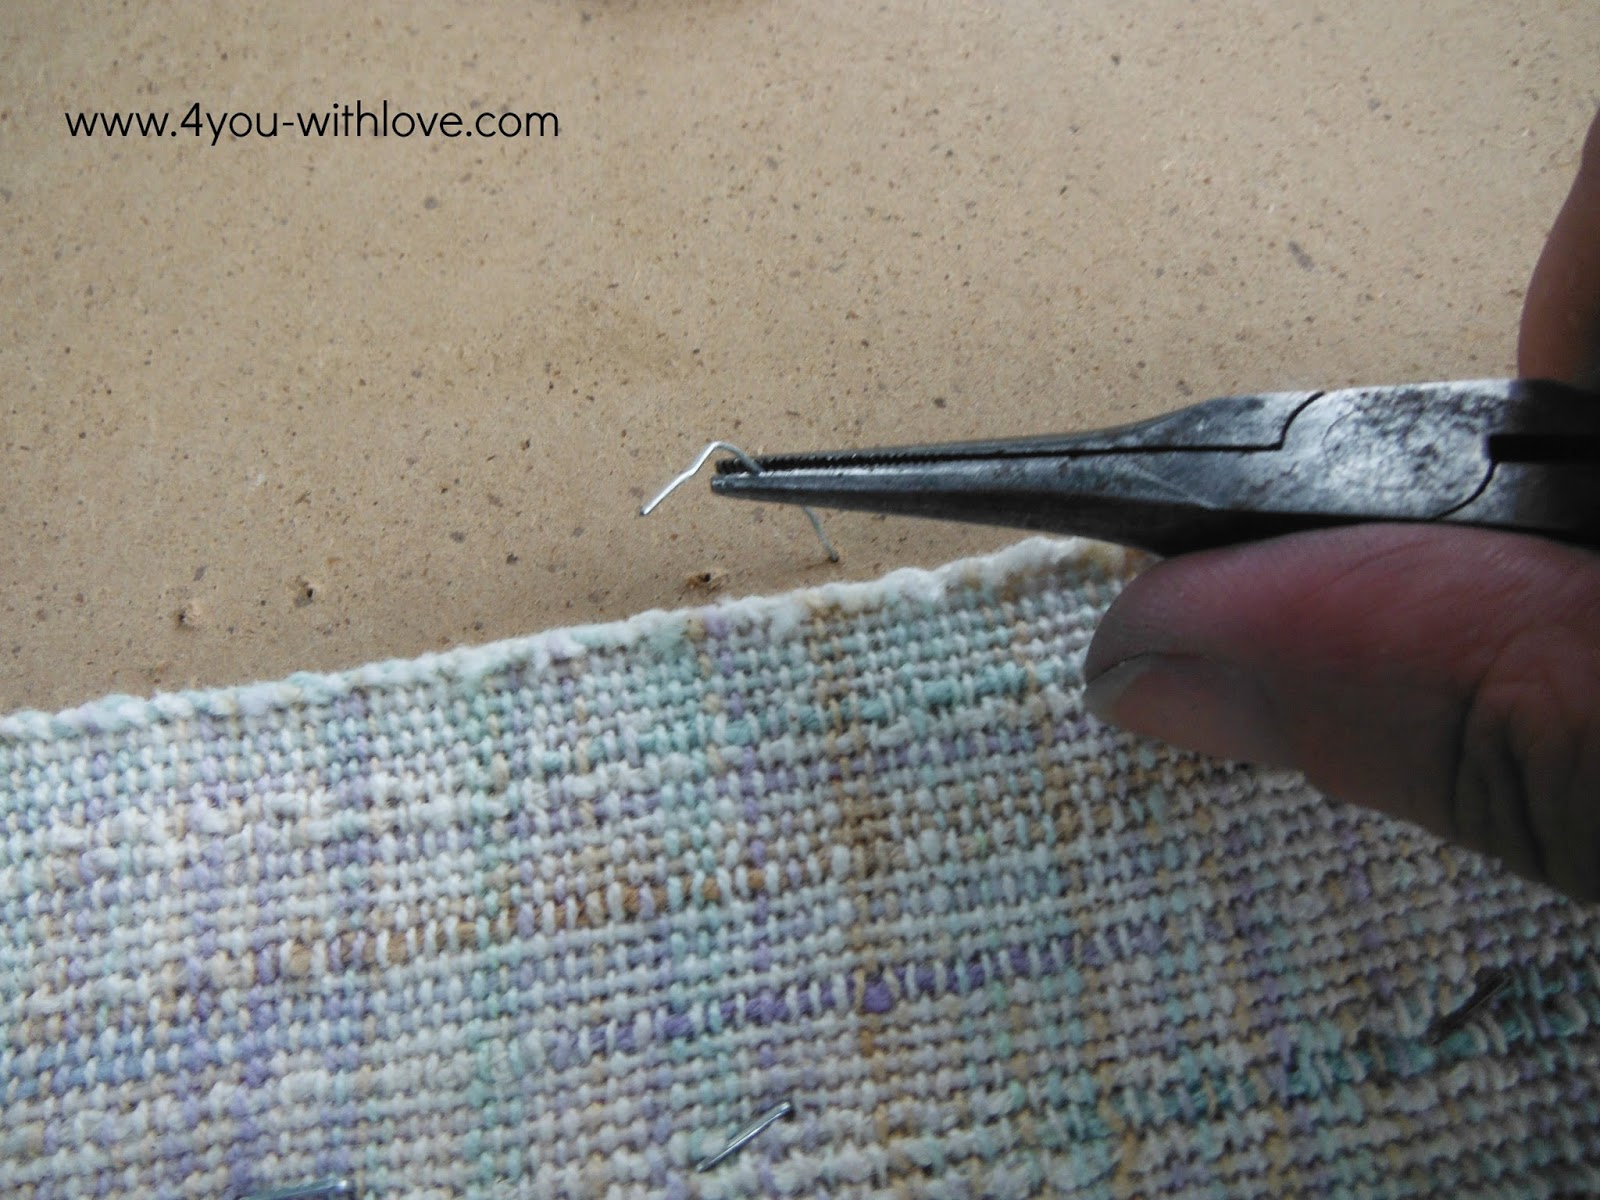
There were a few staples that still remained stuck into the bottom of the seat. If this happens to you, just pull them out with some pliers.
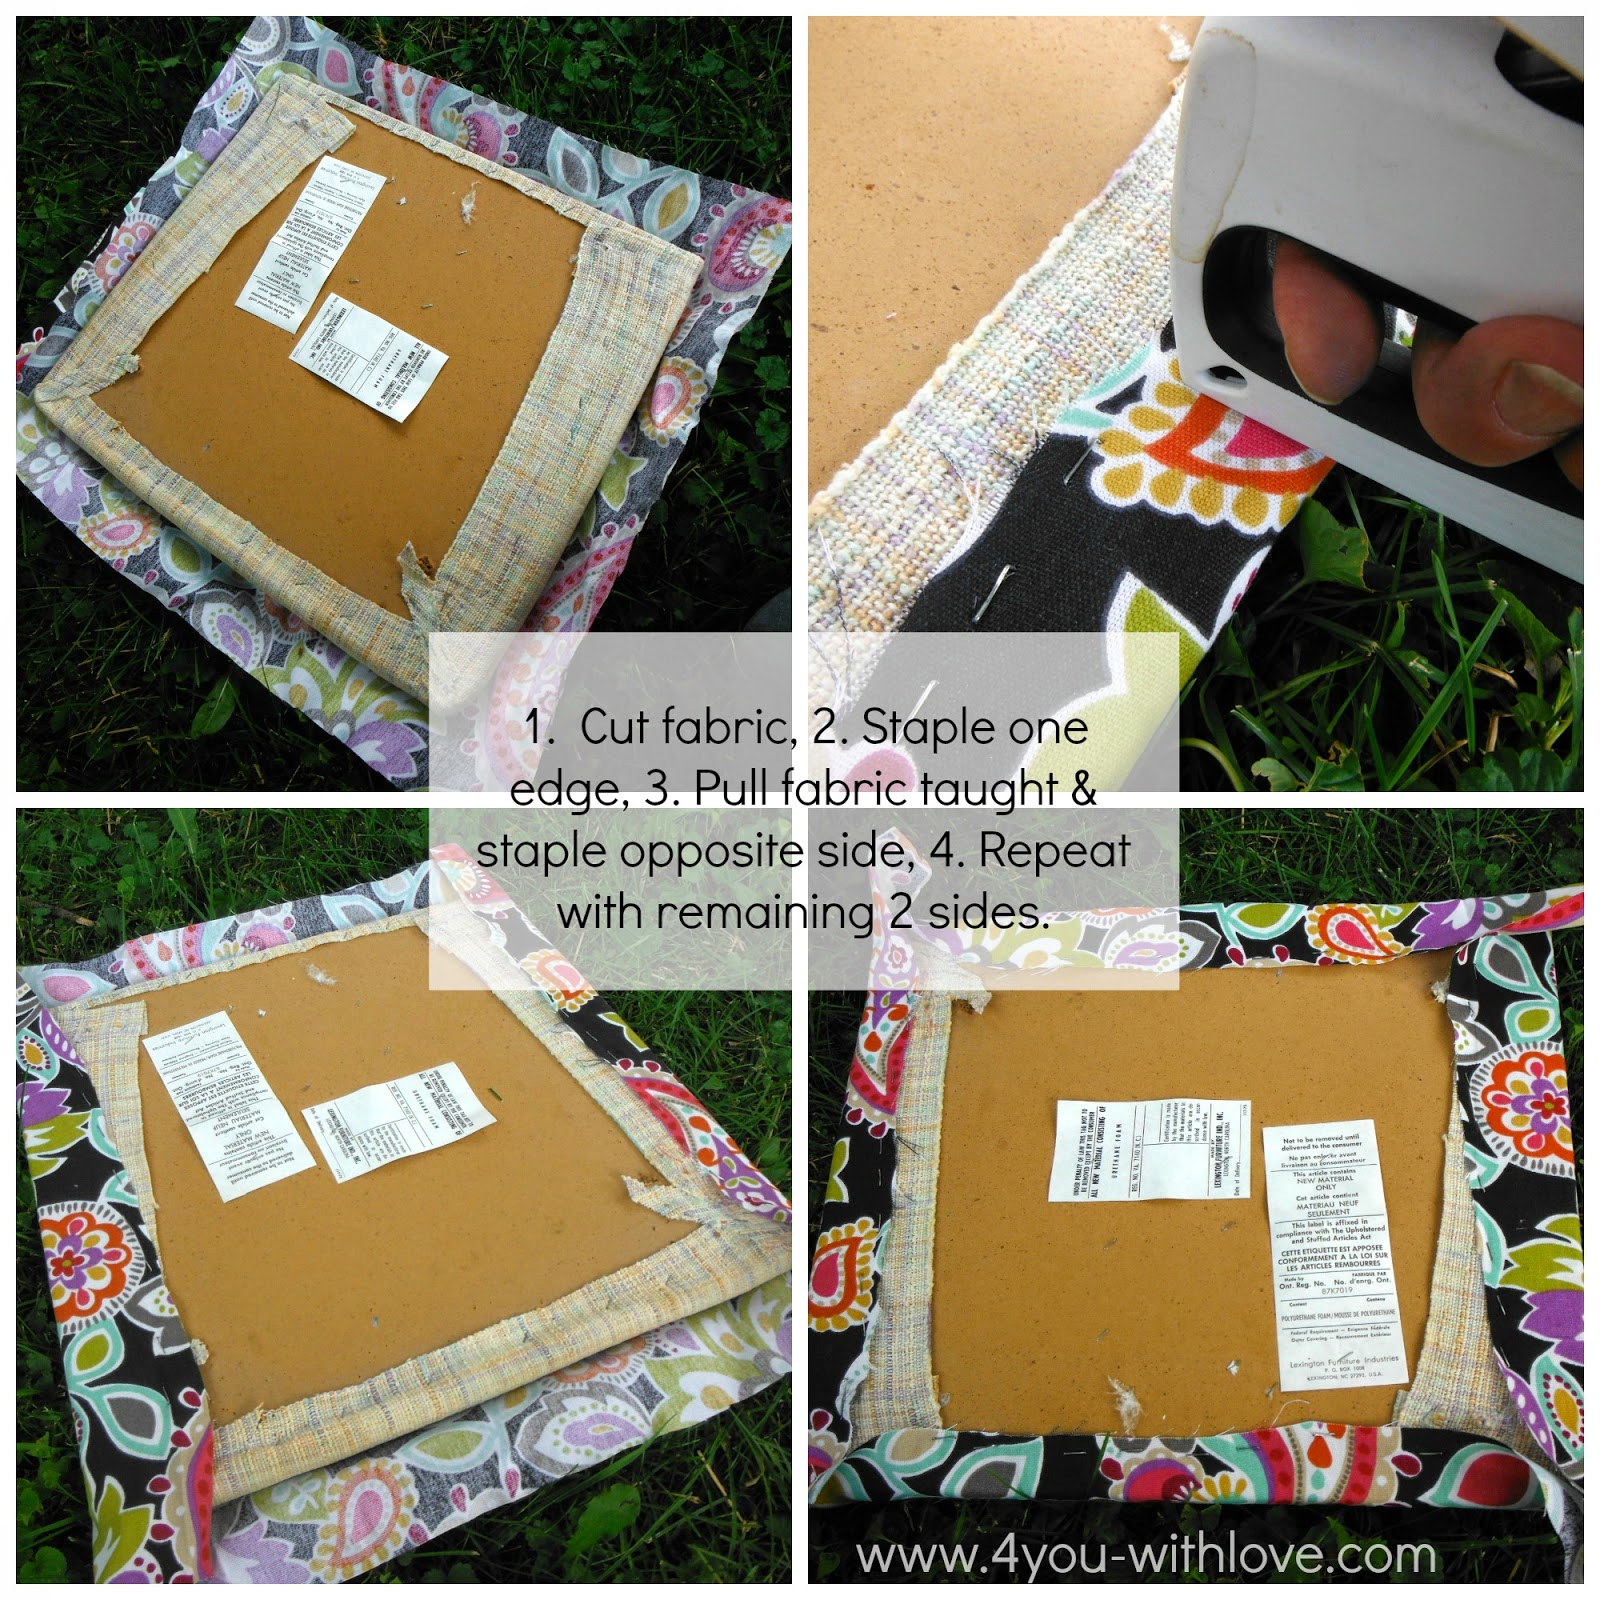
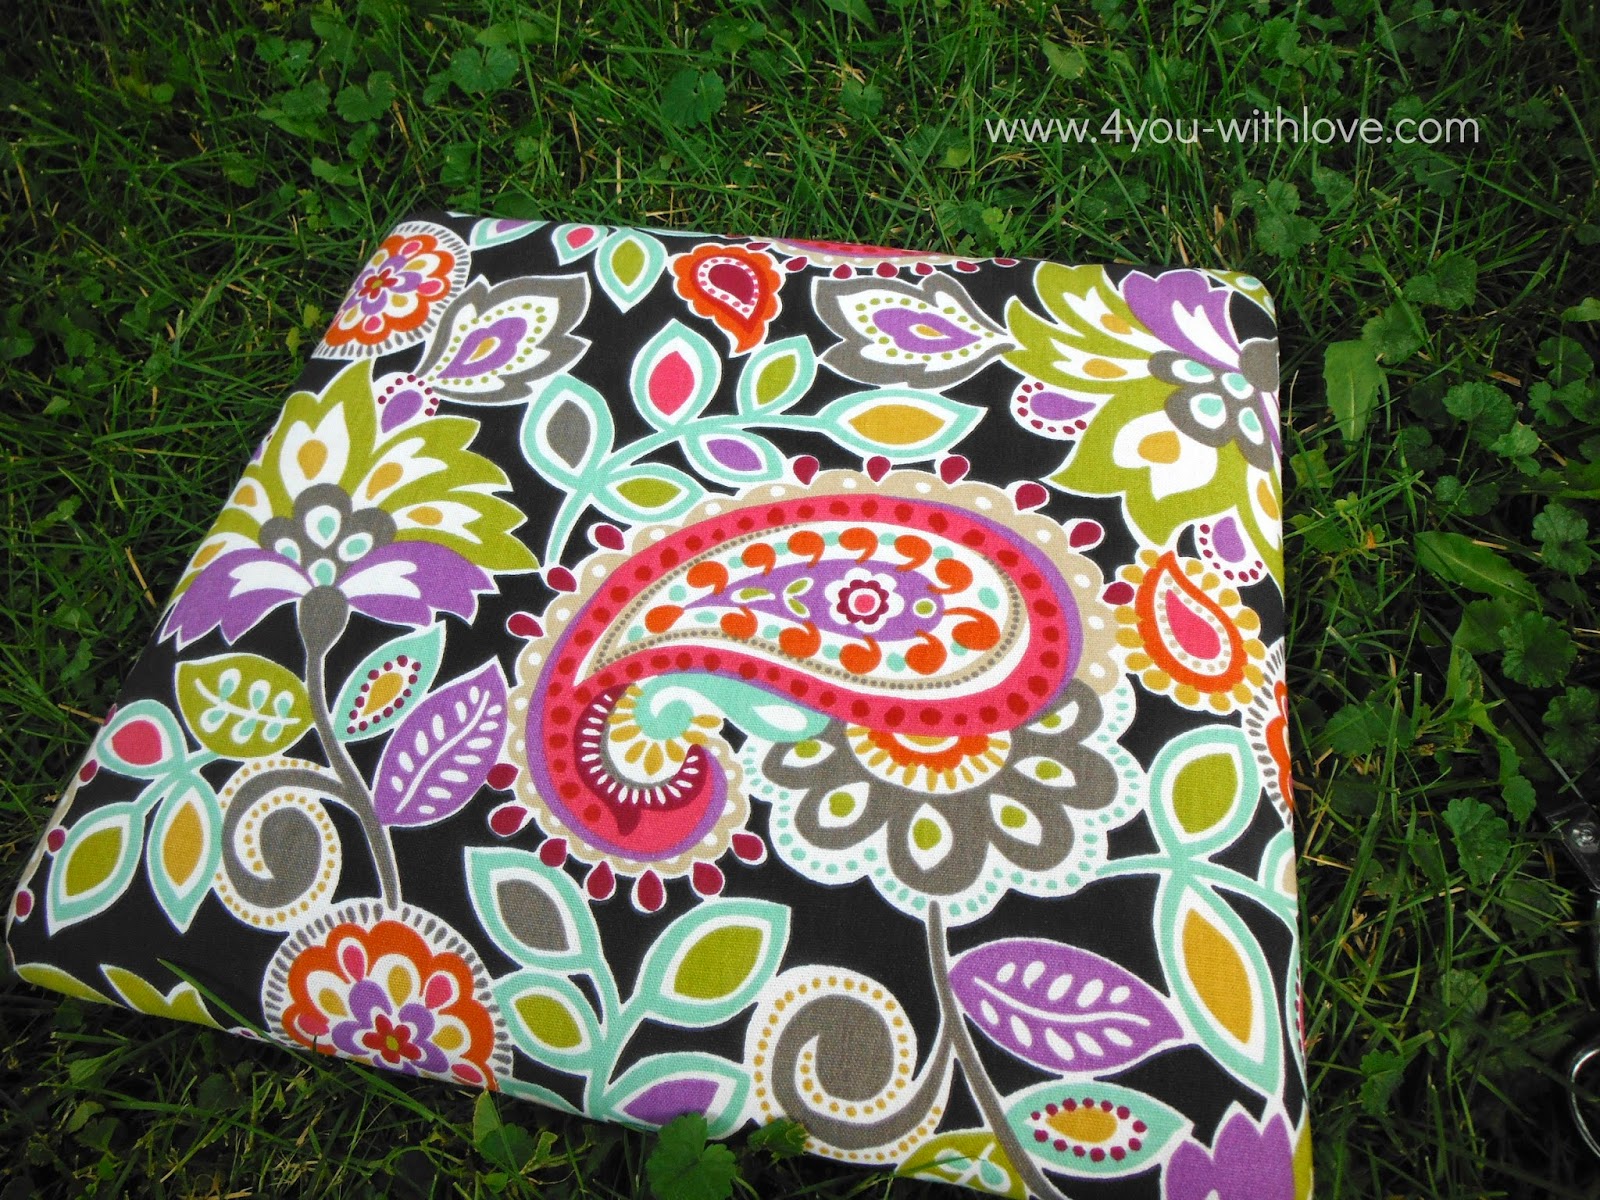
Okay, now it’s time to put on some new fabric! I used duck cloth. Start off by cutting a piece of fabric that is 2″ wider than your chair seat on all sides. Then, you will get out your staple gun and staple one side of the fabric. Turn the seat 180 degrees, and pulling the fabric taut, staple the opposite side. This will keep the fabric from wrinkling and twisting. Do the same with the remaining two sides.
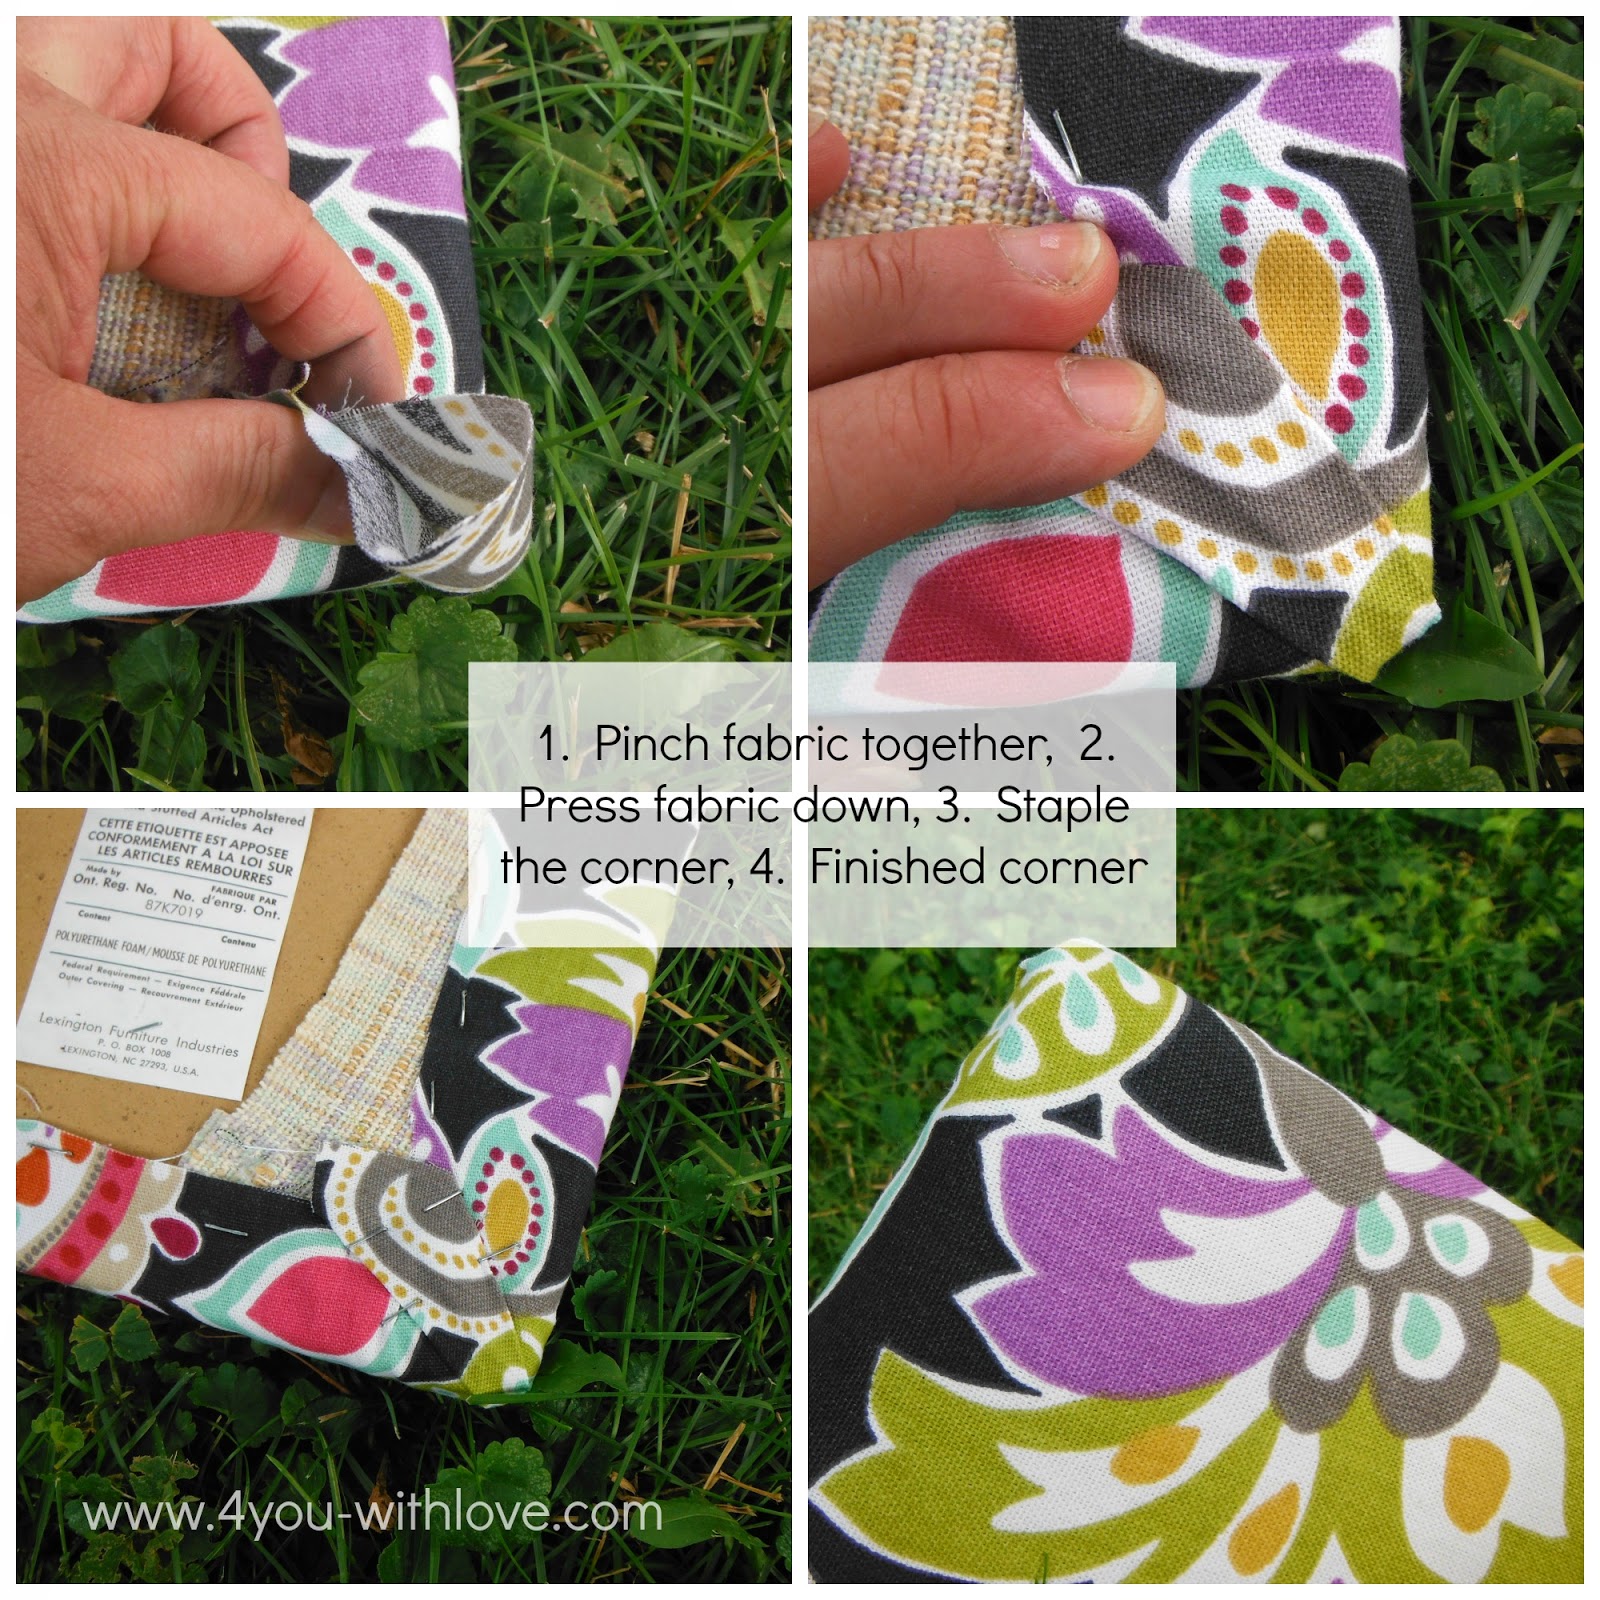
Now that the sides are stapled, it’s time to staple the corners. First, pinch the fabric together then press the folded fabric to get a nice folded corner. Then staple the corner to the seat. Doesn’t it look nice and neat? Repeat for all four corners.
Now, here’s the finished seat cushion. I just love this fun fabric, don’t you? Now your chair should be dry by now. So, all that’s left is to re-attach the seat to the chair frame. I hope you didn’t lose your screws!
Now here’s the final chair, all put back together. Isn’t is gorgeous? I think this will be a fun accent to any desk!

Note, that if you select paints with a longer dry time, then this project will take more than 2 hours. Just be sure to read the label and follow the manufacturer’s instructions.
If you’d like to try a larger upholstery project, check out how turned ugly chair…..
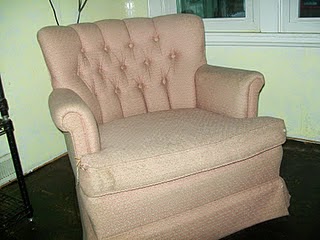
Into this “new” chair! See how HERE.


Leave a Reply