


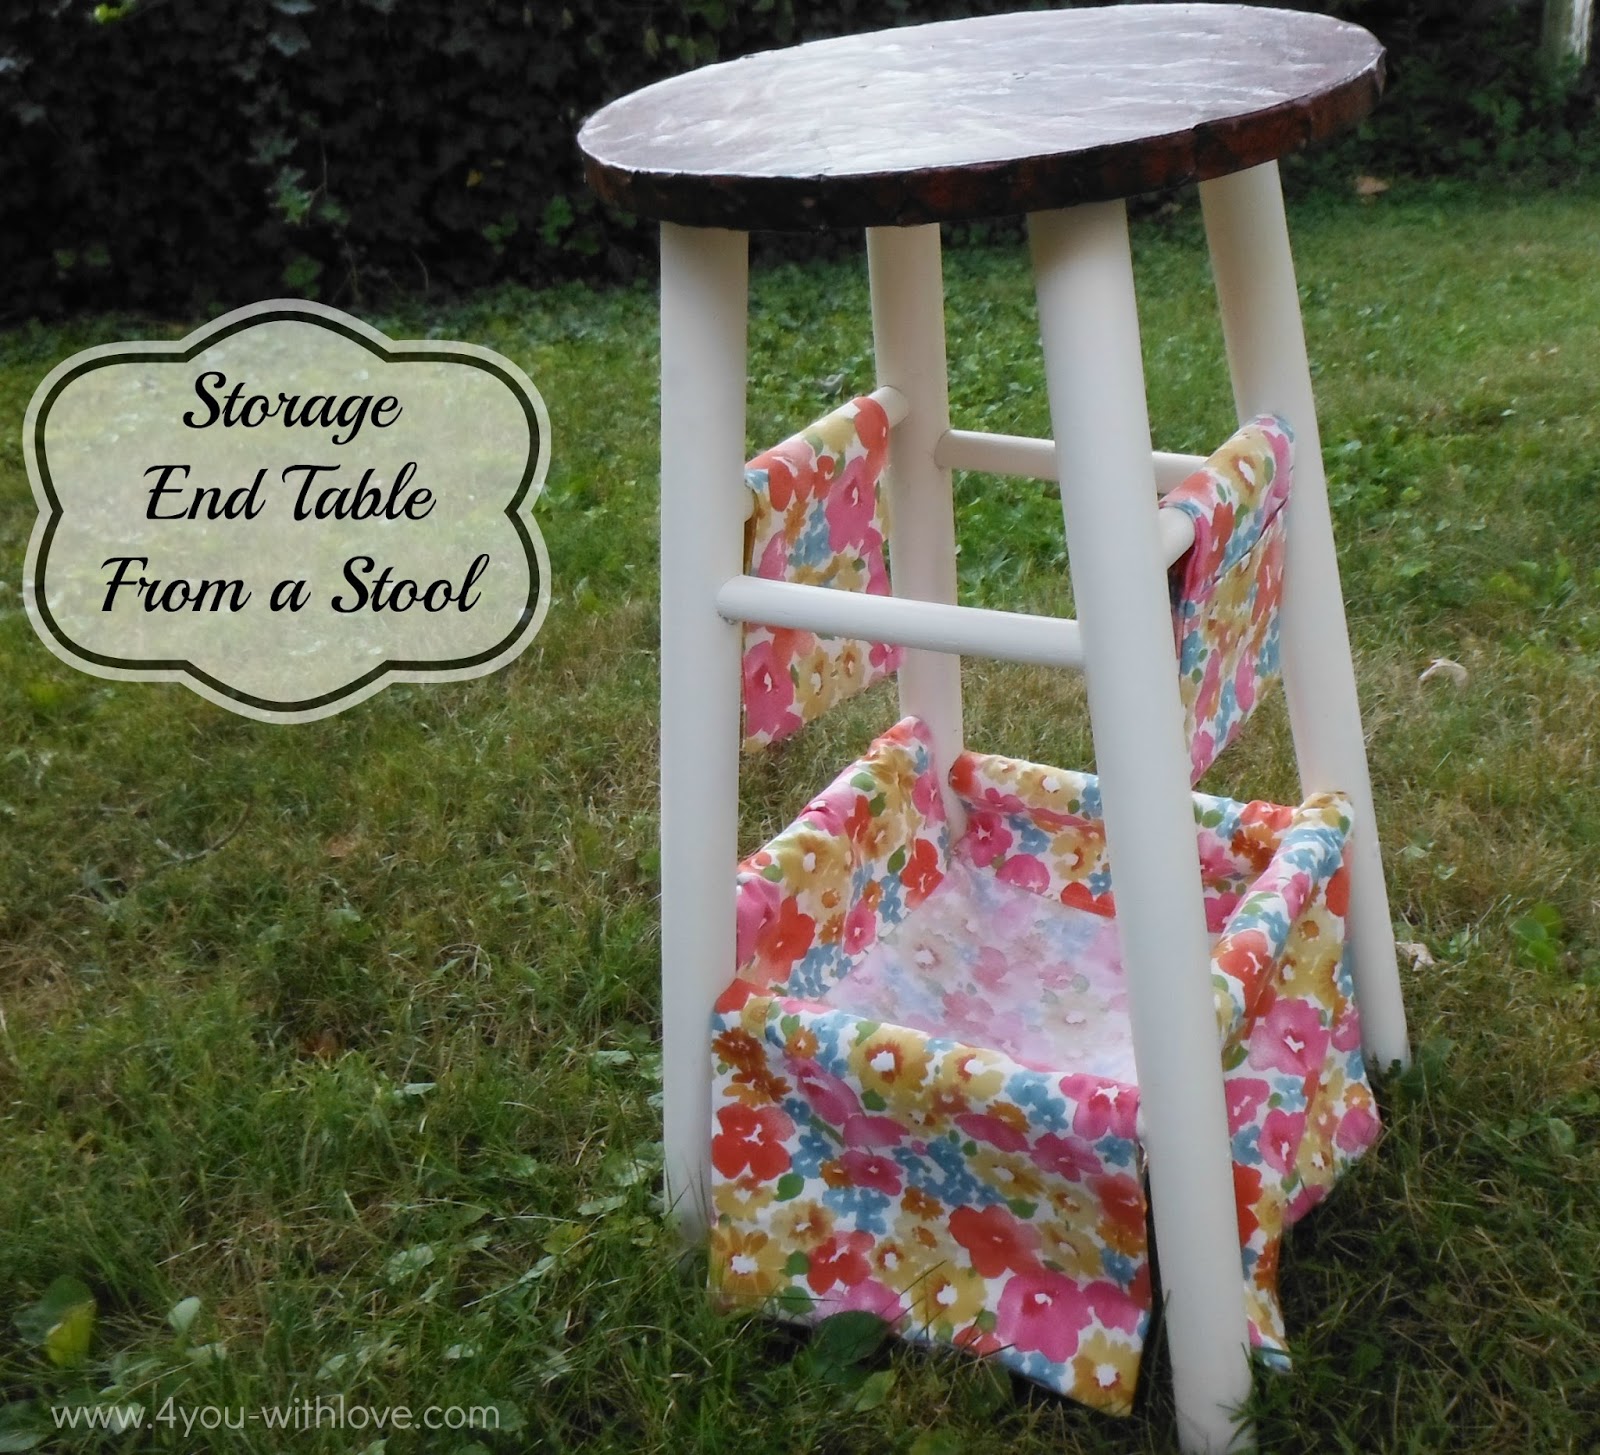
Here it is inside next to my knitting chair holding some of my yummy yarn … sorry the lighting in my house leaves something to be desired.

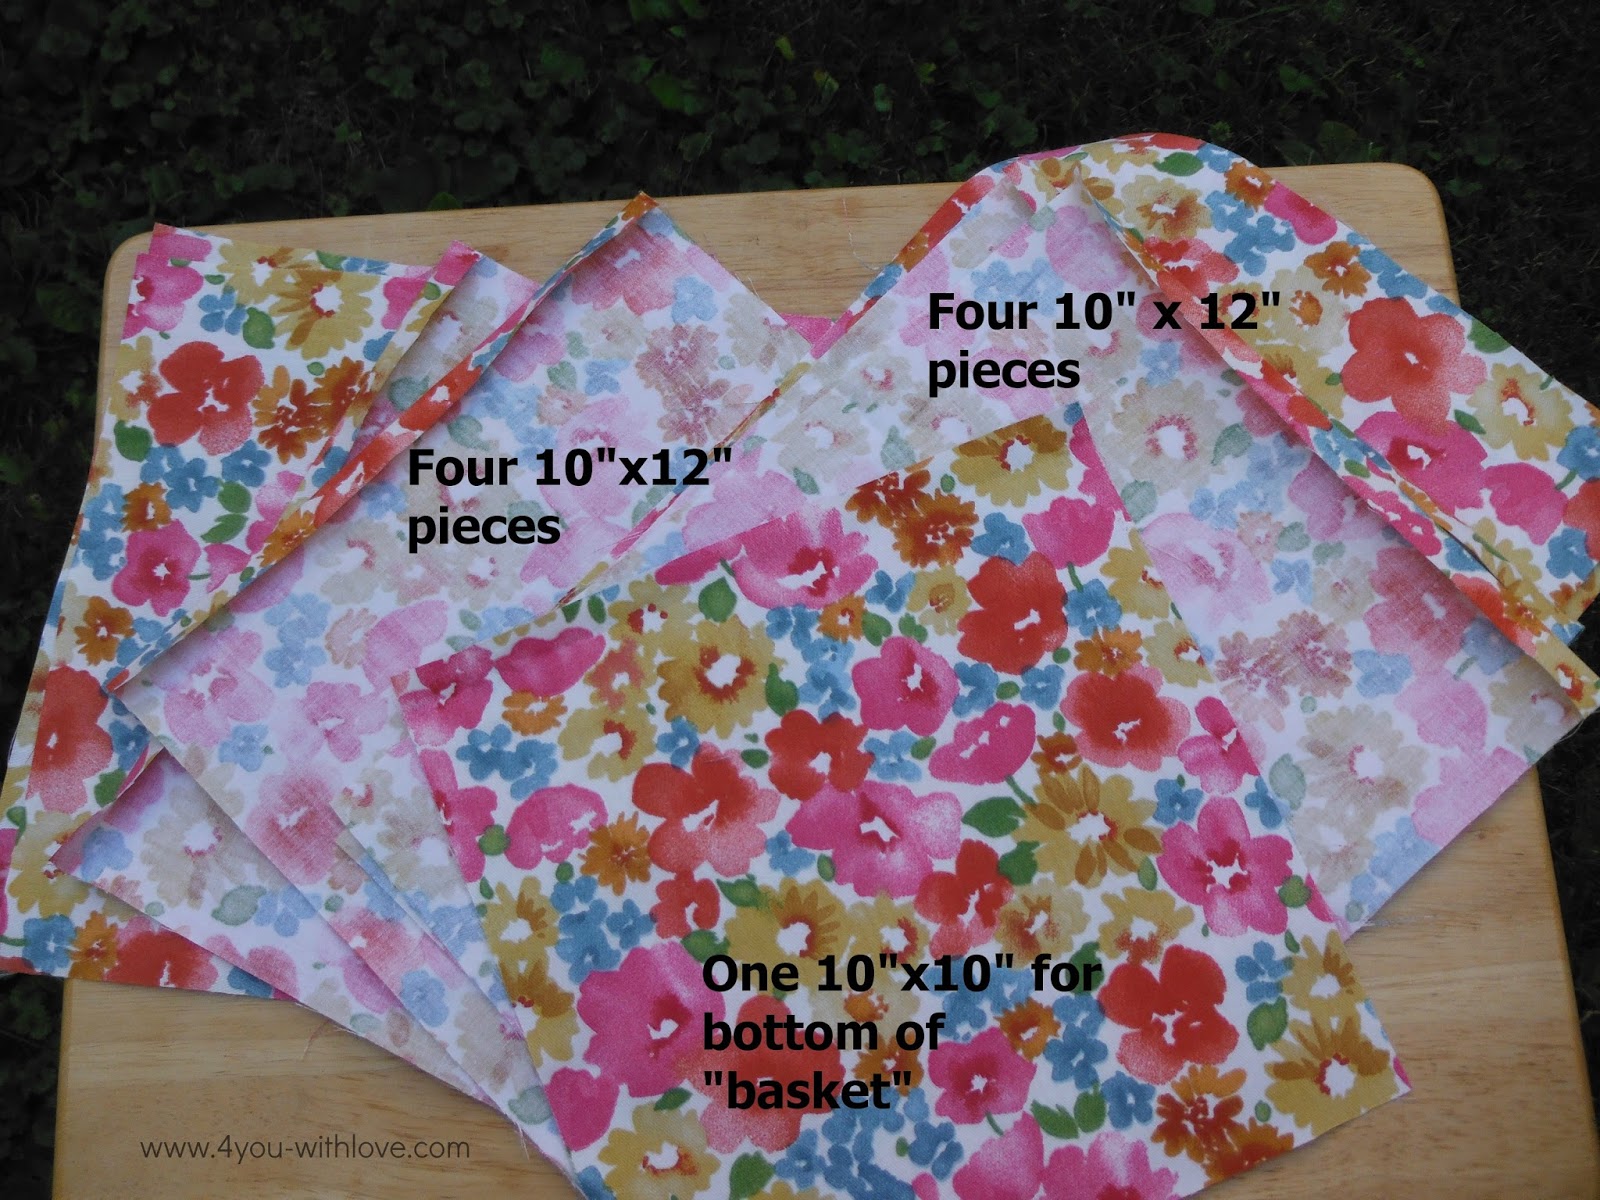
Next you will need to cut your fabric. First the pieces for my lower fabric “basket”. I determined that I would make a basket that is 9″x9″ with a seam allowance of 1/2″. So I cut the following pieces.
Next, I cut the fabric for my two hanging side pockets that can hold remotes, crochet hooks, scissors, you name it. These are the pieces I cut.
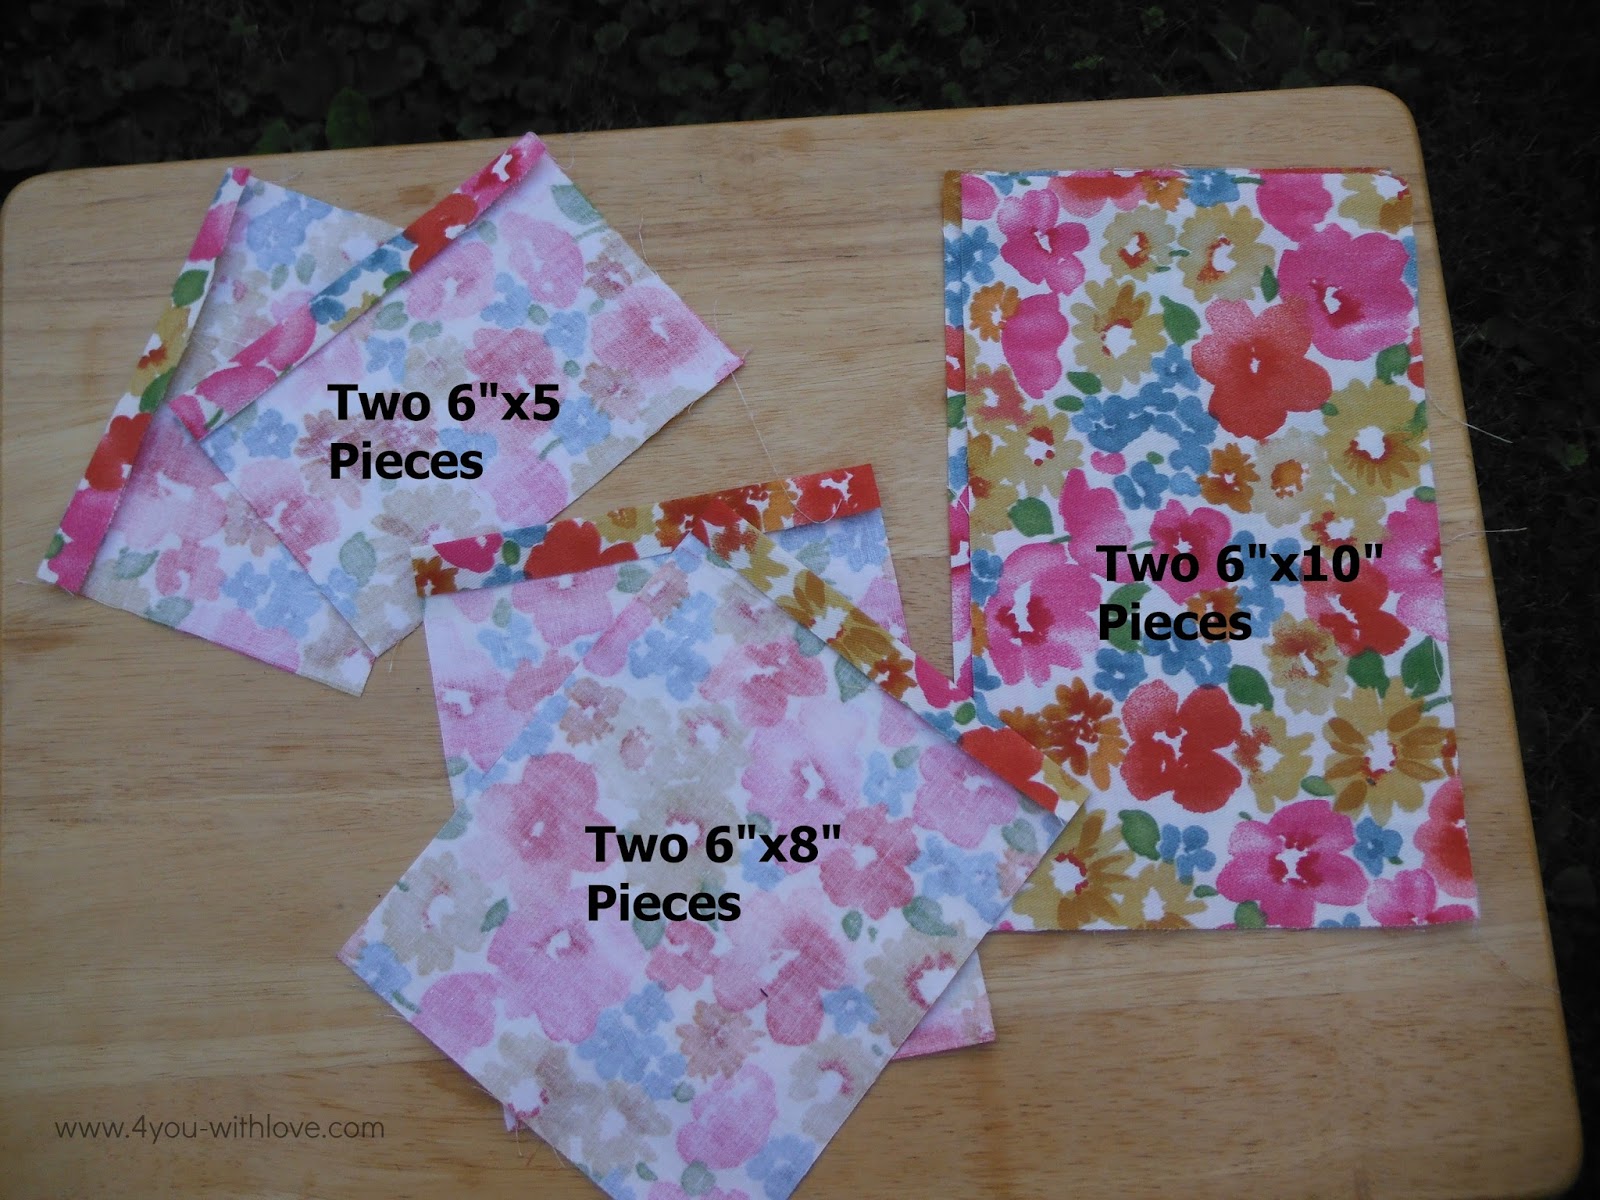
Now it is time to get the sewing machine out. Let’s make the two side pockets first.
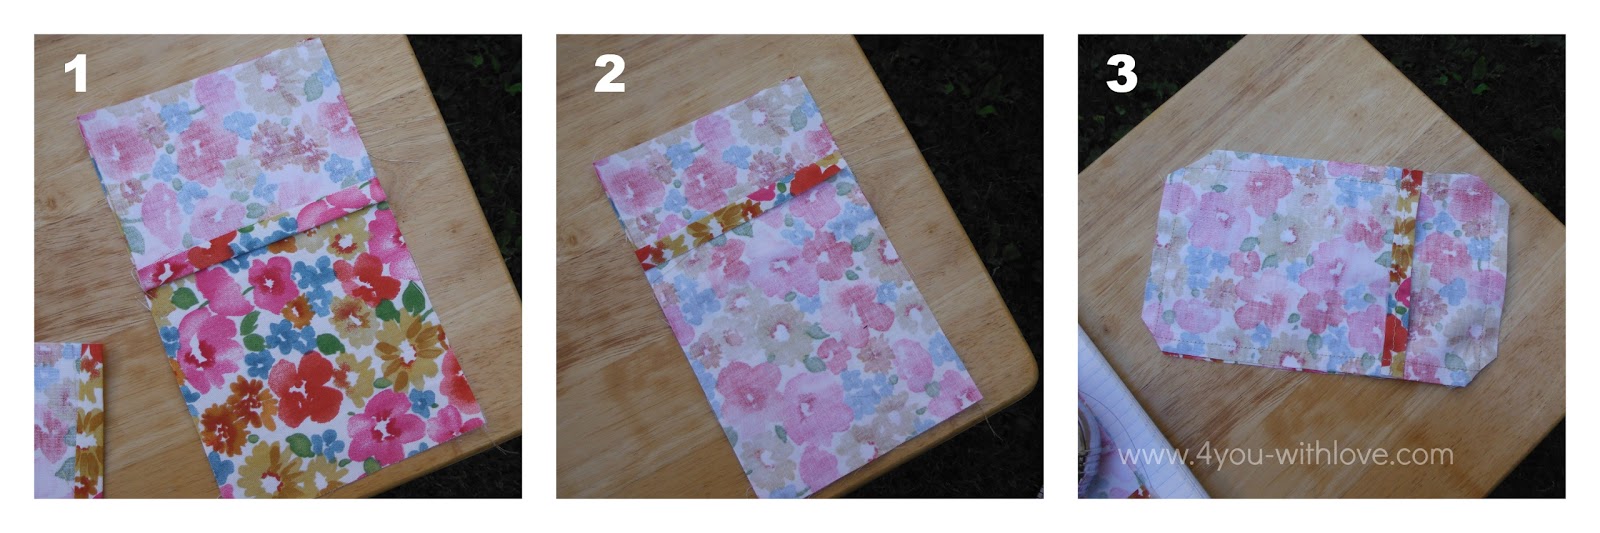
- Right sides facing, place a 6×5 piece (with 1/2″ finished edge) on top of one of the 6×10 pieces
- Place a 6×8 piece (with 1/2″ finished edge) on top of the layers pieces…like making an envelope pillow.
- Next you will sew the entire rectangle with a 1/2″ seam allowance. Clip the corners and then turn right side out and press. Then repeat for the second pocket.
I forgot to show this but you will apply velcro to the back side of your pockets so you can attach them to your stool.
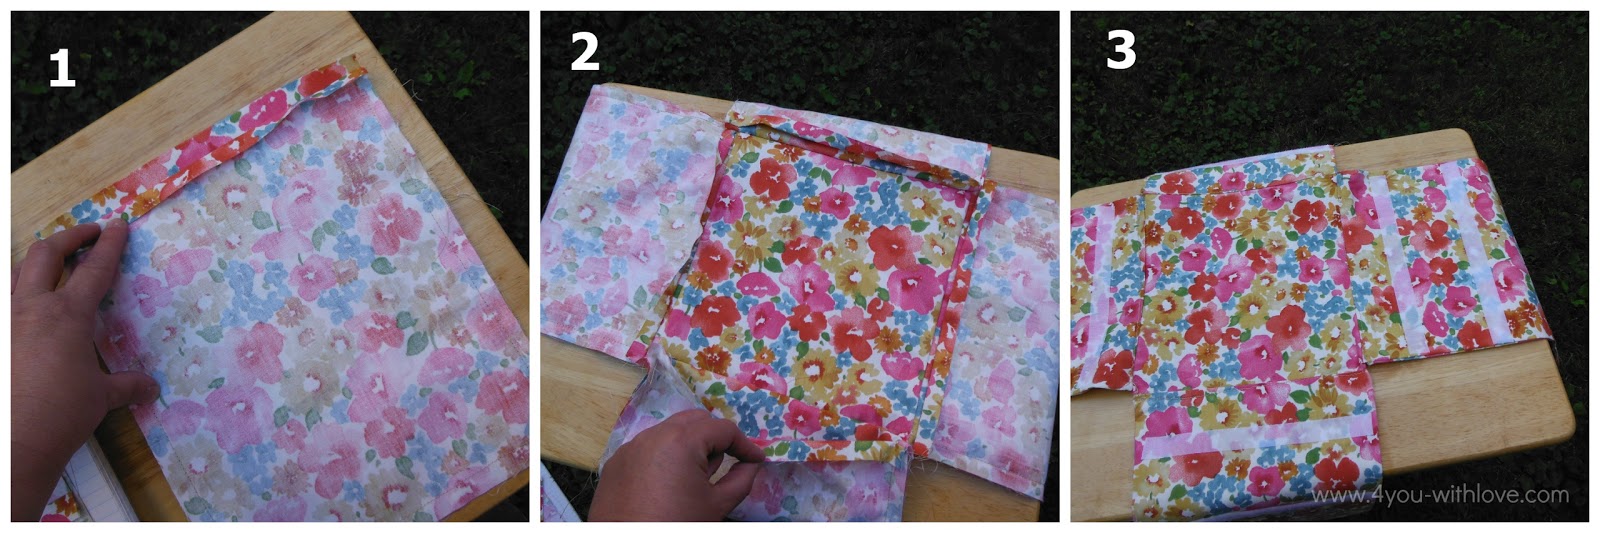
- Take two of the 10×12 pieces and press a 1/2″ seam on the 10″ side of ONE of the pieces. With right sides facing, sew along the other 3 sides with a 1/2″ seam allowance (creating a pocket). Repeat this with the other 10×12 pieces and then with the 10×14 pieces. You will have 4 “pockets”.
- Now you are going to sew the four “pockets” you just made to the base of your basket. Right sides facing, sew (only one layer) of the open pockets to the base square (my 10×10 piece). Repeat this for all 4 pockets. Your creation will look like a giant plus sign with 4 pockets.
- Turn the pockets right side out. You will want to “close the four pockets” by either hand stitching, top stitching, or using fusible web. When you do so, encase the unfinished edges. Then apply velcro so you can attach your basket to your stool. I applied mine 1.5 inches and 5 inches from the seam where the flap meets the “basket” base.
Now all you have left to do is assemble your new stool end table.

I can’t wait to see what you create for the Waverize-It Project Challenge! Pretty please leave a comment with a link to your project so I can see it!
Happy Sewing!
Leave a Reply