Okay, I admit it. I have a problem. It’s a “new crafting/creating” turned obsession problem. Do you suffer from this as well? (*wink* I hope so because I don’t want to be the only one who suffers from this affliction).
So, what is my current obsession? It’s making your own health and beauty products. I never knew how easy these things were. Trust me! Just a few ingredients and a little time (and I mean a little time) and you can make some high quality products. Recently, I’ve shared with you my first two products: peppermint vanilla lip balm and 3 ingredient body butter. Today I’d like to share with you my first attempt at making solid lotion bars.
I perused both the internet and Pinterest and all of the recipes I found followed this type of formula.
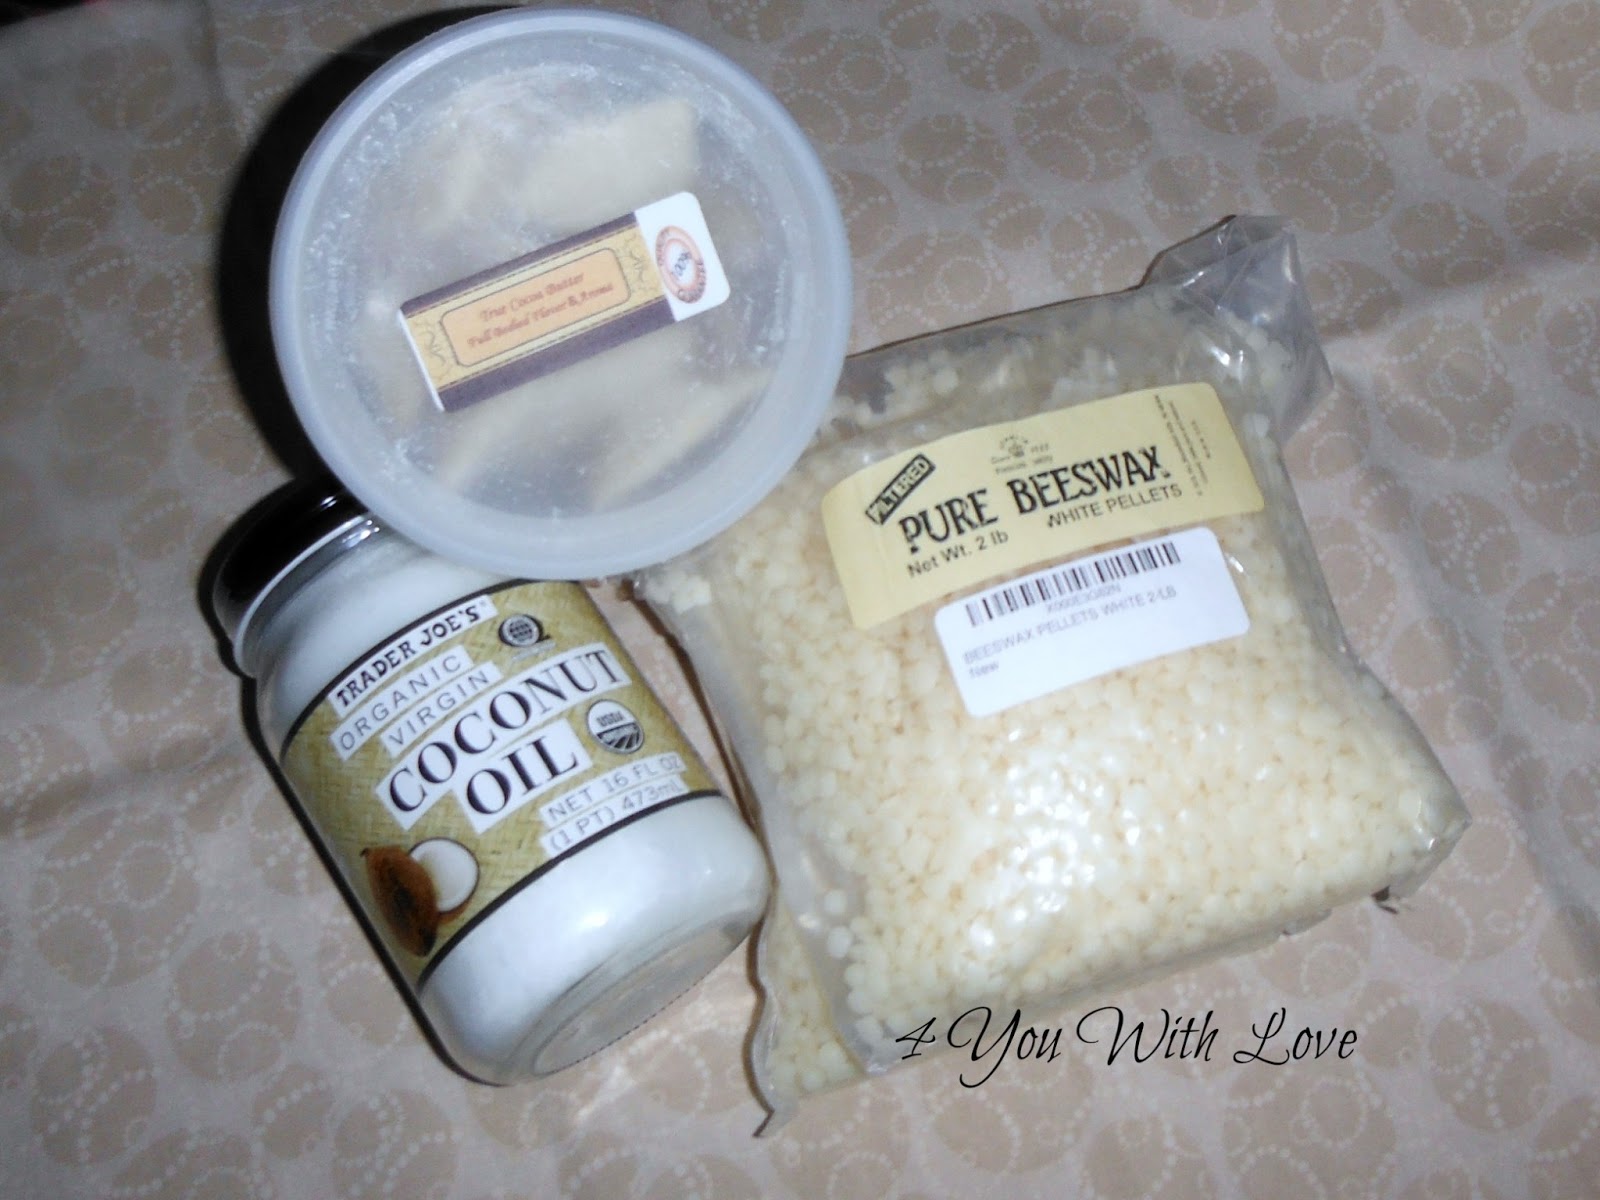
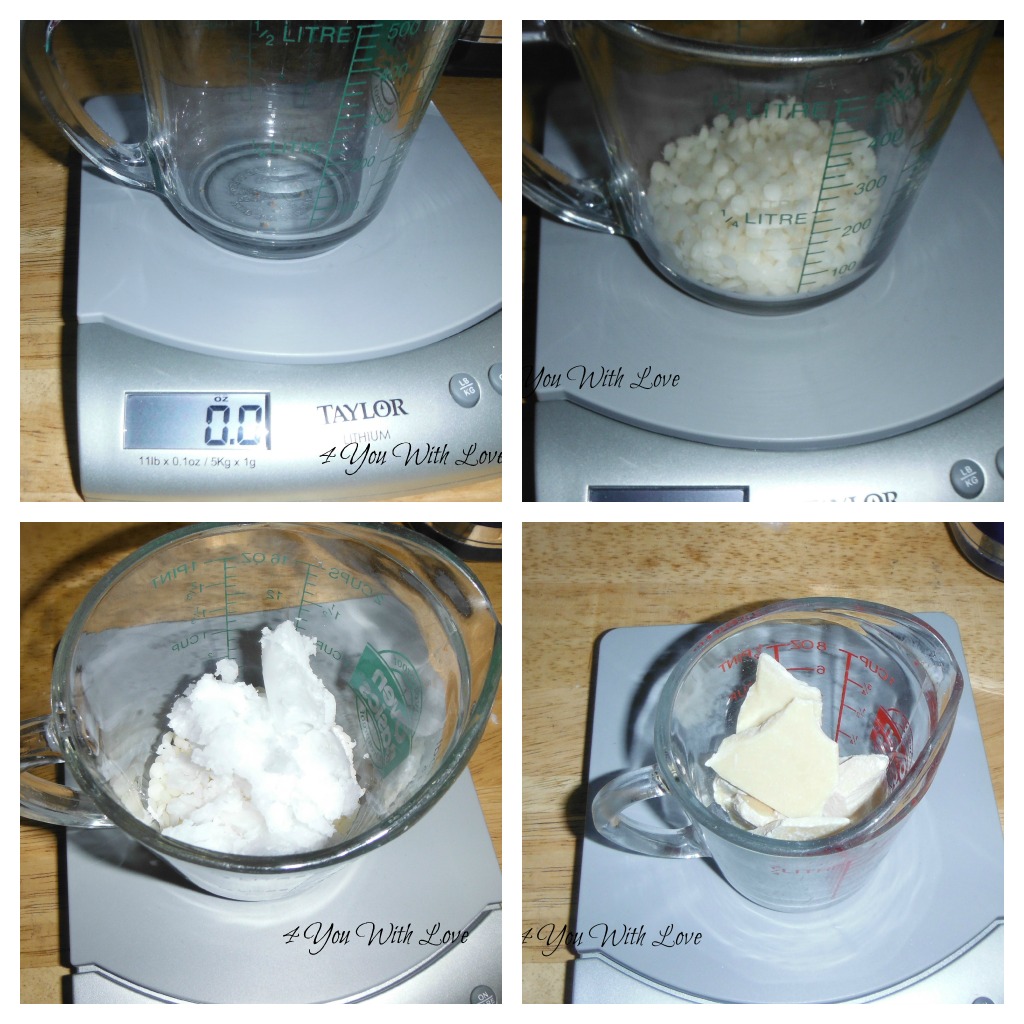
- Use 1 part, by weight, oil (coconut, almond, and olive are most commonly used)
- Use 1 part, by weight, butter (shea or cocoa butter)
- Use 1 part, by weight, beeswax
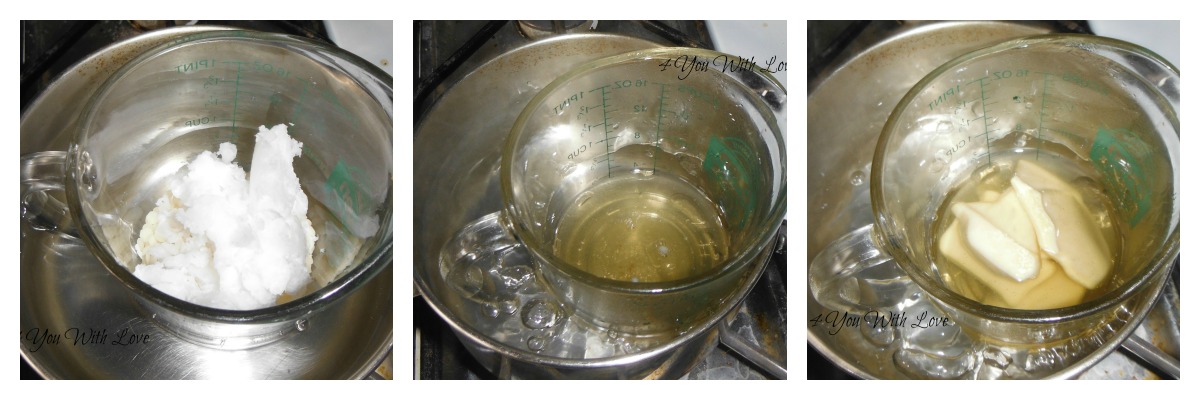
- Bars that used a liquid oil (almond and olive) took longer to set up than a solid oil (coconut)
- Some recipes added essential oils for either aromatic or therapeutic purposes.
Mounds Bar Solid Lotion Bars

You want a tough critic, take my husband. He’s not a big fan of various “foofy” toiletries. Well, he LOVED how these smelled and it felt on his chapped hands.
I super psyched with how these turned out. I’m trying to decide if I should feed my current obsession with making more of these goodies or trying something new. What do you think?
Update 2/1/2013
Many people have asked where they can purchase the ingredients needed for making solid lotion bars. You can find a lot of these ingredients in health food stores and various online stores. I have provided links to amazon below for your convenience. Please note that I have included 3 different links to beeswax. All 3 will work since they are all cosmetic grade.
4 You
Wow they look great…and I can almost smell them! I may have to have a new hobby too…lol. I wonder how you would make them into a soap?
Wow they look great…and I can almost smell them! I may have to have a new hobby too…lol. I wonder how you would make them into a soap?
I luv this idea but afraid if I make it my son would try to eat it :o) lol
This is a wonderful recipie. I’ve been interested in soap making and have ried a Pinterest idea that takes a bar soap and turns it into a lotion. It was great. I also have a recipie with coconut oil. Where do you find something like that? At the grocery store or at the craft store?
I forgot to mention I was stopping by from the Gunny Sak link up!
Great idea! I make vegan, organic lip balm so I’ve got all of those ingredients. Stopping by from The All Star Block Party!
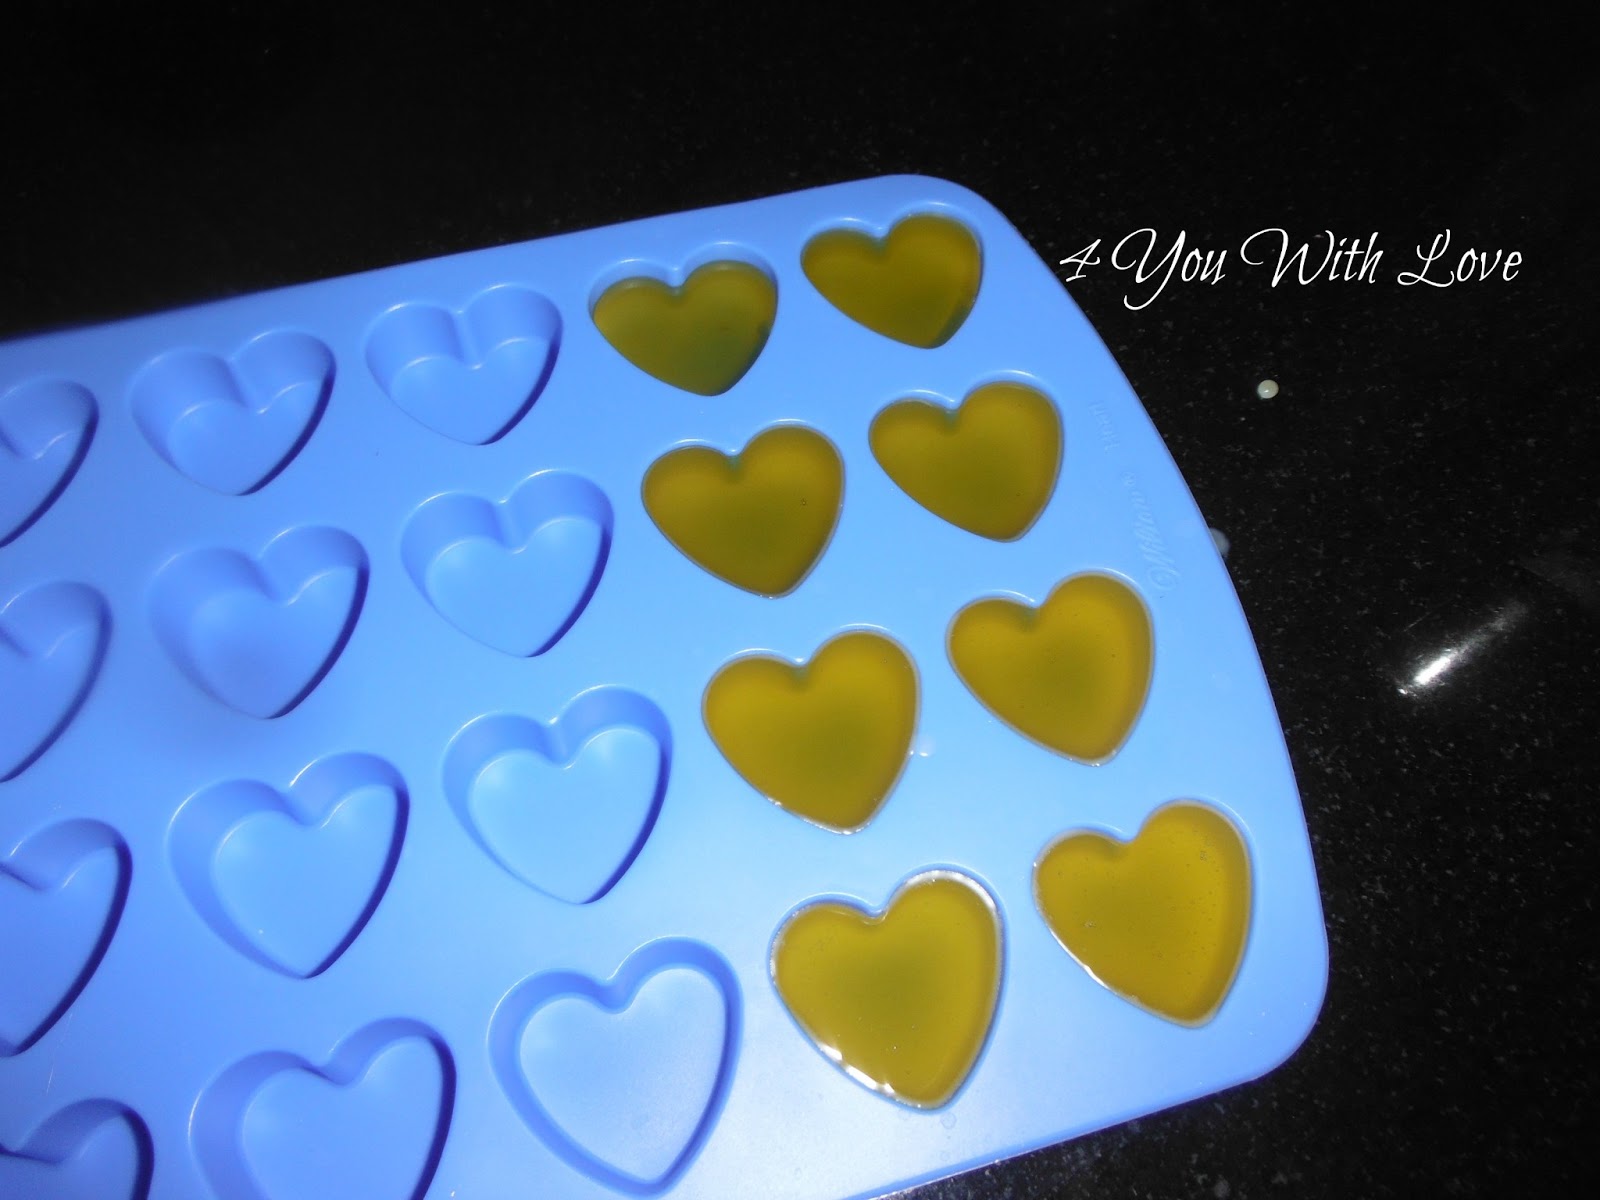
I love the smell of coconut! I recently received some coconut oil and was wondering what to do with it. I am trying to get back to a more natural lifestyle and this now on my list of things to do! I love the little heart shapes!
Thank you for linking up to my In and Out Kitchen Party! I can’t wait to see what you bring next week!
Cynthia at http://FeedingBig.com
Oh Yes. Feed your obsession. Making homemade skin care products is super fun,and very addicting. I have been making my own skin care goodies for years, and I share many DIY recipes on my blog. Thanks for feed my obsession, Love IT! ;o)
What a great idea! This would be the perfect gift, love it! Stopping by from Pin Me, stop by if you have a moment Running Away? I’ll Help You Pack!
I’d love to try this! I’m an avid hand lotion user, and this would be wonderful to keep in my purse. They’d be so cute to give as a gift too – love the heart shape. Thanks for sharing your idea and I’ll be pinning!
This is so cute! Found you on the Pin party and will be pinning this!
Thanks for linking up! I have a feeling these solid lotion bars are going to be getting more and more mainstream. Great tutorial.
This is such a great idea! I have a ton of cocoa butter sitting around from a recipe that went bust last fall…now I have a use for it! Thanks for sharing!
These do look and sound like they’re so delicious that we better not keep them out where little kids can get at them! Thanks for the fun project.
I’ve gotta try these!
Jess here…co-host of “Shine on Fridays” this week! Thanks for linking up!
What a GREAT idea! My mother would love this! I pinned it for later!!
Don’t forget to enter my fabric giveaway!
http://www.pluckys-secondthought.com/fabric-giveaway-sponsored-by-fat-quarter-shop-by-the-sea-fat-quarter-bundle/
Wow – this looks like such a great idea!! I think this is a good obsession. Thanks for linking up at Romance on a dime!
What a fun shape!!
Thanks for coming by What’d You Do This Wewkend? These are great. I have to give these a try.
The contessa@tumbleweedcontessa.com
Linda
featuring this today! http://jedandivy.blogspot.com/2013/02/aloha-friday-link-party-21-black.html
I can just smell the coconut! Stopping by from Frugal Crafty Home Blog Hop. Thanks for linking this up!
I was wondering if these stay melt when they get warm? thanks for the great recipe. looks super easy and such an adorable gift…..