When I was a little girl, my older sister was really into mod podge and decoupaging. She made me a beautiful wooden purse which she painted, decoupaged pictures, lined with felt, and added a handle. I LOVED that purse. Like so many things of the 70s, (like crazy bell bottom pants returning as stylish flares), decoupage has gone from folksy to classy.
I’ve been so inspired by all the projects made from mod podge on pinterest. It inspired me to decoupage a desk (see it here). Okay, so I have done a modern piece with paper but I’ve been seeing people decoupage with fabric. I really wanted to try this out. Here’s my first project.

My inspiration for this project came from, you guessed it, pinterest. It is a project by Christine Chitnis (you can find her insructions here). This is the picture I saw that made me say, “this is going to be my first fabric decoupage project).
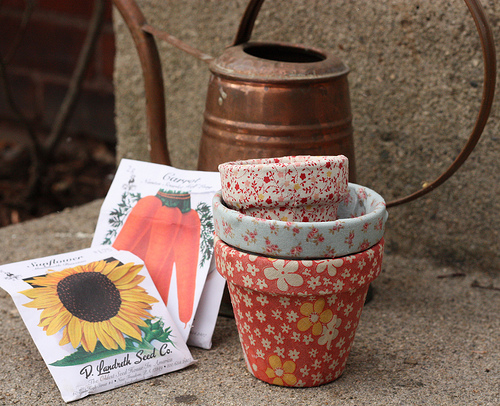
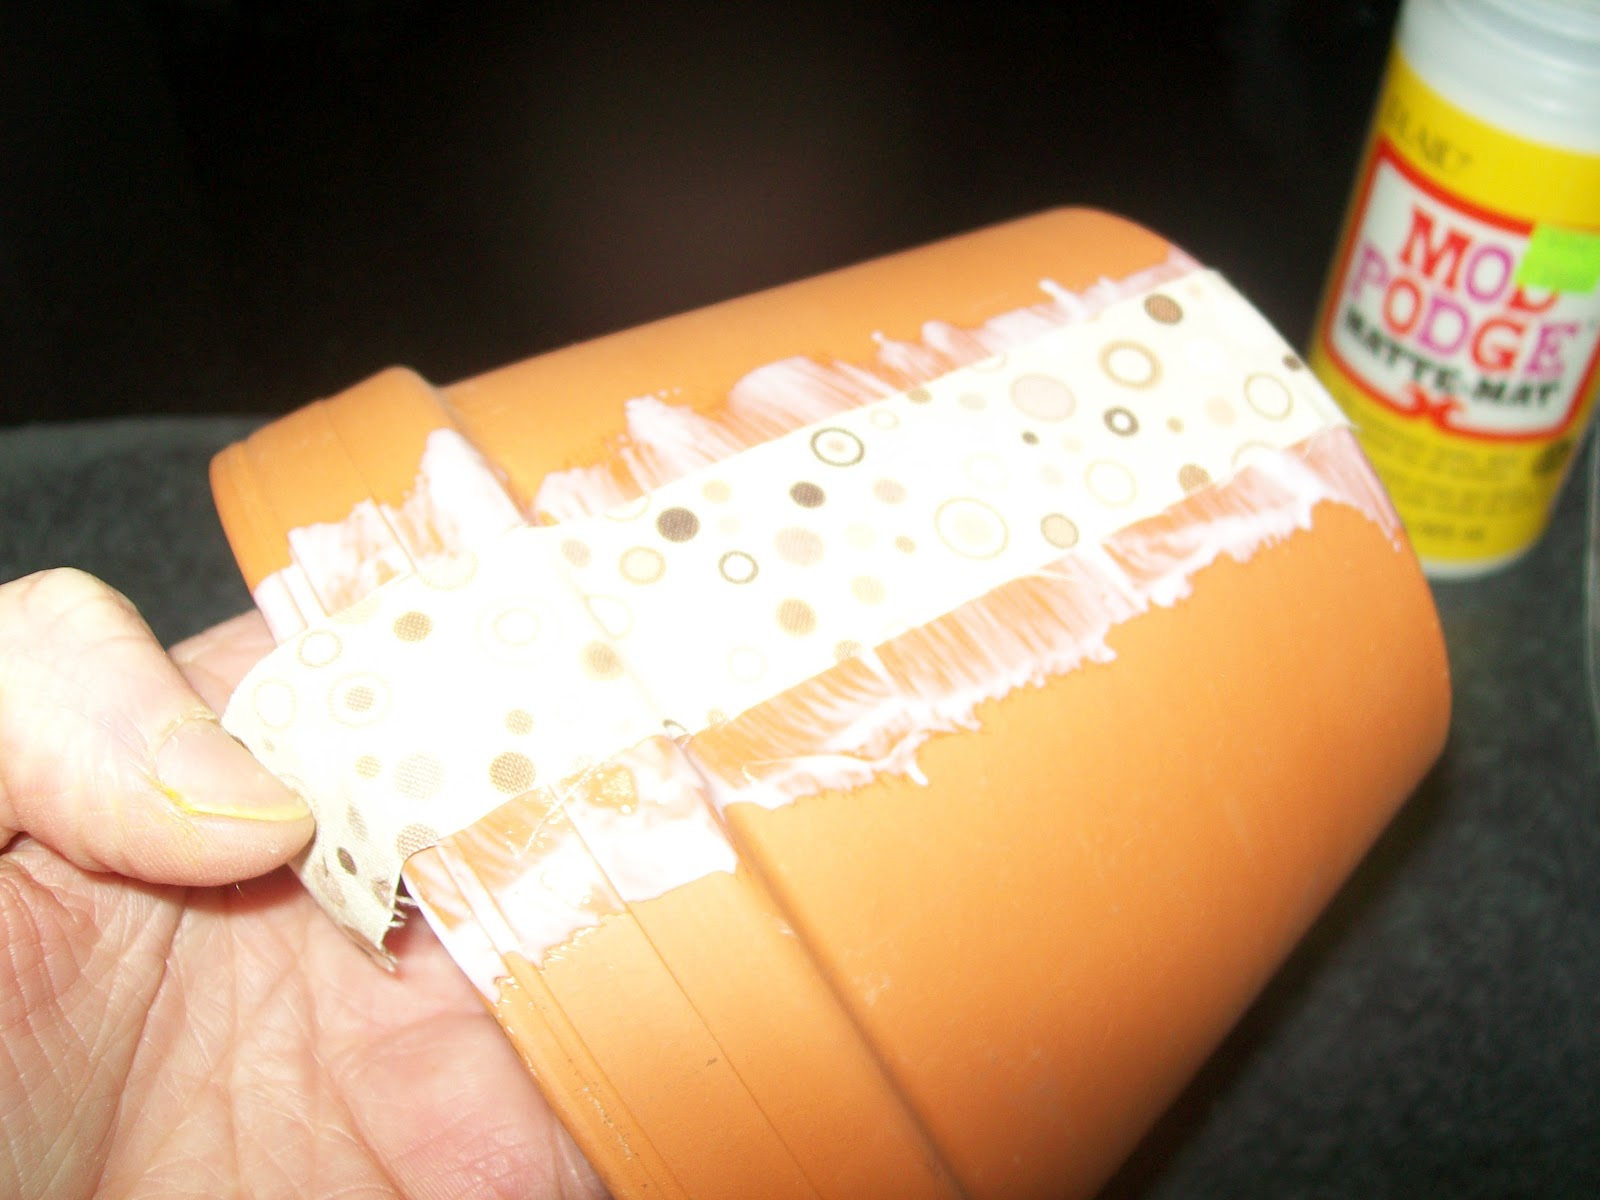
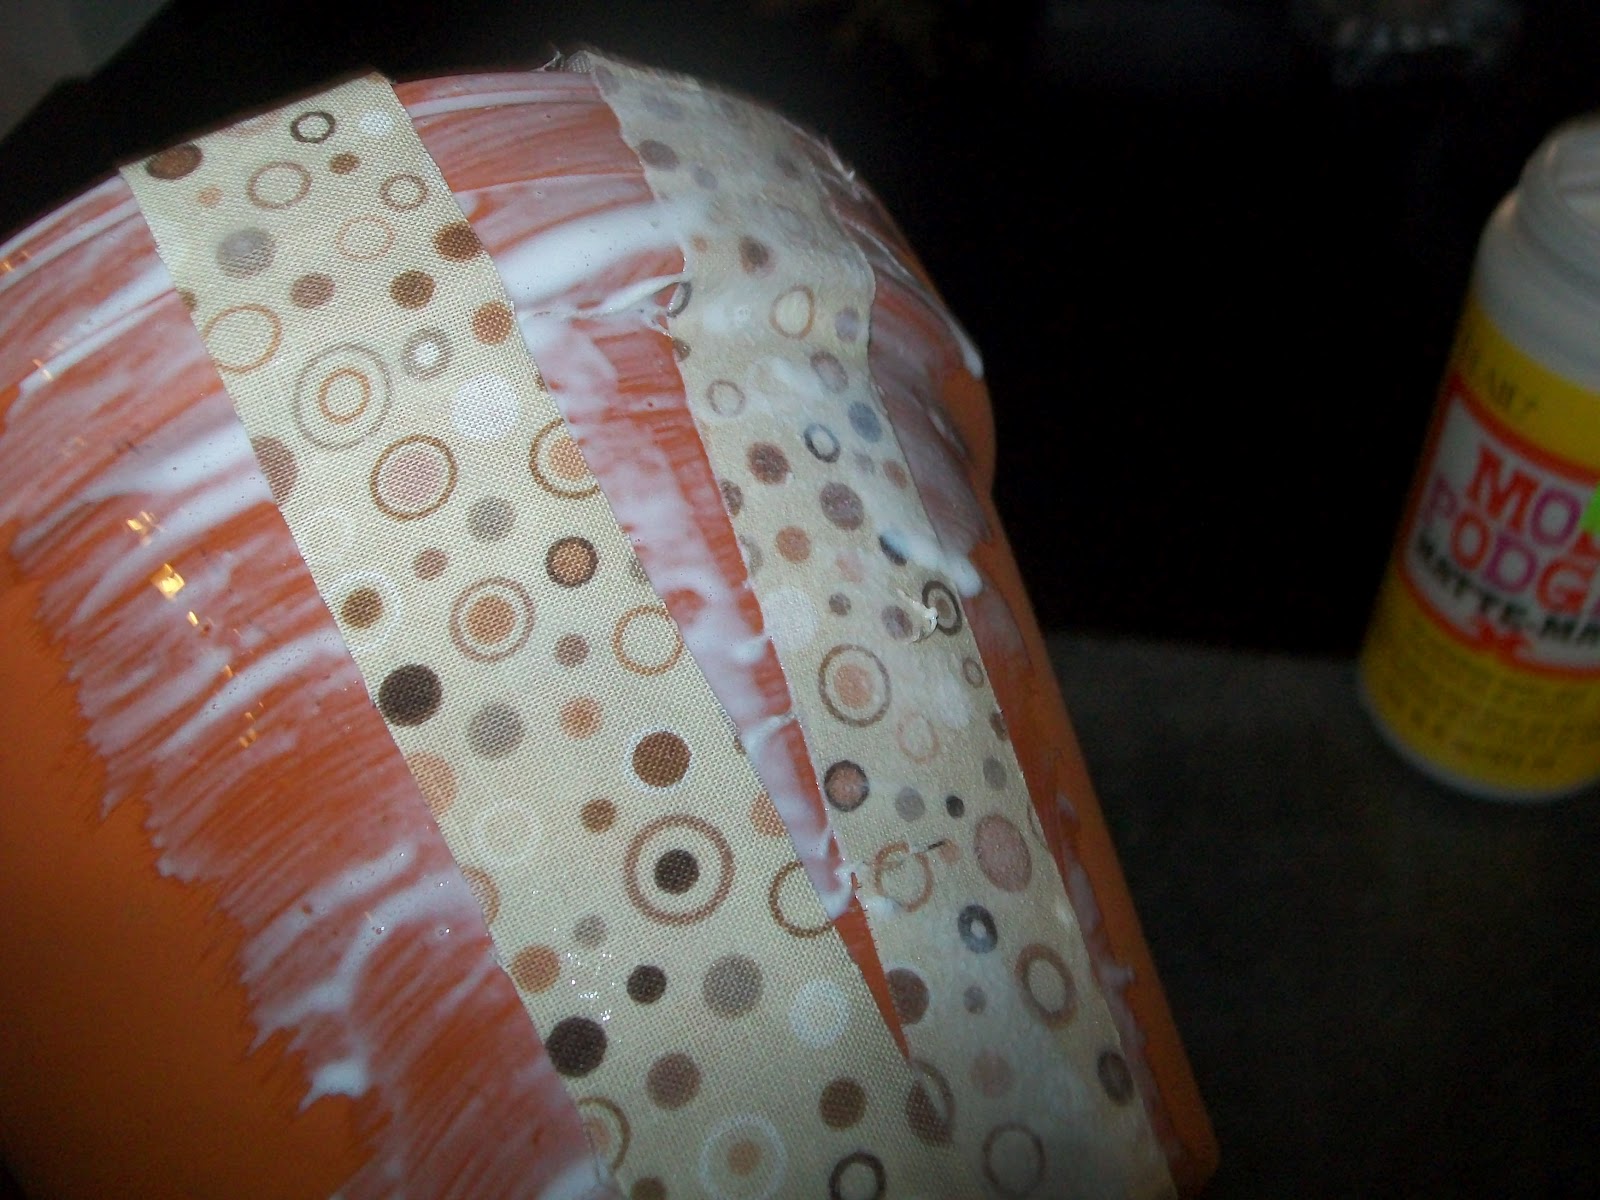
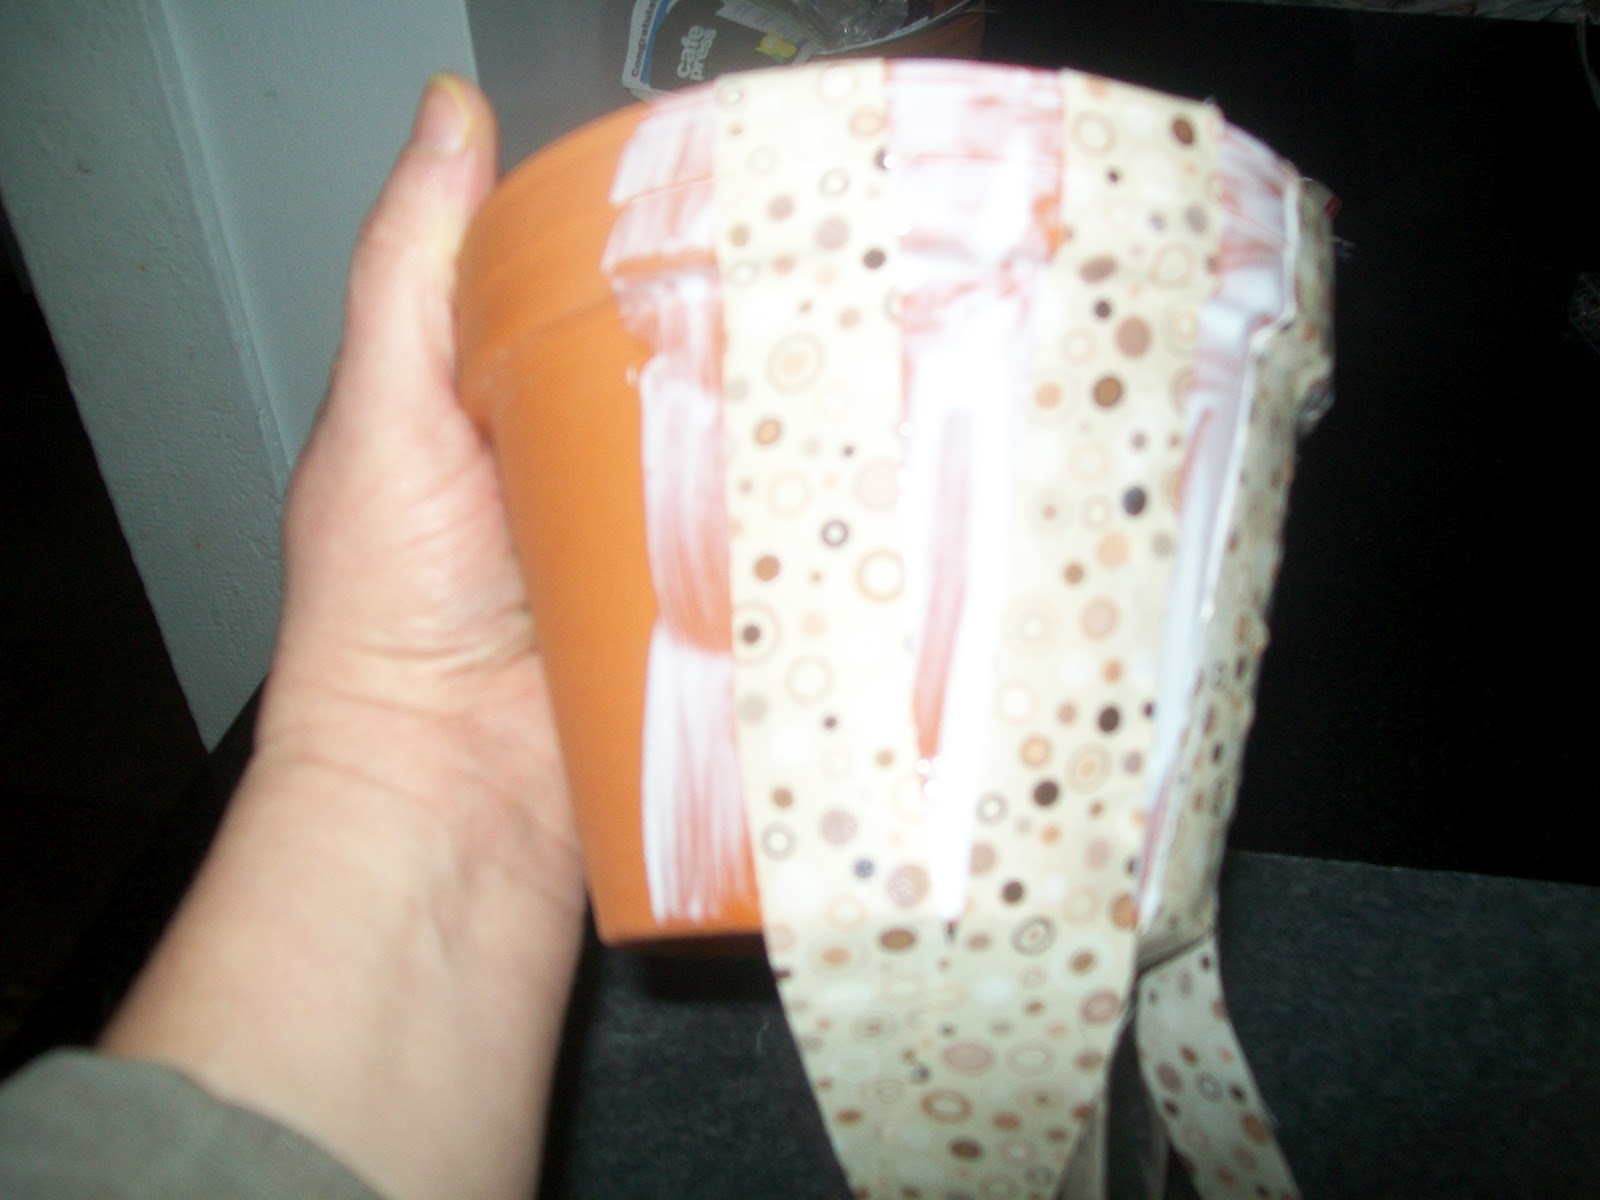
Reading Christine’s instructions, she cut her fabric in a large piece and I felt that I would find her technique cumbersome (and I don’t do well with frustration when I’m doing a brand new technique). So, here’s what I did.


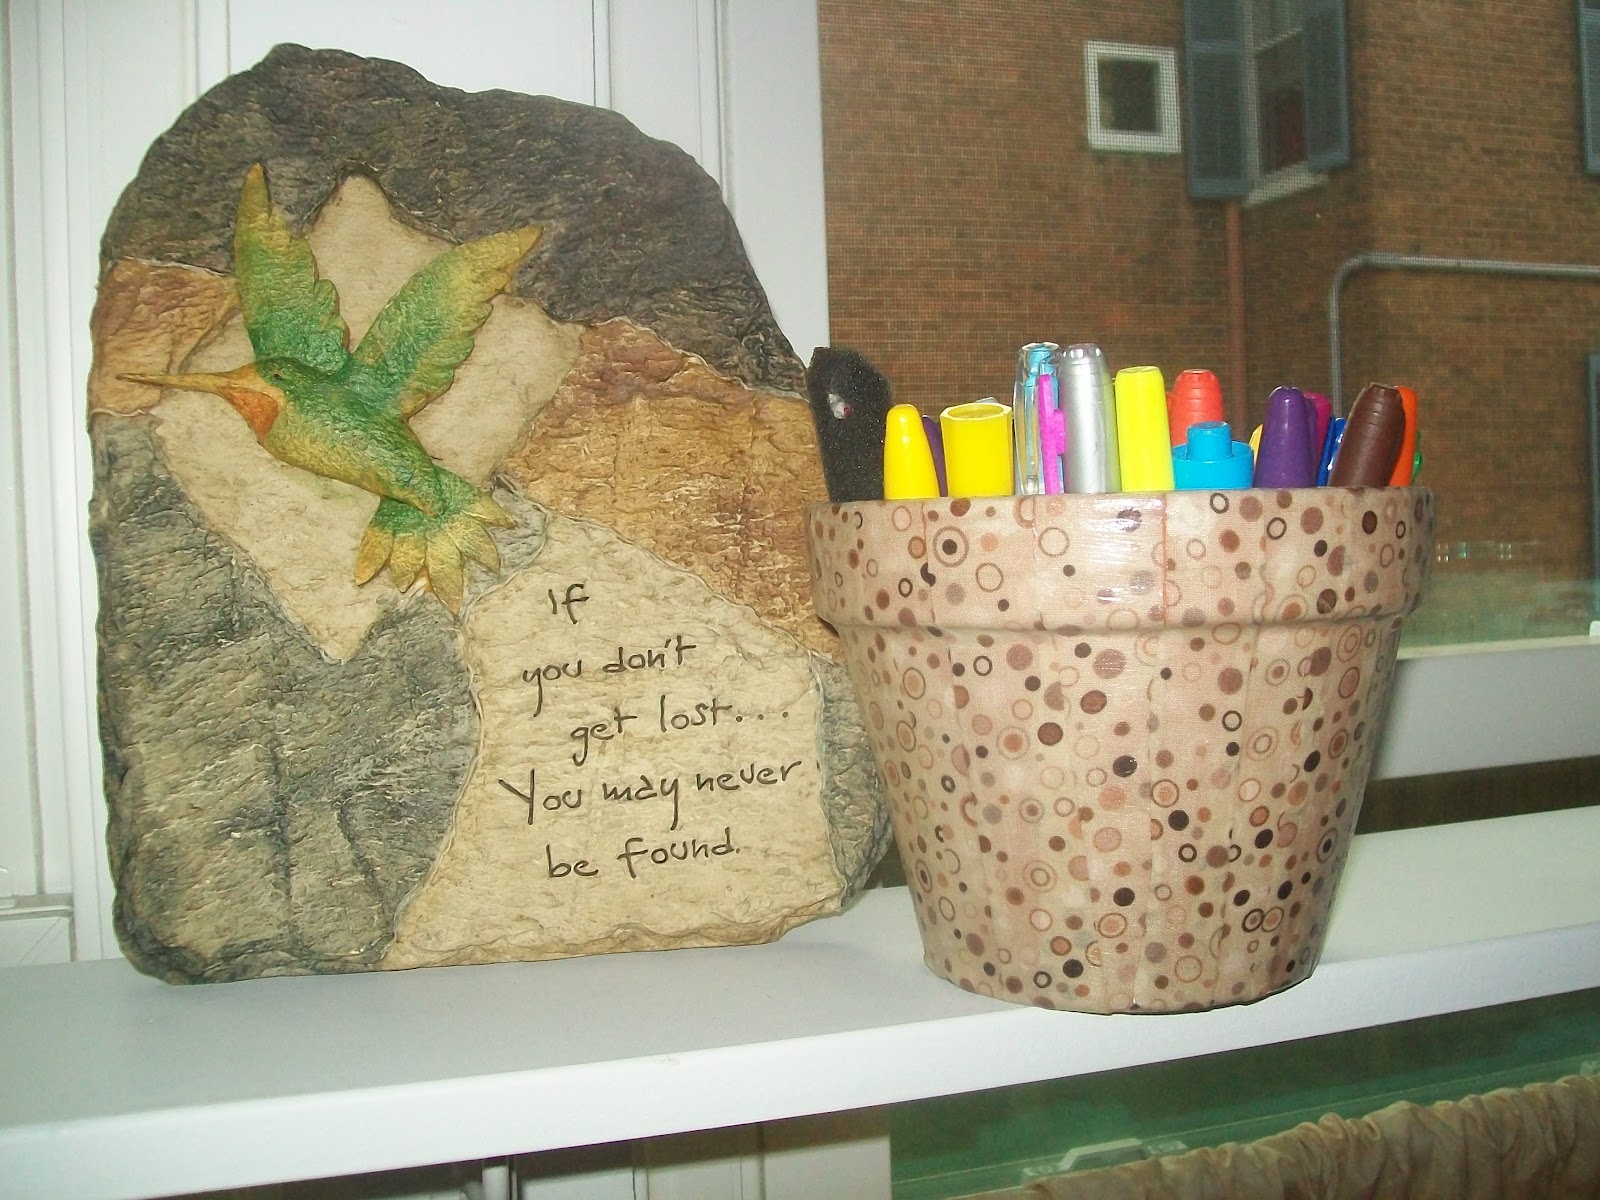
I have a bottle of modge podge and have NEVER used it. What a great way to dress up terra cotta!
That is a great idea! I think I’ll try this with my daughter. Thanks for the tute. Did you use the matte finish?
I pinned this exact same project last week! Yours look great, too!
I never thought of using cloth on terracotta before. great idea.
JoAnn
This is such a great project. Thanks for sharing the steps on how to make this. It looks great.
Very nice. Love the fabric you used – looks so good on the terra cotta pot.
Thanks for linking up at Romance on a Dime!!
Hi Marilyn! Thanks for your sweet comment on my blog Double the Decor! I’m actually already following you! : ) Love this latest post with covering pots with fabric. So cute and what a great gift it would make!
Found your blog via the Blog Hop. I’m your newest GFC follower!
http://our-reflection.blogspot.com/
Hi,
Very nice blog. I am following it.
Please follow mince.
http://thetechnoworldblog.blogspot.ca/
Thanks,
Oh that is so sweet! I love the tutorial and saw you over at School house Scraps.
Those are so fun!! Love the idea of using fabric! Thanks for sharing at Thursday’s Temptation.
Jill
Cute little fabric – turned out really sweet. Thanks so much for sharing at our party.
What a great idea! So beautiful.
Super cute! I have some old pots out in the garage that I may have to clean up so that I can try this. Thanks for sharing at Terrific Tuesdays.
Rachel
adventuresofadiymom.blogspot.com
now that i have an entire list of want-to-do’s all from you, you’re going to have to explain to my family why i’m not making dinner this week! lol thanks for sharing your stuff on my center of attention sunday link up!
Love pots now!!! So whimsical!!
Thanks so much for linking up to my Tuesday party at Jillify It! Hope to see you again on Tuesday!
Jill
http://www.jillifyit.com
Super cute!
So very cute! Love your fabric choice and the idea! That’s great!
Melody
One Chatty Chic
I’d also known about paper decoupage, but, oh well, fabric decoupage shouldn’t be so much harder to do. Is the finished pot water-resistant?
So lovely! I noticed that you created a Spring is Here board on Pinterest – awesome!! Can you take the link for that pinboard and post it on the Pinterest Party? http://romanceonadime.com/pinterest/pinterest-party-spring-is-here/
Thanks! You can continue to add to your pinboard any spring thing!
I LOVE decoupage and have decoupaged nearly everything (except this). These look FAB!! Thanks for sharing.
Tammy
I have done a similar project, but with gift wrapping, see my link here.
http://dailylifeimpressions.wordpress.com/2013/01/23/quick-diy-or-how-to-decorate-old-ceramic-pots/
will try it with fabric as well, looks nice.