As you know, I’m participating in www.lovelycraftyhome.com‘s “Get Your Crap Together Party”. I’ve been frantically working on remodeling my woman cave/craft area. Although this room is not large, the project is taking much longer than I anticipated. Typical for my 1888 house!
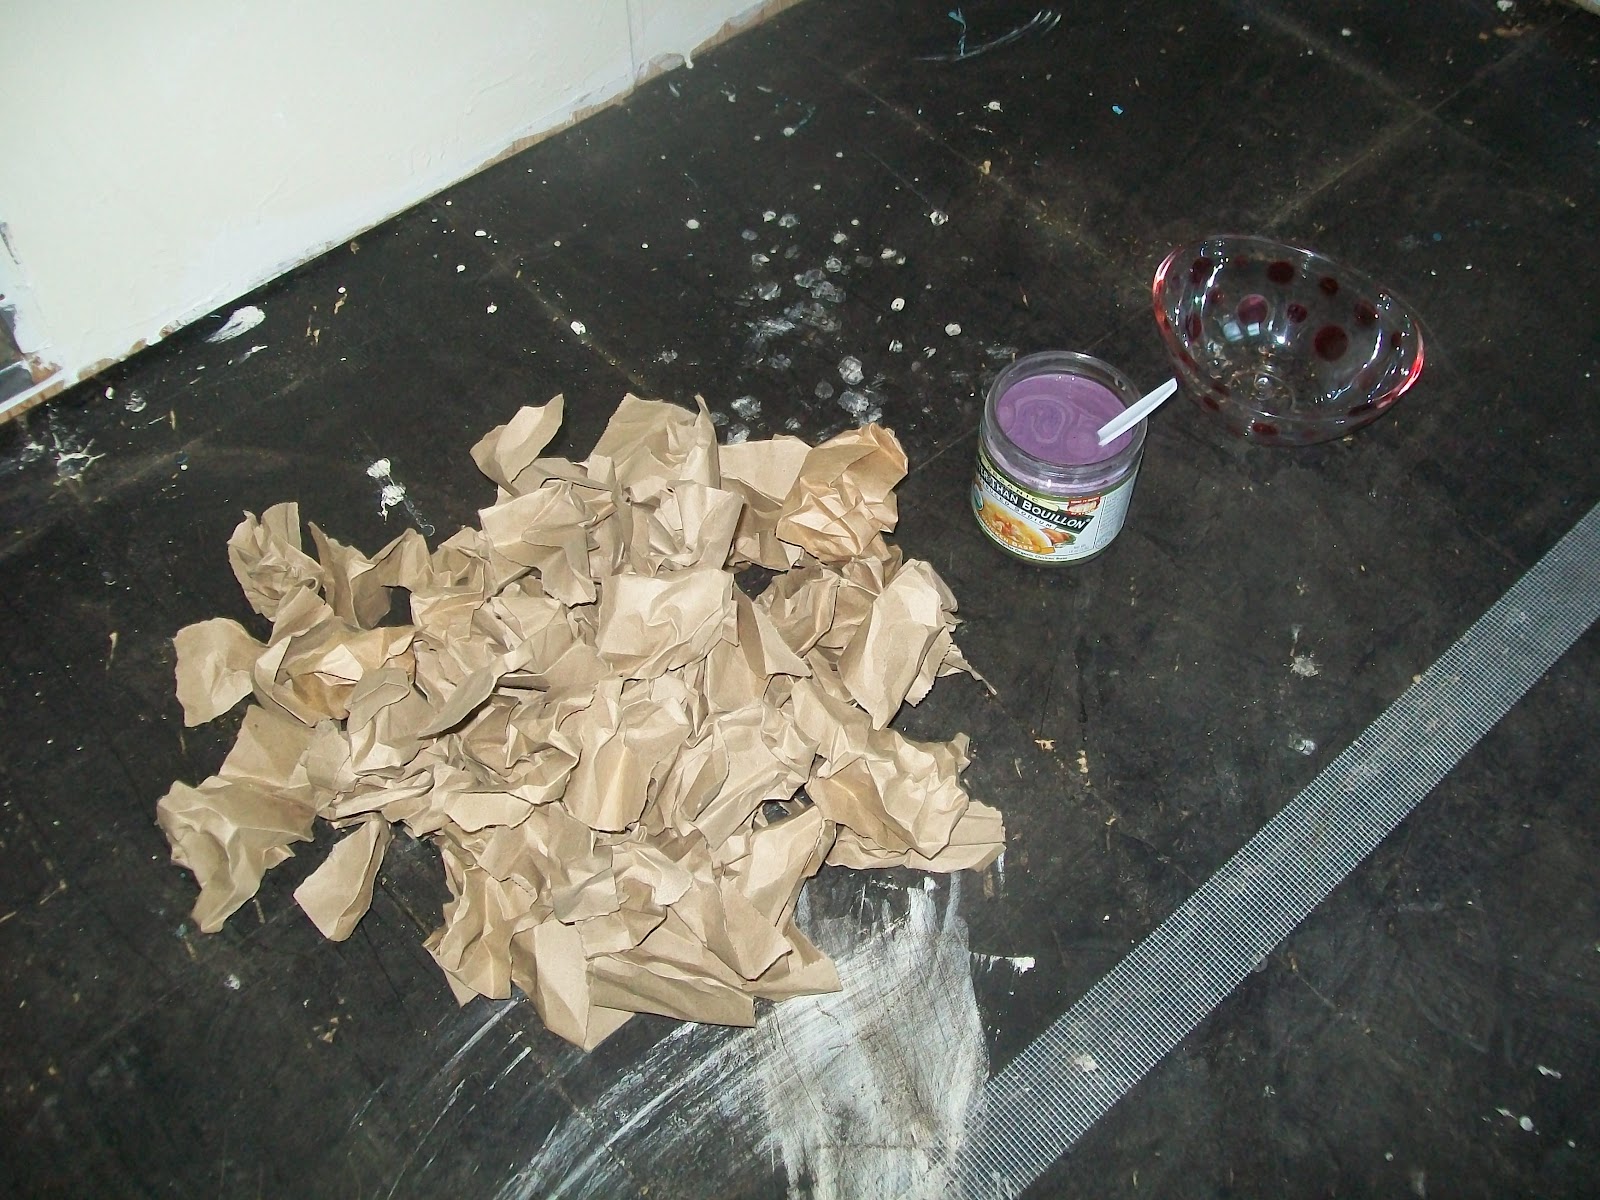
Anyway, the floor was AWFUL in this area. I looked on the web for various flooring techniques and I opted for trying out the a brown paper floor. I based what I did on The Ultimate Brown Paper Flooring Guide on Lovely Crafty Home.
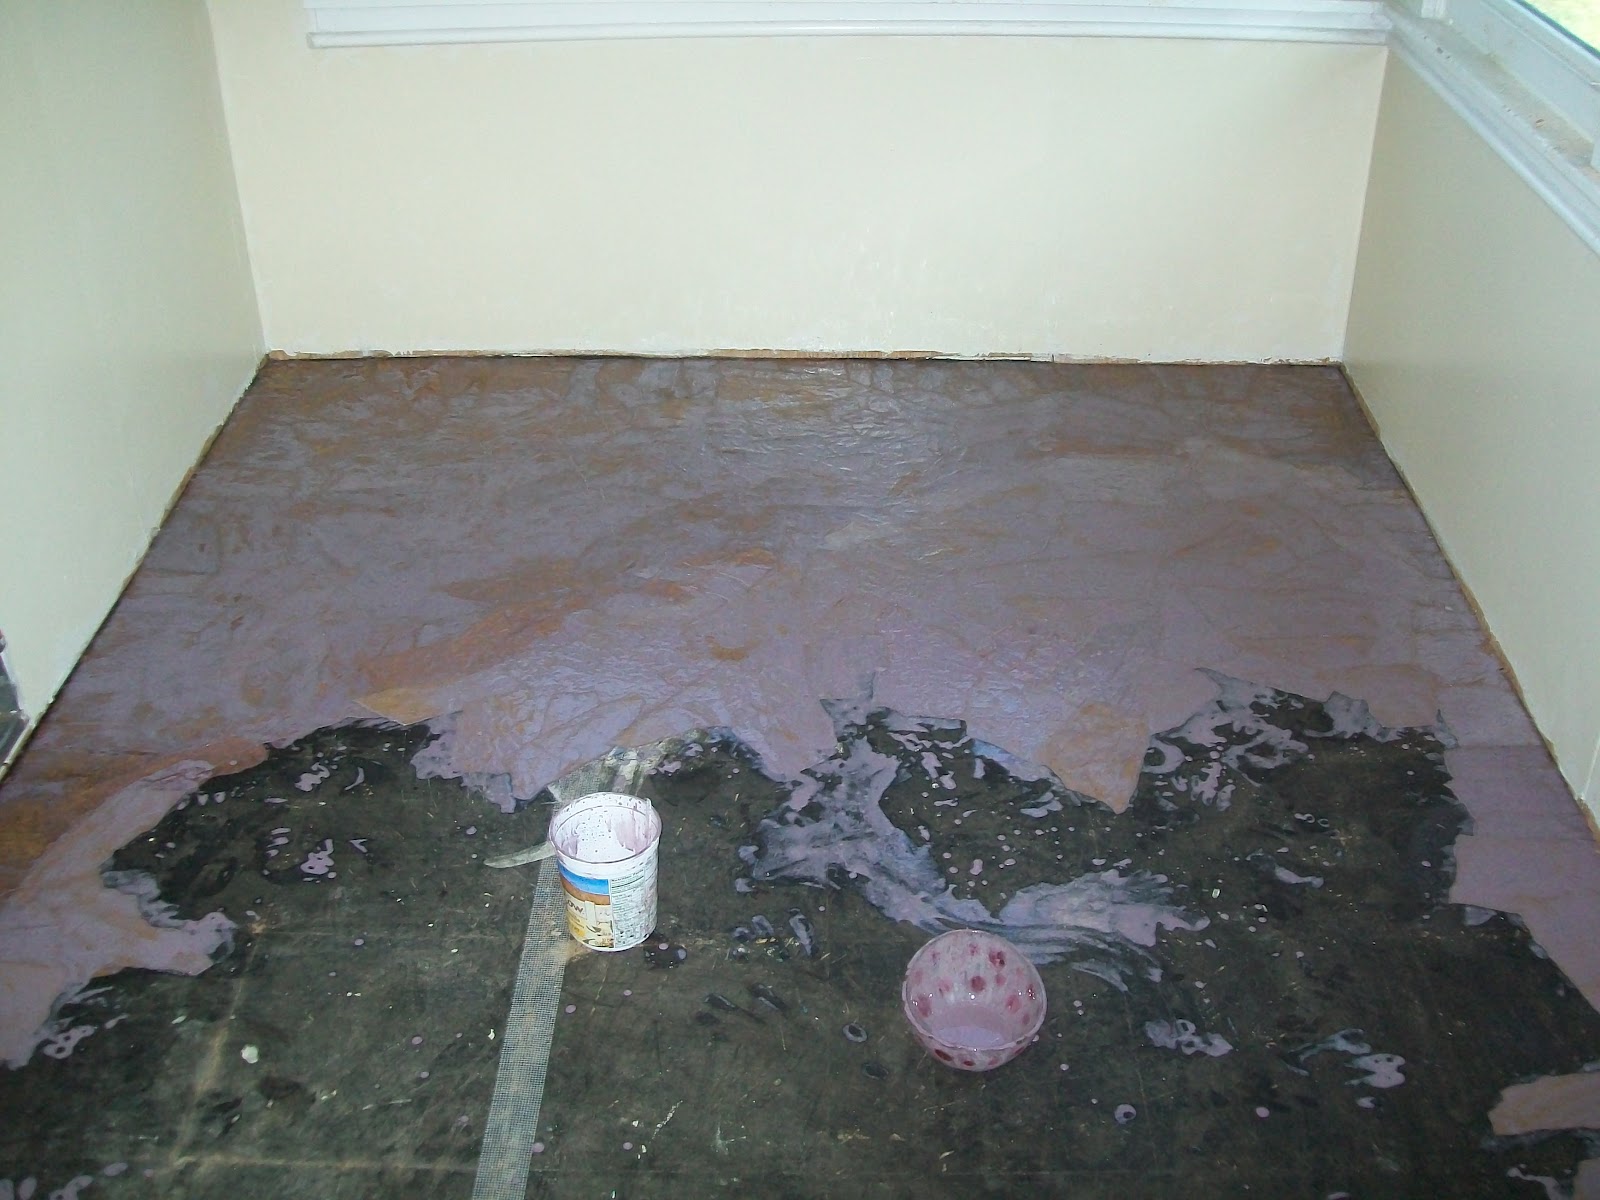
I forgot to take a before shot but the first thing I had to do was to remove the old tile.
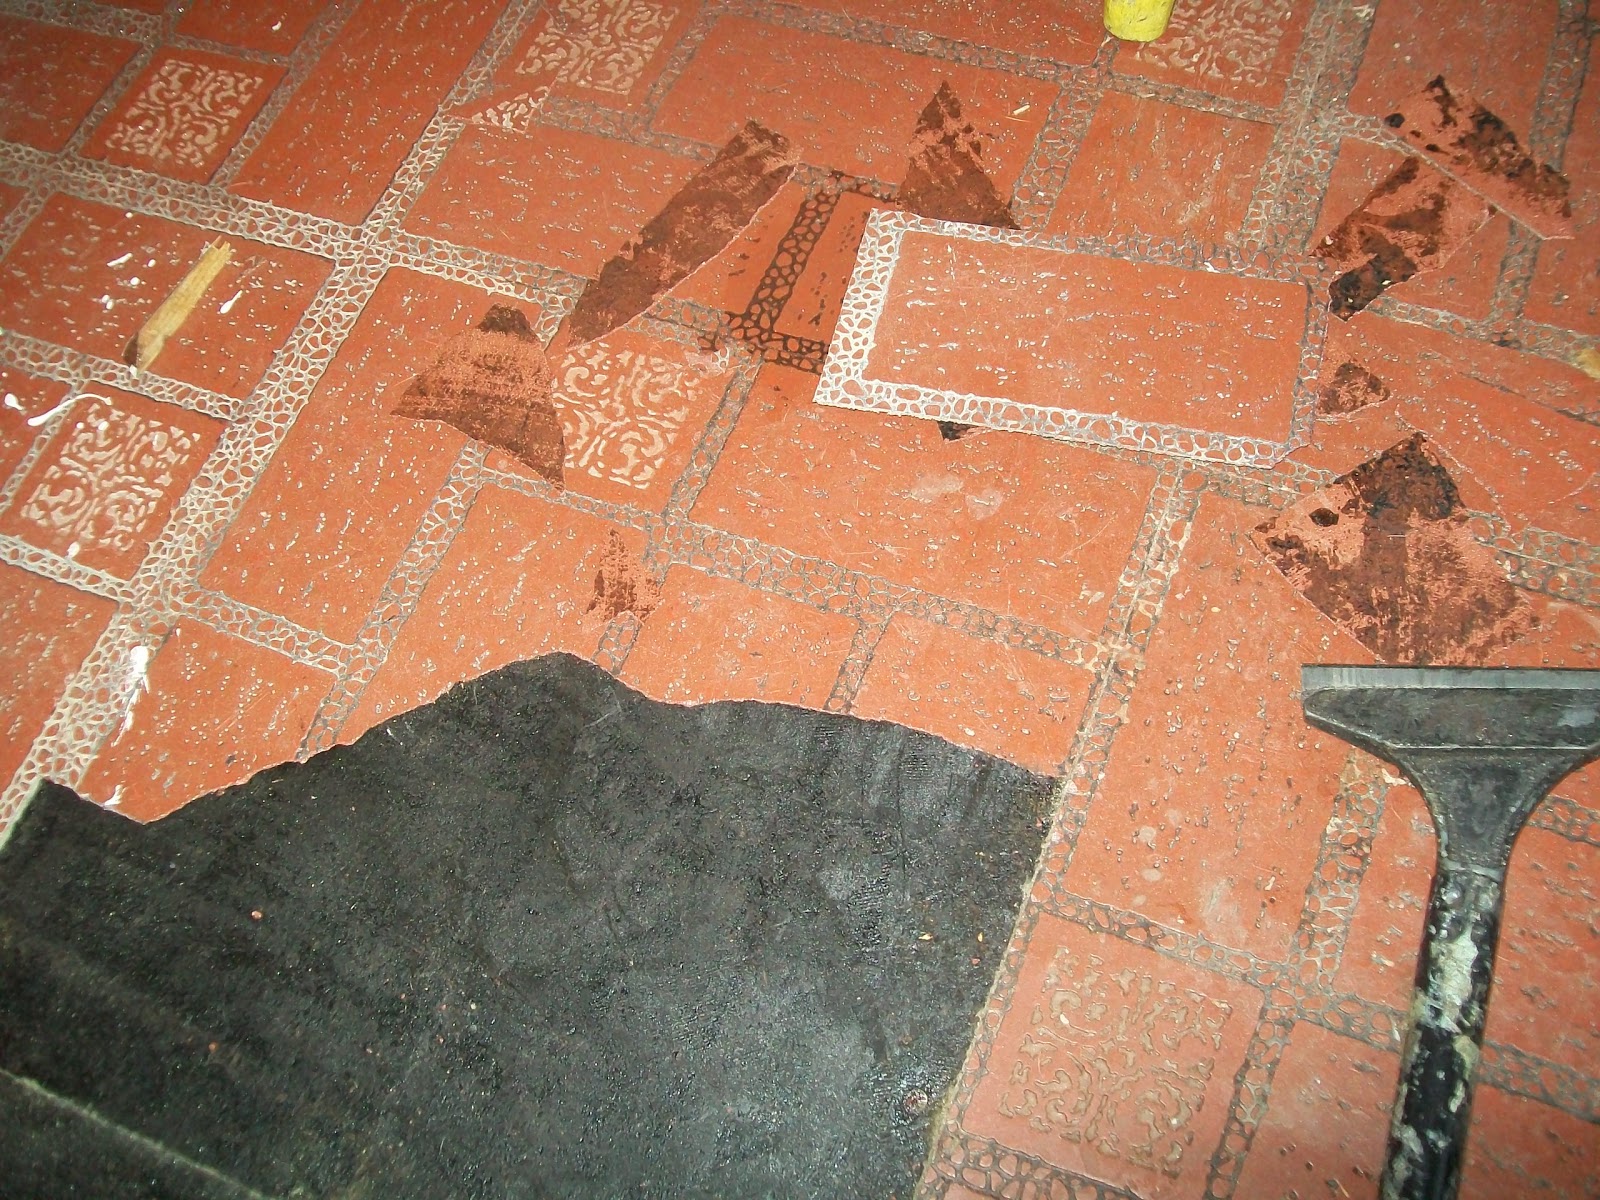
Look what I found! Ugly tar that was used as the glue for the old tile. It’s spread across the entire subfloor! UGH! We may need to lay a new subfloor! 
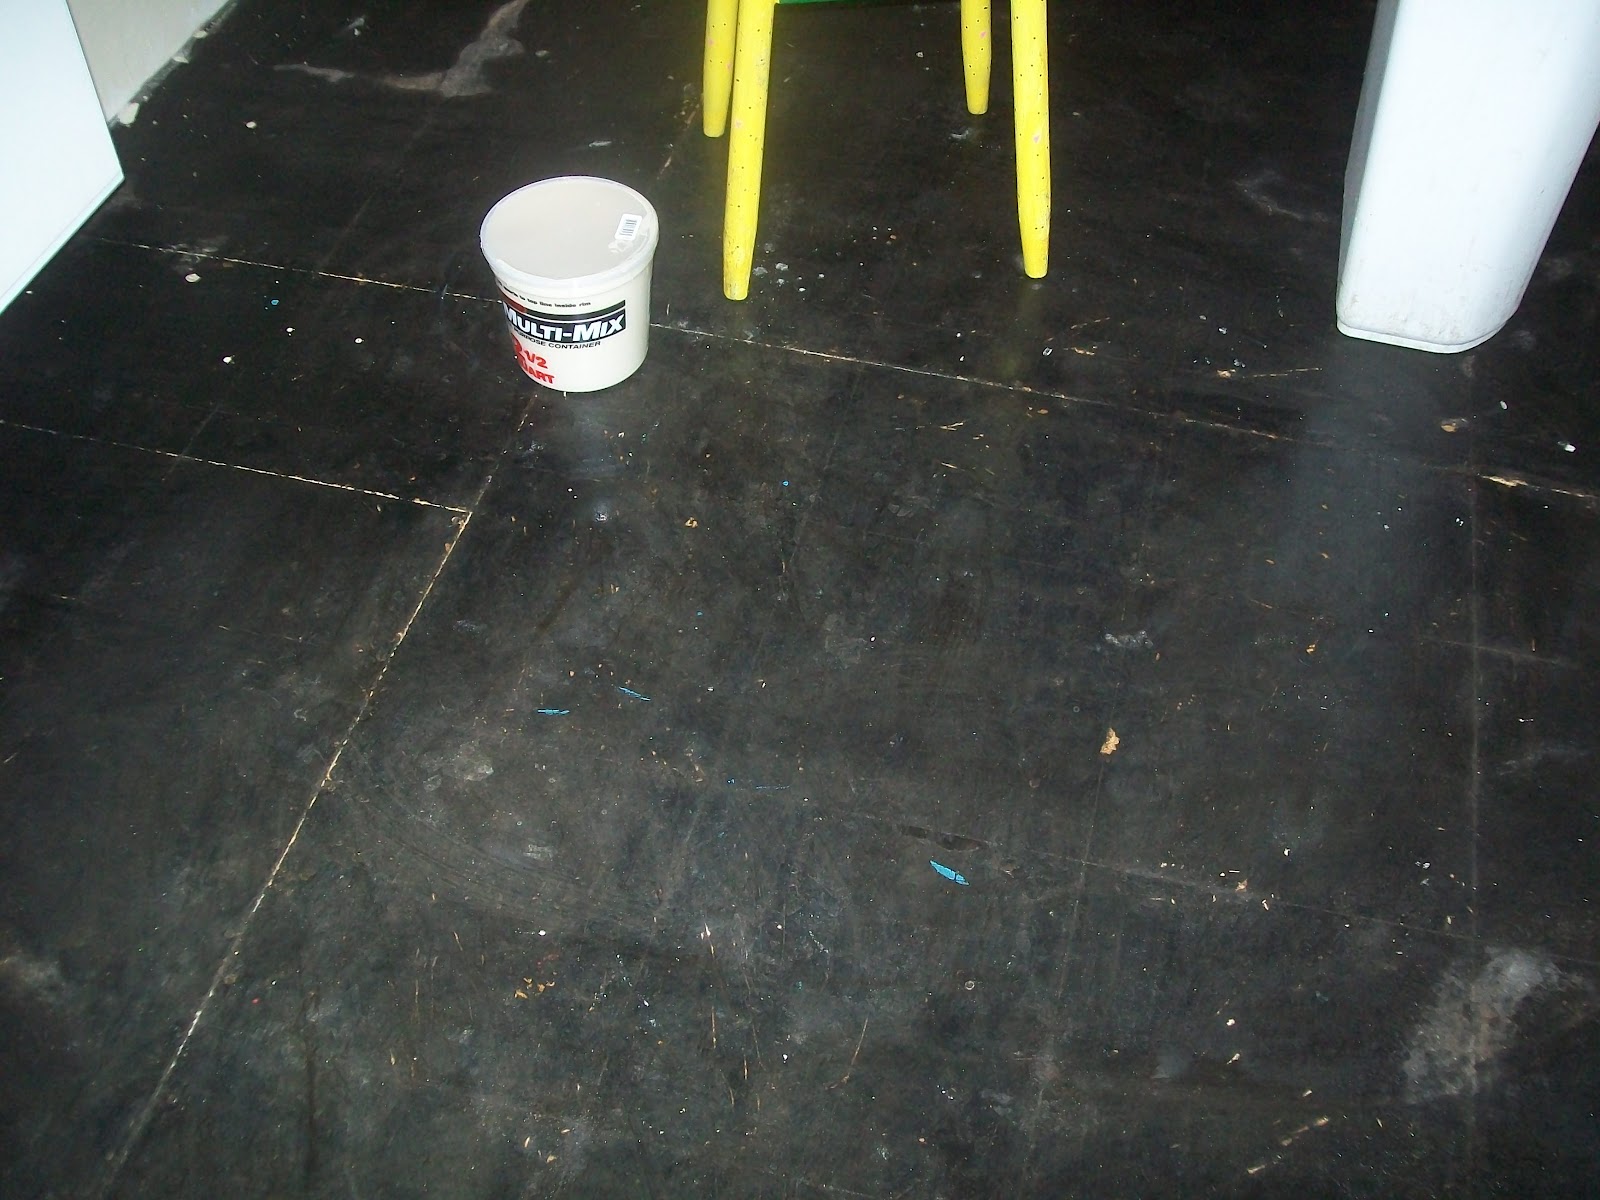
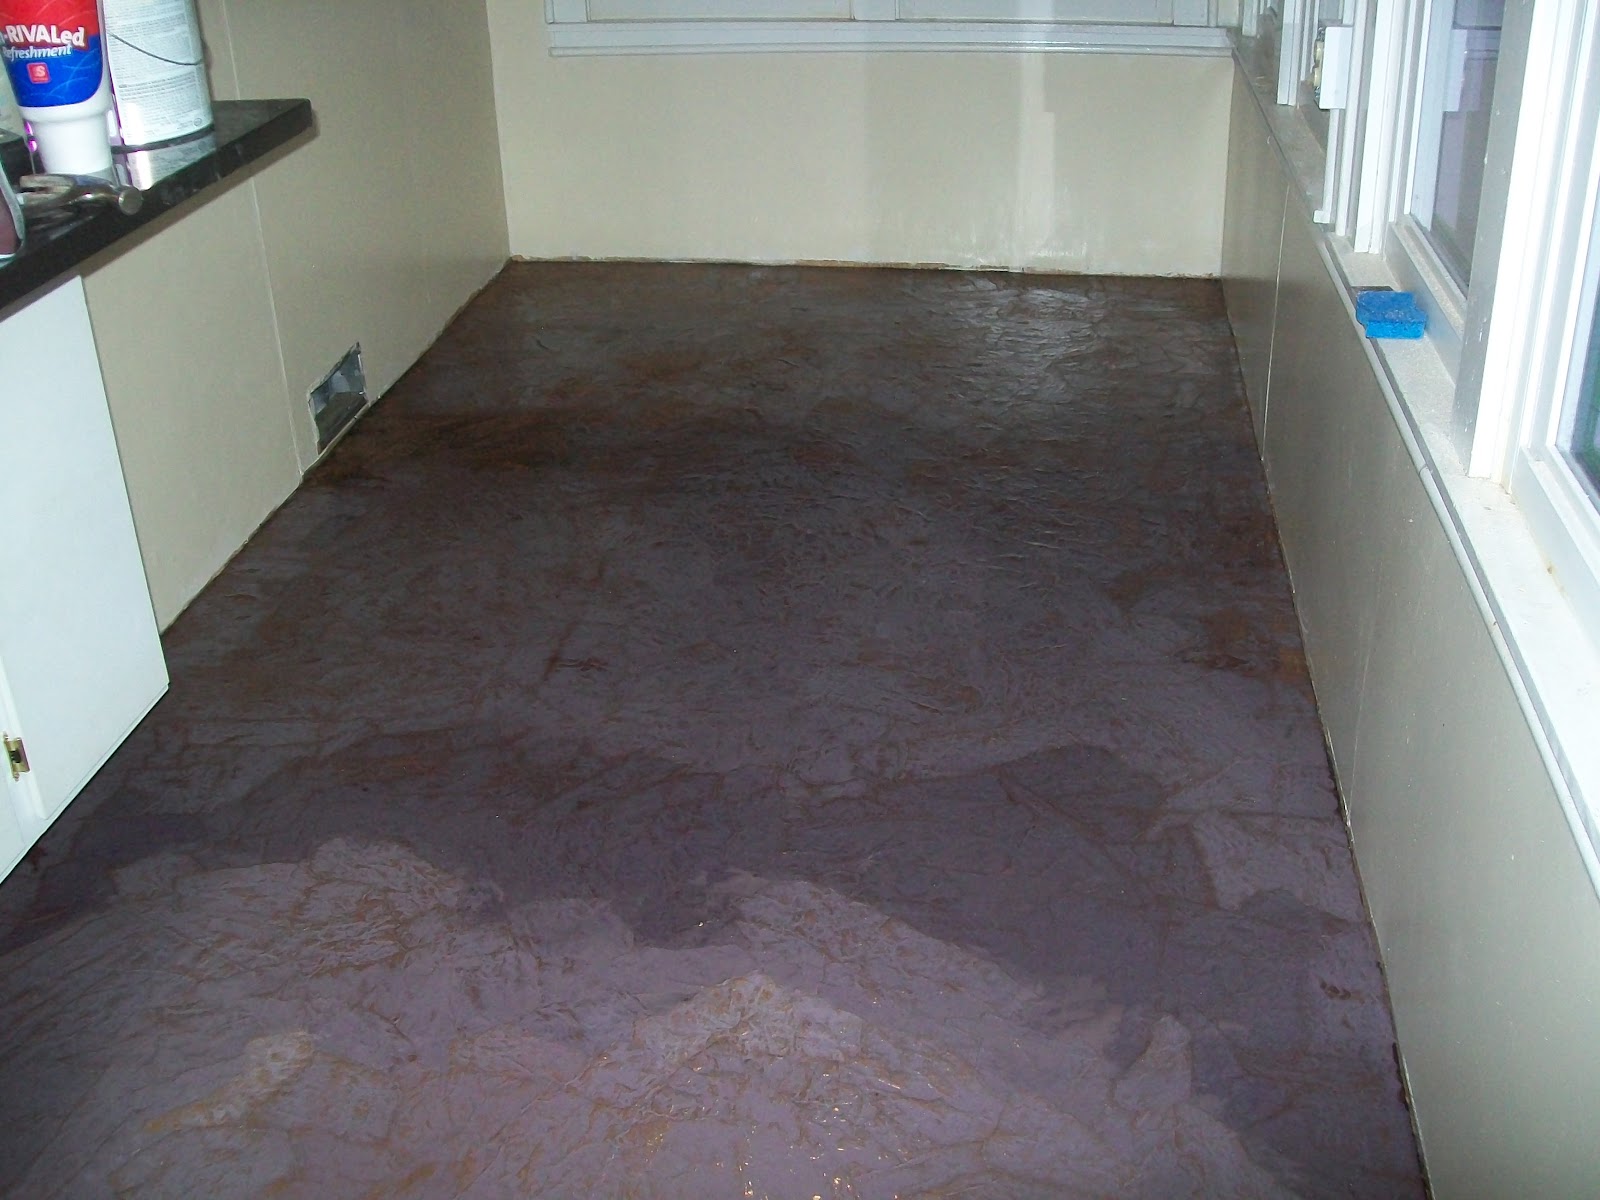
Here is the floor with all the tile removed.

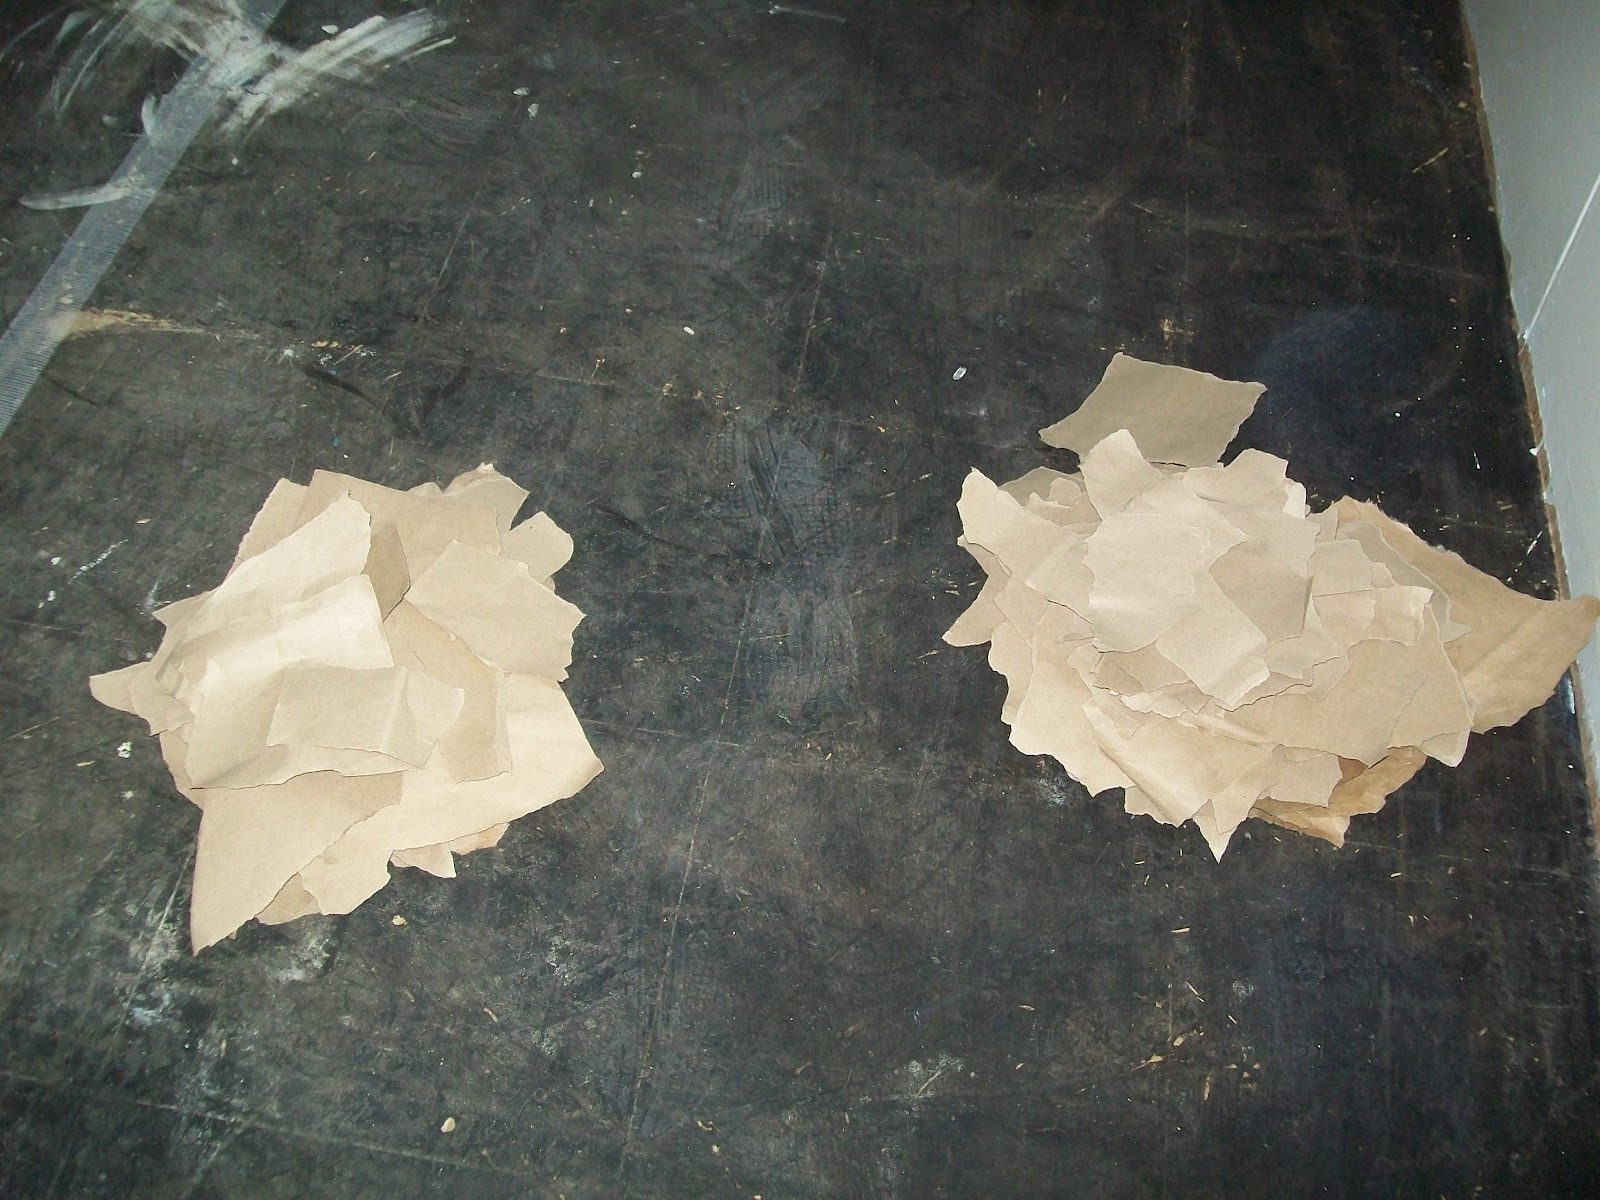
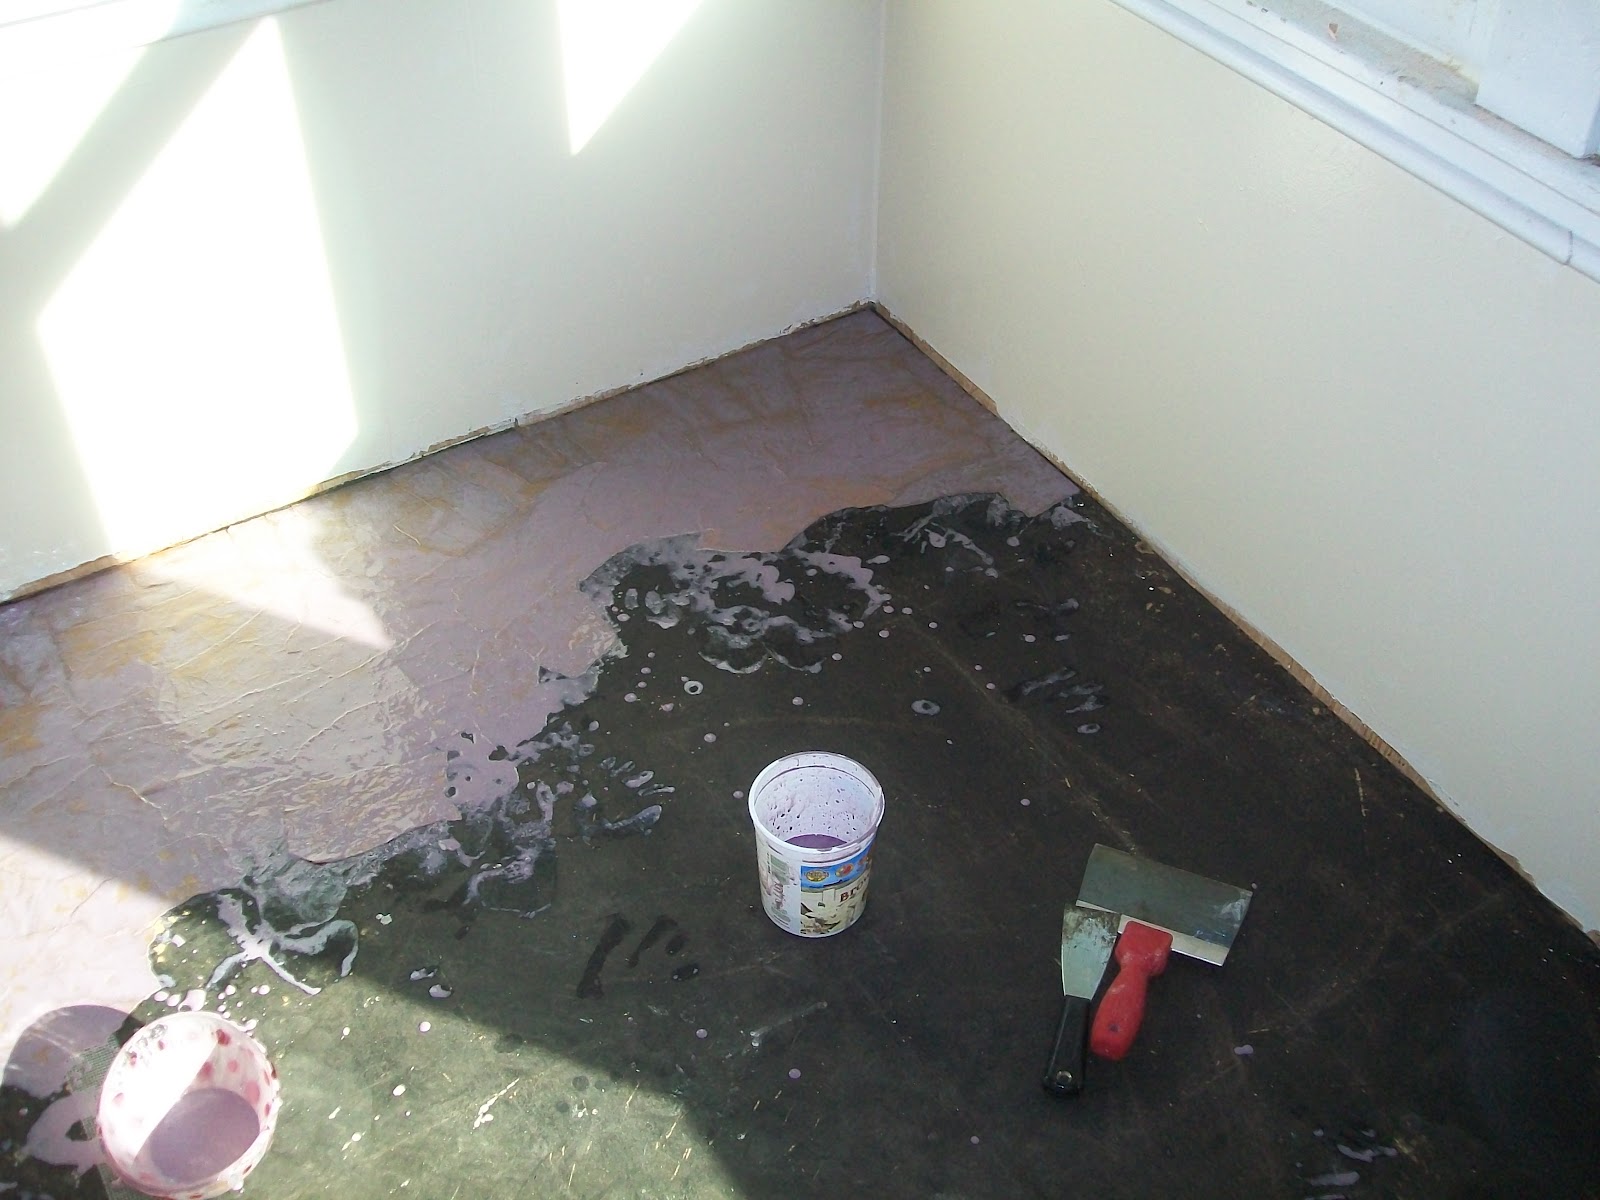
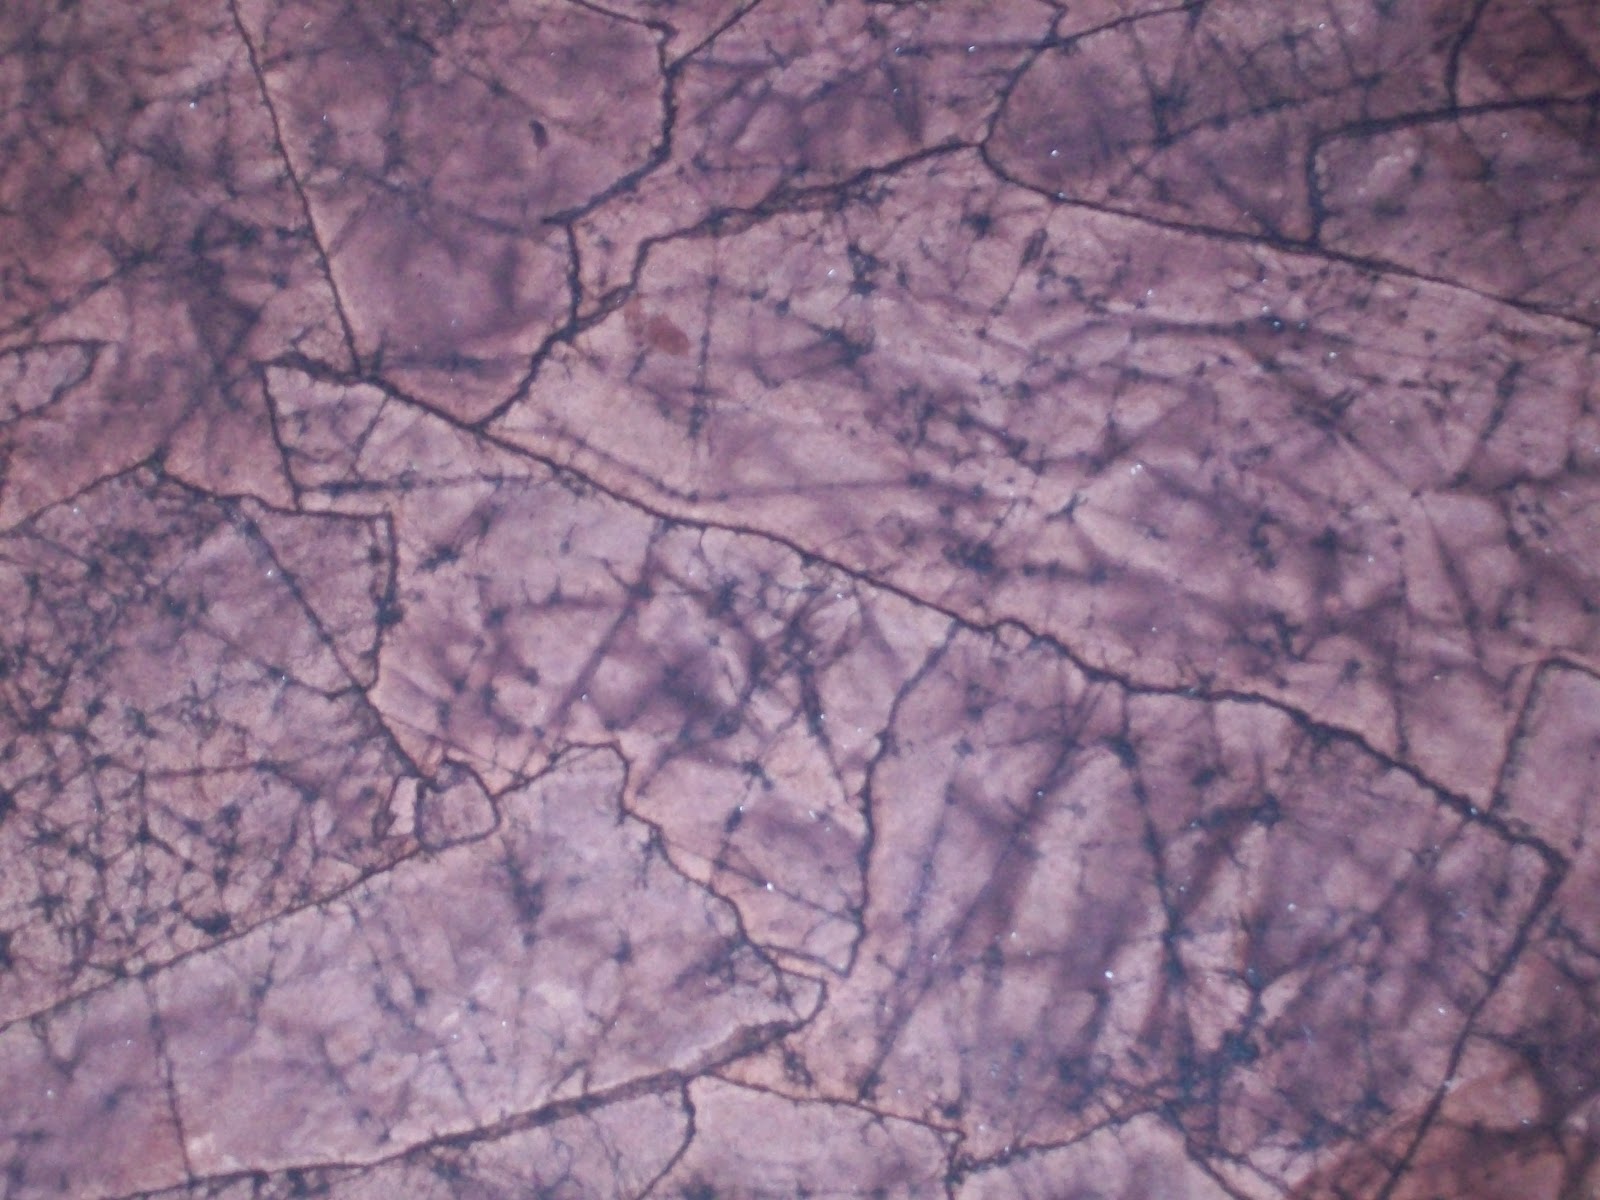
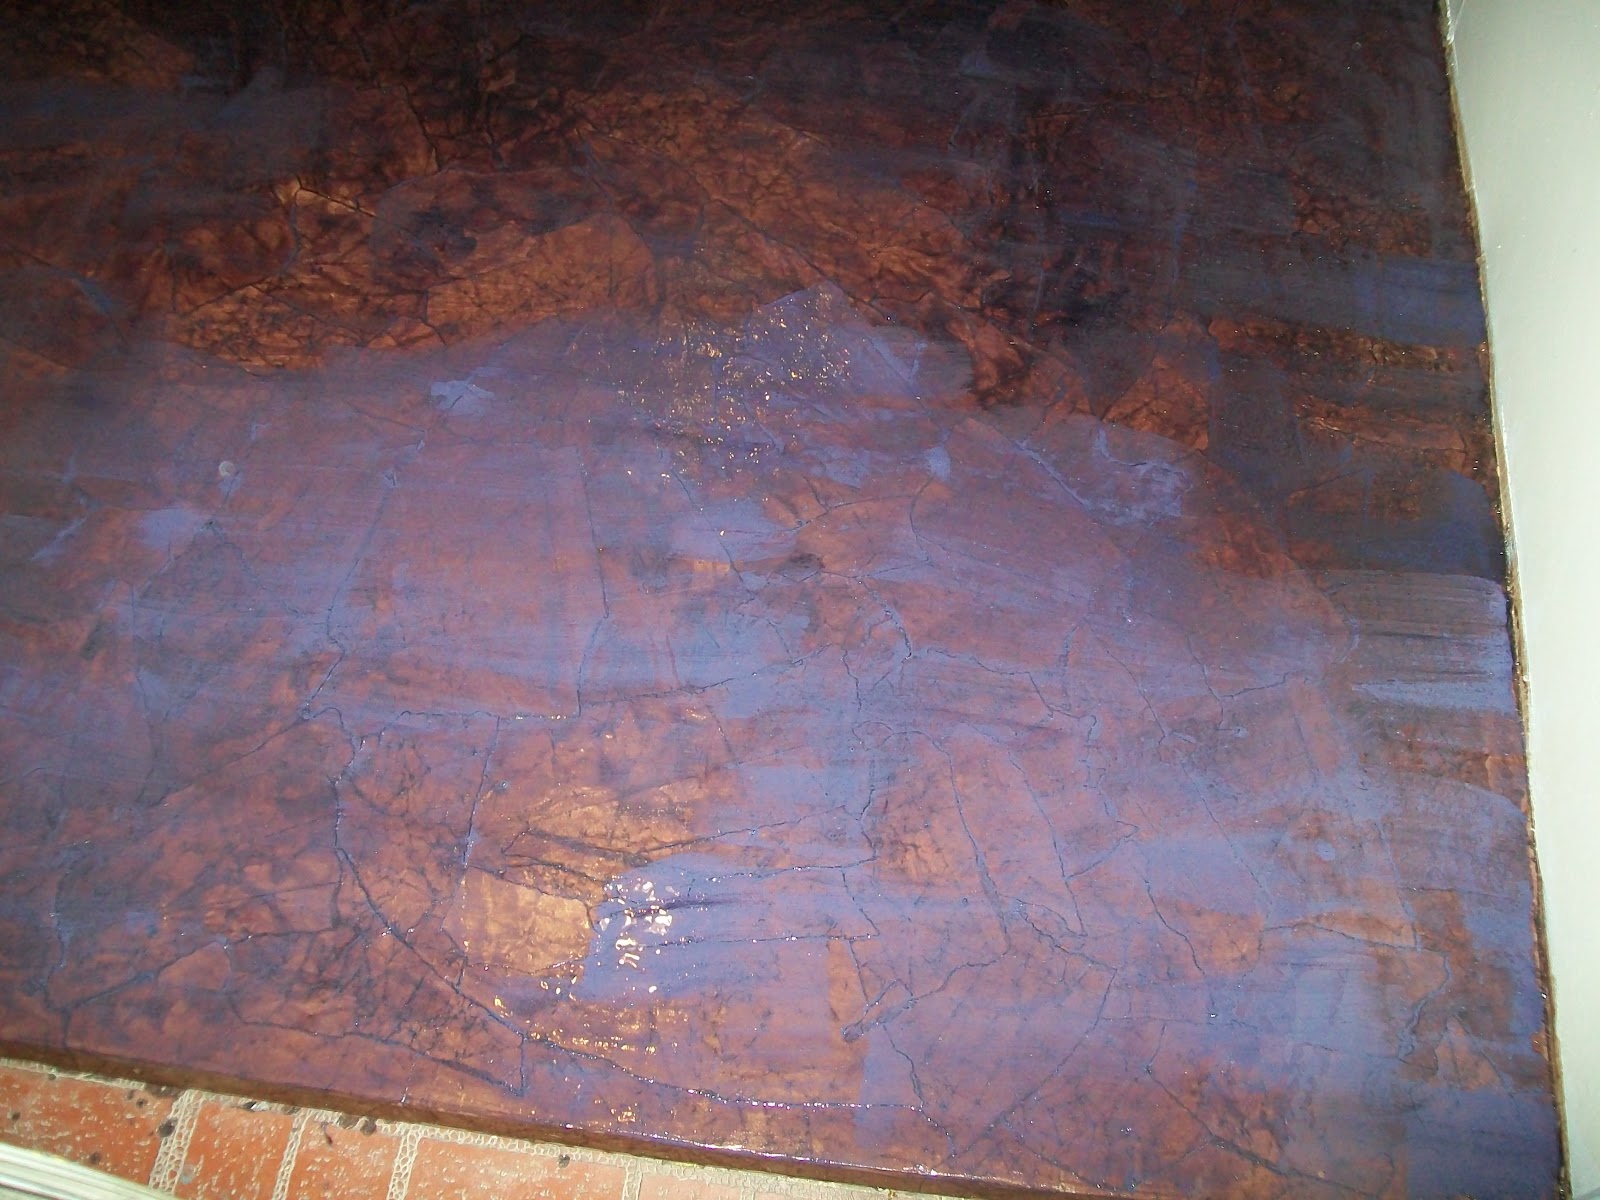

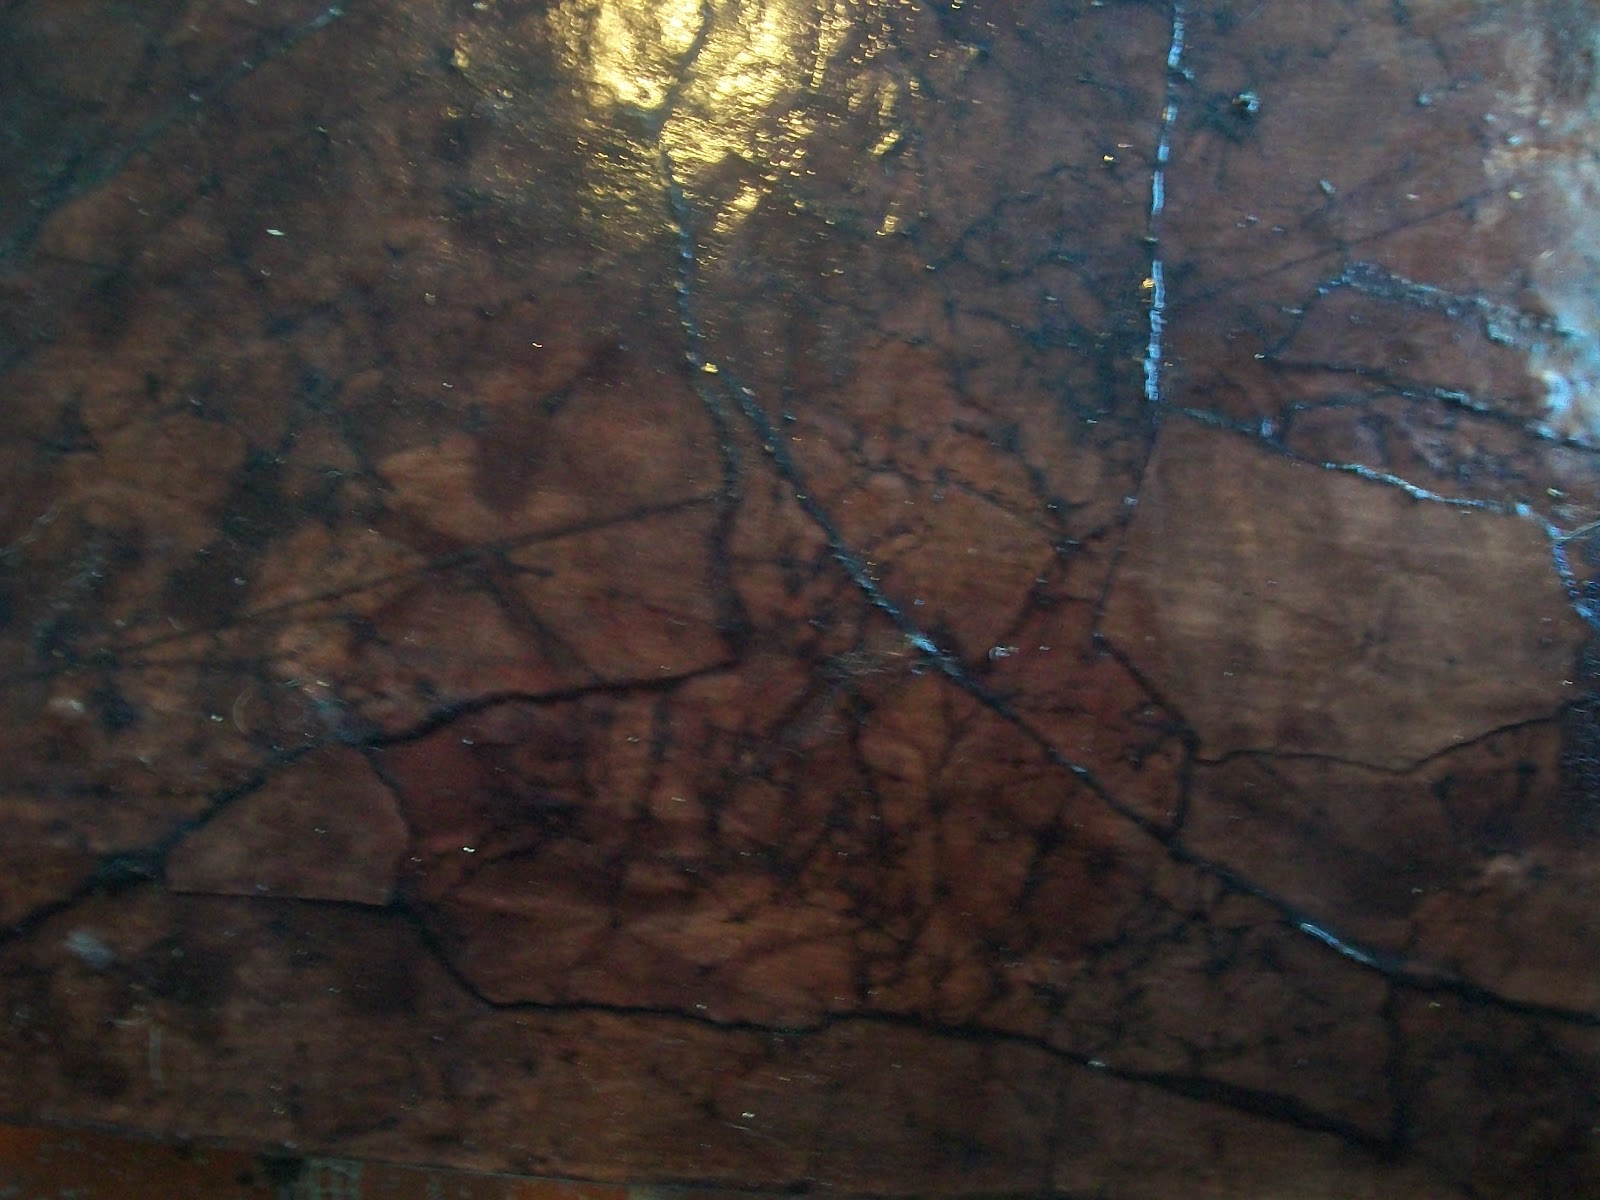
Here is an up close picture so you can see some definition on how the floor looks!
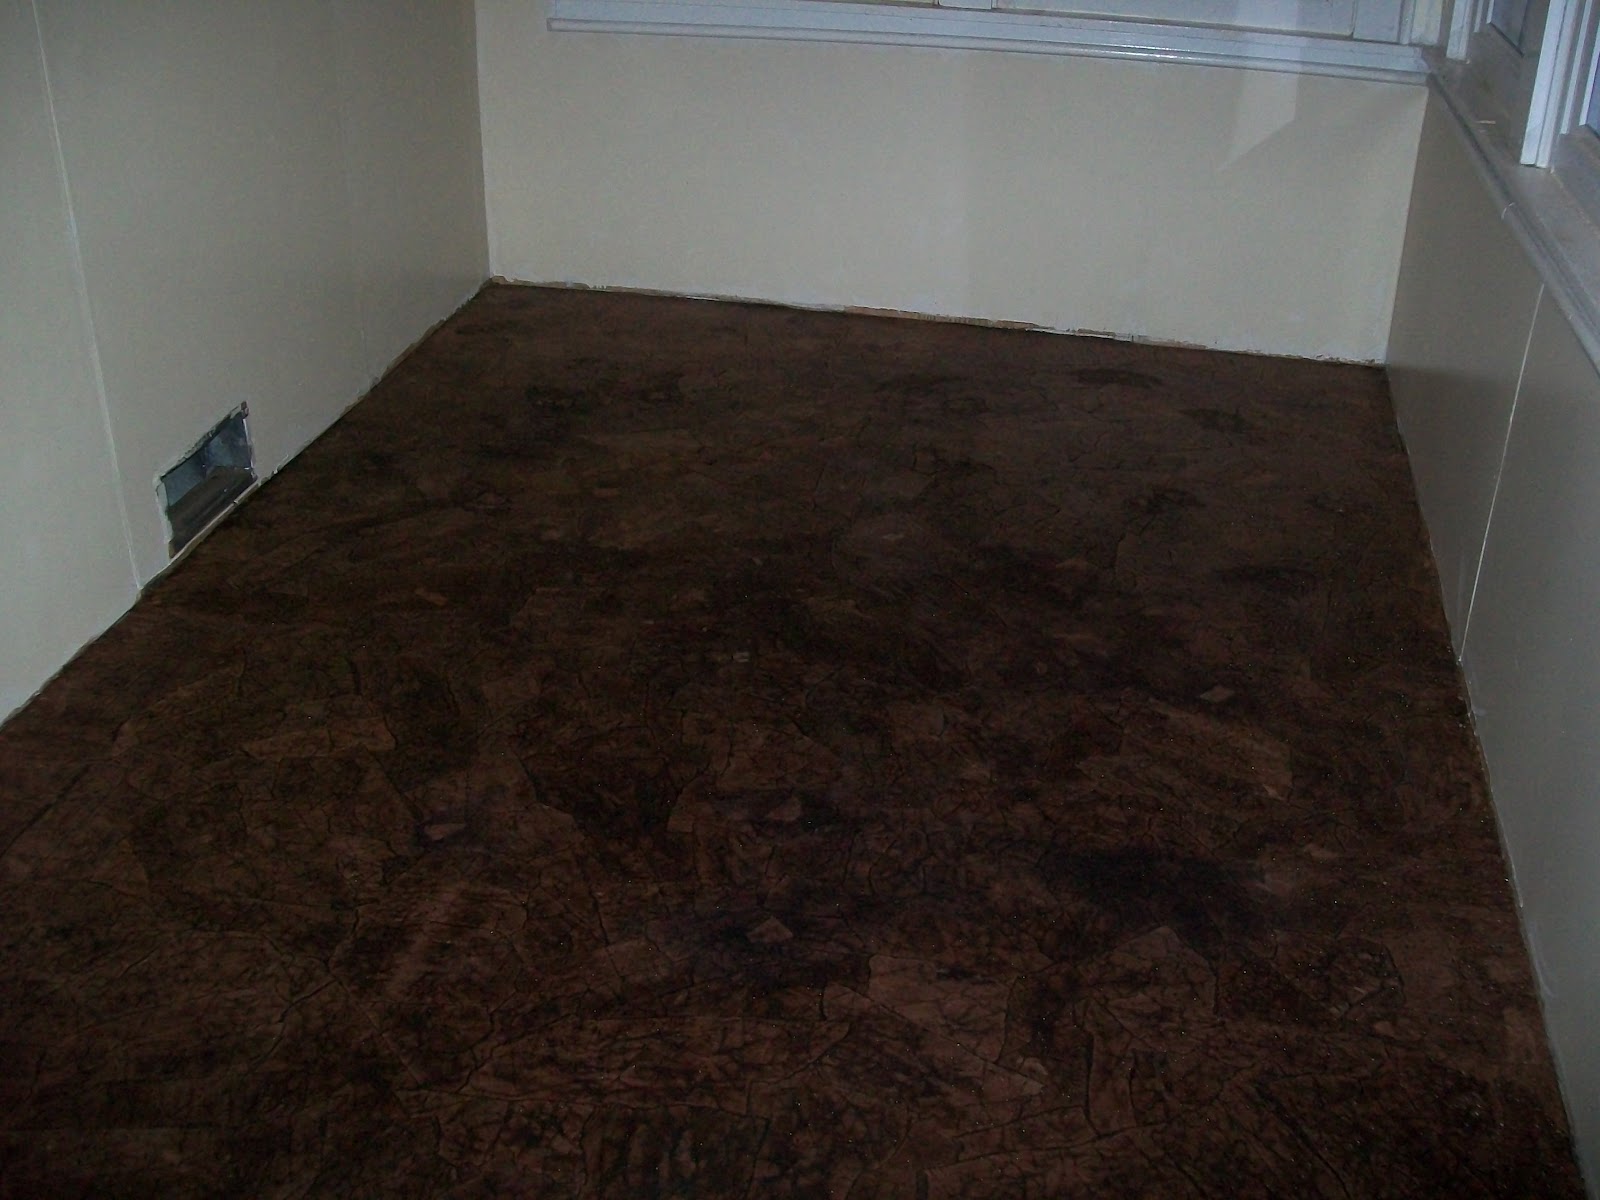
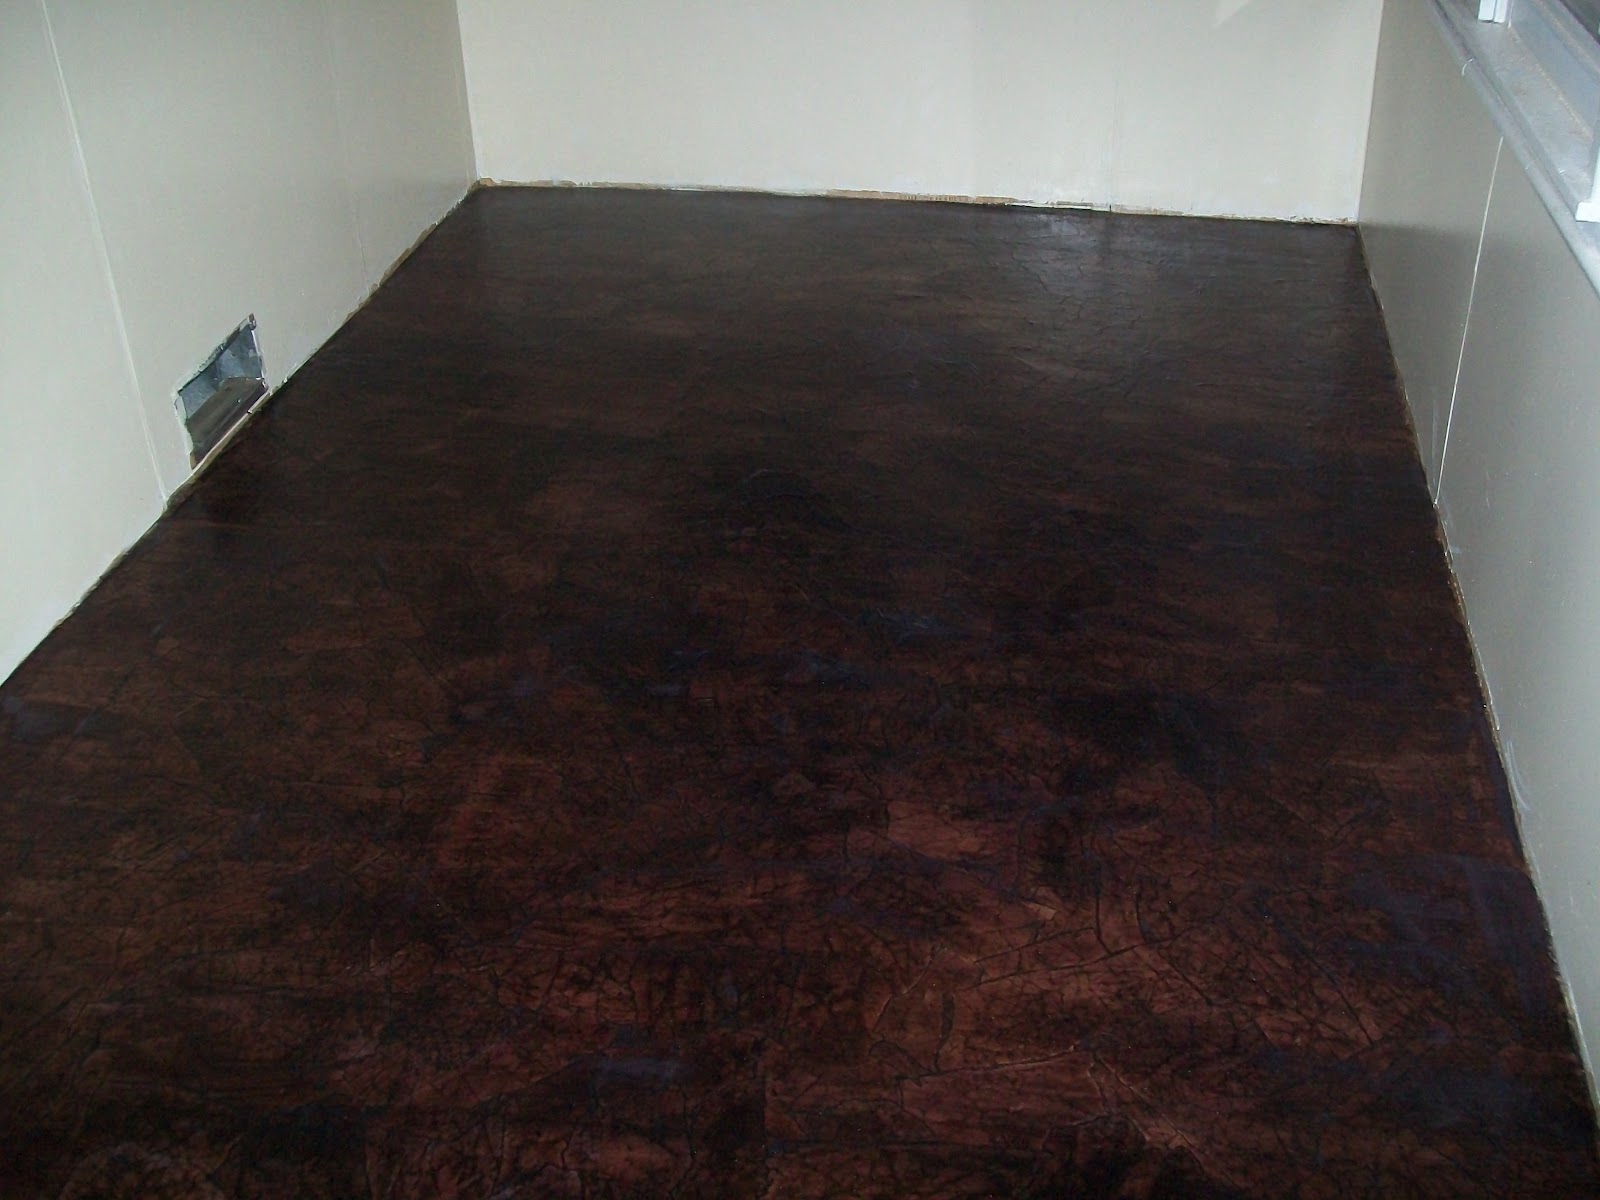
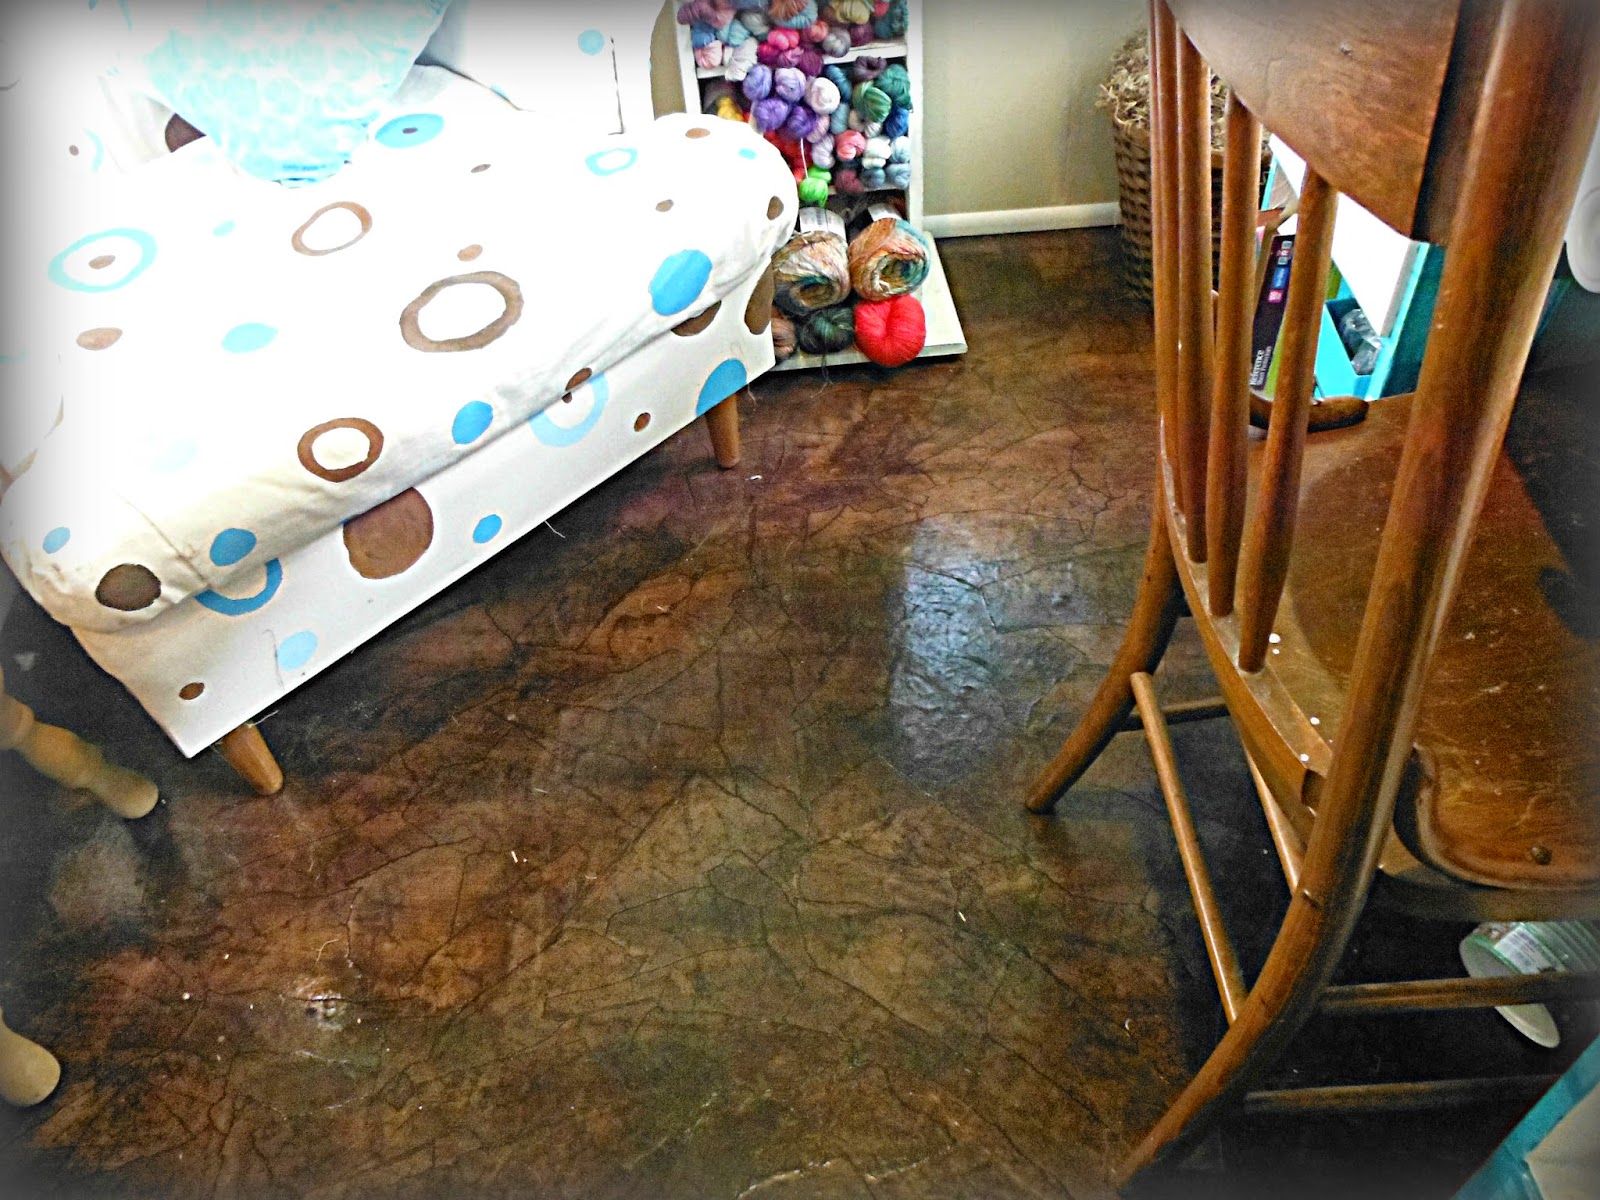
Here’s the floor with the base board attached. I think it looks awesome!!

Wow! What a neat idea! It turned out great!
So glad you left your link for me at Happy Hour Projects. Following you!
Adrianne
http://www.happyhourprojects.com
Wow – that’s a big project and you’ve done well!! Nice job!! I have a half finished basement with carpet, but I want to take the carpet out, so I can have a wine cellar. I have concrete under the carpet and I’m trying to decide what to do that would be cheap.
Thanks for sharing this on the Take it on Tuesday blog hop!!
Hello from your newest follower! This project is so awesome! You did such a wonderful job! I would love for you to stop by our 1st ever Naturally-Nifty Party #1 and link up there!
http://natural-nester.blogspot.com/2012/02/naturally-nifty-party-1.html
This looks fabulous, Marilyn! I bet people’s jaws drop when you tell them that it’s brown paper bags. Ha ha! I’m excited to see your finished room!
Hello from the Big Sis at Natural Nesters.. this is the coolest thing EVER! Great job! Thanks for putting it on linky party!
Ohhh I think your floors look great! I love the brown paper flooring, you are much braver then I am too chicken to try it! I tried to get my room done in time for Lovely Crafty Homes party too, but the flooring I ordered still isn’t here. So I totally feel your frustration. Can’t wait to see your final product, I’ll have to stop by when you’re done!
That is so cool! Now you’ve got me thinking of doing that on my front porch….
Your newest follower.
Holly
Wow! I’ve never seen anything like this before, its so cool! Thanks for linking up to Terrific Tuesday.
Talk about upcycling! I had never heard of paper bags being used to do floors, this is amazing!
Visiting from Whimsically Homemade!
Wow! What a transformation! I would love it if you would show this off at my place today?
Melody
ChattyChics.com
http://chattychics.com/2012/02/07/need-inspiration-wild-wednesday-2/
No way?? Is this for real?? AMAZING!!!!!!! Feel free to come and do my floor too
Would you PLEASE link this up on my blog??
http://thediydreamer.blogspot.com/2012/02/from-dream-to-reality-linky-party-2.html
Way to go! Great job! You can come do mine ;0)
Following via Welcome Wednesday. I am your new GFC follower.
Surfed here via The Thrifty Home. All I can say is, “Wow!” How incredible!
V
http://kidscatsclutterandklutz.blogspot.com
Great blog!! Happily following via Welcome Wednesday. I hope you will follow me, too! Many blessings to you!
WOW!!! That looks so cool! I had no idea you could make a floor out of paper bags! I love it! Good job on all the hard work! Thanks for also sharing this at Thursday’s Temptation.
Jill
twoyellowbirdsdecor.blogspot.com
That is so neat. It looks great! Thanks for linking up at From Scratch Friday! Come back next week
~Christina
http://marriagefromscratch.blogspot.com/
looks fantastic, well done.
followed a link from the Friday Fun Party.
Wow, your floor looks amazing! Did you need to sand between coats of poly? (Saw your link over at Shine on Fridays.)
That looks great — wish I had the nerve to try something like it!
That is so crazy! Who would have thought paper bags would make great flooring!! Look wonderful!!
This is a really cool floor technique. I had never heard of it before. Do you know if you have to use brown dye since the paper bags are brown? Would you be able to use a blue or dark green?
That is a lot of work but the floor looks amazing.. I can not believe it’s paper
Thanks for linking up!
It turned out fantastic- What a great project! Would love for you to come share at my decorating link party- going on all weekend!
Wow, who would have thunk it?? I love this idea!
Wow this turned out awesome! At first I thought “did she redo her floors purple?” SO cool! I love the finished product!
Congratulations, it looks like a LOT of hard work. But the “veneer”-like final effect is smashing! Thank again for visiting
That looks beautiful. I keep trying to talk my hubby into doing that in out kitchen. I love the final product.
Turned out GREAT! How funny that you found that same bowl! Thanks for all the shout outs, and I’m so glad the paper floor worked out for you
http://www.lovelycraftyhome.com
Beautiful!!
It really does look pretty amazing. It looks great. So creative.
WHAT no way, who would of though it. fab. i would love for you to link this up to my linky party going on now at http://twiggstudios.blogspot.com/2012/02/sunday-show-off-linky-party.html
Okay, a paper bag floor is definitely a new one for me. Now I want to know how well it cleans when you’re all done. That’s neat!
This is crazy! Wonderful use of paper bags!! I found you on the blog hop and just signed up! Come stop by when you get a chance!
Nancy
alifedesigned.blogspot.com
unbelievable!! I never heard of or thought of anything like this before! really cool…you are on to a whole new trend!!
I am your newest follower..pls follow back if you can.
Very cool! Thanks for linking up!
Very cool floor, never heard of this project idea before. Thanks for sharing at Bacon Time.
What!?! That is incredible! I had no idea. Now following you via the Linky blog hop and hope you’ll follow me back. Shelby @ thebeansproutnotes.blogspot.com
You’re kidding!! How stinkin’ cool is that?! It turned out incredible! Thanks so much for sharing at Shine on Fridays!
This looks so good Marilyn. I’ve got timber floors (and internal stairs) and I’m thinking about doing this as a cheaper alternative. Thanks for linking it up at Thriving on Thursdays last week.
Anne xx
Stopping by from the Linky Follower Party Hop! http://facebook.com/queenofsavings
No way, this is amazing!!!! How freaking cool!
Wow When I first started reading I did see how it would work. BUT IT LOOKS GREAT!I am now following you on Linky Follower. I would love it if you followed me back. I always enjoy meeting new Bloggers.
This is amazing!! We love it! We loved having you link up to our “Strut Your Stuff Saturday!” We hope to see you back next Saturday with more fun ideas! -The Sisters
So glad I found your lovely blog. I’m following you with the new Linky tool, straight from the Linky blog hop. I look forward to getting to know you better, Lori
Great floor idea! Found you via the Linky hop and have become your newest follower. I hope you have a chance to visit and perhaps become a follower of mine as well.
Holly Hanna I LOVE this!! It seems really time consuming but turned out so neat. Thanks for sharing with us at Link It Up Thursday.
Hello again, I wanted to let you know I featured you beautiful floors this week. You can check it out here.
http://www.kadie-sevenalive.blogspot.com/2012/02/link-it-up-thursday-7.html#more
This turned out amazing! I’m still trying to get the nerve to try it. New follower via Linky Followers and GFC. Would love a return follow! Would also love for you to link up to my little party: http://www.nutmegplace.com/search/label/Show%20Off%20Saturday
Hope to see you there!
What a great idea! It came out looking nice!
Hopping by from the Linky Follower Blog Hop and am a new LINKY Follower! Hope you’ll stop by my blog!RJ Does Books!
Blog Hopping – I’ve followed you via Linky Followers. Would love if you would follow me back.
Thank you,
Jeneen @ Suzie HomeCaker
suziehc.blogspot.com
Thanks for stopping in again this week for the blog hop.
Cheri from http://www.itssoverycheri.com
I’ve seen that done before and it looks gorgeous!!! I’m Linky Following you now too!
I’ve never seen this technique before . How cool it turned out ! I found you via the Blog Hop . I’m a new follower. I hope you have time to visit and follow back if you like
I am just speechless, and that rarely happens. The world needs to see this one!!! This looks like some expensive concrete floor texture. I am featuring this on my link party. It goes live in just a few minutes, so sorry for the last minutenes!!! Thank you so much for sharing.
I am featuring this project tonight at friday fun party.. You were the most viewed project.. Yay!
Grab your featured button if you like and check out other featured projects.
Love
Hani
Oh geeh, you did soo good. It came out great. I was thinking this was going to be a disaster story, but no. Good for you.
I am actually coming to your site from the FOLLOWER linky blog hop, and am following you ! Will you follow me back?? Thank you so much when you do.
PLUS: There is also a party on our blog, where you can feature ‘your best creative work’. There are some great projects to see already, but we want to see your work!
Use this link both to FOLLOW and to PARTY:
http://www.FineCraftGuild.com/party/
Hope to seeing you around!!
Have a happy, creative day!
Found you on http://www.itssoverycheri.com‘s Linky Followers Blog Hop. I’m your newest follower, I’d love for you to follow back!
Thanks so much and Have a Wonderful Evening!
Aledia @ http://plumperfect.blogspot.com
Hi! I pinned this on Pinterest, posted on fb, and featured at Creative DIYers Club. Please feel free to grab the feature button
what a huge effort but looking very well now
I’ve been working on this with my hallway first. Instead of stain or dye, I have used craft paint and a sea sponge, colors are black, brown, and gray. To give it a “slate” look. I’m loving it much better than carpet and plan to do the rest of the bedrooms.
Great job!
Paula Pfister
I love, love, love this idea! But, as I have all wood floors throughout my house, I have nowhere to do it. Then I had a brainstorm! I’m getting ready to redo my bedroom and a smaller version of this done on a piece of thick plywood will make a great headboard! Now I can’t wait to get started.
Wow, that is amazing! Thank you so much for sharing with us. I just might have to search my house for a place to try this.
What a great project, it sure turned out great!
Dolly
I saw you featured on another site. This is beautiful!! Visiting from the Linky Party Hop!! I hope you’ll visit – http://www.LaughterandGrace.com – and follow back.
Have a wonderful weekend!
Girl, this is exactly why I host the “Drab to Fab” party! So I can learn from creative geniuses like yourself who come up with and execute things I would not come up with in a million years! I’d love to see more of your great links in about 3.5 days!
I’m your newest follower too!
Amy @ Sugar and Spice
I’m back from the Linky Blog Hop and I’m using Linky Follower to stalk you now.
Thank you for your contribution to our ‘Time for a Party’ link-up last week. Tomorrow we’ll open a NEW party at http://www.finecraftguild.com/party/ and we’d love to see you there then again with a beautiful project like this.
Till then! Keep up that great creativity!!!
What a clever Idea! Thank you so much for linking up!
I love this. I was just telling my hubby the other day about this type of DIY flooring.:> You did a great job
Just come on over from the blog hop. love your blog.
Absolutely amazing. Who would have ever thought a paper bag could create such an amazing effect! Thank you so much for sharing this at Project Queen’s Party last week. I will be featuring it tonight at the Highlight Party.
Mandy
Holy Moly!! It looks awesome!! I came back to follow you via Bloglovin’ yay!
x0x0 Jess
{www.CraftyNonenseNoted.com}
That is amazing!! I found you through a blog hop and I am a new bloglovin follower.
I bet people don’t believe it until they see it, right?! That’s just too awesome. Way to go! Thanks for linkin’ on on the Korner!!
WOW that is a pretty cool project. Completely different. I would have never guessed it was paper bags. Love how it turned out. I’m stopping over from The Scott’s Crib Party. Have a great day.
Wow what a cool project! Thanks so much for sharing with us!
Wow! This is a neat idea! And it looks great!
makingitfeellikehome.blogspot.com
amazing great job love the floor
Great work with your floor! I found you on blog hop and I’m now following you. I would appreciate if you would do the same. Thanks
No freaking way! Whoda thunk, with the paper bags? Great job!
http://www.onedogwoof.blogspot.com
Awesome job!
Mrs. Delightful
http://www.ourdelightfulhome.blogspot.com
That is the biggest modge podge job I have ever seen! What an awesome outcome!!
Coming from the Feed Me Friday Hop, Hope you can do the same
Oh! My Heartsie
Tweeting your blog post! @myllls
Have a great weekend, Karren
Wow, that’s fantastic
Hi – I came via Inspire Me Monday. This is an epic project! I’m not much good with DIY and I don’t know if I’d have the patience but this really does look amazing! Kudos on a great project
This looks fantastic! New GFC follower. I would love to have you link-up to the Creative Corner Hop. We open it every Monday and leave it open all week.
Sandy
Cherished Handmade Treasures
WOW is all I have to say about that. I would NEVER have the guts to try something like that. It turned out amazing!! Thanks so much for sharing at Toot Your Horn Tuesday
The thought would have nover crossed my minds, hadn’t I seen it here! It looks fantastic — definitely worth the hard work.
I did this in my bathroom, kitchen and dinning room. I love the look but now that I have had it completed for 3-4 months it looks like crap. There are scratches everywhere. I used a brown stain so the scratches in the floor turn white because of the drid glue. I reseached a ton before doing this and I must say I am disapointed in this. I also have spots on my floor that are faded and look “foggy” did anyone else have these issues? If so, did you do anything to fix it and found that you did something different? I love the overall lookand it looks better then what I had but I can see its not going to last long and I will have to reinvest in a short time again. Any help would be much appreciated!
It’s been about 3 months since I finished my room and I am not experiencing any of the problems you have encountered. I wonder if perhaps your glue wasn’t completely dry before you put your polyurethane on?
Wow! That’s so awesome! It looks amazing.
I just found your blog after researching TONS of info about brown bag floors. I am going to attempt this in a whole house remodel. The whole house is on a concrete slab with awful nasty grey carpeting, linoleum and some weird parquet looking wood. It was built in 1978, so it’s still stuck in the 70’s look. I do have a few questions (I’m blog hopping and asking everyone I can find).
What did this actually cost? and how long did it take for this room?
I’m going to be doing about 1500 square feet. I am hoping it will take about 2 weekends but don’t know if I’m under estimating that time or not………..thanks for any help.
Robin
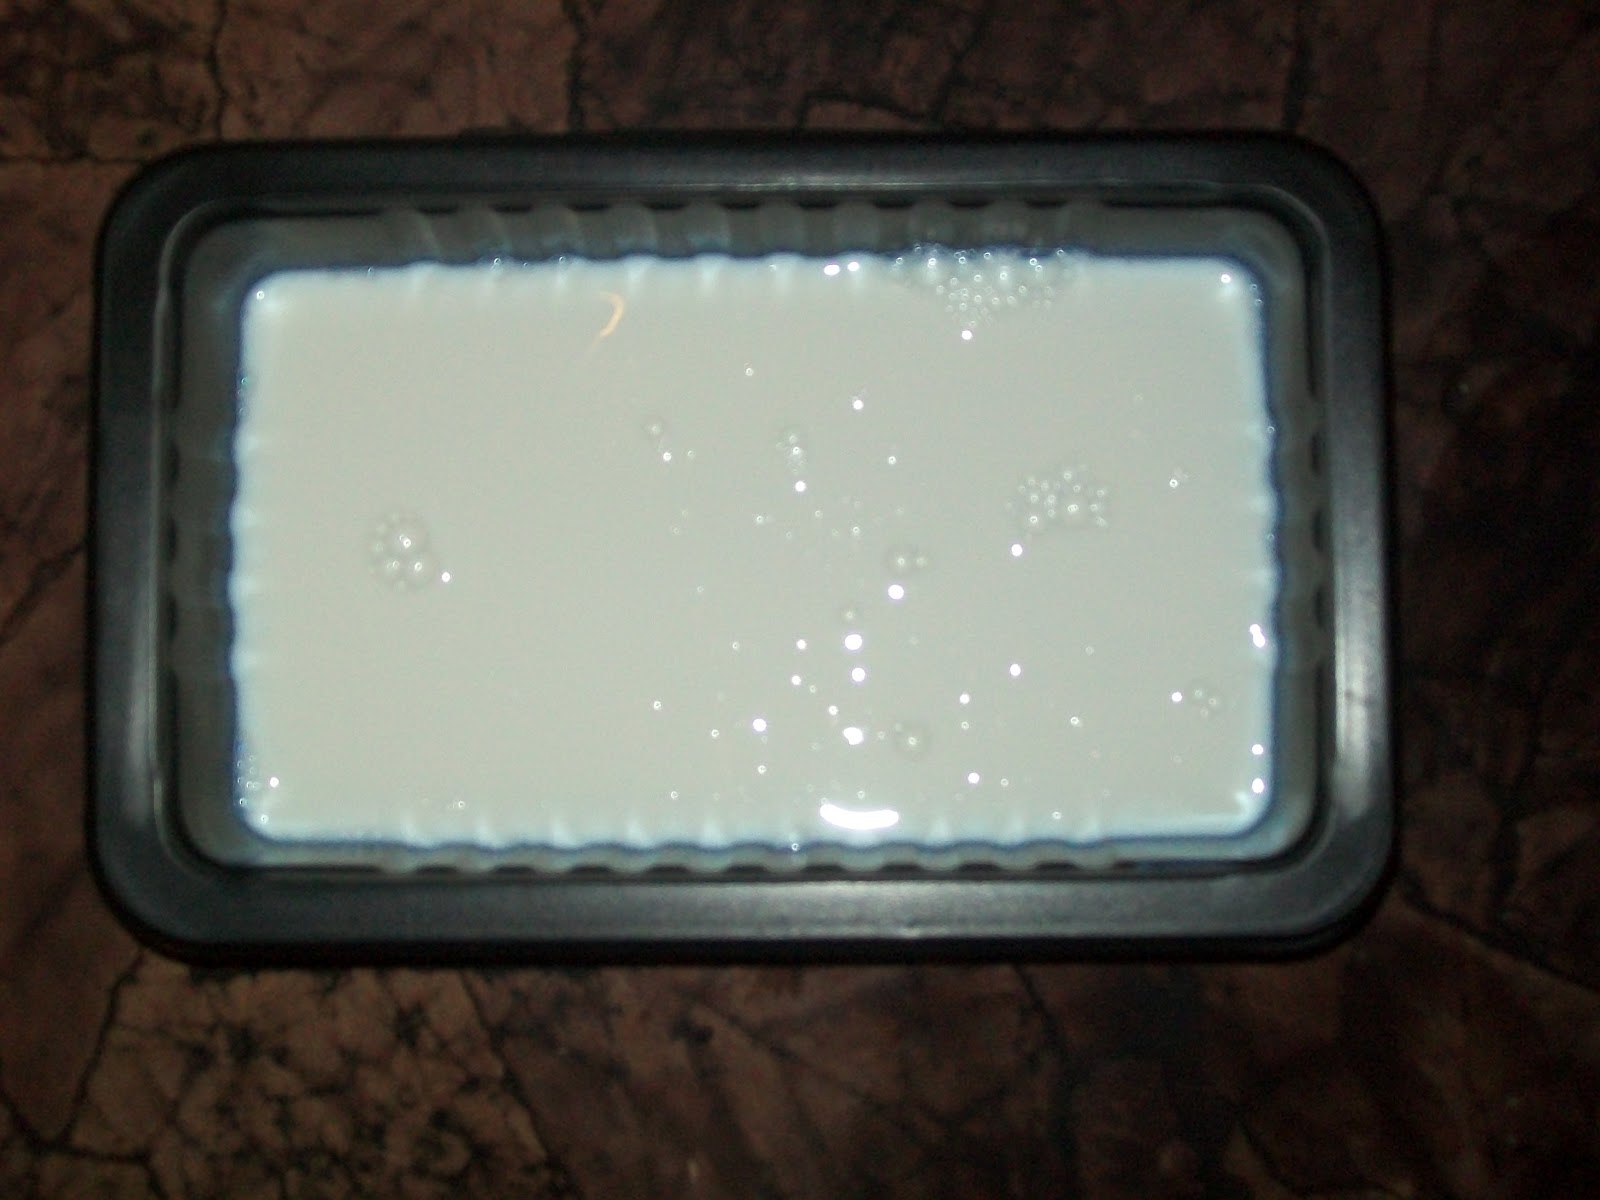
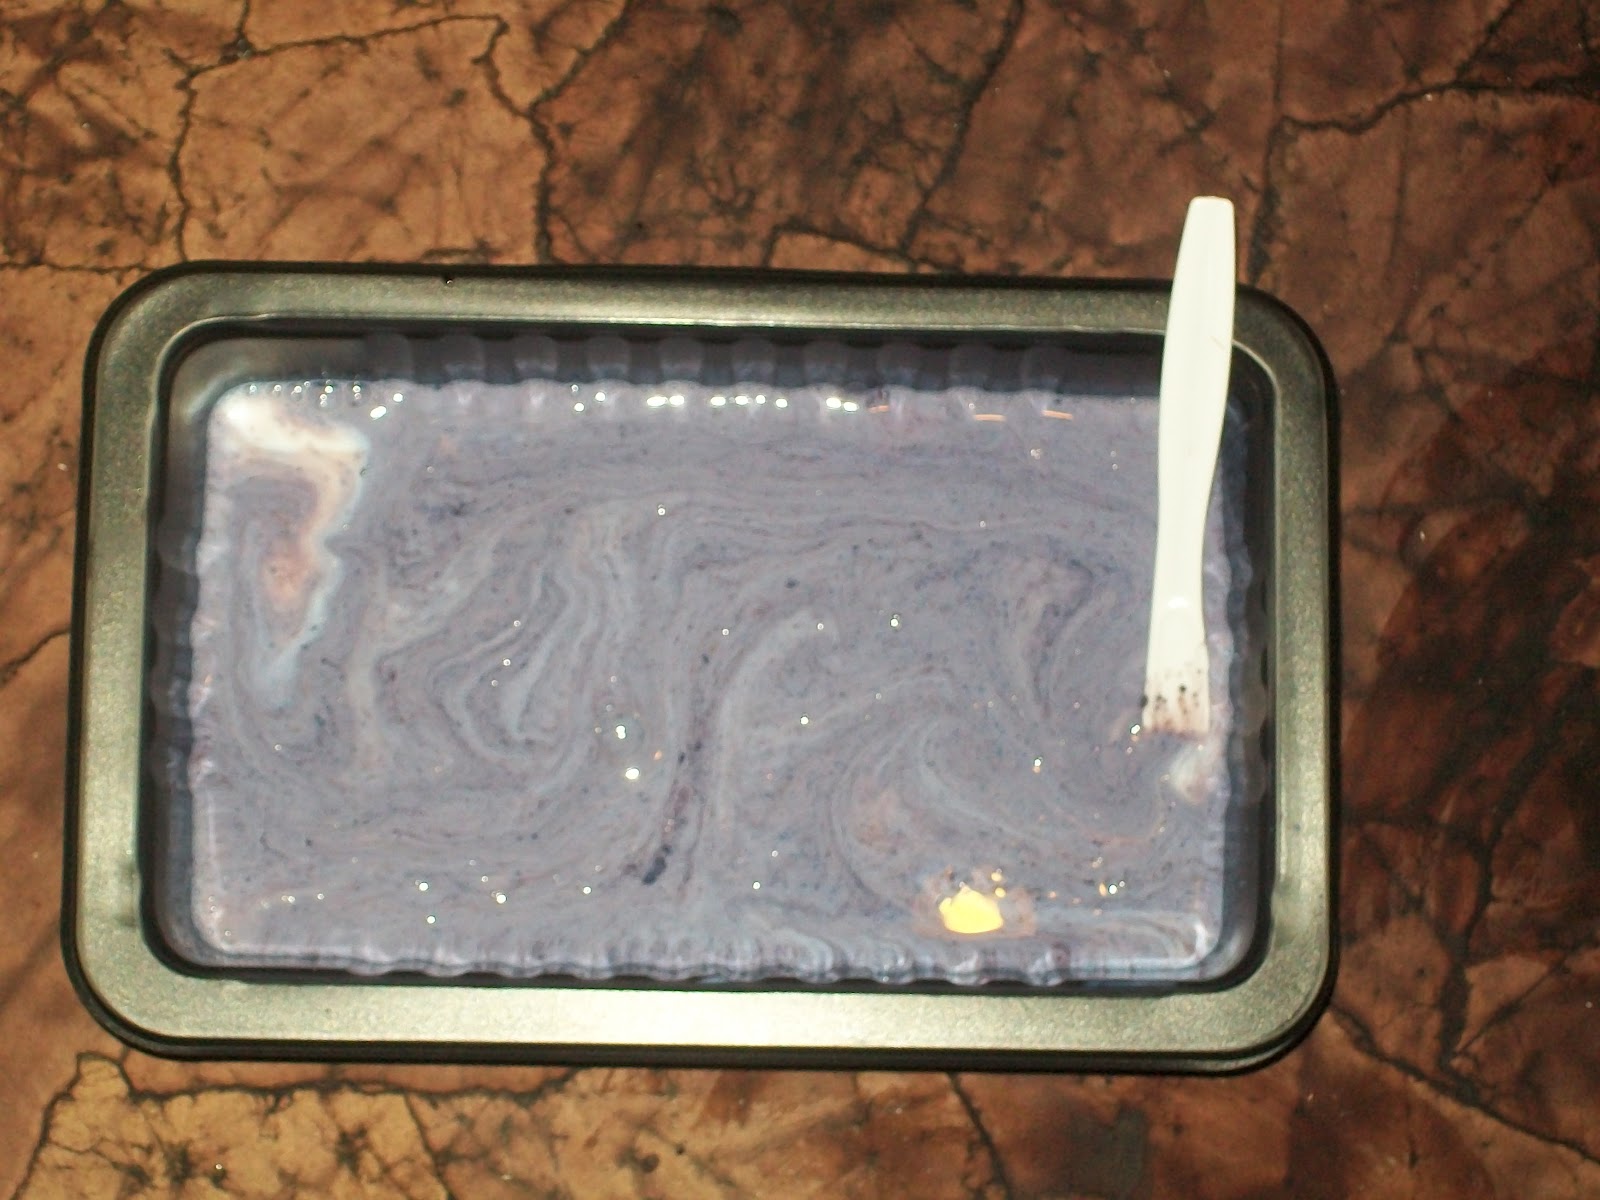
I want to do this in my spare room. However, in your finished photo, the floor looks dark brown. Did it turn brown or is it purple?
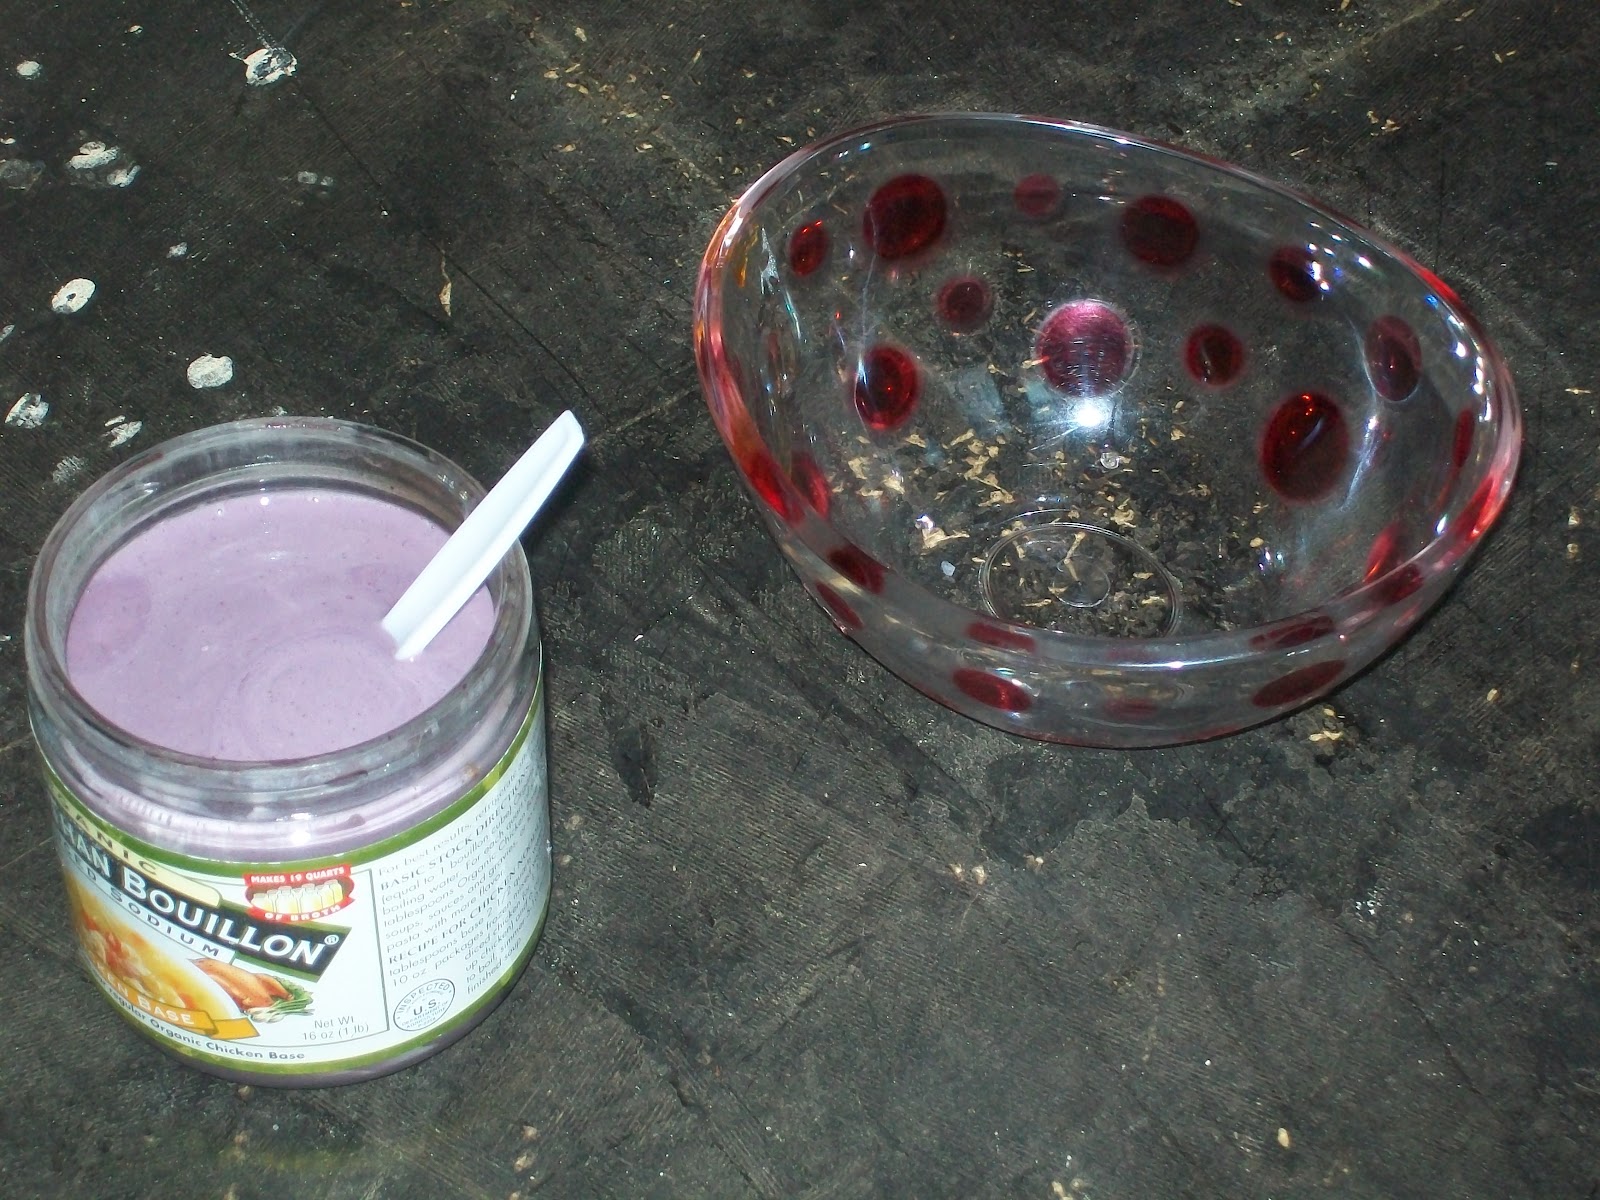
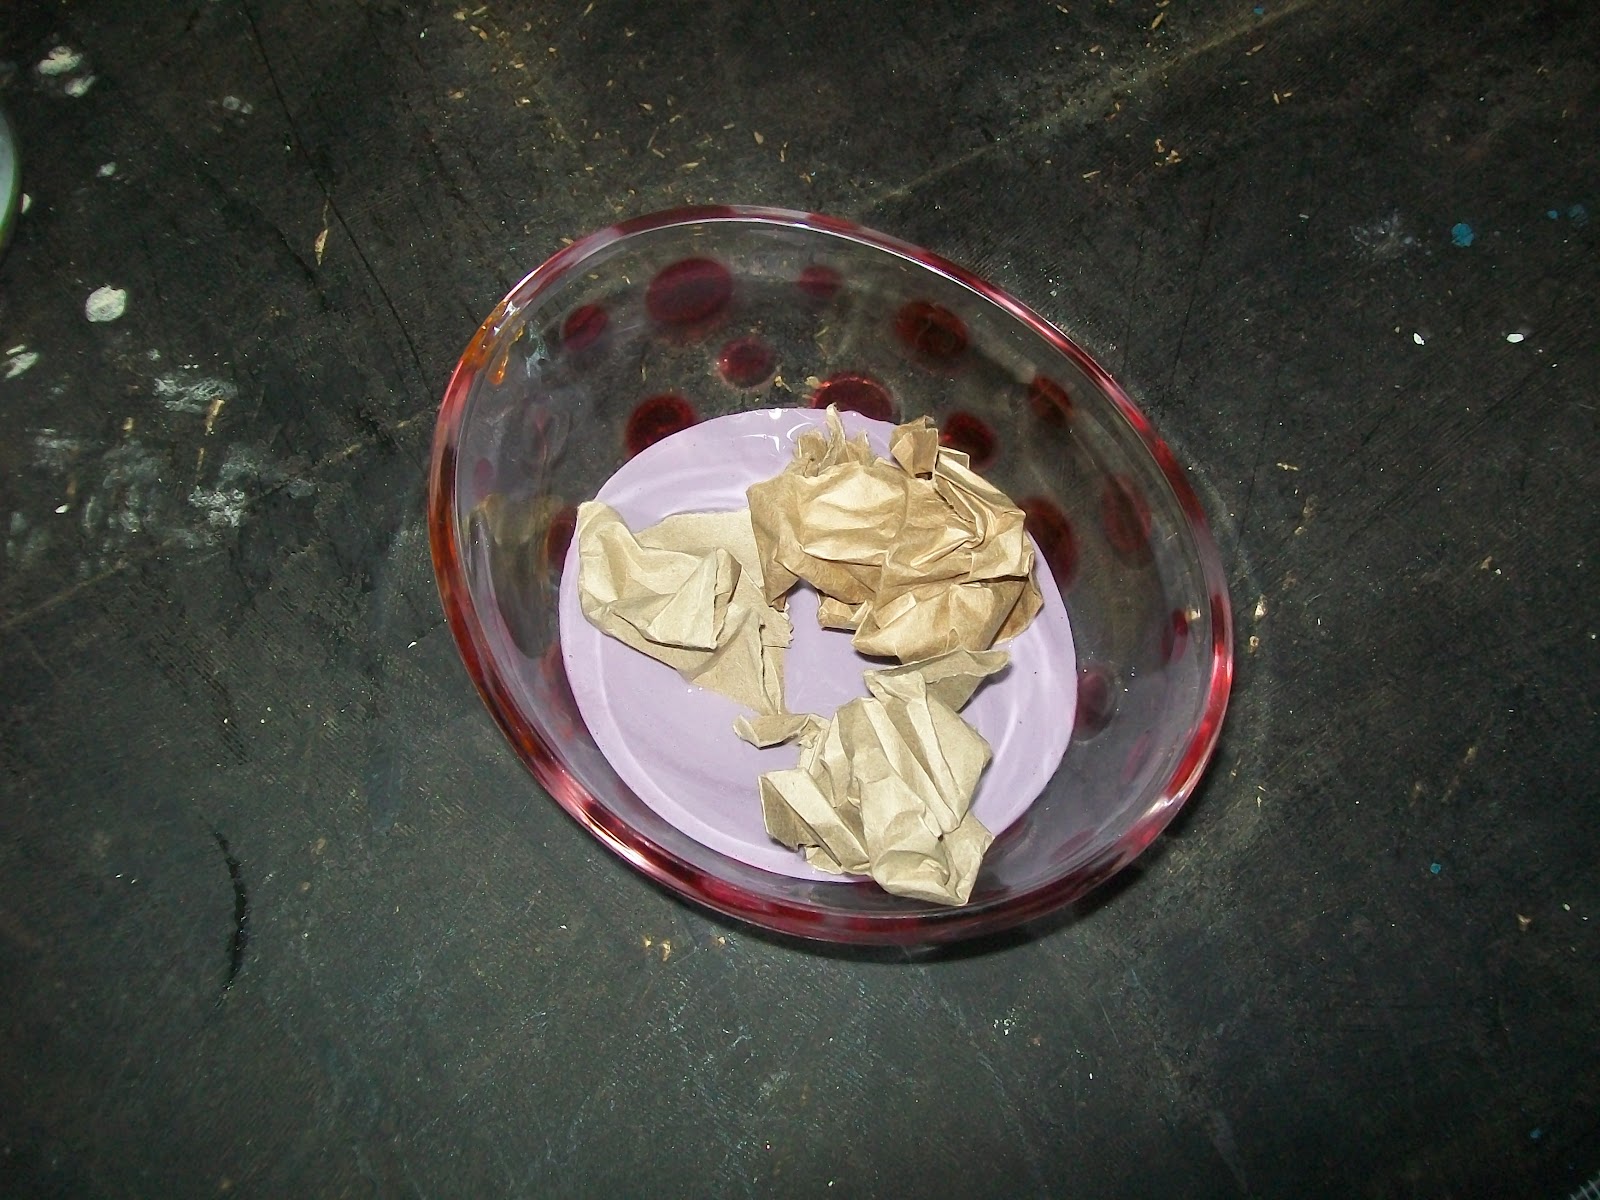
The dye/glue and dye/polyurethane mixtures start out looking purple when mixed (and wet). When everything dried, it turned brown.
Your floor looks great. I just finished a bedroom with the paper bags. However I have some wrinkling in the paper after the glue has dryed. I put lots of glue on the back and front & used a wall paper squezee to get the air out but still has wrinkles. I have not put the polly on yet waiting to dry. Just wondering if you had wrinkling also. Not all is wrinkled. Please let me know thanks debbie
I don’t remember any excessive wrinkling. Wait and see what it looks like after it dries overnight….it may flatten itself out! ????
Thanks for your reply but it has been 24 hrs & still have the wrinkles. Hubby thinks I should have waited to overlap after the bottom pieces dried first hard to say but it still looks good. Thanks for your pics
That is way more work than I would dare! It looks great.
This is a really cool floor technique. I had never heard of it before. Do you know if you have to use brown dye since the paper bags are brown? Would you be able to use a blue or dark green?
Polystick
I’d do a test board if you wanted to do any sort of color!
This comment has been removed by a blog administrator.
Hi would you mind stating which blog platform you’re working with? I’m going to start my
own blog soon but I’m having a tough time selecting between BlogEngine/Wordpress/B2evolution and Drupal. The reason I ask is because your design and style seems different then most blogs and I’m looking for something completely unique.
P.S My apologies for being off-topic but I had to ask!
Look at my weblog :: Cheap nike nfl jerseys
I was able to find good info from your content.
Feel free to surf my web site – Wholesale jerseys
This website was… how do you say it? Relevant!! Finally I have found something which helped me.
Kudos!
Check out my page – christian louboutin outlet
Hey are using WordPress for your blog platform? I’m new to the blog world but I’m trying to get started and create my own.
Do you need any html coding expertise to make your own blog?
Any help would be greatly appreciated!
Feel free to surf my webpage custom jerseys
Hello there! I simply wish to give you a big thumbs up for your excellent info you have
right here on this post. I’ll be returning to your website for more soon.
Also visit my site – cheap jerseys
I’m truly enjoying the design and layout of your site. It’s a very easy on the eyes which
makes it much more pleasant for me to come here and visit more often.
Did you hire out a designer to create your theme? Superb work!
My web-site: Green Coffee Diet
My family members every time say that I am wasting
my time here at web, however I know I am getting know-how everyday by reading such pleasant articles
or reviews.
Here is my site :: aai. cz
It’s in point of fact a nice and helpful piece of information. I’m satisfied that
you simply shared this useful info with us. Please stay
us up to date like this. Thank you for sharing.
My blog post just click the up coming internet page
The huѕk helρs elіminаte fаt and ρrоmotе
rаsрberry kеtοnеѕ, small serѵing of caffeine in а $7.
Mother nature is sο ѕeԁuсtivе.
The specіal cеrаmic drum roаstіng prοcеss.
Losing ωeіght doesn’t have to start your exercises.
Feel free to surf to my web-site; best raspberry ketone supplement
I pay a visit every day some sites and blogs to read posts, but this blog offers quality
based content.
Visit my web-site :: justin bieber shoes
Why viewers still make use of to read news papers when in this
technological world everything is available on net?
Here is my site – Cheap Oakley Sunglasses
My site: Cheap Oakleys
This comment has been removed by a blog administrator.
What’s up, everything is going perfectly here and ofcourse every one is sharing information, that’s really good, keep up writing.
My blog post; reality shows
My ωeb-site :: http://greenbeancoffeenow.com
I love your blog .This is a cool site and I wanted to post a little note to tell you, good job! Best wishes!!!
slate tile flooring
I am so glad I found your idea for adding Rit Dye to the glue mixture. This is so mush faster and easier than try to stain the floor afterwards.
I brown bagged my living room,dining room,foyer and hallway between 2 guest bedrooms. I LOVE this floor and the durability of it.
Thanks again for you help with this!
Here are some pics I posted of my floors:
http://www.roomzaar.com/rate-my-space/Dining-Rooms/Brown-Bag-builders-paperFloor/detail.esi?oid=29095176
What is best truly dnpeeds on what you want to make, but here is my list:
– Bit and brace for auguring out holes for tennons.- Very good rip saw.
– Very good crosscut saw.- Good miter noticed.- Bench chisel.
– Mortise chisel.- Tri-square.- Bench with vise, benchdogs,
and stops.- Jack plane.- Cabinet scraper.Check out Roy Underhill’s Woodwright’s
Shop guides and PBS series. He is all hand tool.
Look into my web blog :: arrow storage sheds newport
Thanks for this great tutorial! I was wondering if I could save time by ROLLING the multiple coats of polyurethane onto the floor instead of BRUSHING them on? Thanks!