
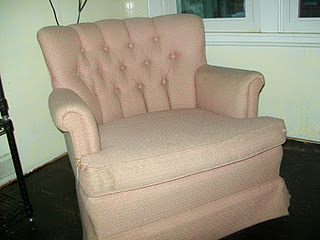
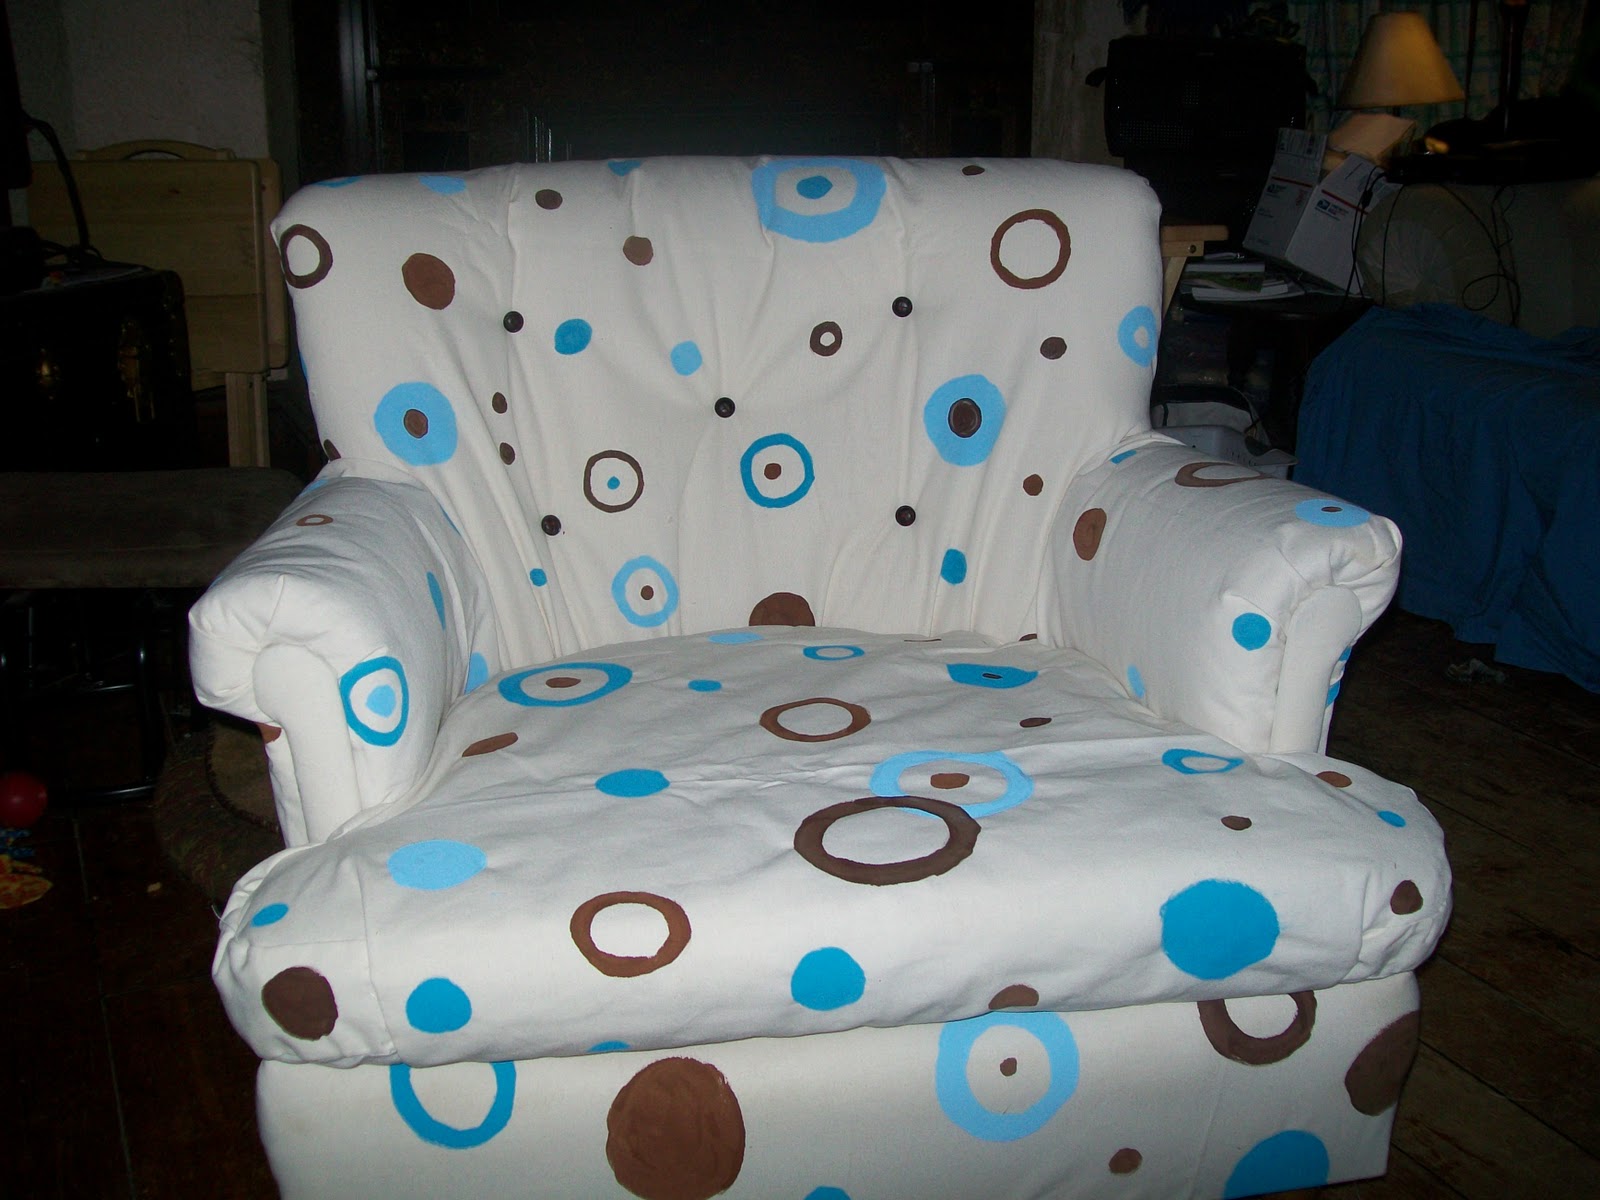
I did it! I feel like I have can do anything now!  It’s been a really fun learning experience! Click here to see how I took the chair apart. Then, if you want to see about painting the fabric, you can click here. Here is how I put the chair back together!

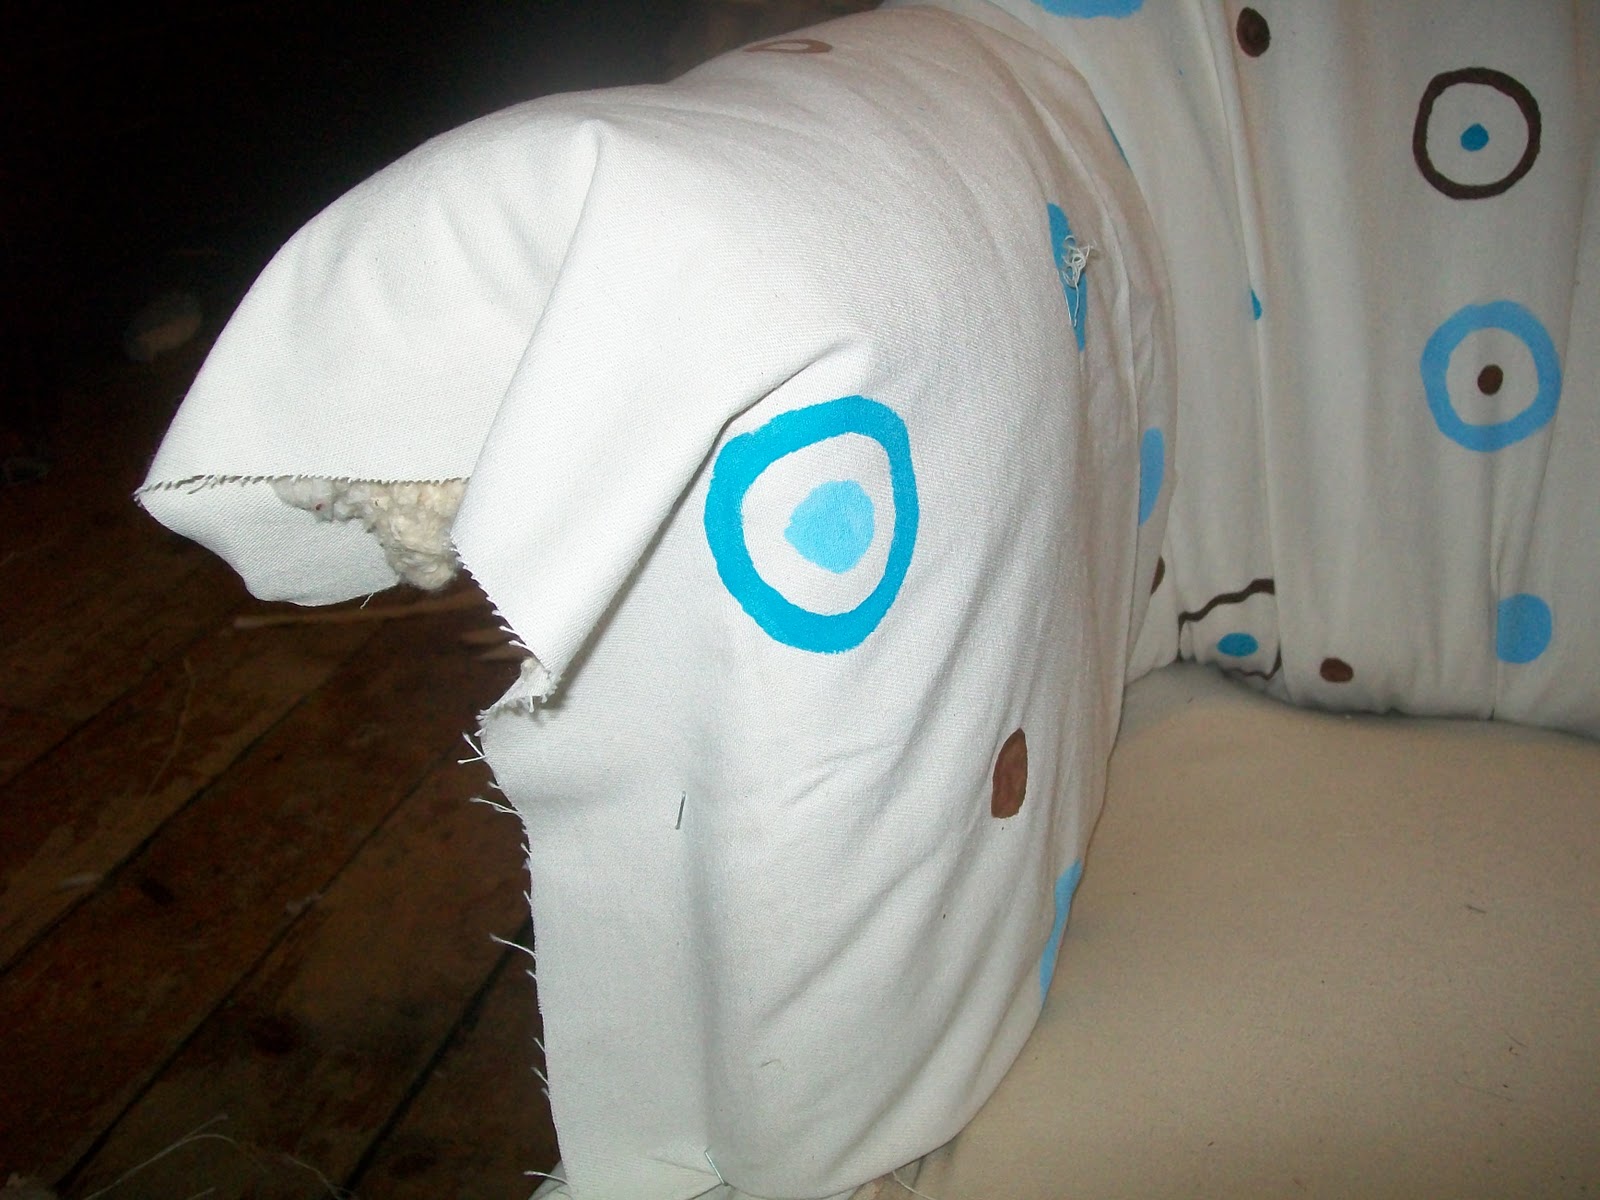

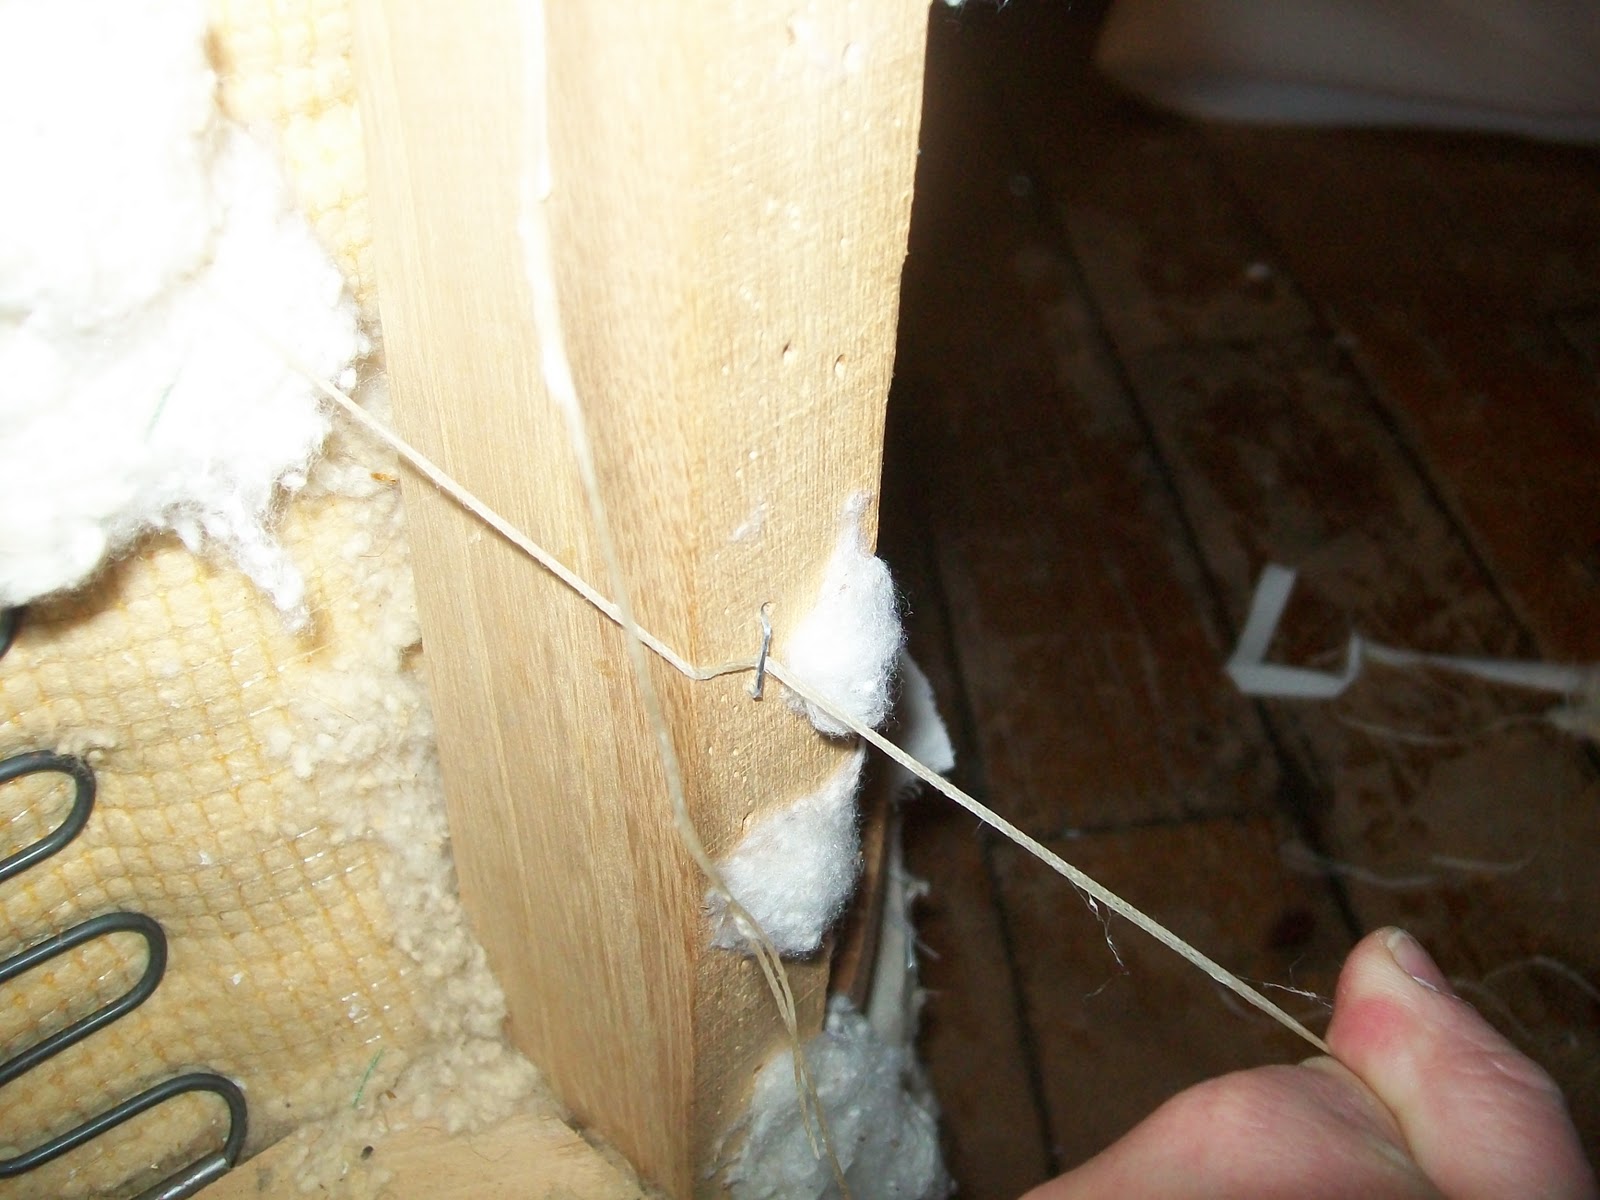
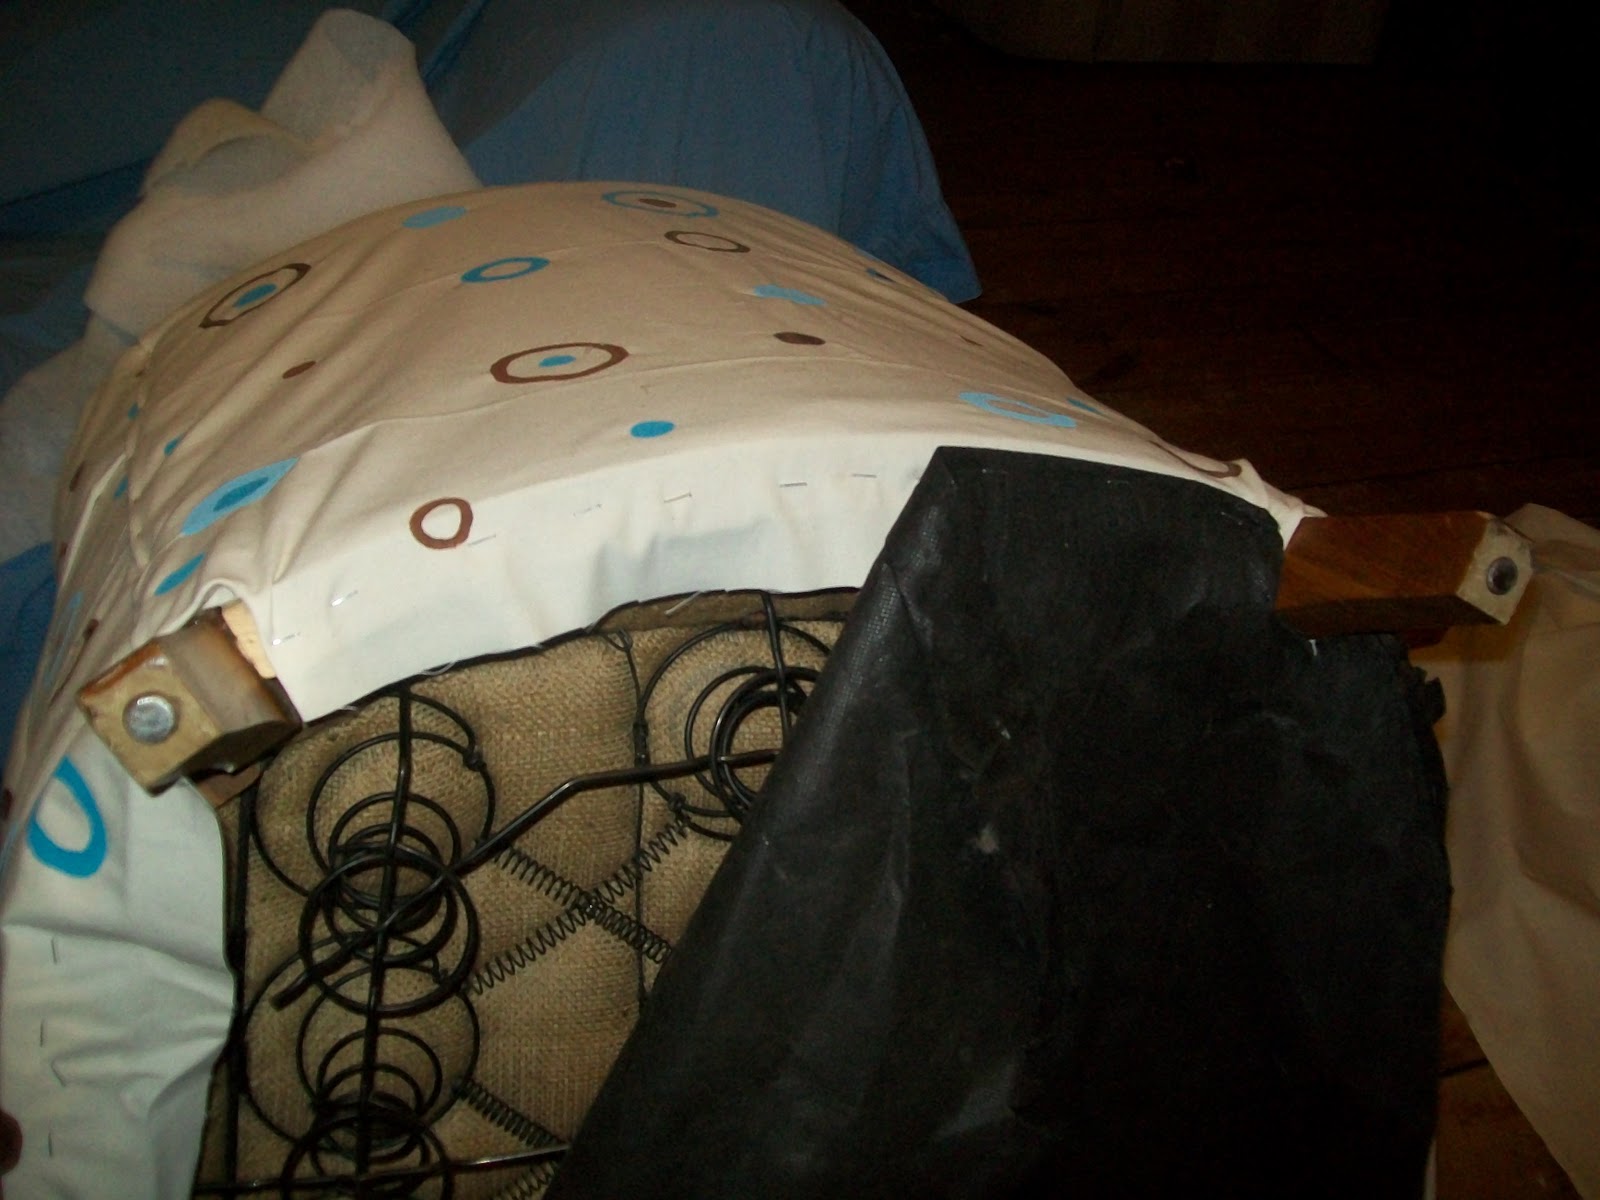
I had some leftover pieces from the other chair that were used to secure the fabric in this location.
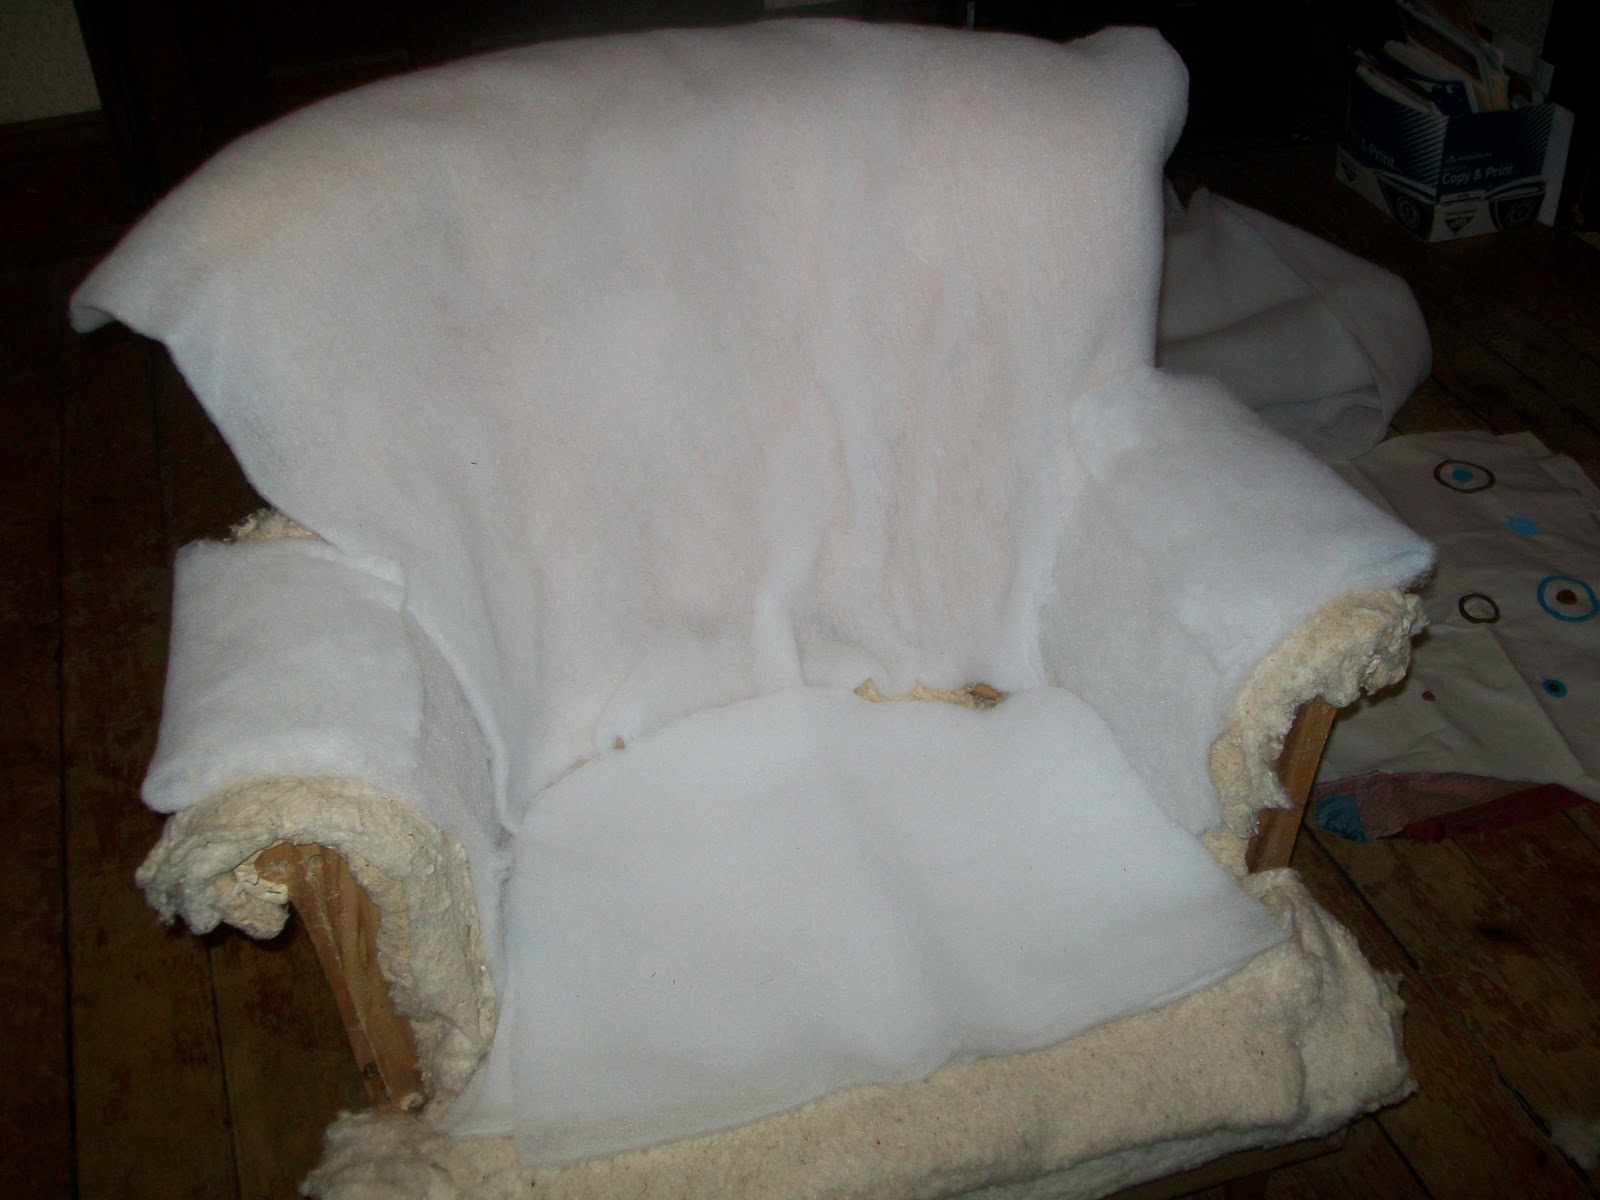
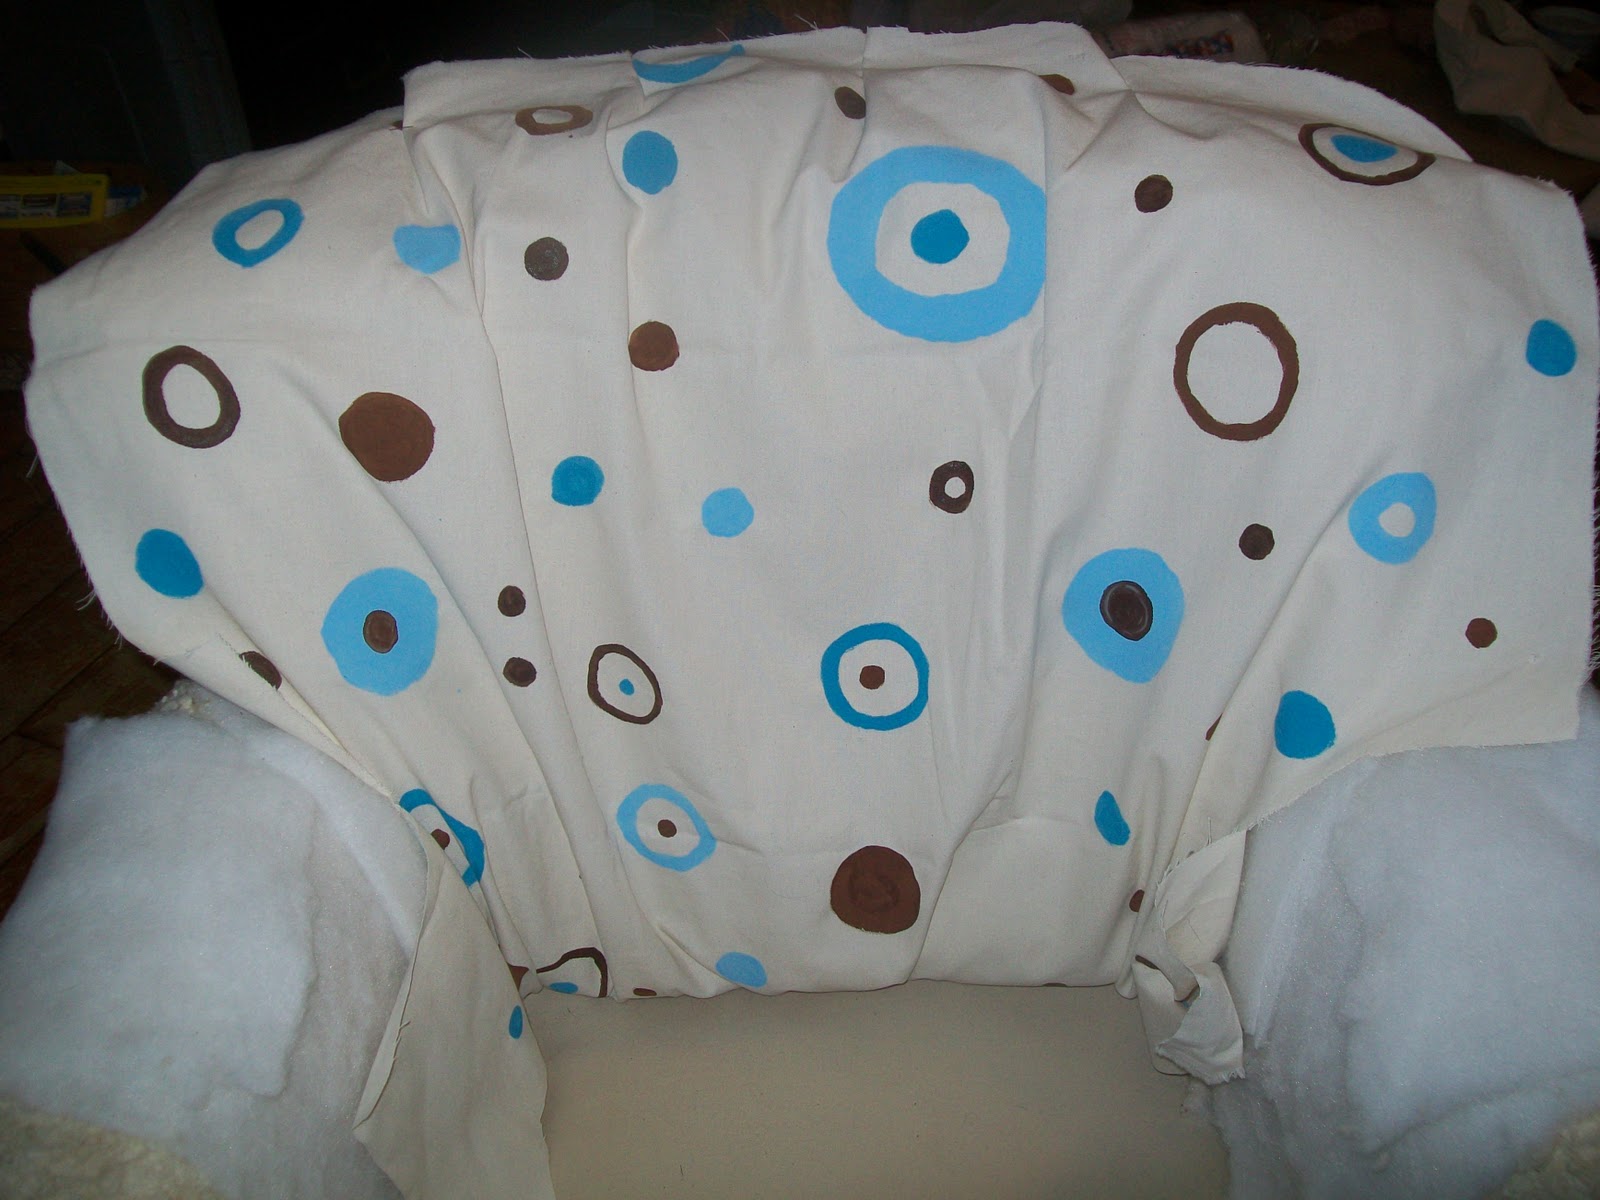
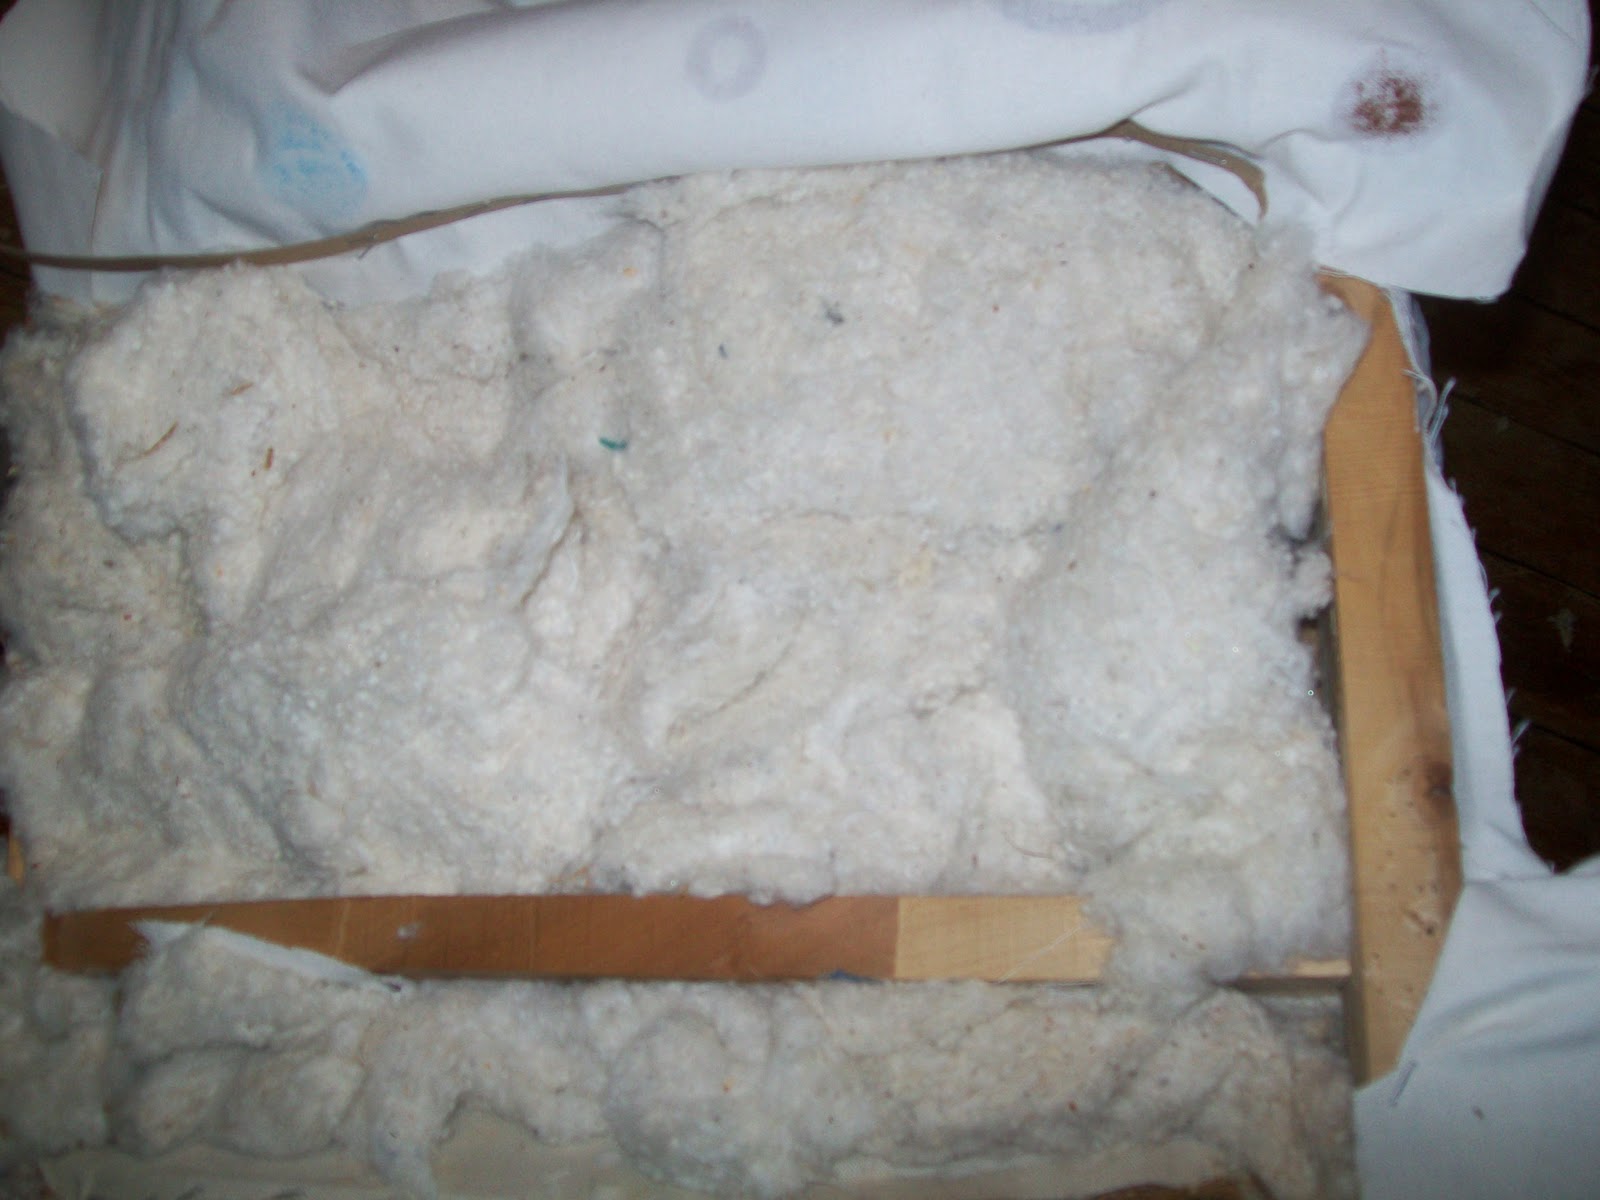
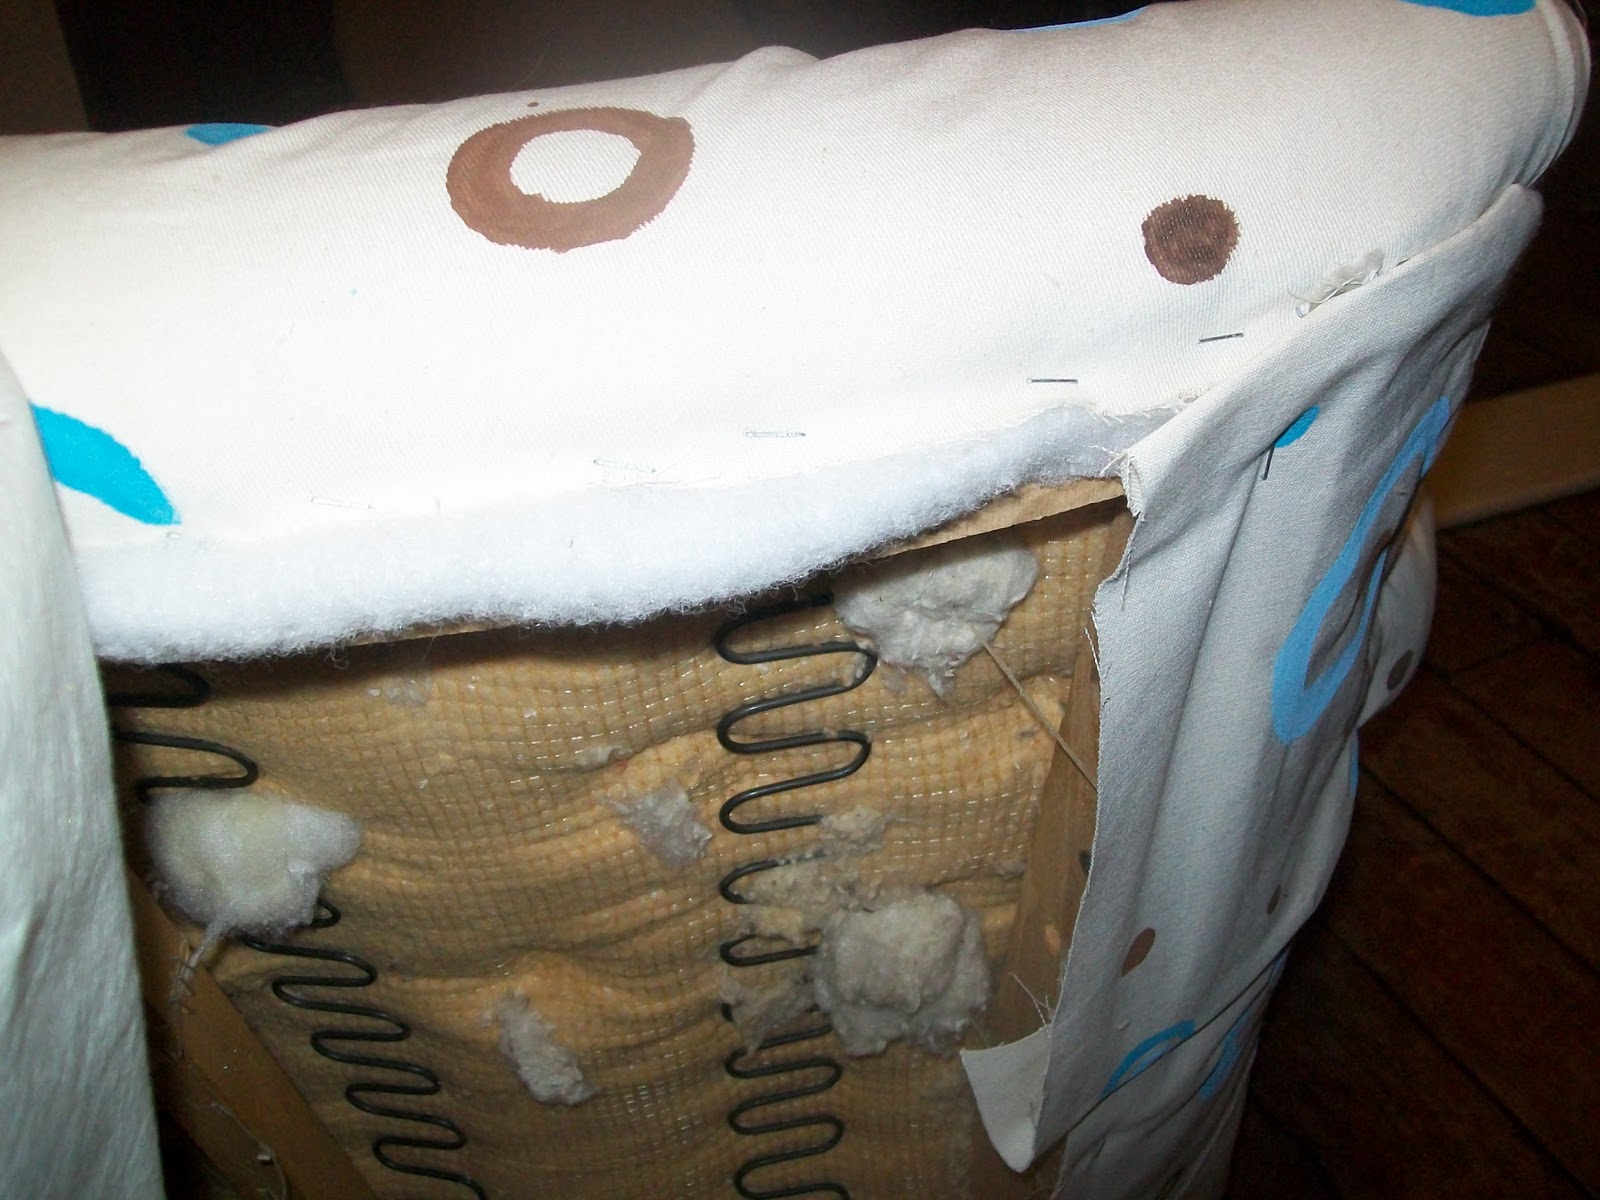
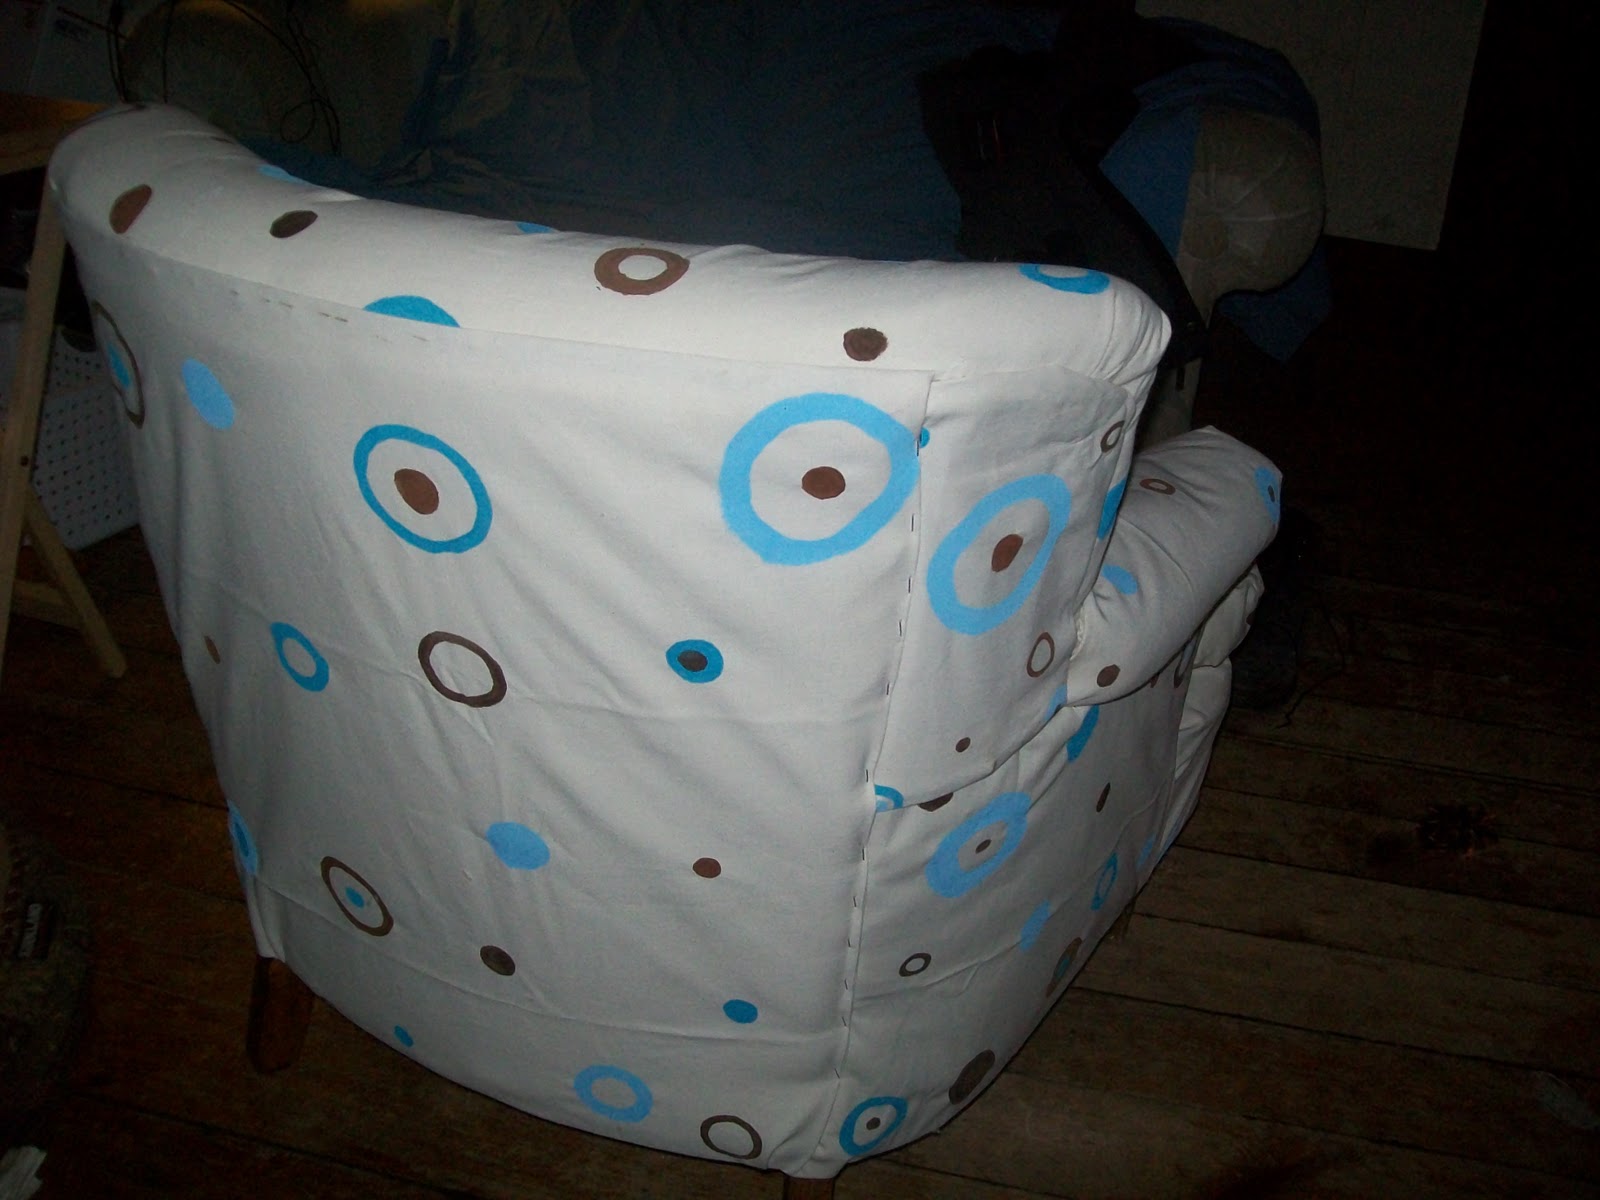
The only area still exposed is the back. You need to cut a piece of muslin to stretch over the exposed back of the chair. Then cut a piece of batting the size to cover this area and staple it to the back of the chair.
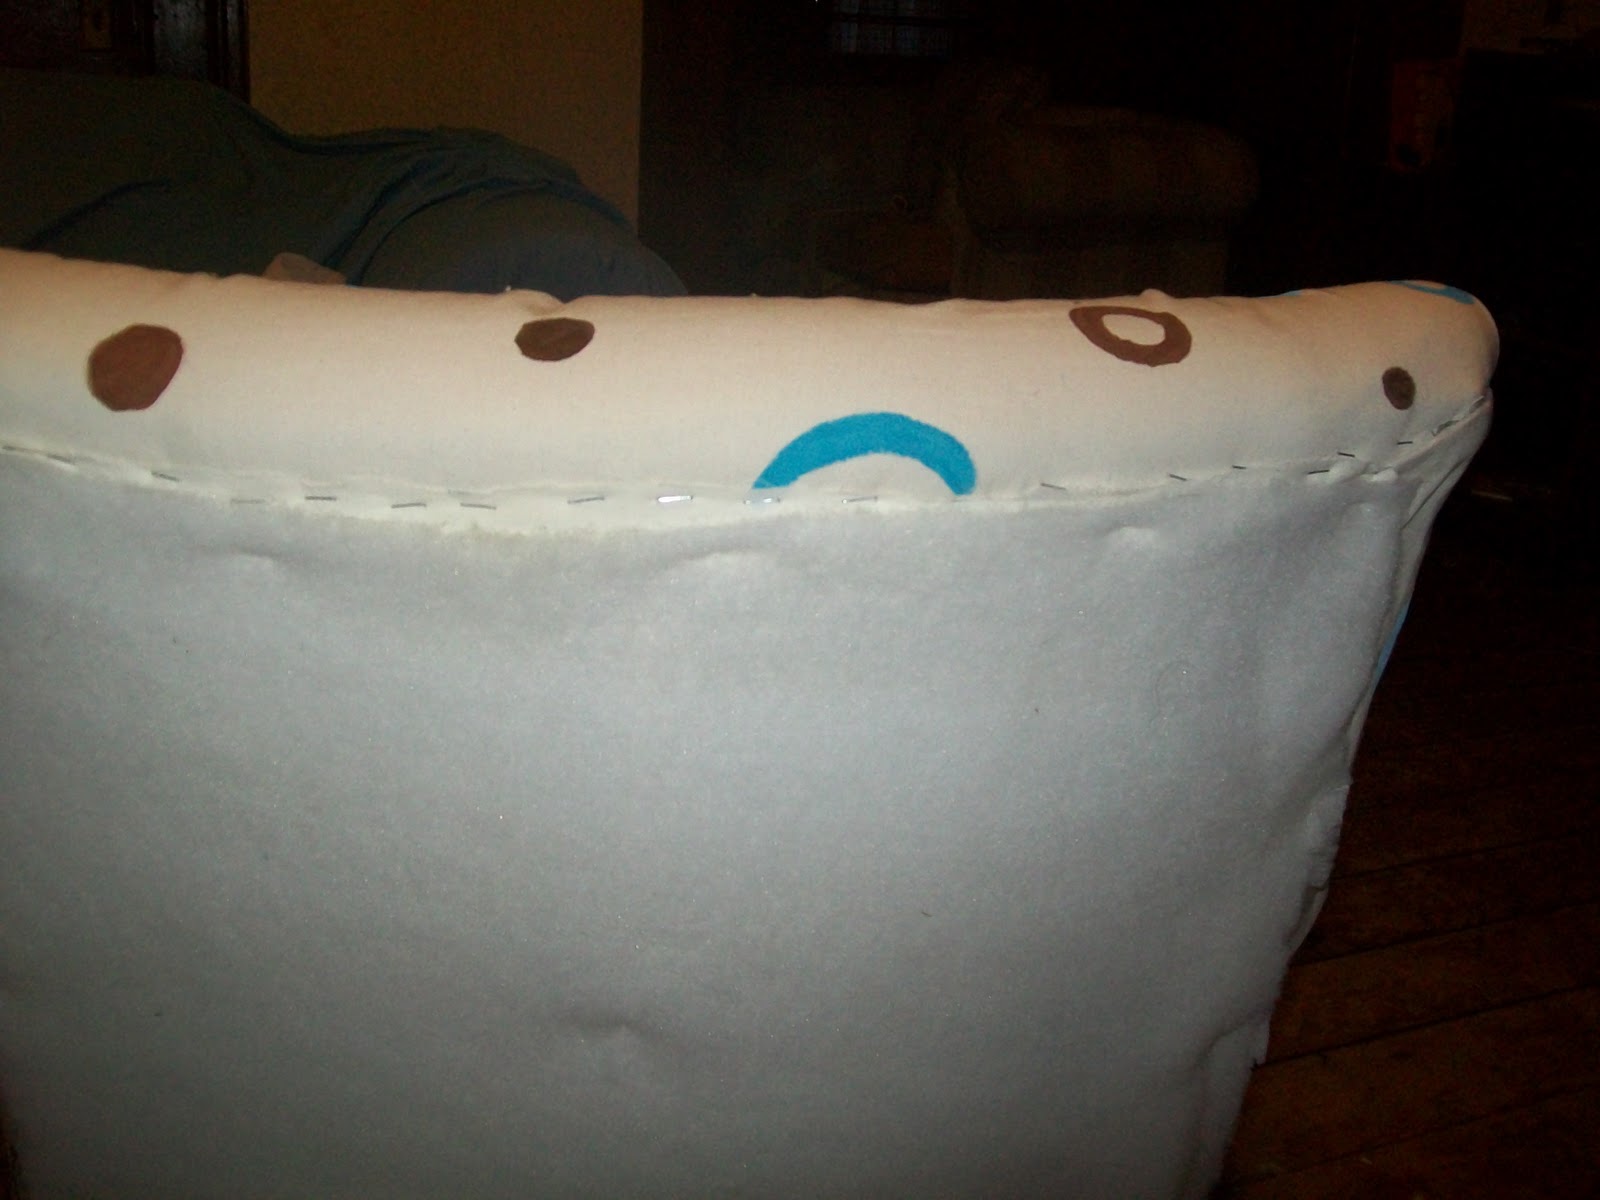
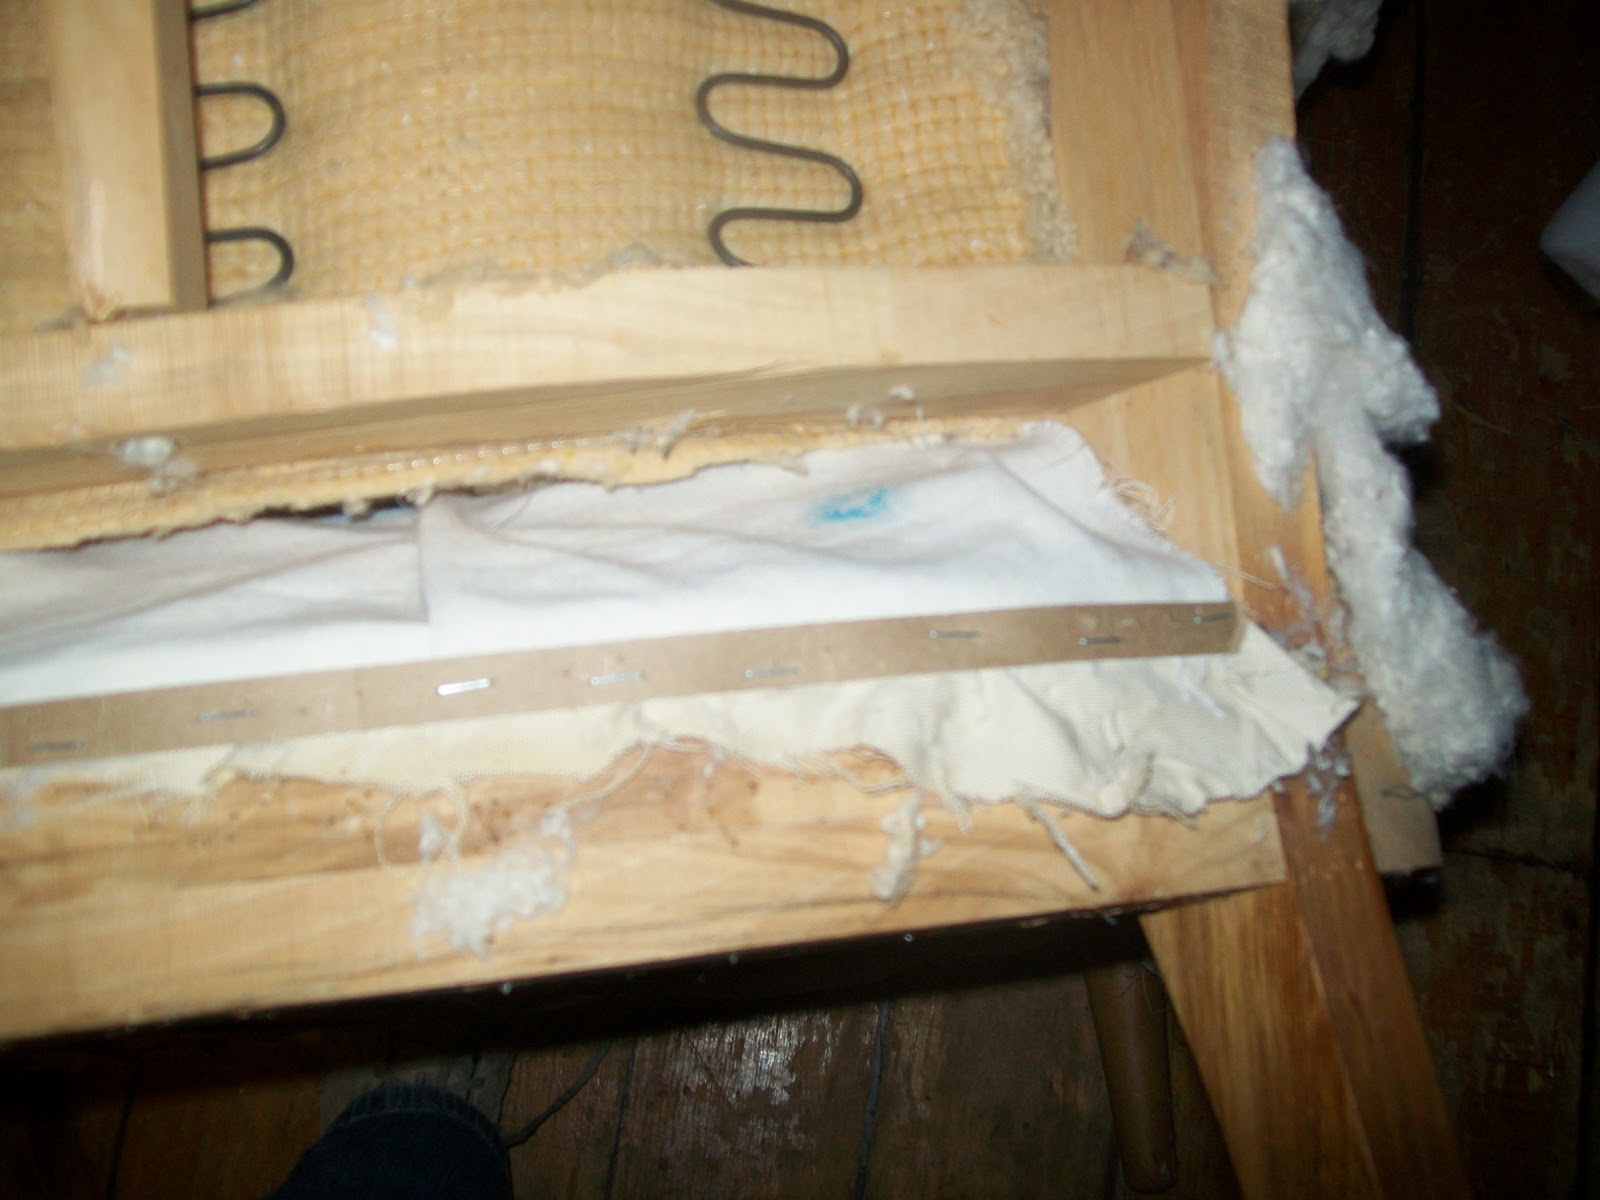
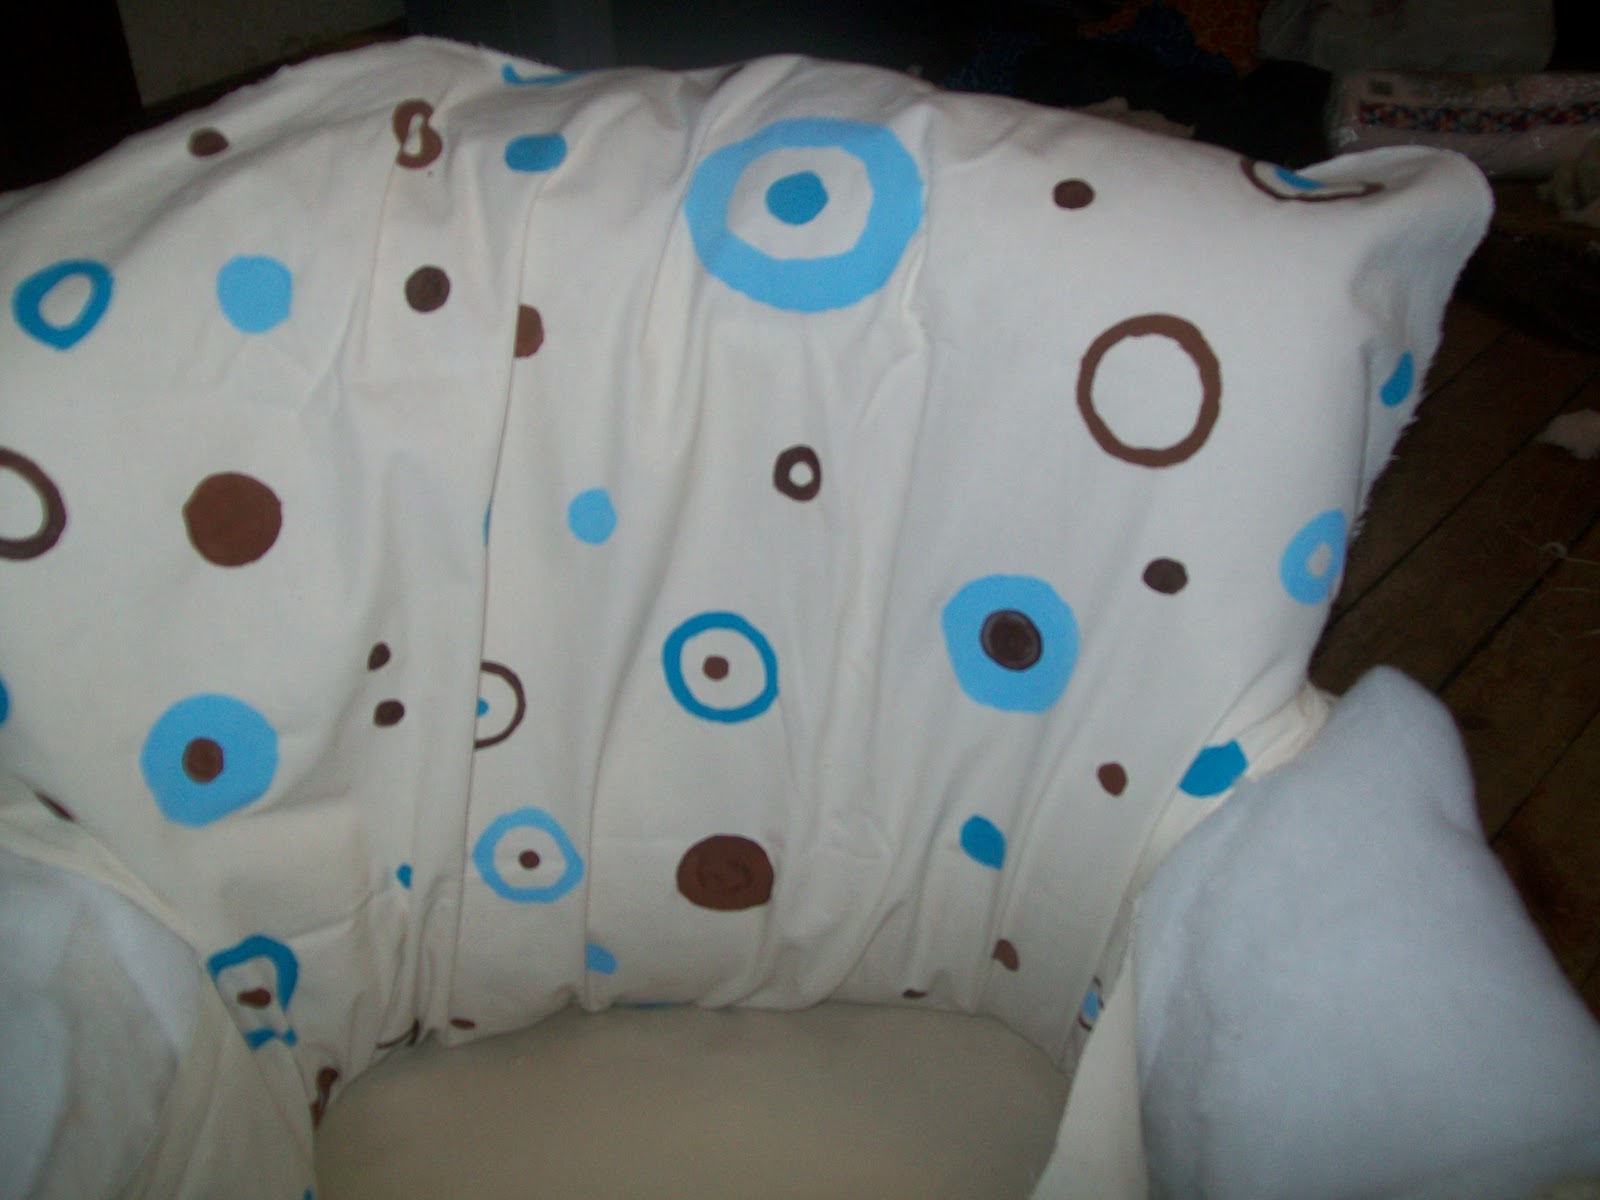
Then, like the lower sides of the chair, drape your back fabric, right side down, and staple the top of this fabric to the back of the chair (use the brown paper tape).
Then pull the fabric down and staple to the bottom of the chair. The last step is to staple a piece of fabric over the exposed bottom of the chair.
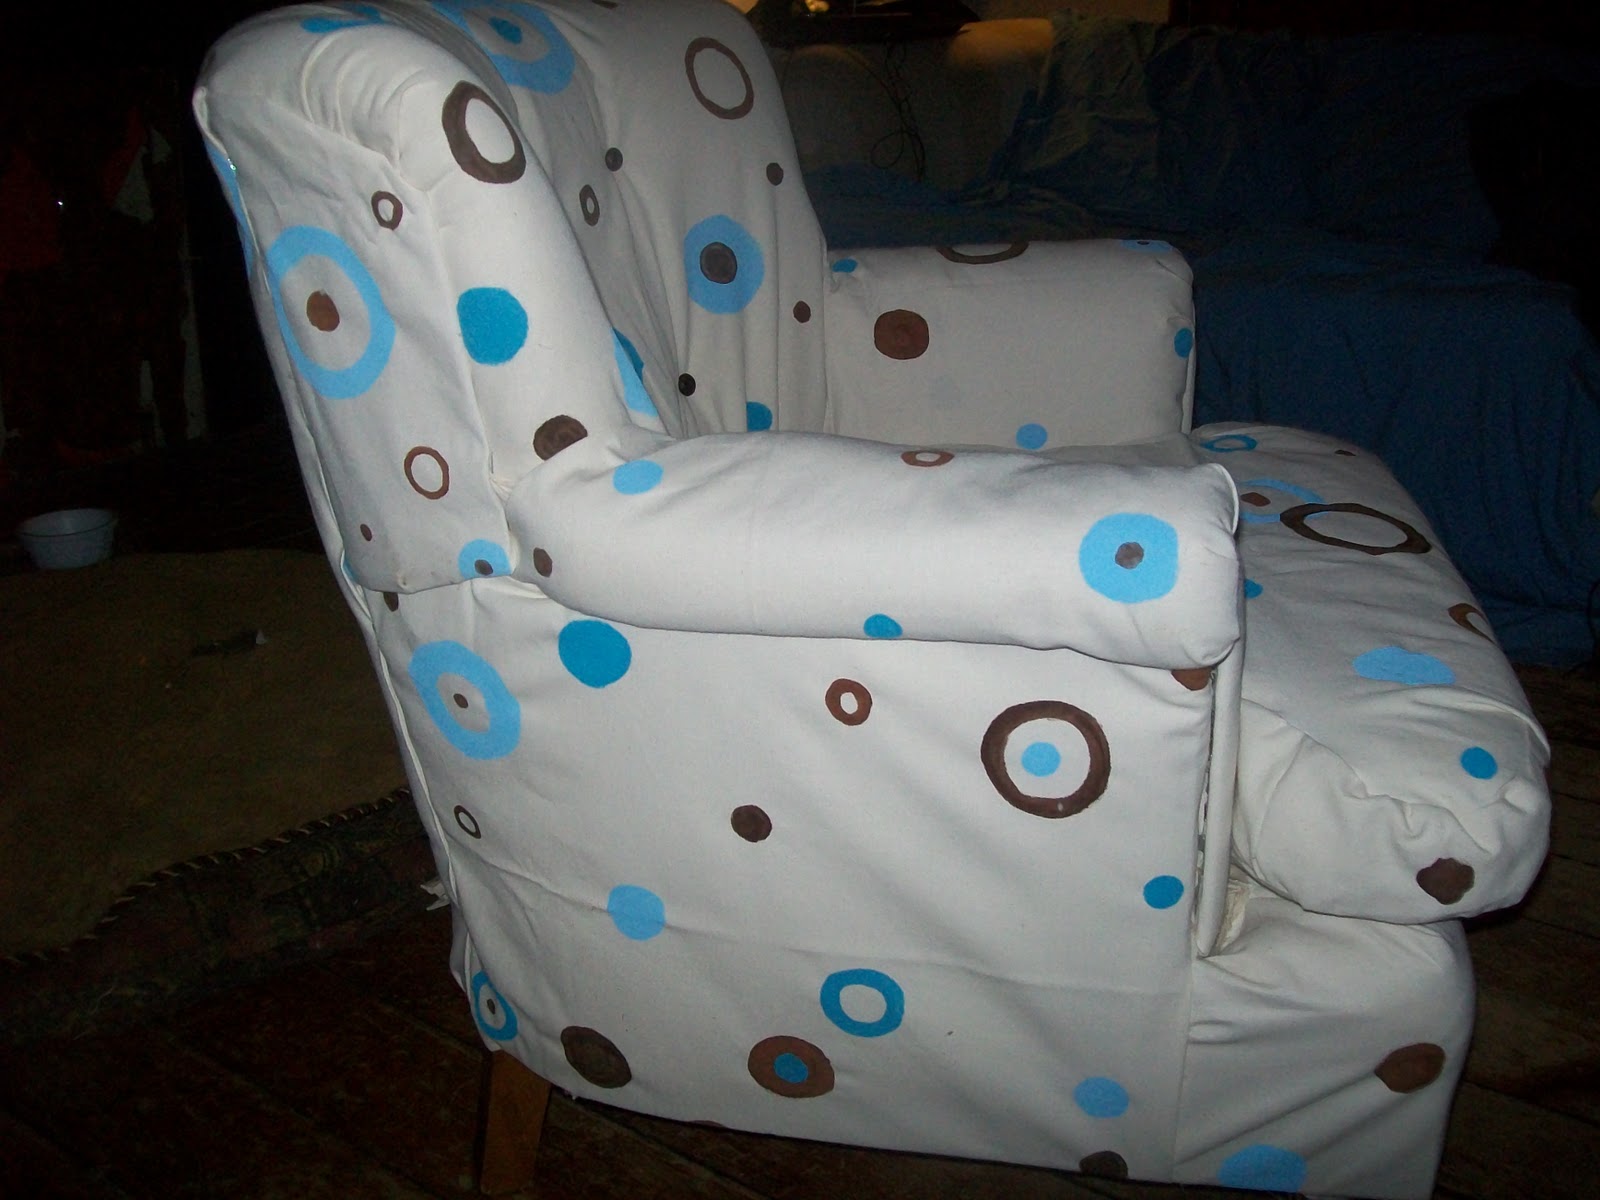
I also recovered the chair cushion.
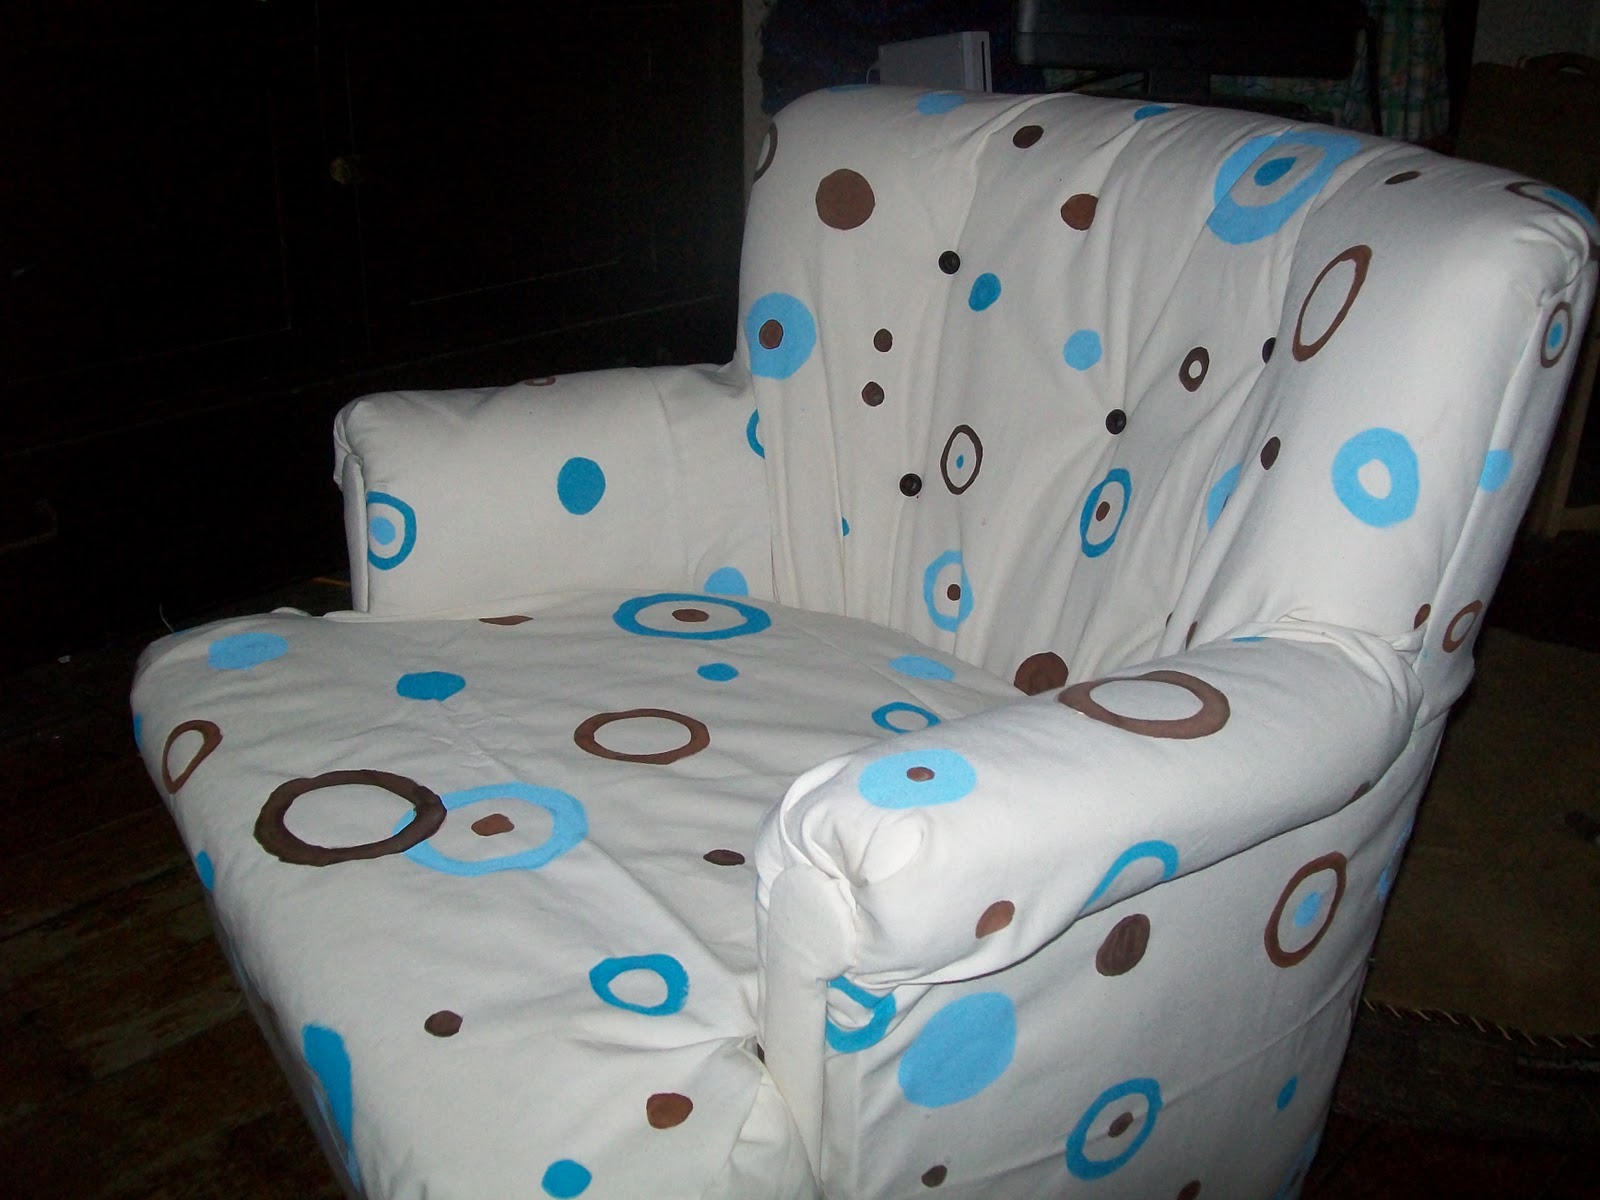
Hopefully I took enough pictures throughout this process so you feel you can do this as well! I attempted to take a lot of pictures throughout each stage, but remember that each piece of furniture will have its own “set of rules”.
The supplies I needed to complete the re-assembly of the chair include:
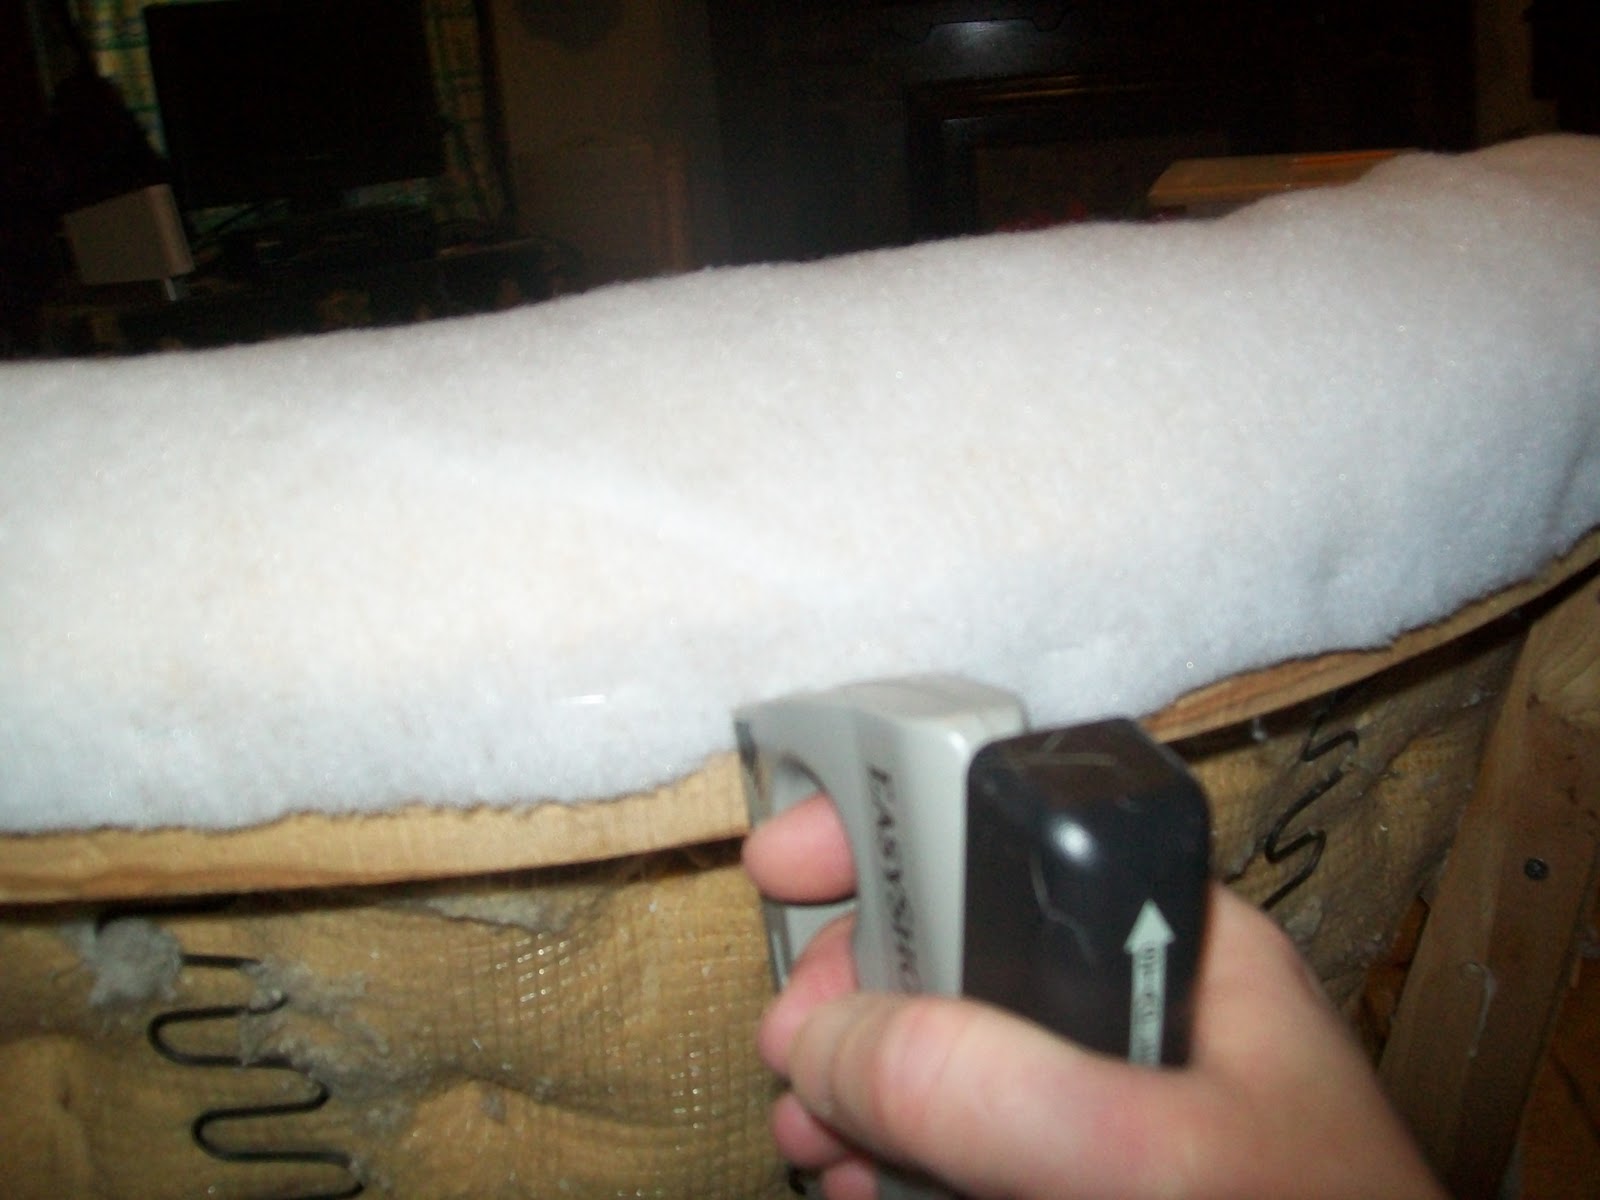
1. Staple Gun. Look for one for women. I used the “EasyShot” that I purchased from Home Depot. It is very light weight and rather than squeezing the handle to staple, you push down like you would a regular stapler. I felt this would be better so that my hand would not become so fatigued.
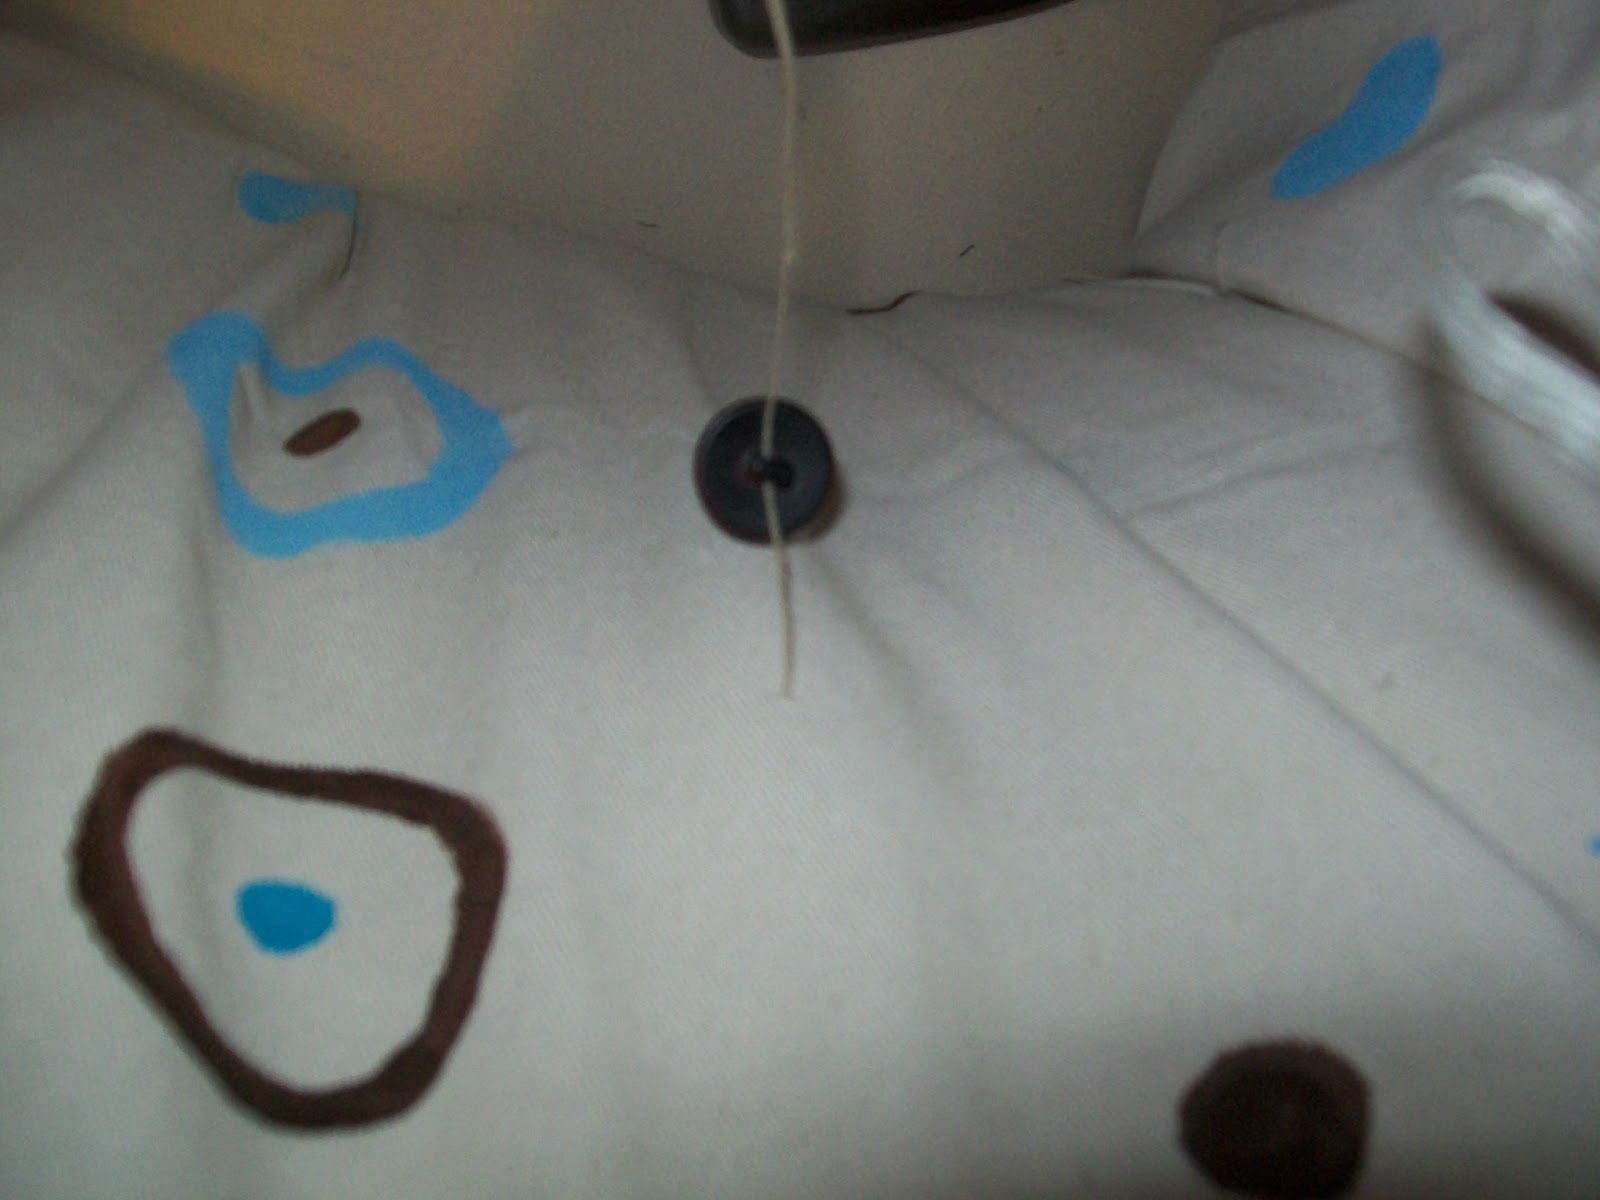
2. Upholstery needle. They are very long and you will need one if you are attaching buttons so that you get through all the layers of batting and fabric.
3. Once again, if you are attaching buttons, you will need some very heavy duty thread. I purchased some waxed upholstery thread.
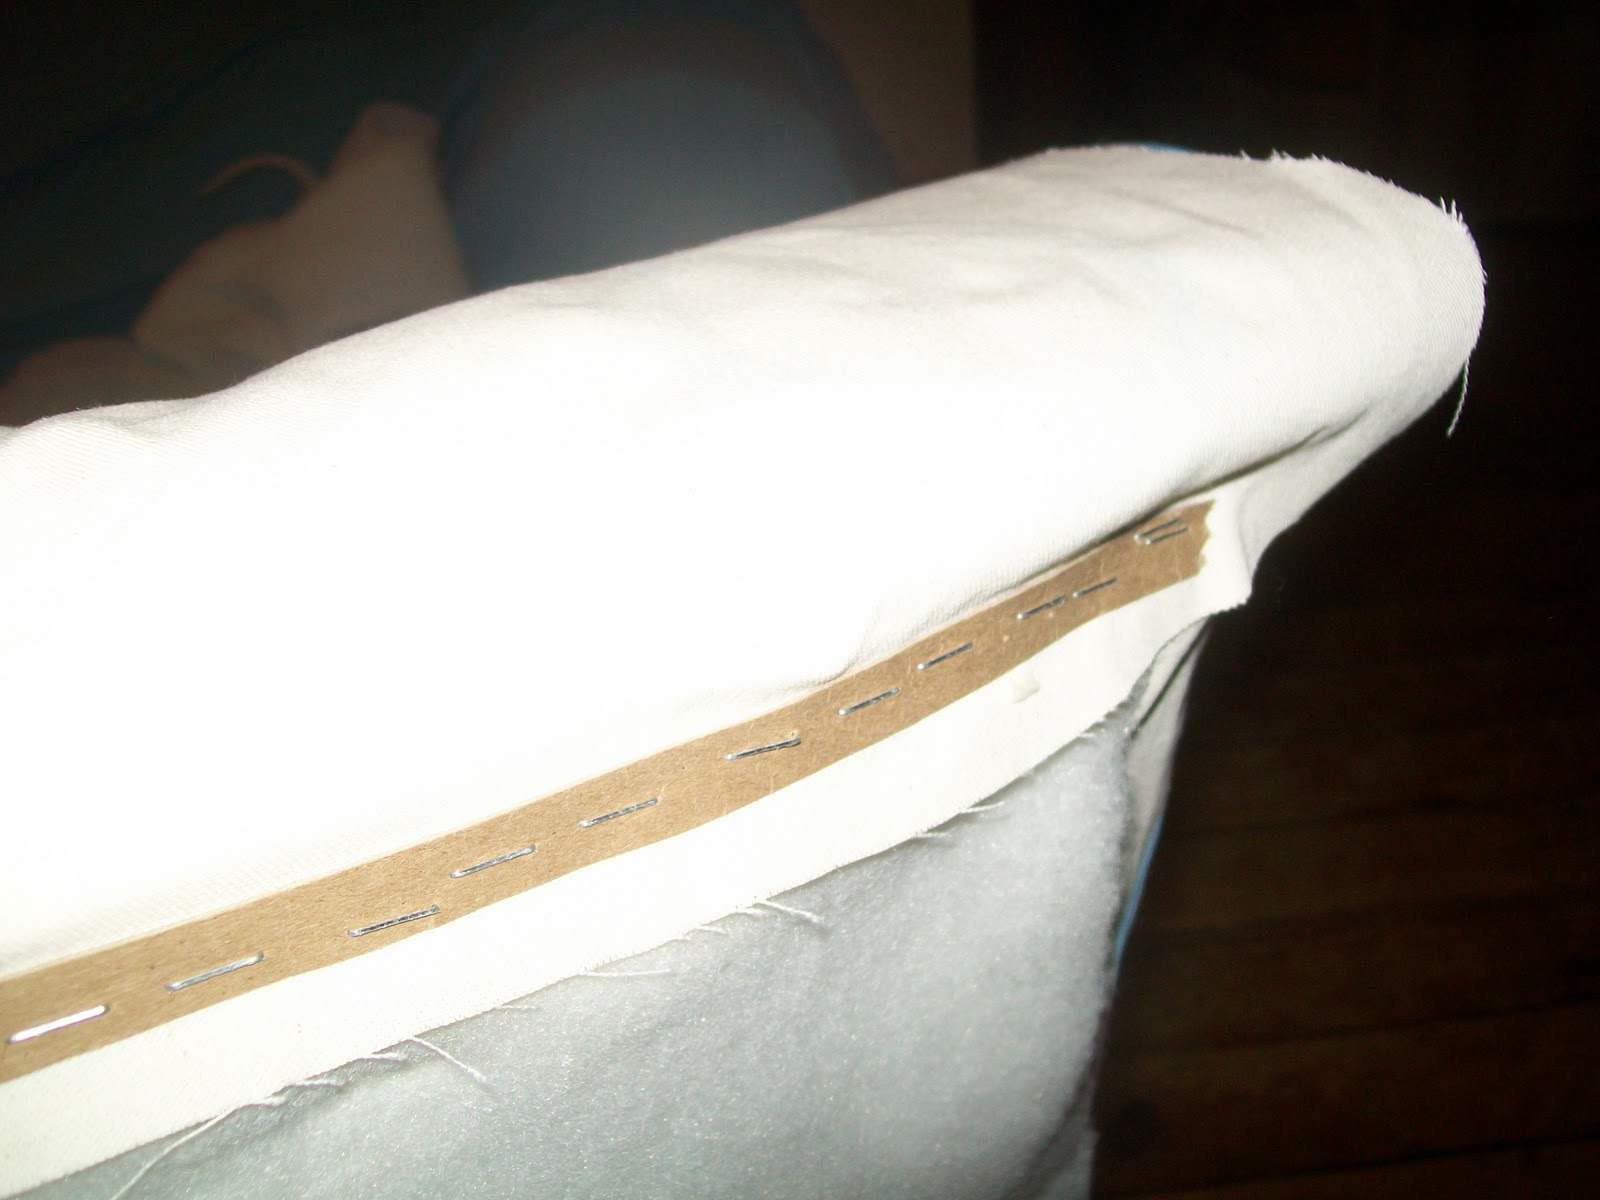
4. Some upholstery paper tape. This is attached to ensure a nice straight fold when stapling an area where your fabric folds on itself.
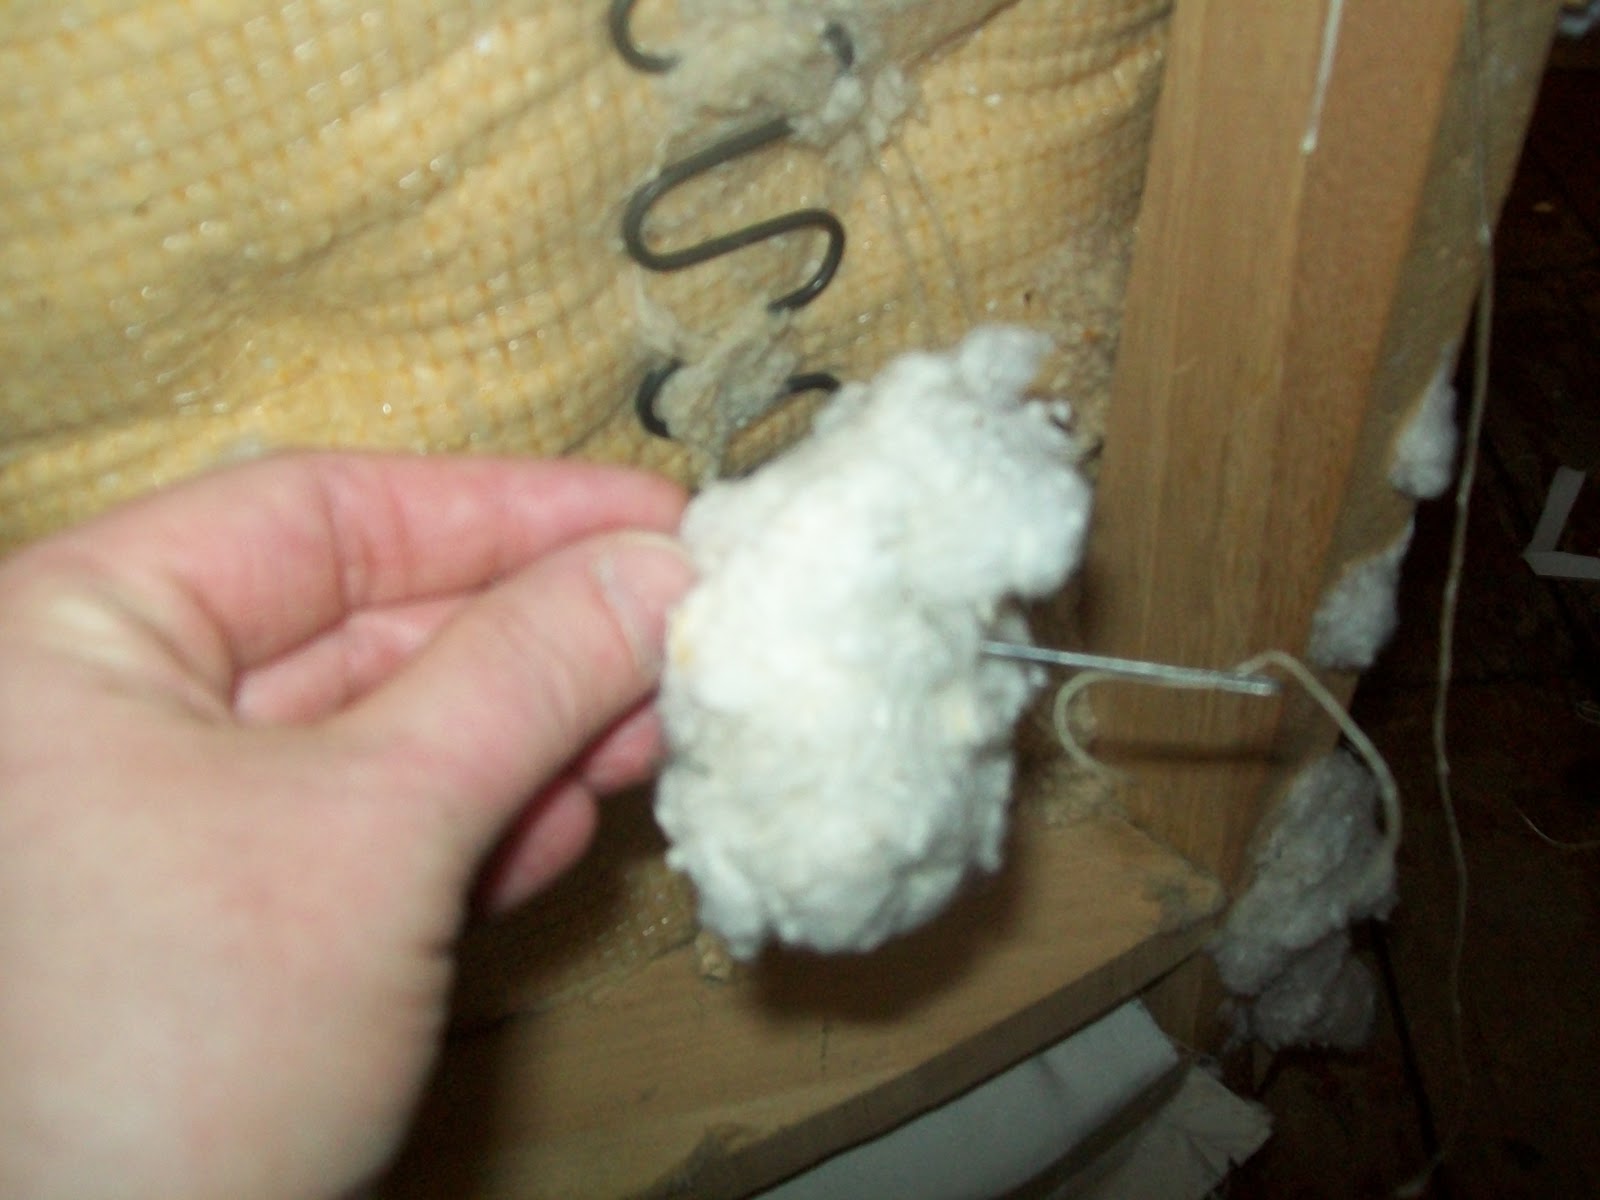
5. Batting to fill in areas where the old batting has fallen apart
6. Muslin or some other light weight cheap fabric if you need to replace any area where your chair had thin fabric that you could not salvage, like the bottom of your chair.
7. Some good sharp scissors.
I believe that is all the supplies I used.
I learned a lot. I think I just may do this again! Are you up to trying to update an upholstered piece of furniture?

You bloody little beauty Marilyn! You did it! It looks fantastic. I absolutely love it! I love the colours, I love the print, I love your determination. Everything. Well done! Thanks so much too for linking it up too.
Anne xx
Wow!! I commend you for taking on such an upholstering project for your first one! You did wonderful!
WOW!! You go girl. That is a hard project to tackle and you made it look like a snap!
Very impressive! I haven’t gotten the courage to tackle a full re-upholster although I have a chair I want to do it one. I would love it if you linked this up to this week’s Tutorial Tuesday!
Kari
Newlyweds on a Budget
Wow, what a great redo. It looks so involved but you look like you had it all under control. Love the fabric you chose. Thanks so much for sharing at our Link It Up Thursday party.
You did such a great job!! Love the colors!!
Wow, I have never attempted to reupholster, but your instructions were very good!! The chair turned out lovely!!
Thanks for linking up!! I’m your newest follower!!
Holy Moly! So much work and that looks awesome! I think I may need to use your tutorial to try this now! I’ve never reupholstered anything before. Found you on HomeMakerInHeels.com Linky party! And I’m now your newest follower
X0 Jess
{www.CraftyNonsenseNoted.com}
Great job! I’ve done several living room set and know how much work is involved. It’s worth it in the end, though.
That is AMAZING!!! Looks fabulous!!!
So impressive! It looks great! Thanks or stopping by my blog!
Your chair looks awesome!!! I’ve been looking forward to seeing what it looked it.
I really like how you showed what did not work as well as what worked. Great tutorial!! Thanks for sharing this on the Take it on Tuesday blog hop!! http://romanceonadime.com/take-it-on-tuesday/take-it-on-tuesday-blog-hop-hand-painted-ceramic-mug/
I am truly impressed! That was an excellent impossibility to possibility post … thanks so much for joining the challenge and linking up!
Linda
itallstartedwithpaint@gmail.com
You’re so brave! Upholstery is one DIY thing we’ve never done. I’m just now considering recovering our dining room chair seats. That’s big enough for me right now. ????
I am so impressed! You did it! Way to go, you should be so proud of yourself. Thanks so much for linking up to our challenge!! Karah
My hat is off to you! I love how the chair turned out! It looks like you conquered your “impossible.” Thanks for joining the party!
blessings,
karianne
Tearing apart furniture then putting it all back
together is my favorite thing to do,,,
You did a great job, especially for your first!
Sandy
This is amazing! Great job what a lot of work! Thanks for sharing your “impossibility”! <3 from your newest follower and fellow {brand-new} blogger! Check out my “impossibility” and follow back!
~Misty
http://www.413sparrowlane.com
You go with your upholstering bad self – that would have scared the bejeebers out of me! It looks fantastic – patting you on the back! Glad you joined our Impossibilities Challenge. Following.
Kelly
Wow! What a change! I’m about to redo a recliner- I keep procrastinating because it scares me- such a big project ya know!
I’m hosting a favorite things linky party and would love it if you stop by and post something!
-Melissa
http://serendipityandspice.blogspot.com/2012/01/manic-monday-linky-party-3.html
You painted the fabric as well! Gosh, you’re one talented lady. That chair looks fabulous – and really comfortable for curling up in. Felicitations on achieving your impossibility!
WOW!!!! I am so impressed!! Your chair looks A.M.A.Z.I.N.G.!!!! Thanks for the instructions on how you did it! Maybe I will be brave enough to try this some time!! Also Thank you so much for linking up to Terrific Tuesday on Mariah’s Creations!!!!
Wow, such a great makeover! You did a great job!
That is AMAZING!!! WOW! I love the transformation. I am a new follower.
I have a link party going on right now that I would love for you to share this at
http://twoyellowbirdsdecor.blogspot.com/2012/02/thursdays-temptation-link-party-3-some.html
Jill
You did a great job! I have a chair I’ve been waiting to recover and you had some great tips! Thanks!
Great job! I’ve done these before myself, and know how much work they are. Kudos! Love the fabric choice too.
Newest follower too!
If you get a chance sometime, you’ll have to stop by my blog.
Melissa
redflycreations.blogspot.com
Joining from the Imagine the Impossobiblities party….
Great job on your first project. I just completed mine as well…. remade my living room. Stop by and check it out if you get a chance.
Can’t waint to see what else you come up with!
Great job–what a fantastic update. Thanks for linking up at Beyond the Picket Fence.
Wow, that’s awesome! I took a class once to learn how to reupholster, but the sewing got complicated and I lost interest. What you did here with the stapling is genius. Great job!
http://www.onedogwoof.blogspot.com
The fabric is AWESOME!!!!! Thanks so much for showing the step by steps!! Very helpful
Would you PLEASE link this up on my blog??
http://thediydreamer.blogspot.com/2012/02/from-dream-to-reality-linky-party-2.html
Love the new look.. Thanks for linking at friday fun party..
Oh great job, love that fabric too. If you haven’t shared yet at Bacon Time, I would love for you to. Happy Friday.
My goodness. Such transformation. Thank you for your contribution to our ‘Time for a Party’ link-up.
Tomorrow we’ll open a new party at http://www.finecraftguild.com/party/ and we’d love to see you there then again with a beautiful project like this.
Till then! Keep up that great creativity!!!
That certainly was a bugger to do, wasn’t it? Love the fabric. It is so fun and bold. Thanks for visiting my blog and letting me in on my new fun blog (yours!!!)
Very cute transformation and you are much braver than I am! Thanks so much for linking up at cheap finds and transformations! Come and join us again soon:)
Great job! I keep postponing the moment when I’ll have to re-upholster my old leather chair! Thanks for the tutorial and for the motivation! Visiting from Friday Shoutout.